Lip liner is one of the most versatile and transformative tools in your makeup kit. Whether you want to create the illusion of fuller lips, correct asymmetry, or simply prevent your lipstick from feathering, a well-applied lip liner can make all the difference. Yet many people skip this step or apply it incorrectly, missing out on its full potential.
In this complete guide, we'll walk you through everything you need to know about using lip liner to define and enhance your lip shape. From choosing the right shade to mastering professional techniques, you'll learn how to achieve a perfectly sculpted pout that lasts all day.
Why Lip Liner Matters for Lip Definition
Lip liner serves multiple purposes beyond just outlining your lips. It acts as a barrier that prevents lipstick from bleeding into fine lines around the mouth, which is especially important with creamy or glossy formulas. A good lip liner also provides a base that helps lip color adhere better and last longer, making it a must-have for all-day wear.
Beyond functionality, lip liner is the secret to reshaping your lips without surgery or fillers. By slightly over-lining or under-lining certain areas, you can correct asymmetry, make thin lips appear fuller, or balance a prominent cupid's bow. The key is to choose a shade that matches your natural lip color or your lipstick, and to apply it with a light, precise hand.
- Prevents feathering and bleeding of lipstick
- Extends the wear time of your lip color
- Allows you to reshape and enhance your natural lip shape
How to Choose the Right Lip Liner Shade
Selecting the correct lip liner shade is crucial for a natural, seamless look. As a general rule, choose a liner that matches the undertone of your lipstick or your natural lip color. For nude lip looks, pick a liner that is one shade darker than your natural lips to add definition without looking harsh. For bold reds or berries, match the liner exactly to the lipstick shade for a polished finish.
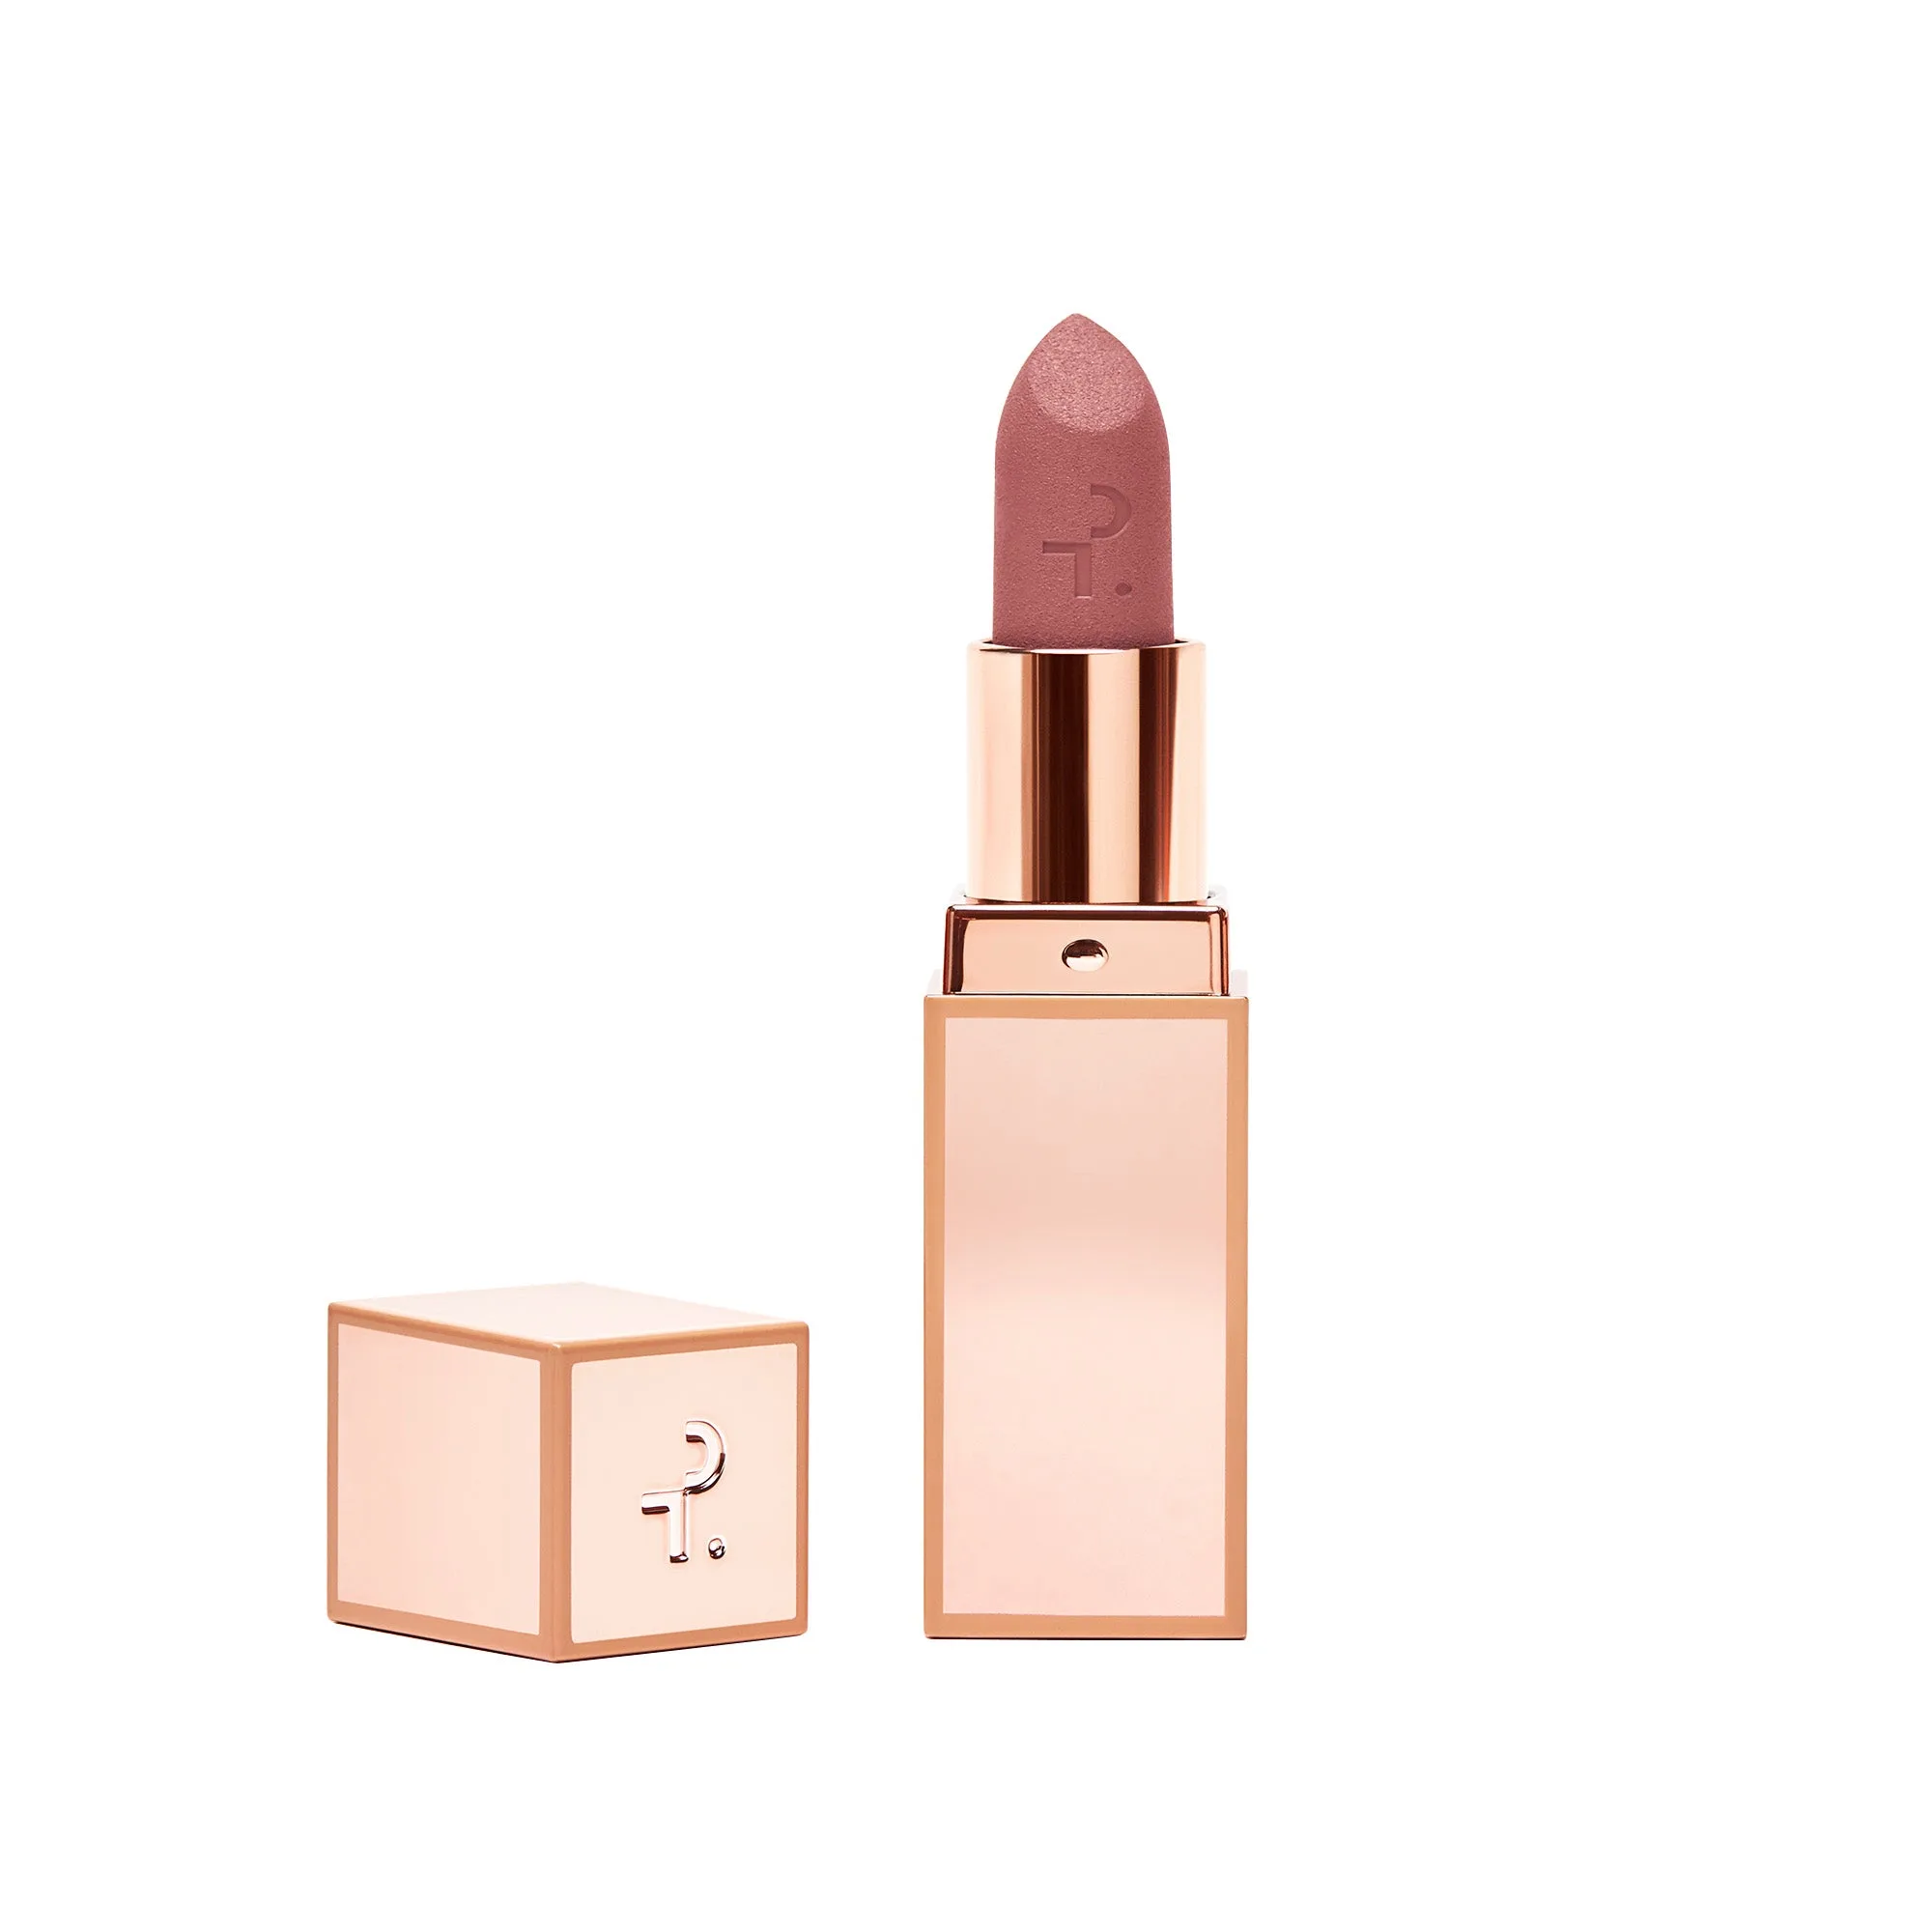
If you're unsure where to start, a versatile nude or pink liner can work with multiple lip colors. The Major Headlines Matte Suede Lipstick pairs beautifully with a matching liner for a long-lasting, velvety finish. For those who love glossy looks, the https://vibeelegance.store/products/major-volume-plumping-gloss-rich-color-117735Major Volume Plumping Gloss - Rich Color can be layered over a liner to add dimension and shine without compromising definition.
- For nude lips: liner one shade darker than natural lip color
- For bold colors: match liner exactly to lipstick shade
- For versatility: choose a neutral that complements your skin tone
Step-by-Step Lip Liner Application Tutorial
Start with clean, exfoliated lips. Apply a thin layer of lip balm and let it absorb for a minute, then blot away any excess. This ensures a smooth canvas for your liner. Begin by drawing an 'X' at the cupid's bow to define the center of your upper lip. Then, outline the outer corners of your upper lip, working inward toward the center. For the lower lip, start at one corner and draw a smooth line to the other.
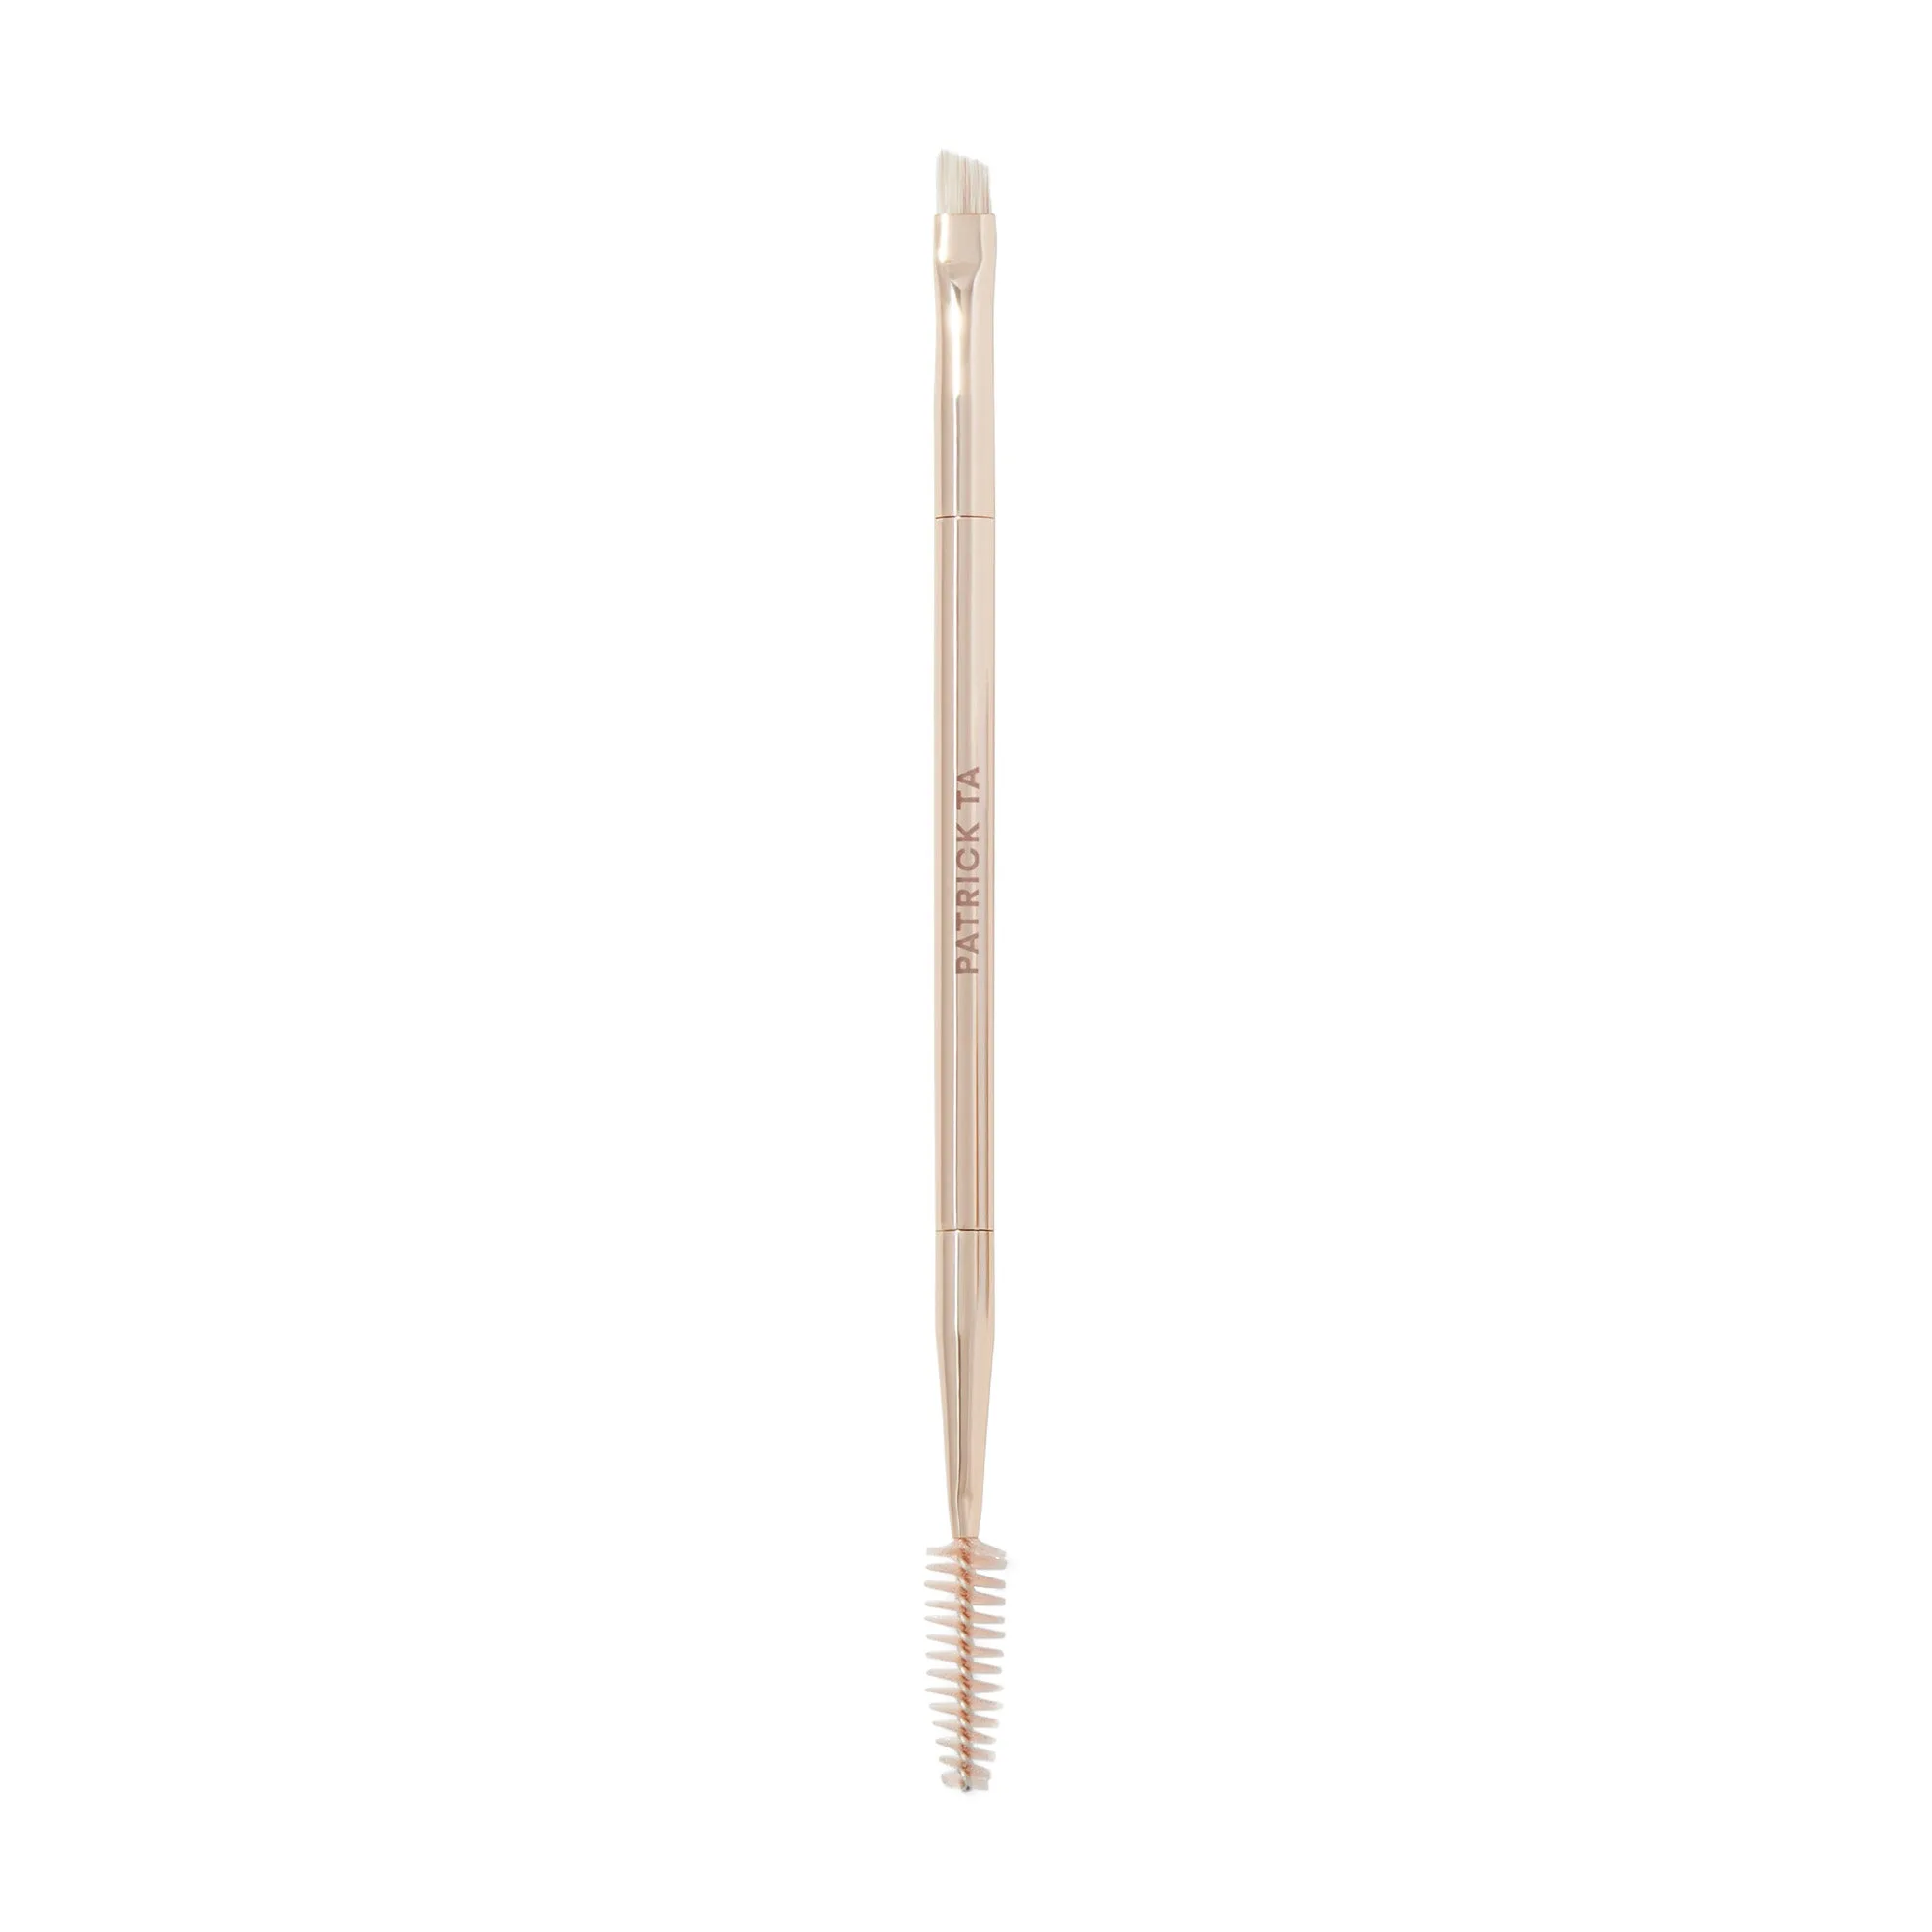
Once the outline is complete, fill in your entire lips with the liner. This creates a long-lasting base that will keep your lipstick in place even as it fades. For a more natural look, blend the liner slightly inward with a lip brush or your fingertip. The Lip Brush is an excellent tool for this step, allowing you to soften edges and create a seamless transition between liner and lipstick.
- Always start with exfoliated, moisturized lips
- Draw an 'X' at the cupid's bow for symmetry
- Fill in lips completely for all-day wear
Techniques to Enhance Your Lip Shape with Liner
To make thin lips appear fuller, slightly over-line just above your natural lip line, focusing on the center of the upper and lower lips. Avoid over-lining the corners, as this can look unnatural. For a more defined cupid's bow, sharpen the 'V' shape with a precise liner stroke. If your lips are asymmetrical, use liner to balance them by adding a little extra on the thinner side.
For a gradient or ombre effect, use a darker liner on the outer edges and a lighter shade or gloss in the center. This technique creates the illusion of volume and dimension. The Major Volume™ Plumping Gloss Duo is perfect for this look, offering both a plumping effect and a high-shine finish that draws attention to the center of the lips. Remember to blend the liner slightly inward to avoid a harsh line.
- Over-line the center of the lips for a fuller look
- Use a darker liner on edges with lighter center for ombre effect
- Correct asymmetry by adding liner to the thinner side
Common Lip Liner Mistakes and How to Avoid Them
One of the most common mistakes is using a liner that is too dark or too light compared to your lipstick, which creates an obvious ring around the mouth. Always test the liner against your lipstick before applying. Another mistake is applying liner on dry, flaky lips, which causes the product to skip and look uneven. Exfoliate regularly and keep lips hydrated.
Applying liner too heavily or with a dull tip can also lead to imprecise lines. Keep your liner sharpened for clean application. If you make a mistake, use a concealer and a small brush to clean up the edges. The Elevated Beauty Bag In Brown is a great way to keep your lip liners and brushes organized and within reach, ensuring you always have the right tools for a flawless finish.
- Avoid liners that are too dark or too light
- Always exfoliate and moisturize lips beforehand
- Keep your liner sharpened for precision
Lip liner is a game-changer for anyone who wants to define, enhance, and perfect their lip shape. With the right shade, technique, and a little practice, you can achieve a professional-looking pout that lasts all day. Start by exploring the Major Headlines Matte Suede Lipstick for a velvety finish that pairs perfectly with your new liner skills, and enjoy the confidence that comes with beautifully defined lips.