The MakeUp Eraser is a revolutionary reusable makeup remover cloth that works with nothing but water. No cleansers, wipes, or micellar water needed. But if you’re new to this magic cloth, you might wonder: how exactly do you use it? In this step-by-step guide, we’ll walk you through the entire process—from wetting the cloth to removing stubborn waterproof makeup—so you can get the most out of your MakeUp Eraser.
Using the MakeUp Eraser with just water is not only gentle on your skin but also saves money and reduces waste. Whether you have the original Eraser or the Daily size, the technique is the same. Let’s dive in.
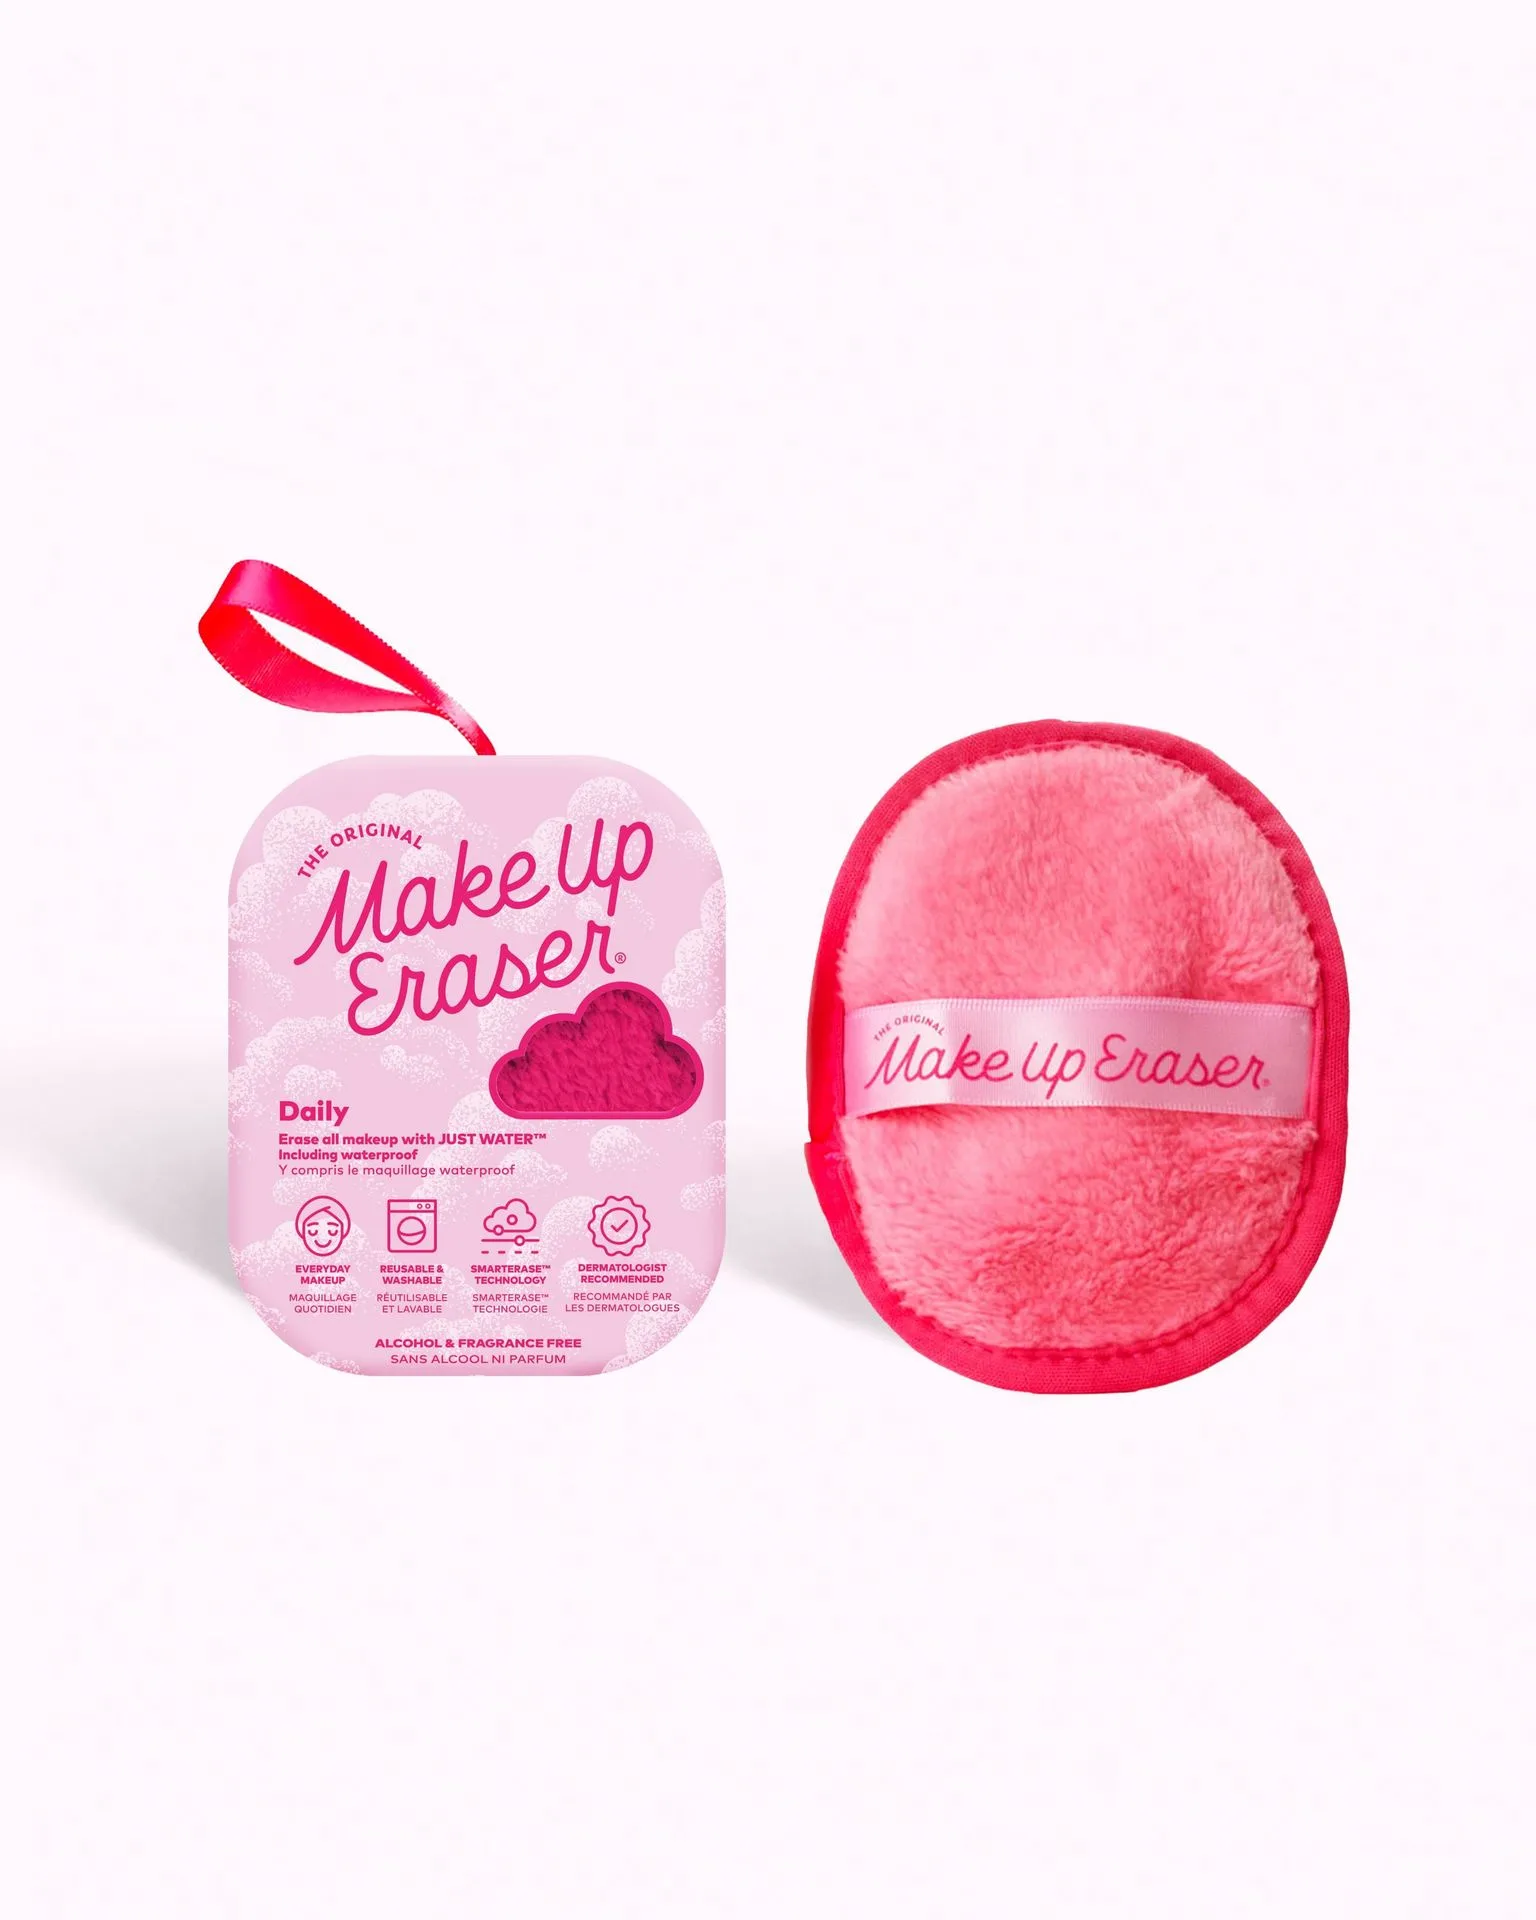
Daily
Step 1: Wet the MakeUp Eraser with Warm Water
Start by running your MakeUp Eraser under warm tap water. Warm water helps to activate the unique microfiber fibers that trap and lift makeup, oil, and dirt. You don’t need hot water—just comfortably warm. Squeeze out the excess water so the cloth is damp, not dripping. A damp cloth works best because it allows the fibers to grab onto makeup without being too slippery.
If you’re using the Daily MakeUp Eraser, which is a smaller size perfect for travel or single-use, wet it the same way. The Daily is just as effective as the full-size version, but its compact size makes it easy to handle for quick makeup removal.
- Use warm water (not hot) to activate fibers.
- Squeeze out excess water so cloth is damp.
Step 2: Gently Wipe Away Makeup
Hold the damp MakeUp Eraser against your skin and gently wipe in short, upward strokes. Start with your eyes if you’re wearing eye makeup, as it often requires a bit more attention. For mascara and eyeliner, hold the cloth over your closed eye for a few seconds to let the fibers dissolve the makeup, then wipe away. You’ll see the makeup transfer onto the cloth instantly.
For face makeup like foundation, blush, and concealer, use broader strokes across your cheeks, forehead, and chin. The Eraser’s long fibers act like a magnet, pulling makeup away without harsh rubbing. No need for any cleanser or makeup remover—just water does the job.
- Start with eye makeup: hold cloth over closed eye for a few seconds.
- Use short, upward strokes for face makeup.
Step 3: Rinse and Repeat if Needed
After a few wipes, you’ll notice the cloth picking up makeup. Rinse the MakeUp Eraser under warm water to remove the captured makeup, then squeeze out the excess. If you still have traces of makeup on your skin, repeat the process with the clean, damp cloth. Most makeup comes off in one pass, but waterproof or heavy layers may need a second round.
One of the best things about the MakeUp Eraser is that you can use it multiple times before washing it with soap. For daily use, simply rinse it after each use and let it air dry. When it starts to feel less effective, wash it with your regular laundry detergent.
- Rinse cloth under warm water to remove captured makeup.
- Repeat if any makeup remains on skin.
Step 4: Finish with Your Skincare Routine
Once all makeup is removed, you can follow up with your regular skincare routine—toner, serum, moisturizer, etc. The MakeUp Eraser leaves your skin clean and residue-free, so your products can absorb better. Unlike makeup wipes that can leave a sticky film, the Eraser removes everything without any leftover chemicals.
If you have sensitive skin, you’ll appreciate that the MakeUp Eraser doesn’t require any rubbing or harsh ingredients. It’s gentle enough for even the most delicate skin types, including those prone to acne or rosacea.
- No residue means better absorption of skincare products.
- Ideal for sensitive skin.
Using the MakeUp Eraser with just water is simple, effective, and eco-friendly. Whether you choose the full-size or the Daily version, you’ll enjoy a clean, fresh face without the need for disposable wipes or harsh removers. Try it today and see the difference for yourself.