Quick Answer
To use microdart patches for stubborn blemishes, cleanse and dry the area, apply the patch with firm pressure for a few seconds, leave it on for 6-8 hours (overnight is best), then remove and follow with your usual skincare. Avoid touching the patch once applied, and don't reuse patches.
Stubborn blemishes—those deep, under-the-skin bumps that never seem to come to a head—are frustrating. While regular pimple patches work on surface-level whiteheads, they often fail to penetrate the skin. That's where microdart patches come in. They're designed with tiny dissolvable needles that deliver active ingredients directly into the blemish, making them ideal for deep, stubborn acne.
In this guide, we'll walk you through the correct way to use microdart patches for blemishes, including preparation, application, and aftercare. We'll also highlight common mistakes to avoid so you get the most out of your treatment.
What Are Microdart Patches and How Do They Work?
Microdart patches are a type of acne patch that features hundreds of tiny, dissolvable spikes (microdarts) on the adhesive side. When pressed onto the skin, these microdarts penetrate the outer layer of the epidermis, delivering active ingredients like salicylic acid, niacinamide, or hyaluronic acid directly into the blemish. This targeted delivery is what makes them more effective for deep, cystic, or stubborn acne compared to standard hydrocolloid patches.
Unlike hydrocolloid patches that only absorb surface oil and pus, microdart patches work from within. They can help reduce inflammation, unclog pores, and promote healing. However, they're not a one-size-fits-all solution. They work best on raised, painful bumps that haven't come to a head. For open wounds or popped pimples, standard hydrocolloid patches are better.
- Microdart patches are for deep, non-popped blemishes, not open sores.
- They deliver active ingredients directly into the skin for faster results.
Step-by-Step: How to Apply Microdart Patches
Applying microdart patches correctly is crucial for effectiveness. Here's a detailed process to follow: Start with clean, dry skin. Wash your face with a gentle cleanser to remove dirt, oil, and makeup. Pat dry completely—moisture can prevent the microdarts from adhering properly. Avoid applying any serums or moisturizers before the patch, as they can create a barrier.
Next, remove the patch from its backing. Be careful not to touch the microdarts themselves. Position the patch over the blemish, ensuring the microdarts are centered. Press down firmly for 10-15 seconds to allow the microdarts to penetrate the skin. The pressure is essential for the microdarts to dissolve and release the ingredients.
Leave the patch on for at least 6-8 hours, preferably overnight, to allow the ingredients to work. When removing, gently peel it off. Don't rub or scrub the area. Follow with your usual skincare routine, but avoid harsh exfoliants or acids for the next 24 hours to prevent irritation.
- Use a gentle cleanser and ensure skin is bone-dry before application.
- Press firmly for 10-15 seconds—this is key for microdart penetration.
- Wear the patch overnight for best results.
Common Mistakes to Avoid
One of the most common mistakes is applying microdart patches to skin that isn't completely dry. Even a small amount of moisture can cause the microdarts to dissolve prematurely on the surface, reducing their effectiveness. Another mistake is not pressing firmly enough. If you just lay the patch on, the microdarts may not penetrate the skin at all.
Another error is reusing patches. Once removed, the microdarts are already dissolved or blunted, and the patch may have absorbed bacteria. Always use a fresh patch for each application. Also, don't leave the patch on for longer than 12 hours—overuse can irritate the skin. Finally, don't pick at the blemish before applying the patch; microdarts are not for broken skin.
- Always start with dry skin.
- Press firmly for at least 10 seconds.
- Never reuse a patch.
- Avoid using on broken skin.
Step-by-Step: Applying Microdart Patches
- Step 1: Cleanse and Dry: Wash your face with a gentle cleanser and pat dry completely. Ensure no moisture remains on the skin. Checkpoint: Skin should feel clean and dry to the touch.
- Step 2: Apply the Patch: Remove the patch from its backing, center it over the blemish, and press firmly for 10-15 seconds. Checkpoint: You should feel a slight pricking sensation, indicating the microdarts are penetrating.
- Step 3: Leave On and Remove: Leave the patch on for 6-8 hours (overnight is ideal). Remove gently and follow with a moisturizer. Checkpoint: Do not reuse the patch; discard after use.
Products That Complement Your Blemish Routine
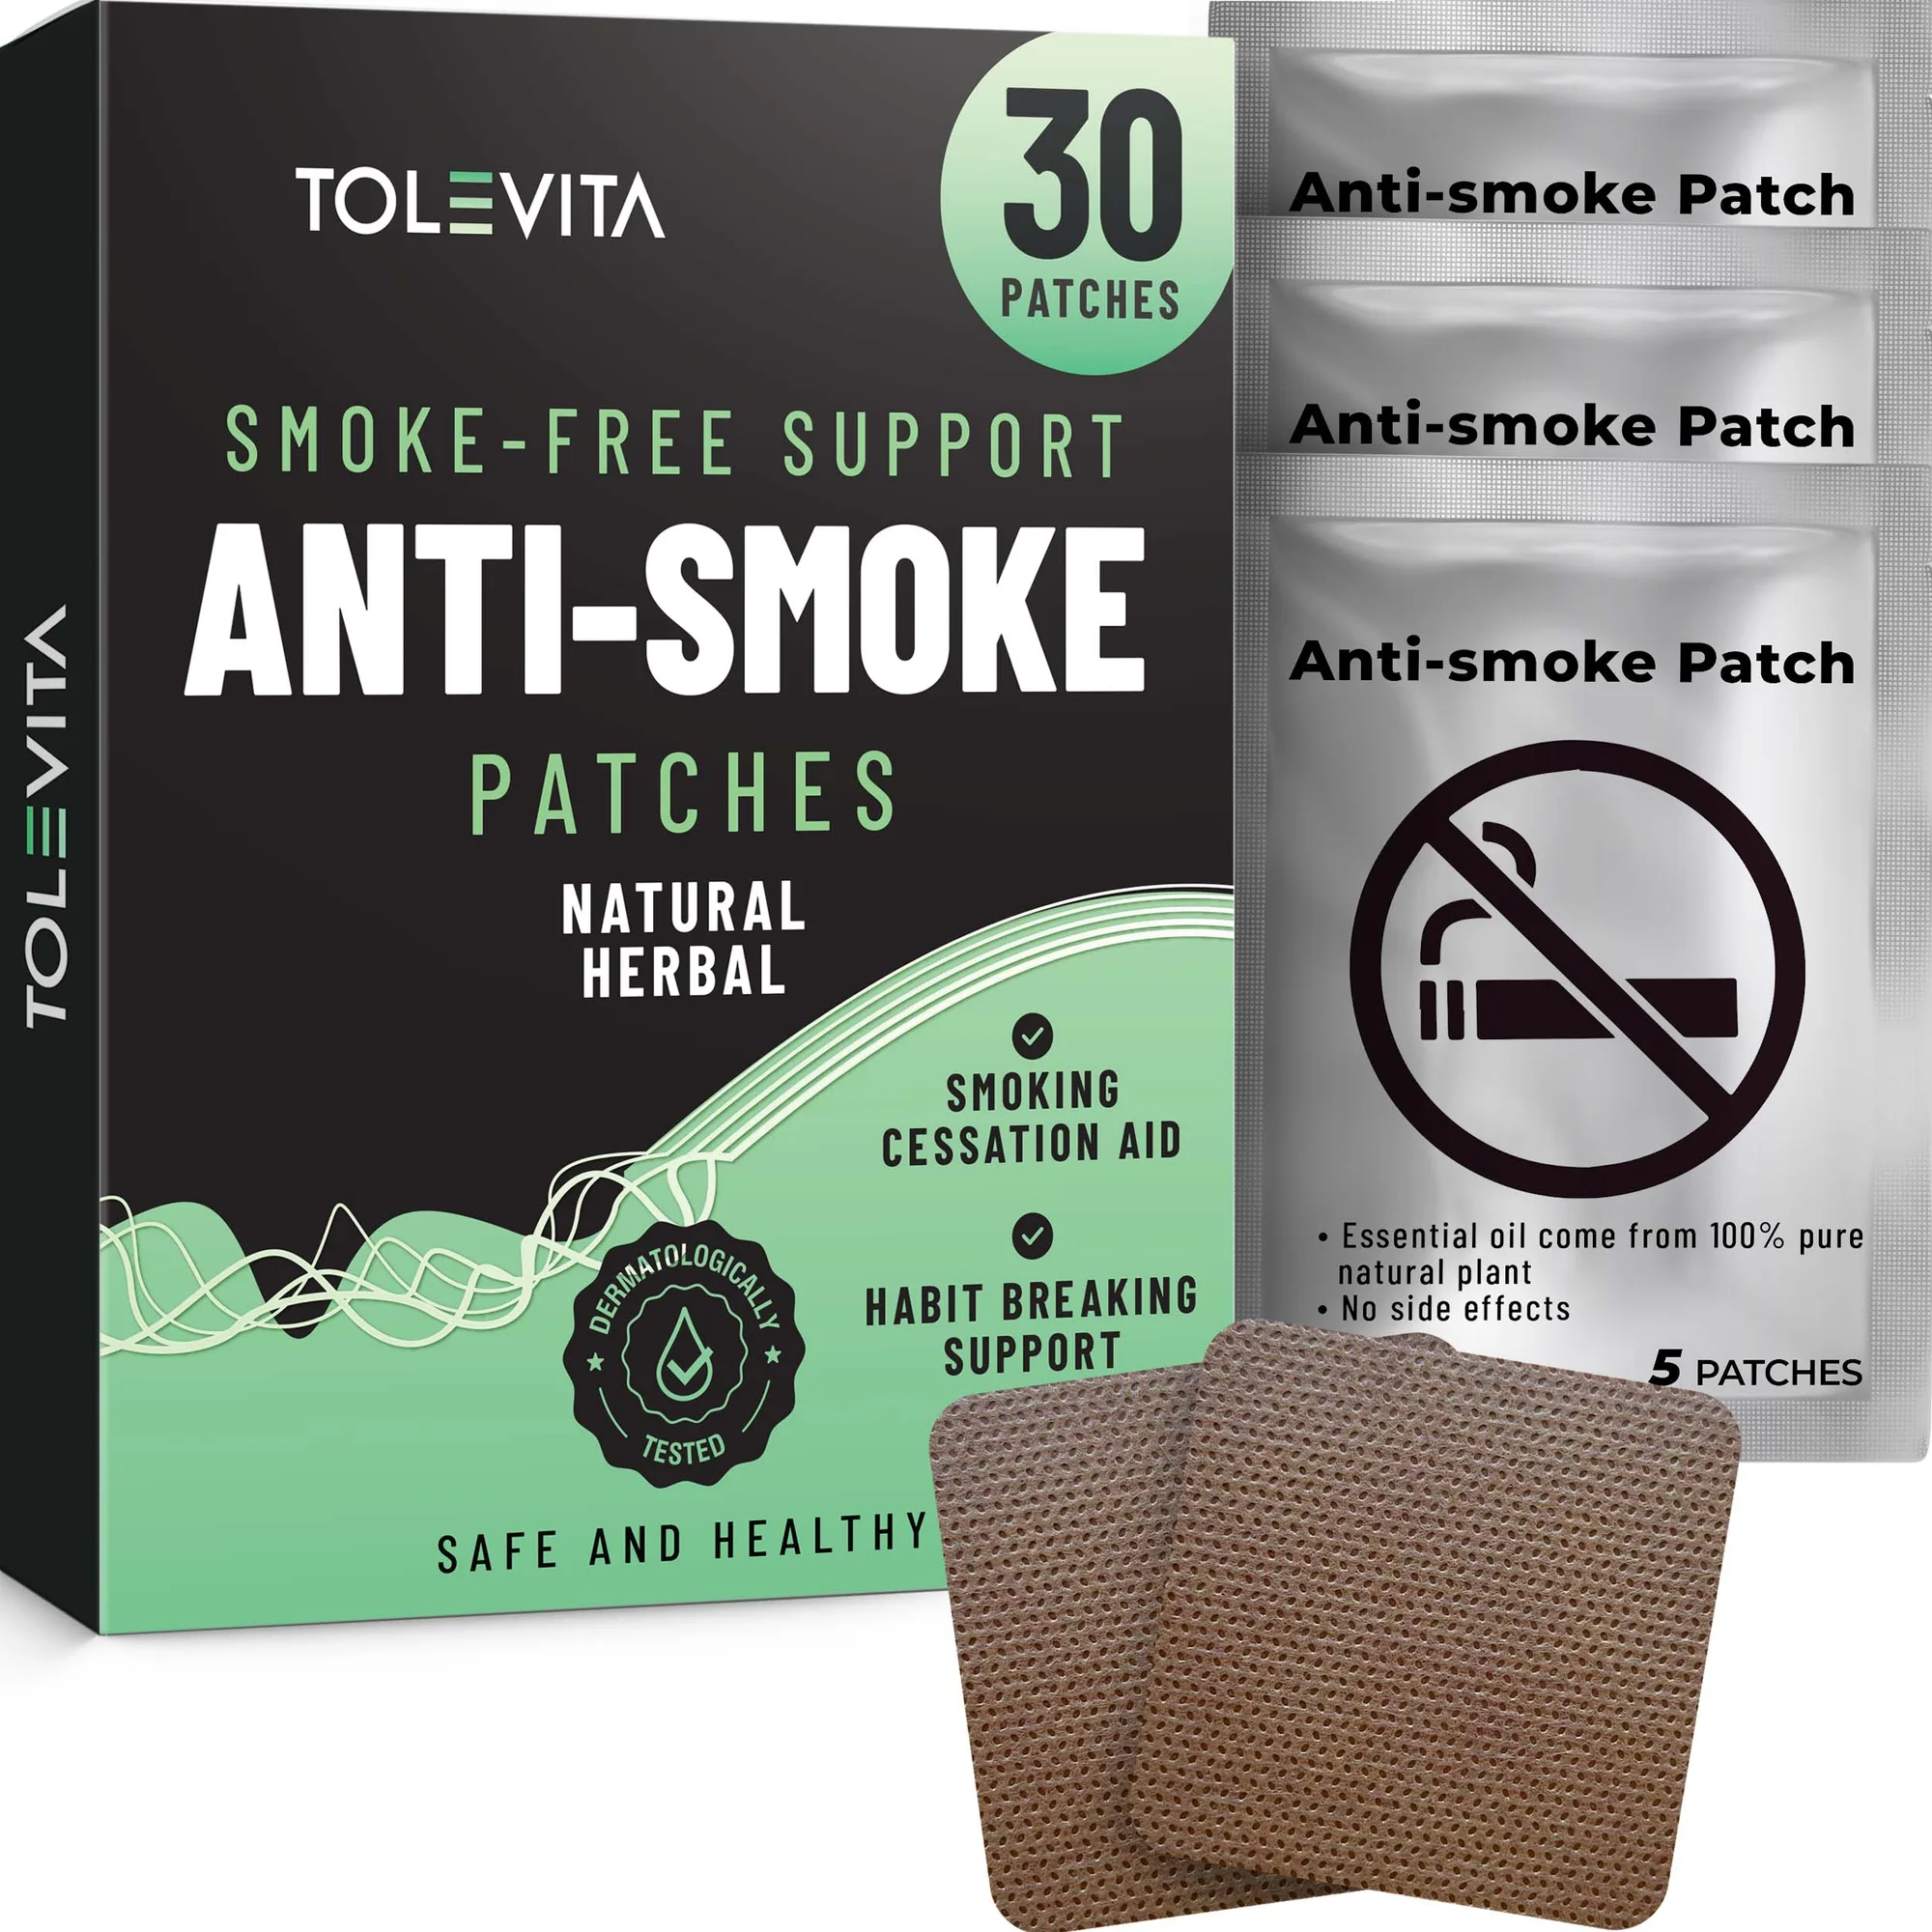
- Anti-Smoke Herbal Patches to Help Reduce Cravings, Herbal Stop Smoking Aid for a Healthier Lifestyle, 30 patches: TOLEVITA Anti-Smoke Herbal Patches are designed to provide a natural and effective solution for those on a smoke-free journey. Available in 7 mg, 14 mg, and 21 mg options, each patch delivers a steady, controlled release of natural tobacco extract to help reduce cravings. If you're quitting smoking, this patch can help manage cravings, which may reduce stress-related breakouts and support your overall skin health.
- Bio-Collagen Hydrogel Face Mask, Hydrating & Repairing Mask with Snail Mucin & Hyaluronic Acid, 6 Masks: TOLEVITA Bio-Collagen Hydrogel Face Mask helps restore moisture balance, strengthen the skin barrier, and improve overall skin texture for a smoother complexion. After using microdart patches, your skin may need extra hydration. This hydrogel mask can soothe and repair the skin, enhancing recovery.
Microdart patches can be a game-changer for stubborn blemishes when used correctly. Remember to start with clean, dry skin, press firmly, and leave the patch on long enough for the ingredients to work. Pair them with a hydrating mask for optimal skin recovery, and always follow the instructions on the product packaging. With consistent use, you'll see a noticeable improvement in those deep, stubborn bumps.