Quick answer
To get a crispy toastie in the microwave, use a microwave toastie maker, keep fillings dry and modest, and follow the maker's timing and resting guidance rather than guessing. The key is controlling moisture and heat so the bread crisps instead of steaming.
Why bread turns soggy in a microwave toastie maker
A microwave heats food by exciting water molecules, so any moisture in the filling or bread turns to steam inside the closed maker. That steam softens the crust unless you manage it. The toastie maker and grill design traps heat and pressure to encourage browning, but it cannot remove excess water. Choosing low-moisture fillings and avoiding overfilling gives the bread a chance to crisp.
When a microwave toastie maker is the right tool
A microwave toastie maker suits quick single servings, small kitchens, and people who want a toastie without heating a pan or grill. It is not a replacement for a contact grill or sandwich press if you expect deep, crusty browning. For best results, treat it as a fast, compact accessory and adjust your filling choices accordingly.
Step-by-step: using a microwave toastie maker
- Prepare the bread: Use slightly stale or firm sliced bread rather than fresh, soft bread. Lightly toast it if you want extra crispness. Common mistake: using very fresh bread, which releases more steam and softens faster. Firm bread gives a better head start against sogginess.
- Choose low-moisture fillings: Grate or thinly slice cheese, pat dry any vegetables, and avoid wet sauces or juicy fillings. Keep the filling modest so the maker closes without squeezing. Checkpoint: if you can see liquid in the filling, drain or blot it first. Dry fillings are the single biggest factor in a crispy result.
- Assemble inside the maker: Place one slice in the base, add filling, then top with the second slice. Do not overfill or let filling touch the edges. Common mistake: piling filling too high, which prevents the maker from closing and traps steam. A flat, even layer closes properly and heats evenly.
- Microwave in short bursts: Follow the manufacturer's recommended power and time for your model. If unsure, start with a shorter time and check. Common mistake: microwaving continuously for too long, which overcooks the bread before the filling is hot. Short bursts let you check progress and avoid overcooking.
- Rest before opening: Let the maker stand for a minute after microwaving so steam can escape and the crust can firm up. Open carefully away from your face. Checkpoint: the toastie should release easily; if it sticks, it may need a little more time. Resting prevents a rush of steam from softening the crust.
- Finish for extra crispness if needed: If the toastie is still soft, transfer it to a dry frying pan or grill for a minute per side. This is optional and depends on your appliance. Common mistake: returning it to the microwave, which adds more moisture. A brief pan finish can rescue a soft crust without re-steaming.
Product facts
-
Mico Microwave Toastie Sandwich Maker and Grill: Compact design intended for making toasties in the microwave. It fits small kitchens and makes single toasties quickly, but its microwave method means you must control moisture to avoid sogginess.
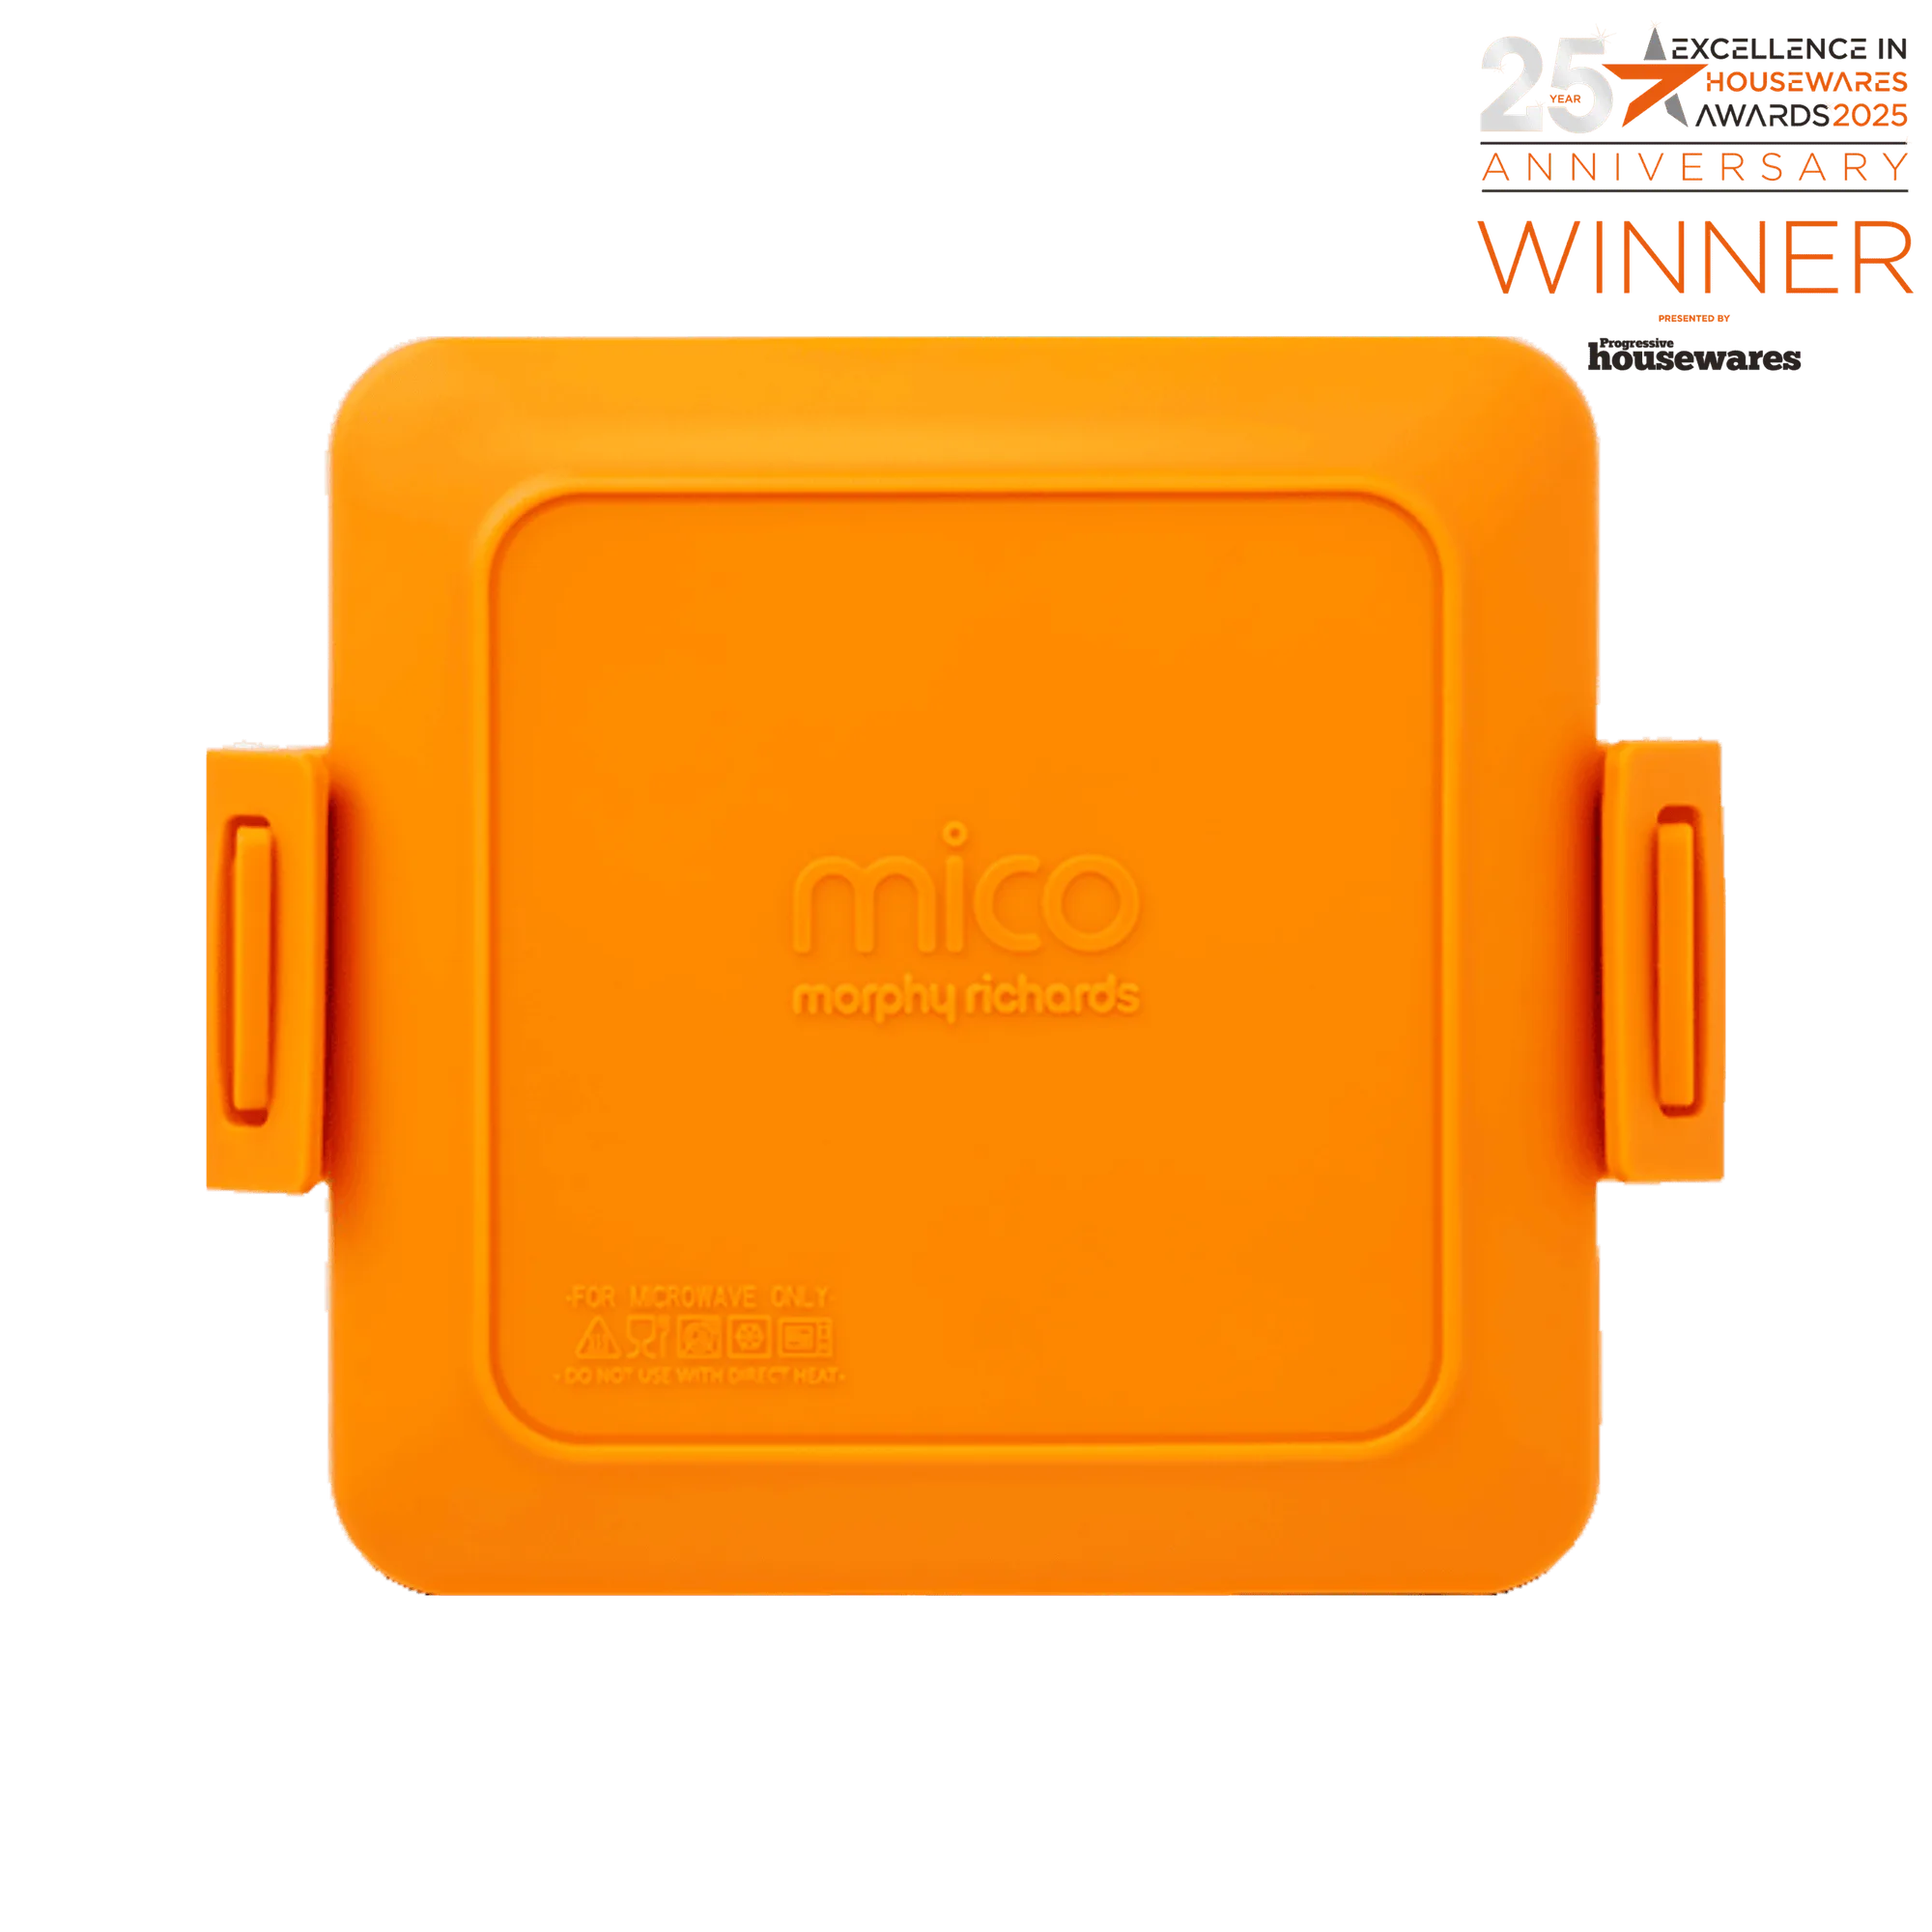
Mico Microwave Toastie Sandwich Maker and Grill