Quick Answer
A mushroom anchor keeps your kayak steady by gripping the bottom without dragging. Attach it to a bow or side cleat with a short line, lower it gently, and let the mushroom shape dig in. Avoid dropping it fast or using too much rope, which can cause drifting or tangling.
Why a Mushroom Anchor Works for Kayaks
Unlike heavier fluke or plow anchors, a mushroom anchor uses its broad, rounded shape to sink into soft mud, sand, or gravel. This creates a strong hold without the sharp edges that could damage an inflatable kayak or SUP. The compact design also stores easily in a hatch or dry bag, making it practical for day trips where weight and space matter.
The tradeoff is that mushroom anchors work best in calm or moderate currents. In fast-moving water or rocky bottoms, the anchor may not dig in as reliably. For most flatwater kayaking—lakes, slow rivers, or sheltered bays—it provides all the stability you need for fishing, photography, or paddle yoga.
What You Need for Setup
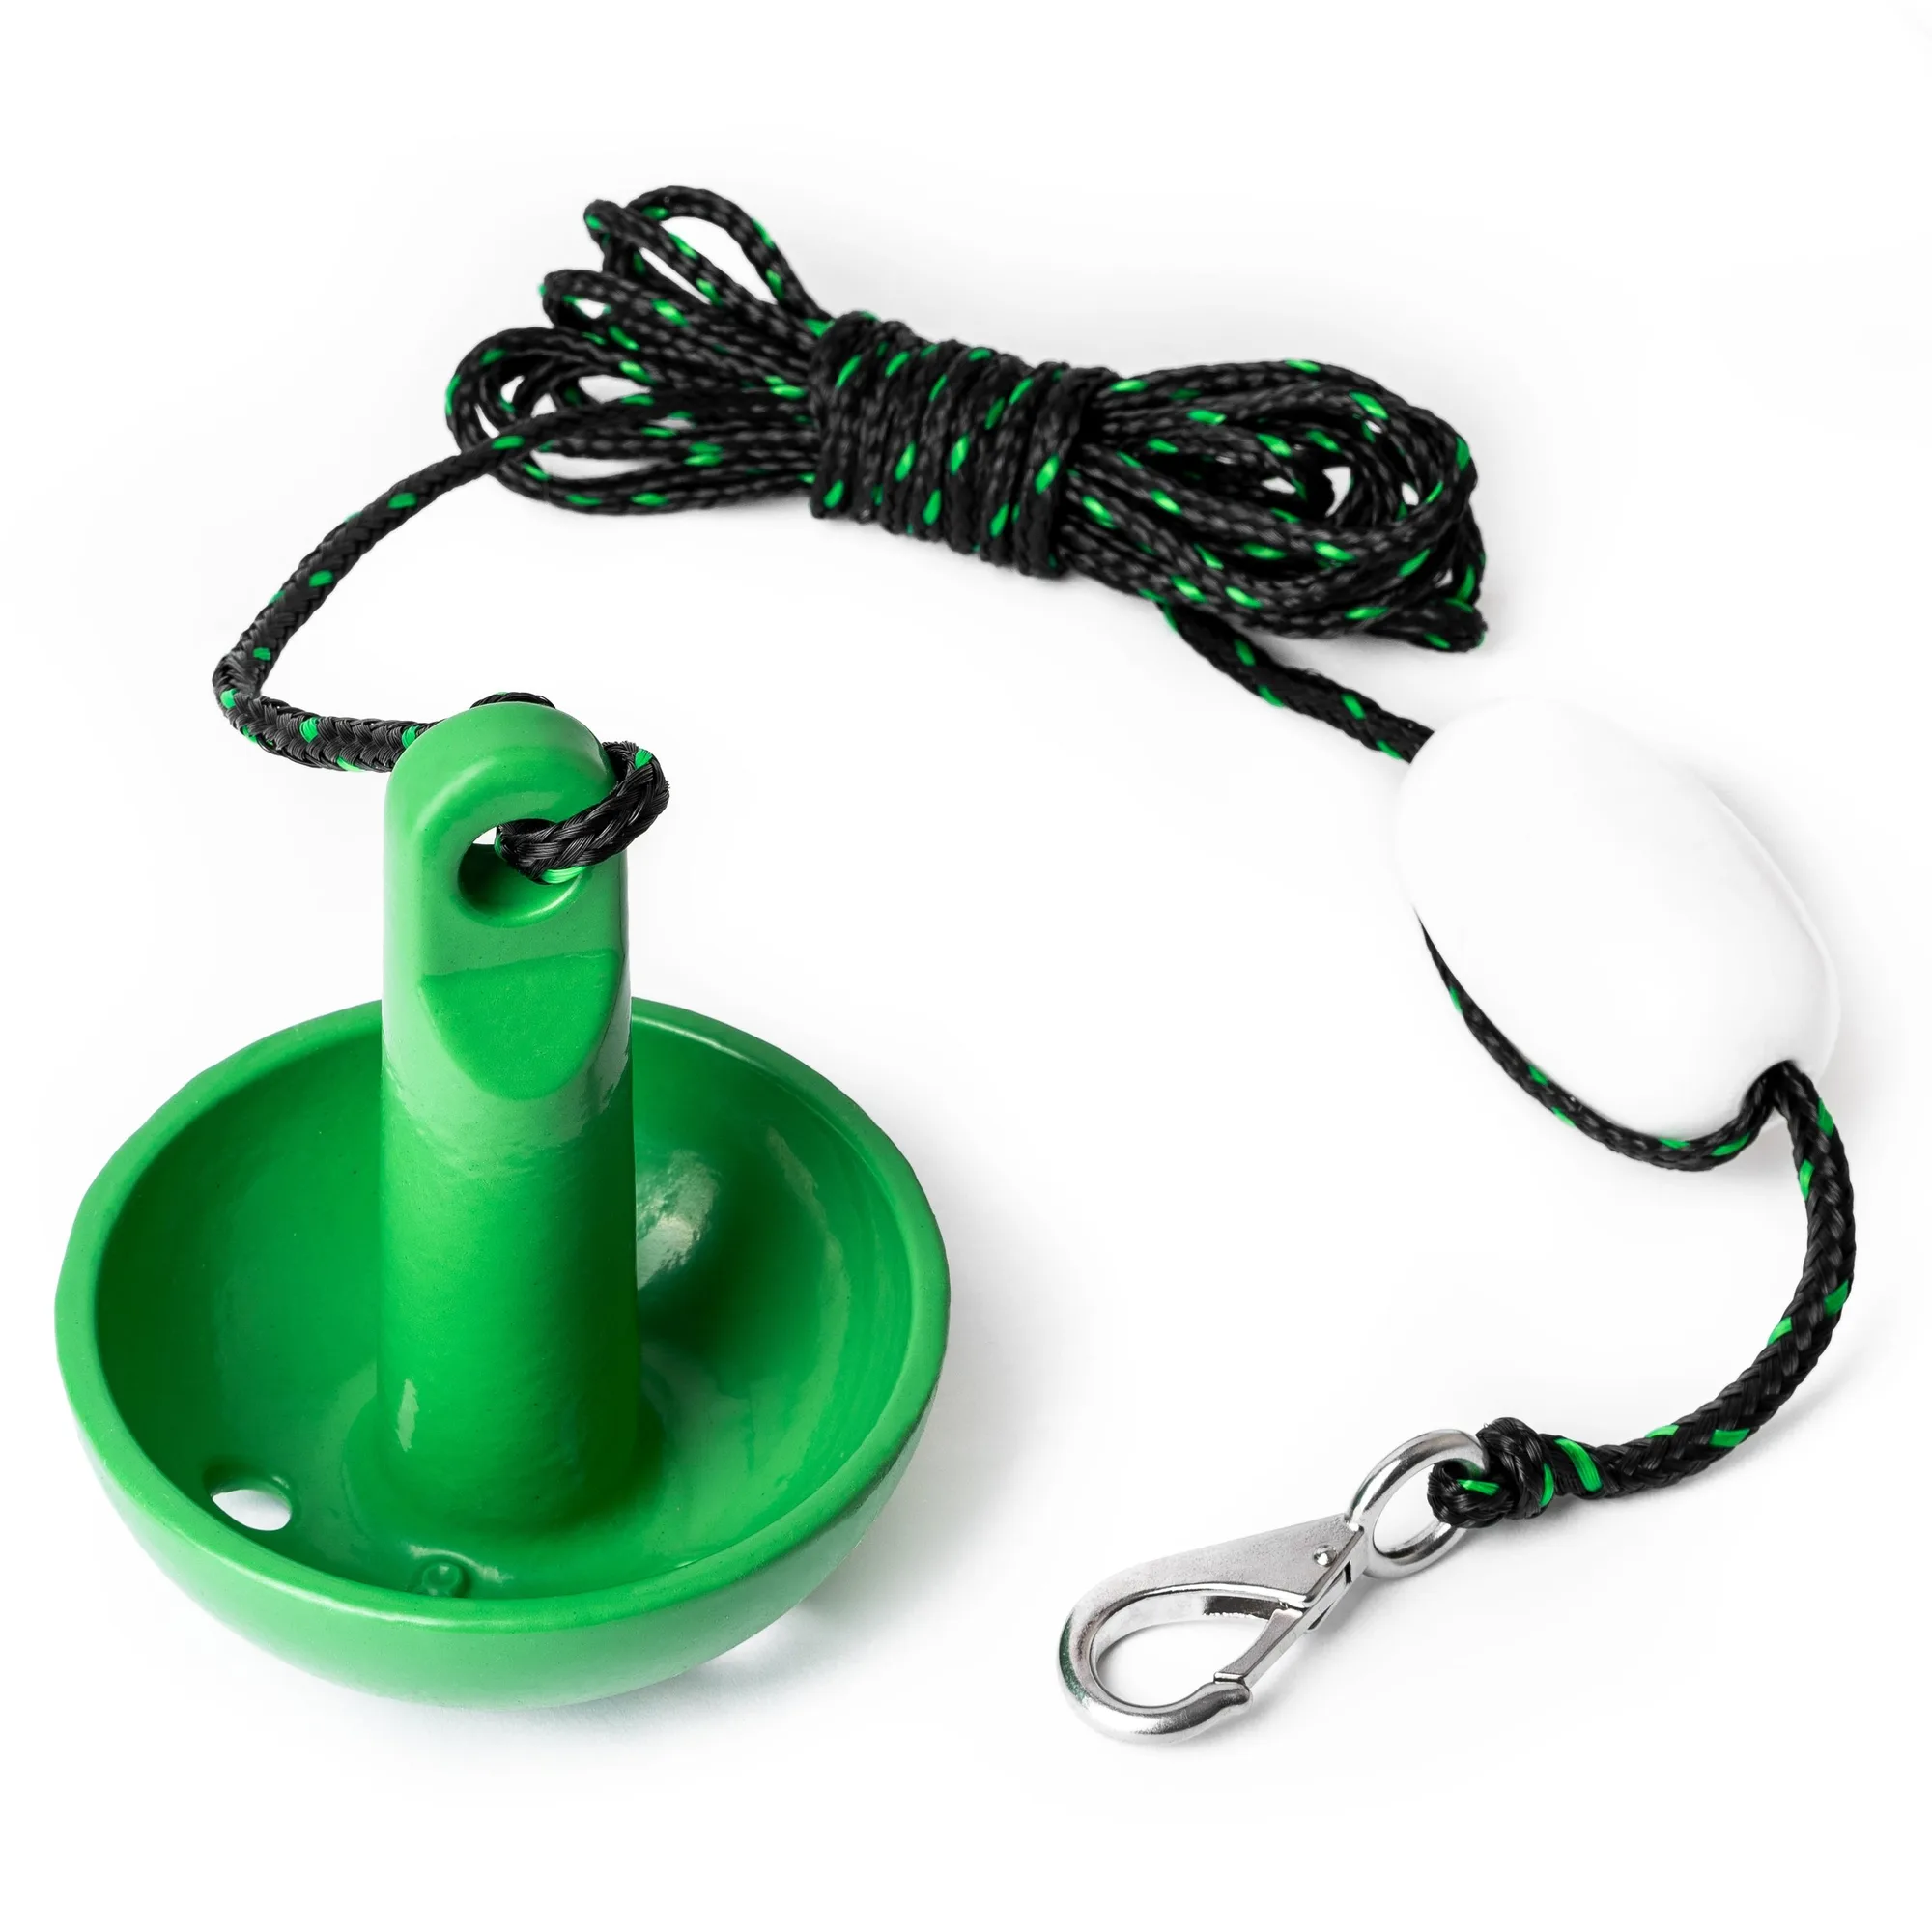
You will need a mushroom anchor, a length of anchor line (nylon or polypropylene, about 15–25 feet for shallow water), a stainless steel snap hook or carabiner, and a small buoy or float if you want to mark the anchor location. The Gradient Mushroom Anchor comes with a PVC buoy and stainless steel snap hook already attached, so you can skip the extra hardware.
If your kayak lacks a cleat, tie the line to a secure point such as a pad eye or the bow handle. Avoid attaching the anchor to a seat rail or rudder system—those points are not designed to handle lateral pull and could break under load.
How to Deploy a Mushroom Anchor for Kayak Stability
- Step 1: Attach the anchor line to your kayak: Clip the stainless steel snap hook to a bow cleat, pad eye, or secure D-ring. Run the line through a fairlead if you have one to prevent chafing. Common mistake: tying to a seat rail or rudder—those points can fail under load.
- Step 2: Coil the line loosely in front of you: Lay the anchor line in loose coils on the deck or inside the cockpit so it can feed out without tangling. Keep the anchor itself within easy reach. Checkpoint: a tangled line can pull your kayak sideways or prevent the anchor from reaching bottom.
- Step 3: Lower the anchor gently over the side: Hold the anchor by the stem and lower it straight down until it touches the bottom. Do not throw or drop it—this can cause the line to twist or the anchor to land upside down. Common mistake: dropping the anchor fast can make it skip across the bottom instead of digging in.
- Step 4: Let out enough line for a proper hold: Pay out line until the anchor rests on the bottom with a slight angle (about 3:1 scope in calm water). For 10 feet of depth, let out roughly 30 feet of line. Checkpoint: too little scope and the anchor will drag; too much and you risk snagging on underwater debris.
- Step 5: Test the hold before relaxing: Give a gentle tug on the line. If the kayak stays put, the anchor is set. If it drags, pull up and reposition in a slightly different spot. Common mistake: assuming the anchor is set without testing—current or wind can shift it silently.
- Step 6: Retrieve by pulling straight up: Pull the line vertically until the anchor breaks free from the bottom. Coil the line as you go to keep it tidy. If it snags, circle the kayak slowly to change the pull angle. Checkpoint: never yank sideways—this can damage the anchor line or your attachment point.
Product Used in This Guide
- Mushroom Anchor: The 8 lb Mushroom folding anchor is compact and convenient. It includes a PVC buoy and stainless steel snap hook for quick attachment. The anchor is rust resistant and marine grade. The pre-attached buoy and snap hook save setup time, and the rust-resistant marine-grade construction means it will hold up after repeated saltwater or freshwater use. The folding design also makes storage easier in a kayak hatch.