Quick answer
Use the 100-grit side to shape and shorten natural nails before gel application, then switch to the 180-grit side to gently buff the surface for adhesion without thinning the nail plate.
Why grit matters for gel adhesion
The 100 grit is coarse and removes material quickly, making it ideal for shortening length or adjusting shape. The 180 grit is finer and creates a slight texture on the nail plate, which helps gel polish bond without causing grooves or weakening the nail.
Using only the coarse side can leave deep scratches that trap air and cause lifting. Using only the fine side may not remove enough shine for proper adhesion. The 100/180 file gives you both options in one tool.
Step-by-step: Prep nails with a 100/180 grit file
- Step 1: Shape with the 100-grit side: Hold the file at a 45-degree angle and file from the side to the center in one direction. Use the 100-grit side to shorten length or adjust the shape (square, round, almond). Avoid sawing back and forth. Common mistake: sawing motion can split the nail tip. Always file in one direction.
- Step 2: Switch to the 180-grit side for surface prep: Gently buff the entire nail plate with the 180-grit side to remove shine and create a matte texture. Do not press hard; let the grit do the work. Focus on the center and sidewalls. Common mistake: over-buffing thins the nail plate. Stop as soon as the shine is gone.
- Step 3: Clean and dehydrate: Wipe away all dust with a lint-free wipe and alcohol or nail dehydrator. Do not touch the nail surface after cleaning. Apply gel base coat immediately. Common mistake: skipping dehydration leads to lifting. Make sure no dust or oil remains.
Product used in this guide
-
Nail File 100/180 Grit: Ballpit Nails Nail File 100/180 Grit offers two grit surfaces on a single tool: 100 and 180. You get a coarse and a fine side in one file, so you can shape and prep without switching tools.
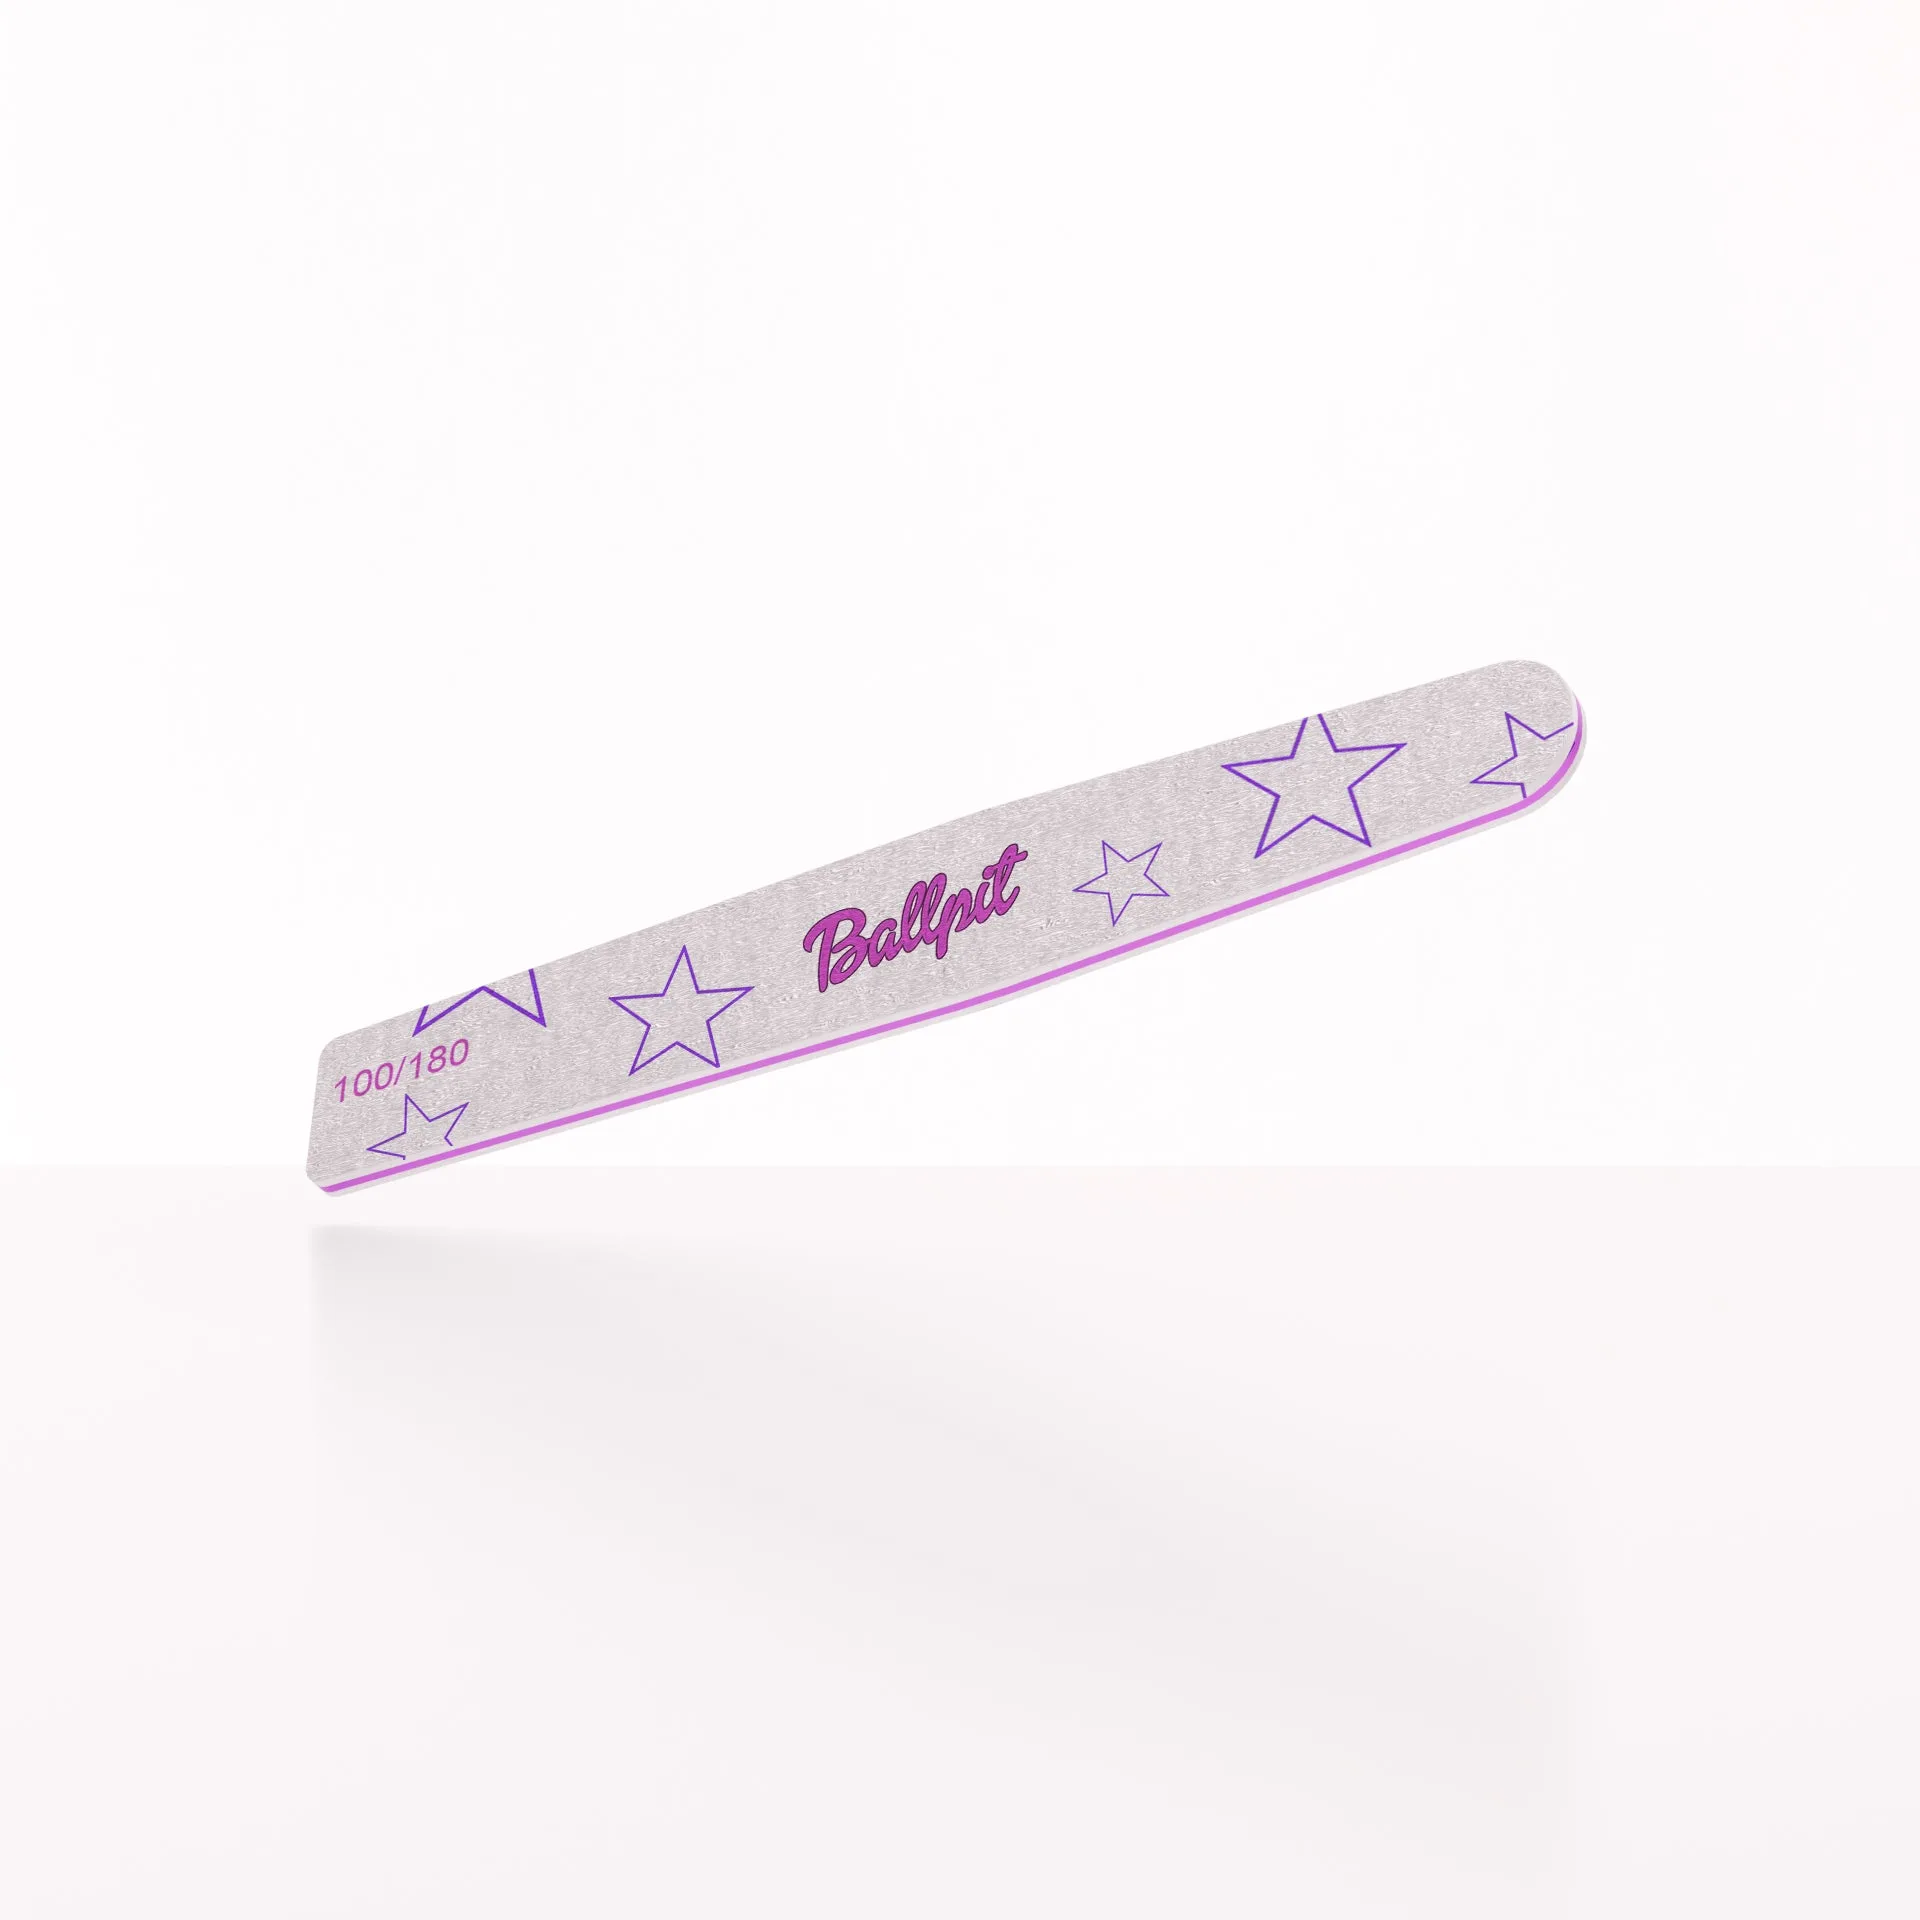
Nail File 100/180 Grit