Quick answer
To create a French manicure with nail wraps, start with clean, dry nails, apply a base coat if desired, then place a French tip wrap at your cuticle and smooth it toward the tip. For a modern twist, try DAISY CHAIN or KRYPTONITE from Shine On Nail Wraps. Finish with a topcoat for durability.
KRYPTONITE
A French manicure is timeless, but getting crisp white tips with polish can be tricky. Nail wraps offer a simpler path to that classic look, with pre-designed strips that align to your nail shape.
This guide walks you through how to do a French manicure using nail wraps, from prep to topcoat. You'll also find product suggestions for French tip nail wraps and tips to avoid common mistakes.
What You Need
Before you start, gather your supplies: nail wraps in a French tip design or a solid color, a cuticle stick, nail file, buffer, lint-free wipe or alcohol pad, scissors, and a topcoat. If you use semi-cured UV gel wraps, you'll also need a UV lamp and a gel topcoat.
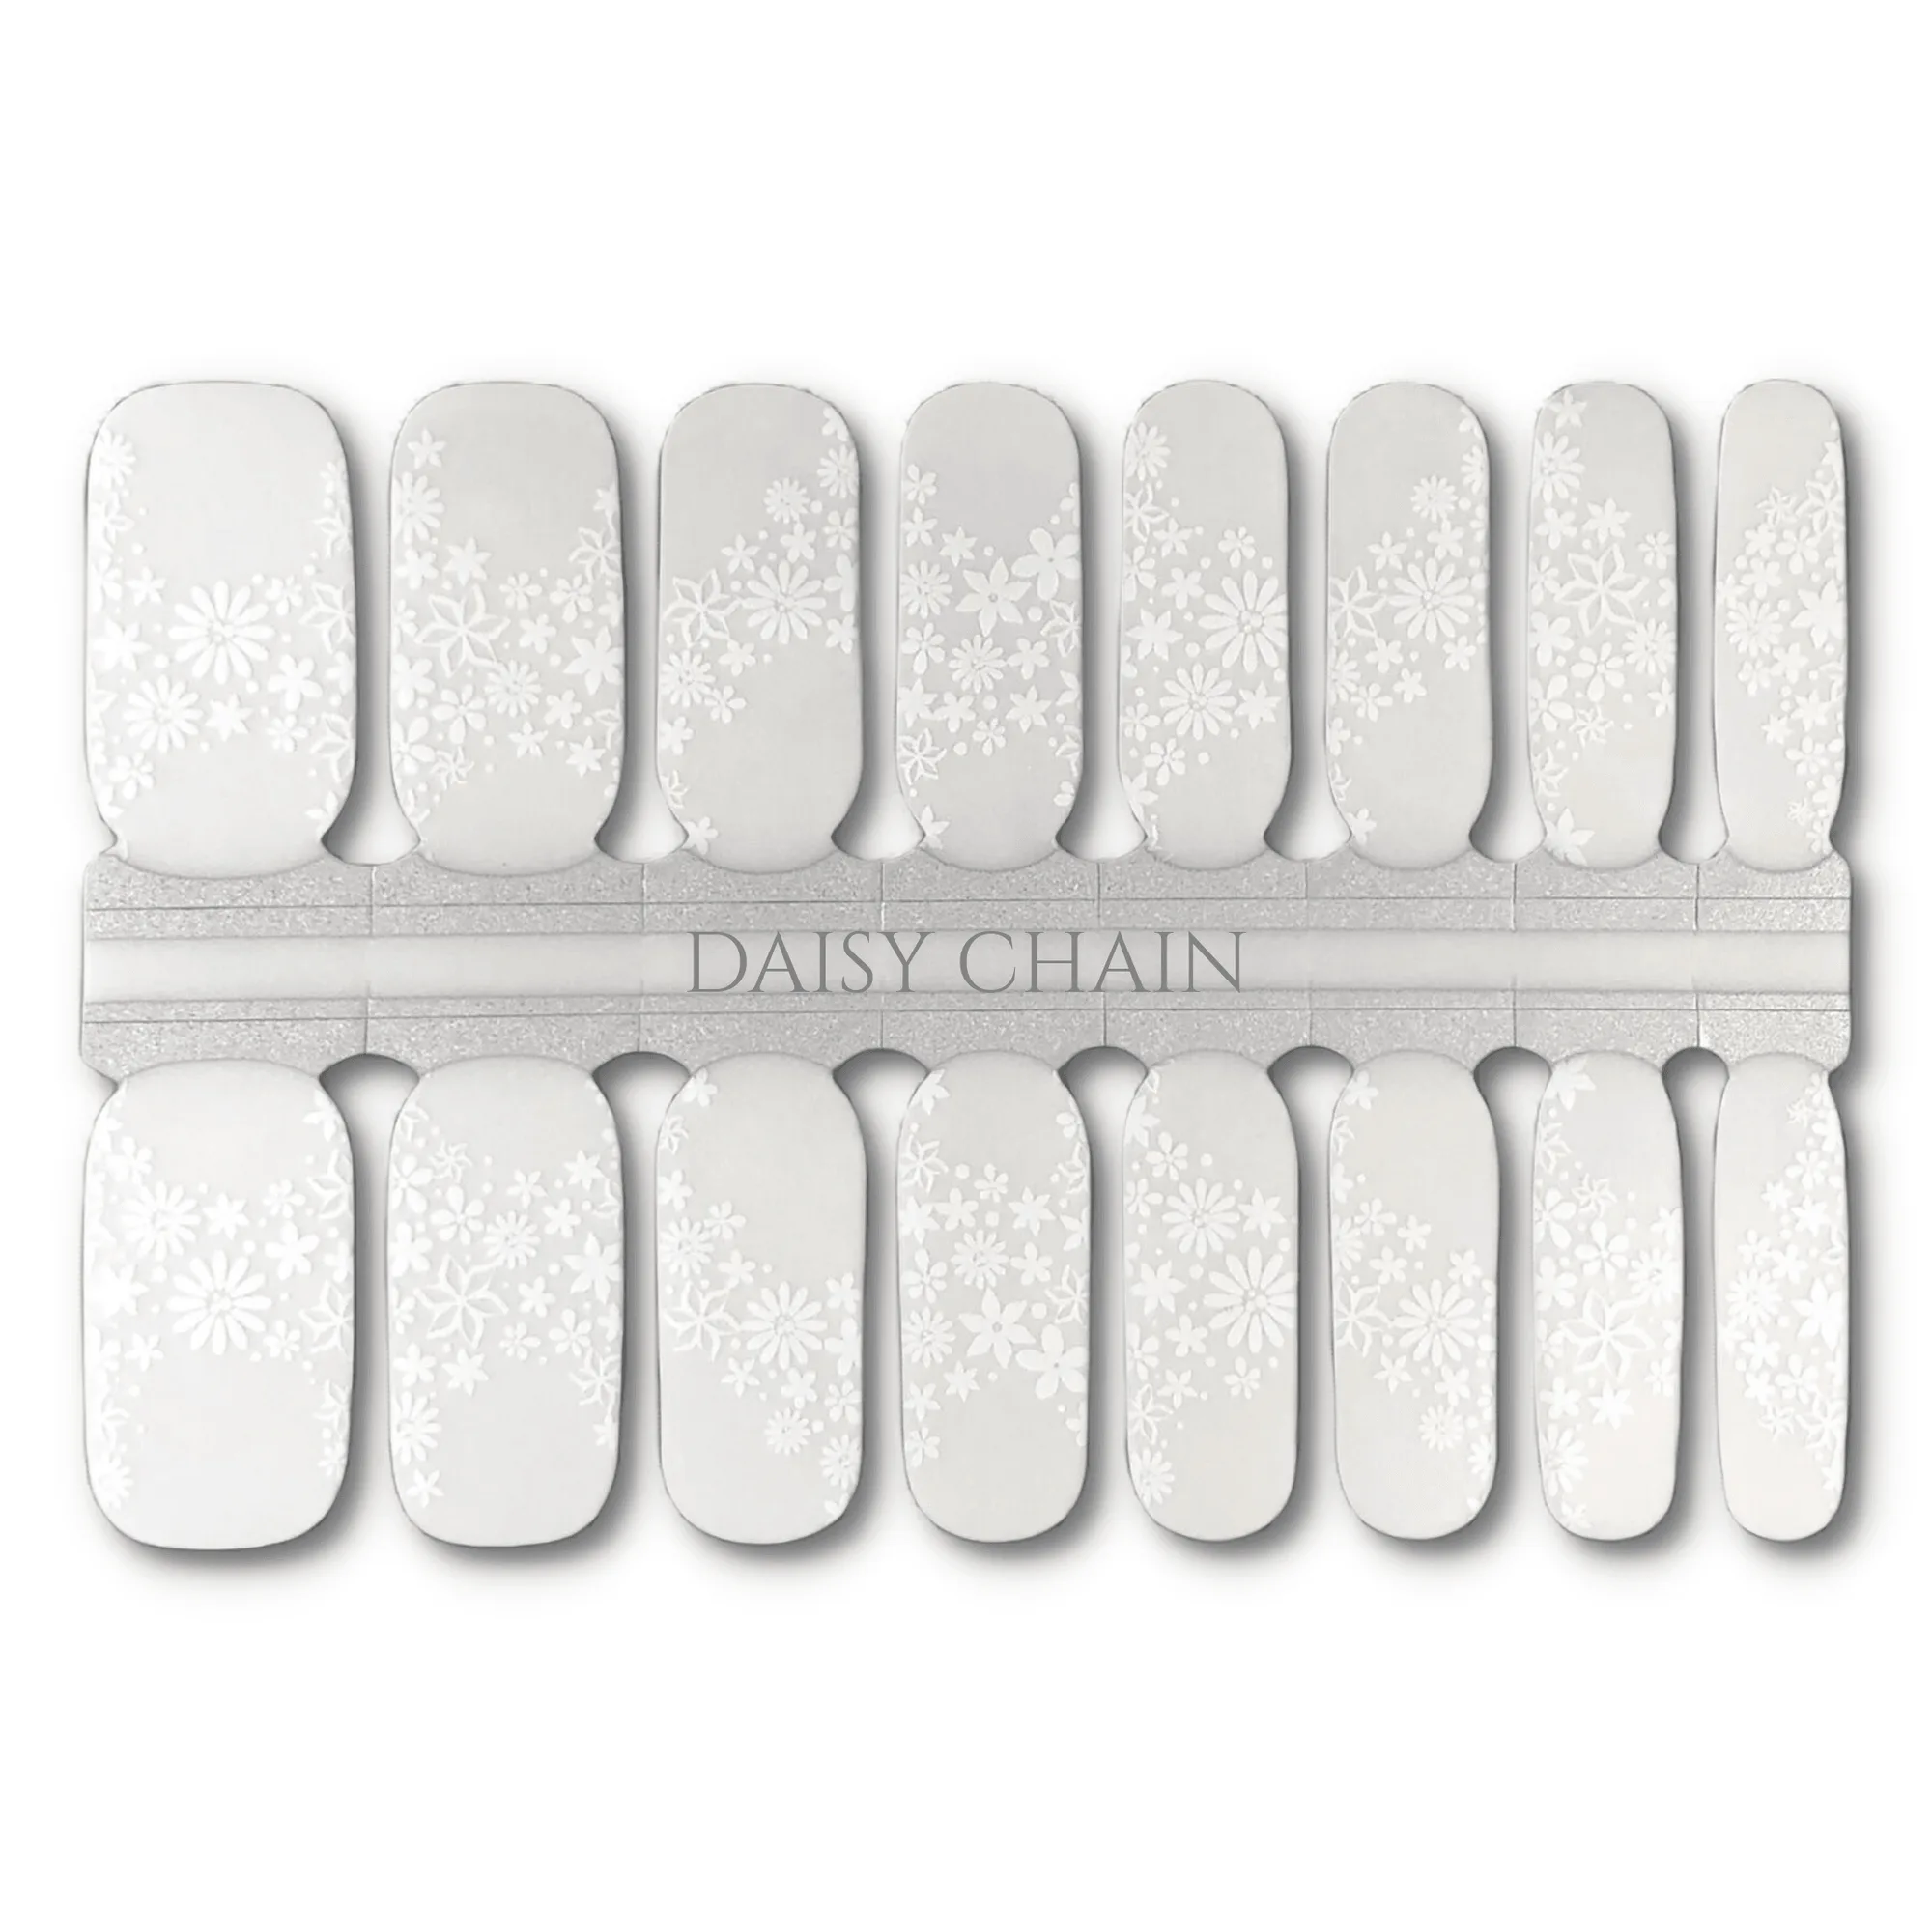
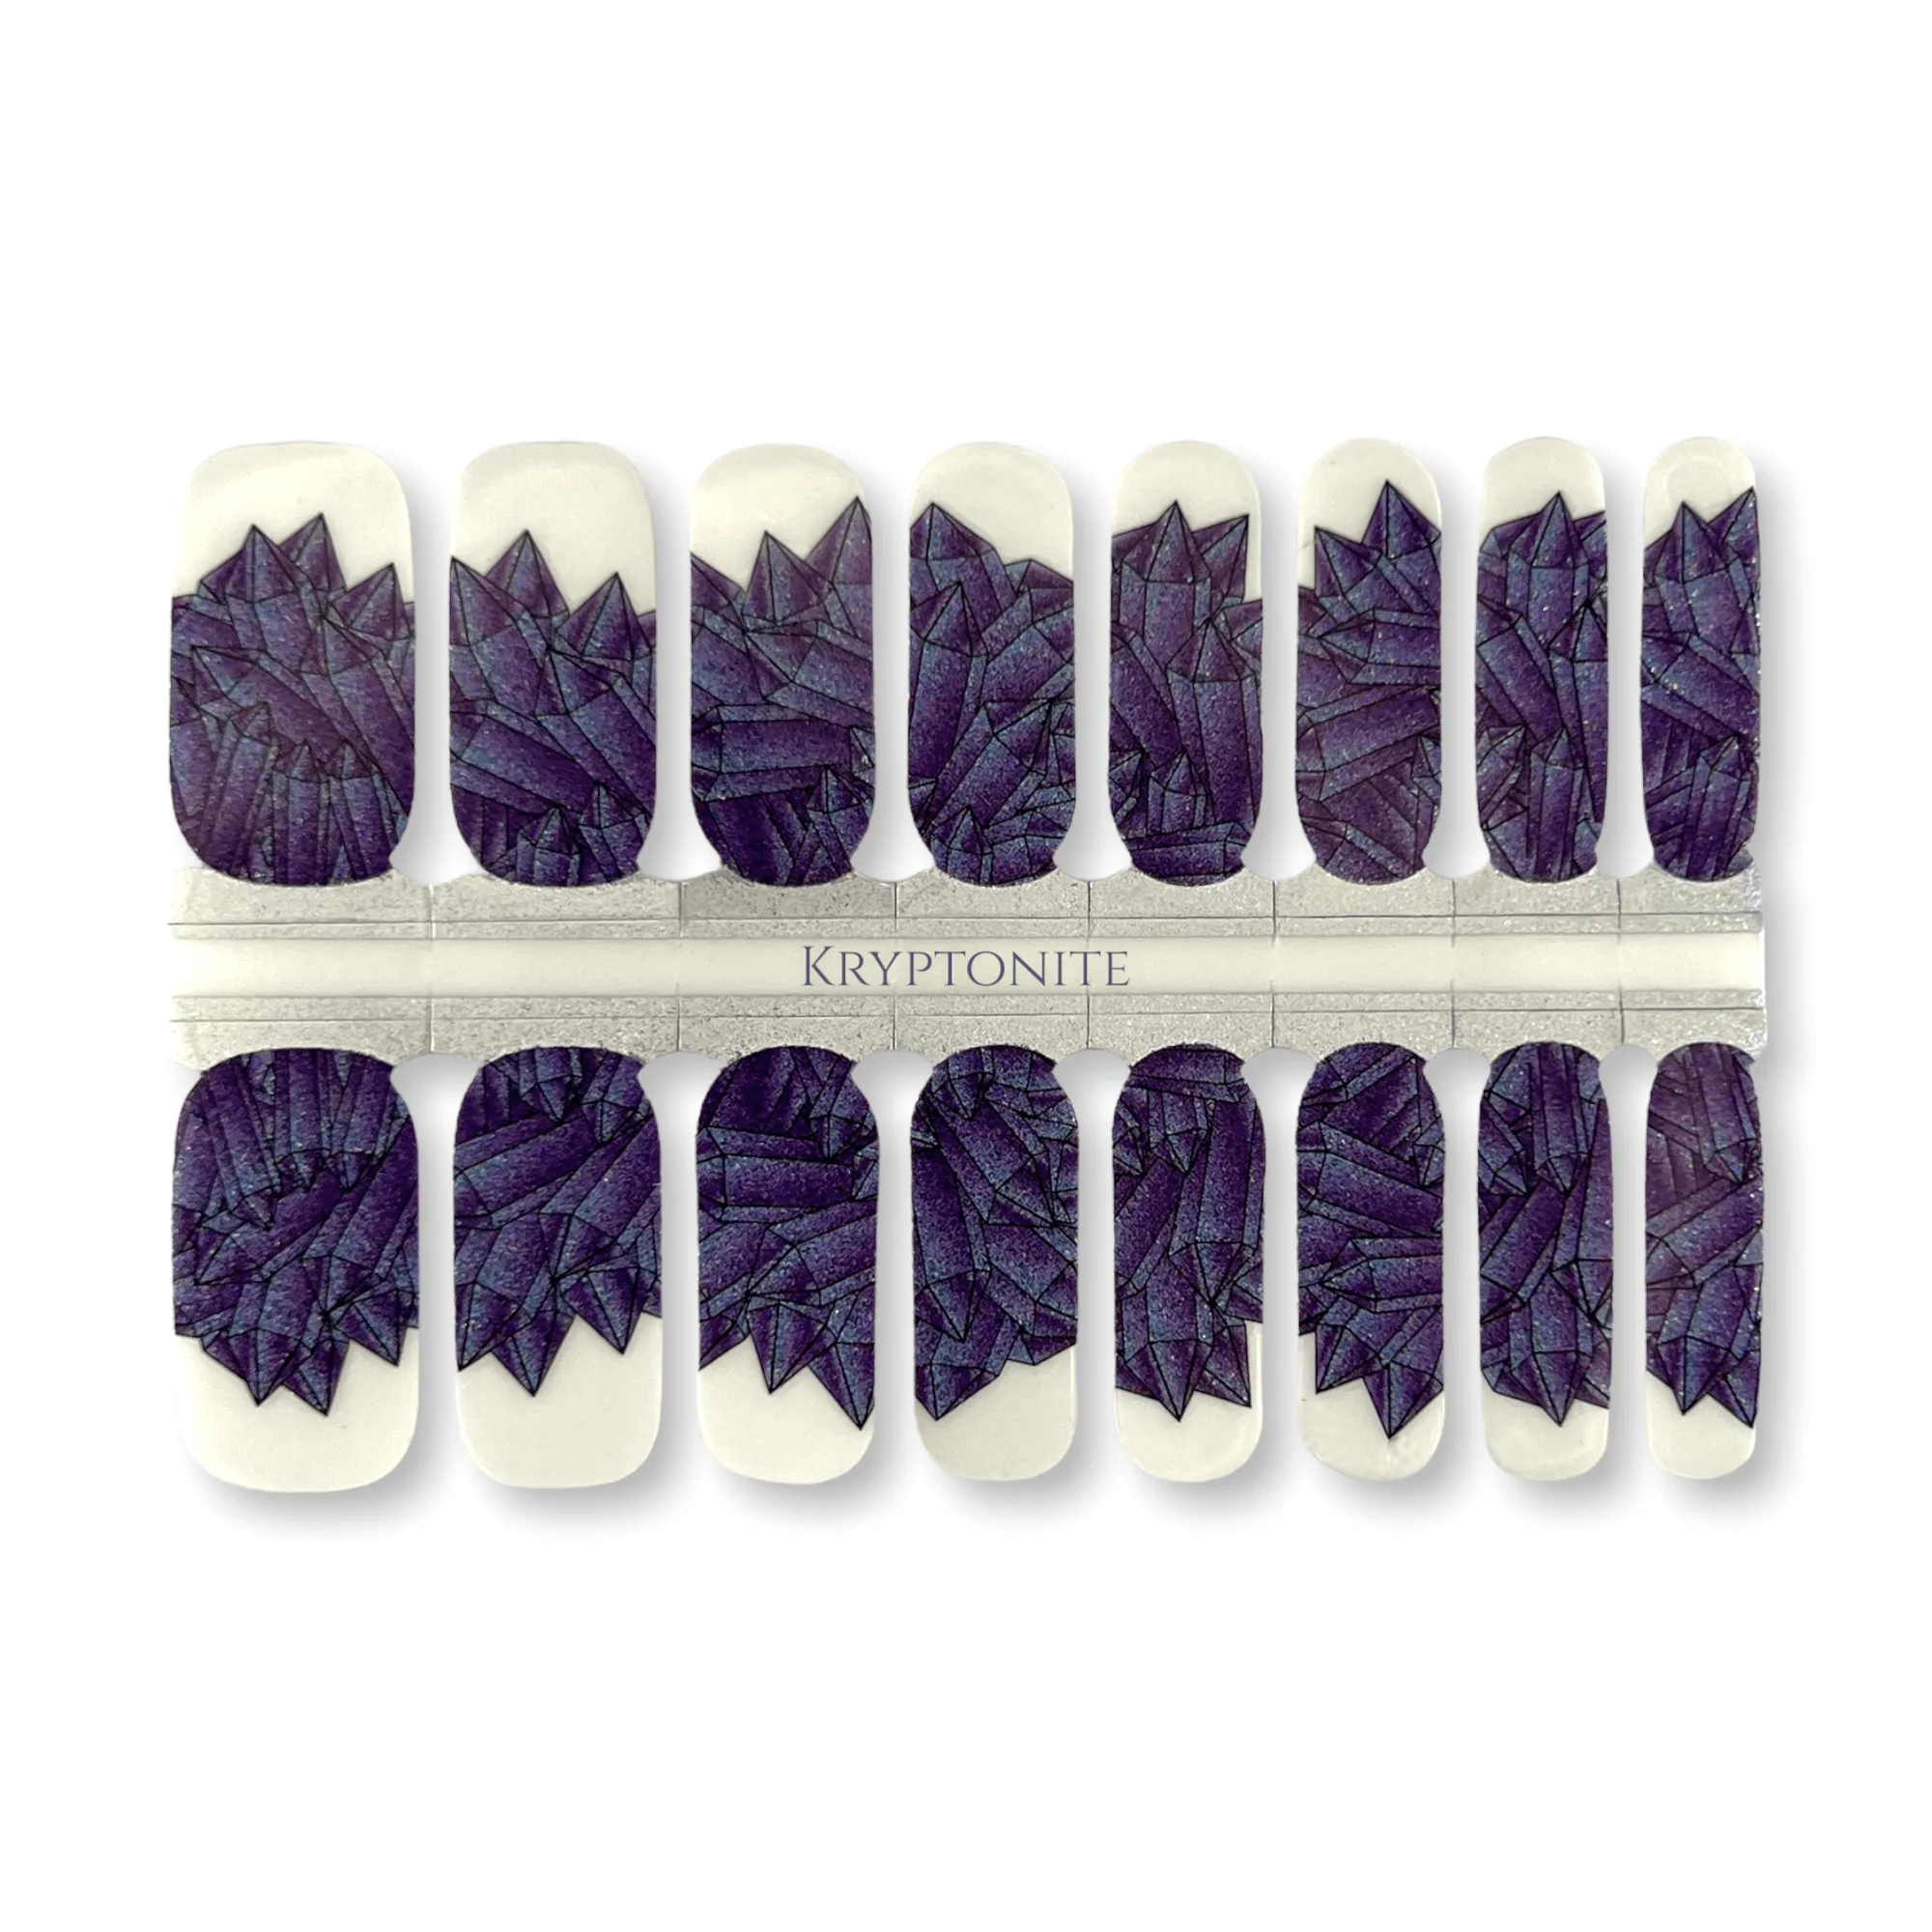
For a traditional French look, choose wraps with a clear or nude base and white tips. For a modern take, try a design like KRYPTONITE, which has a holographic glitter tip and negative space at the cuticle, or DAISY CHAIN, a clear wrap with a white floral overlay.
- Optional: base coat for extra adhesion
- Use a UV lamp if your wraps are semi-cured gel
Step-by-Step French Manicure with Nail Wraps
1. Prep your nails: Start with clean, dry nails. Push back cuticles, buff the surface lightly, and wipe with alcohol to remove oils. This helps the wraps adhere and last longer.
2. Choose the right size: Select a wrap that covers your nail without overlapping the skin. If it's too wide, trim it with scissors; if too narrow, try the next size up. For French tip designs, the white tip should align with your natural tip.
3. Apply the wrap: Peel the wrap from the backing and place it at your cuticle line, pressing down firmly. Smooth it toward the tip, working out any air bubbles. If needed, stretch gently to fit.
4. Trim and file: Fold the excess wrap over the tip and file downward to remove it. This creates a clean edge. Avoid filing back and forth, which can tear the wrap.
5. Seal with topcoat: Apply a clear topcoat over the entire nail, especially the tip, to seal the wrap and add shine. If using semi-cured gel wraps, cure under a UV lamp, then apply a gel topcoat and cure again.
- Common mistake: Applying too much pressure can stretch the wrap and distort the design.
- Checkpoint: Ensure the wrap is smooth and edges are sealed before moving to the next nail.
Product Picks for French Tip Nail Wraps
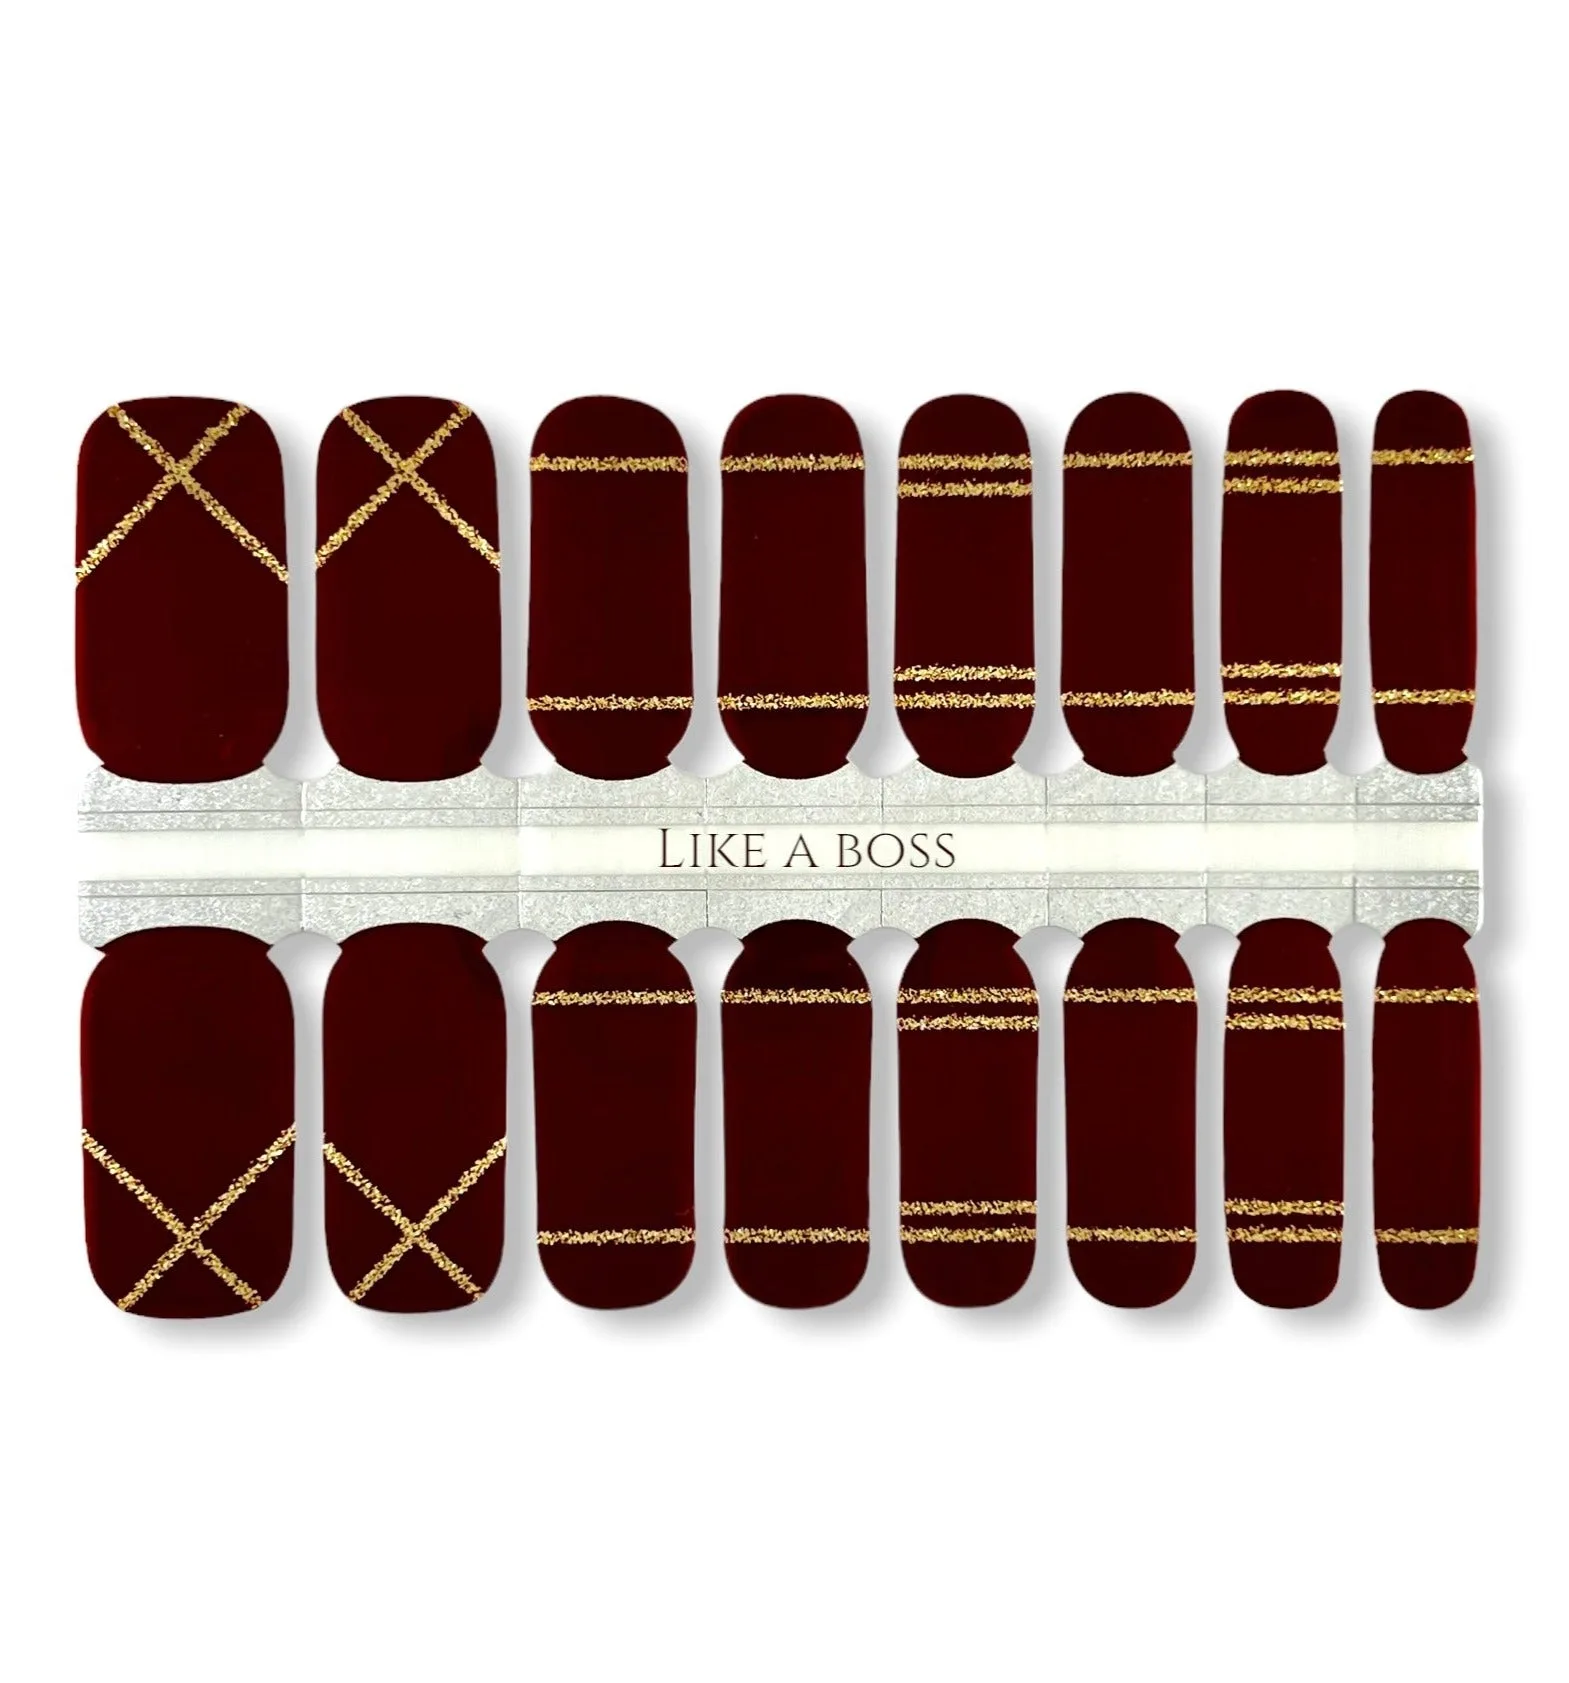
Shine On Nail Wraps offers several designs that work well for a French manicure. KRYPTONITE features a crystal-like geometric design with holographic glitter at the tips and negative space at the cuticle, giving a modern French vibe. LIKE A BOSS brings a deep wine color with gold glitter accent lines, perfect for a bold French look.
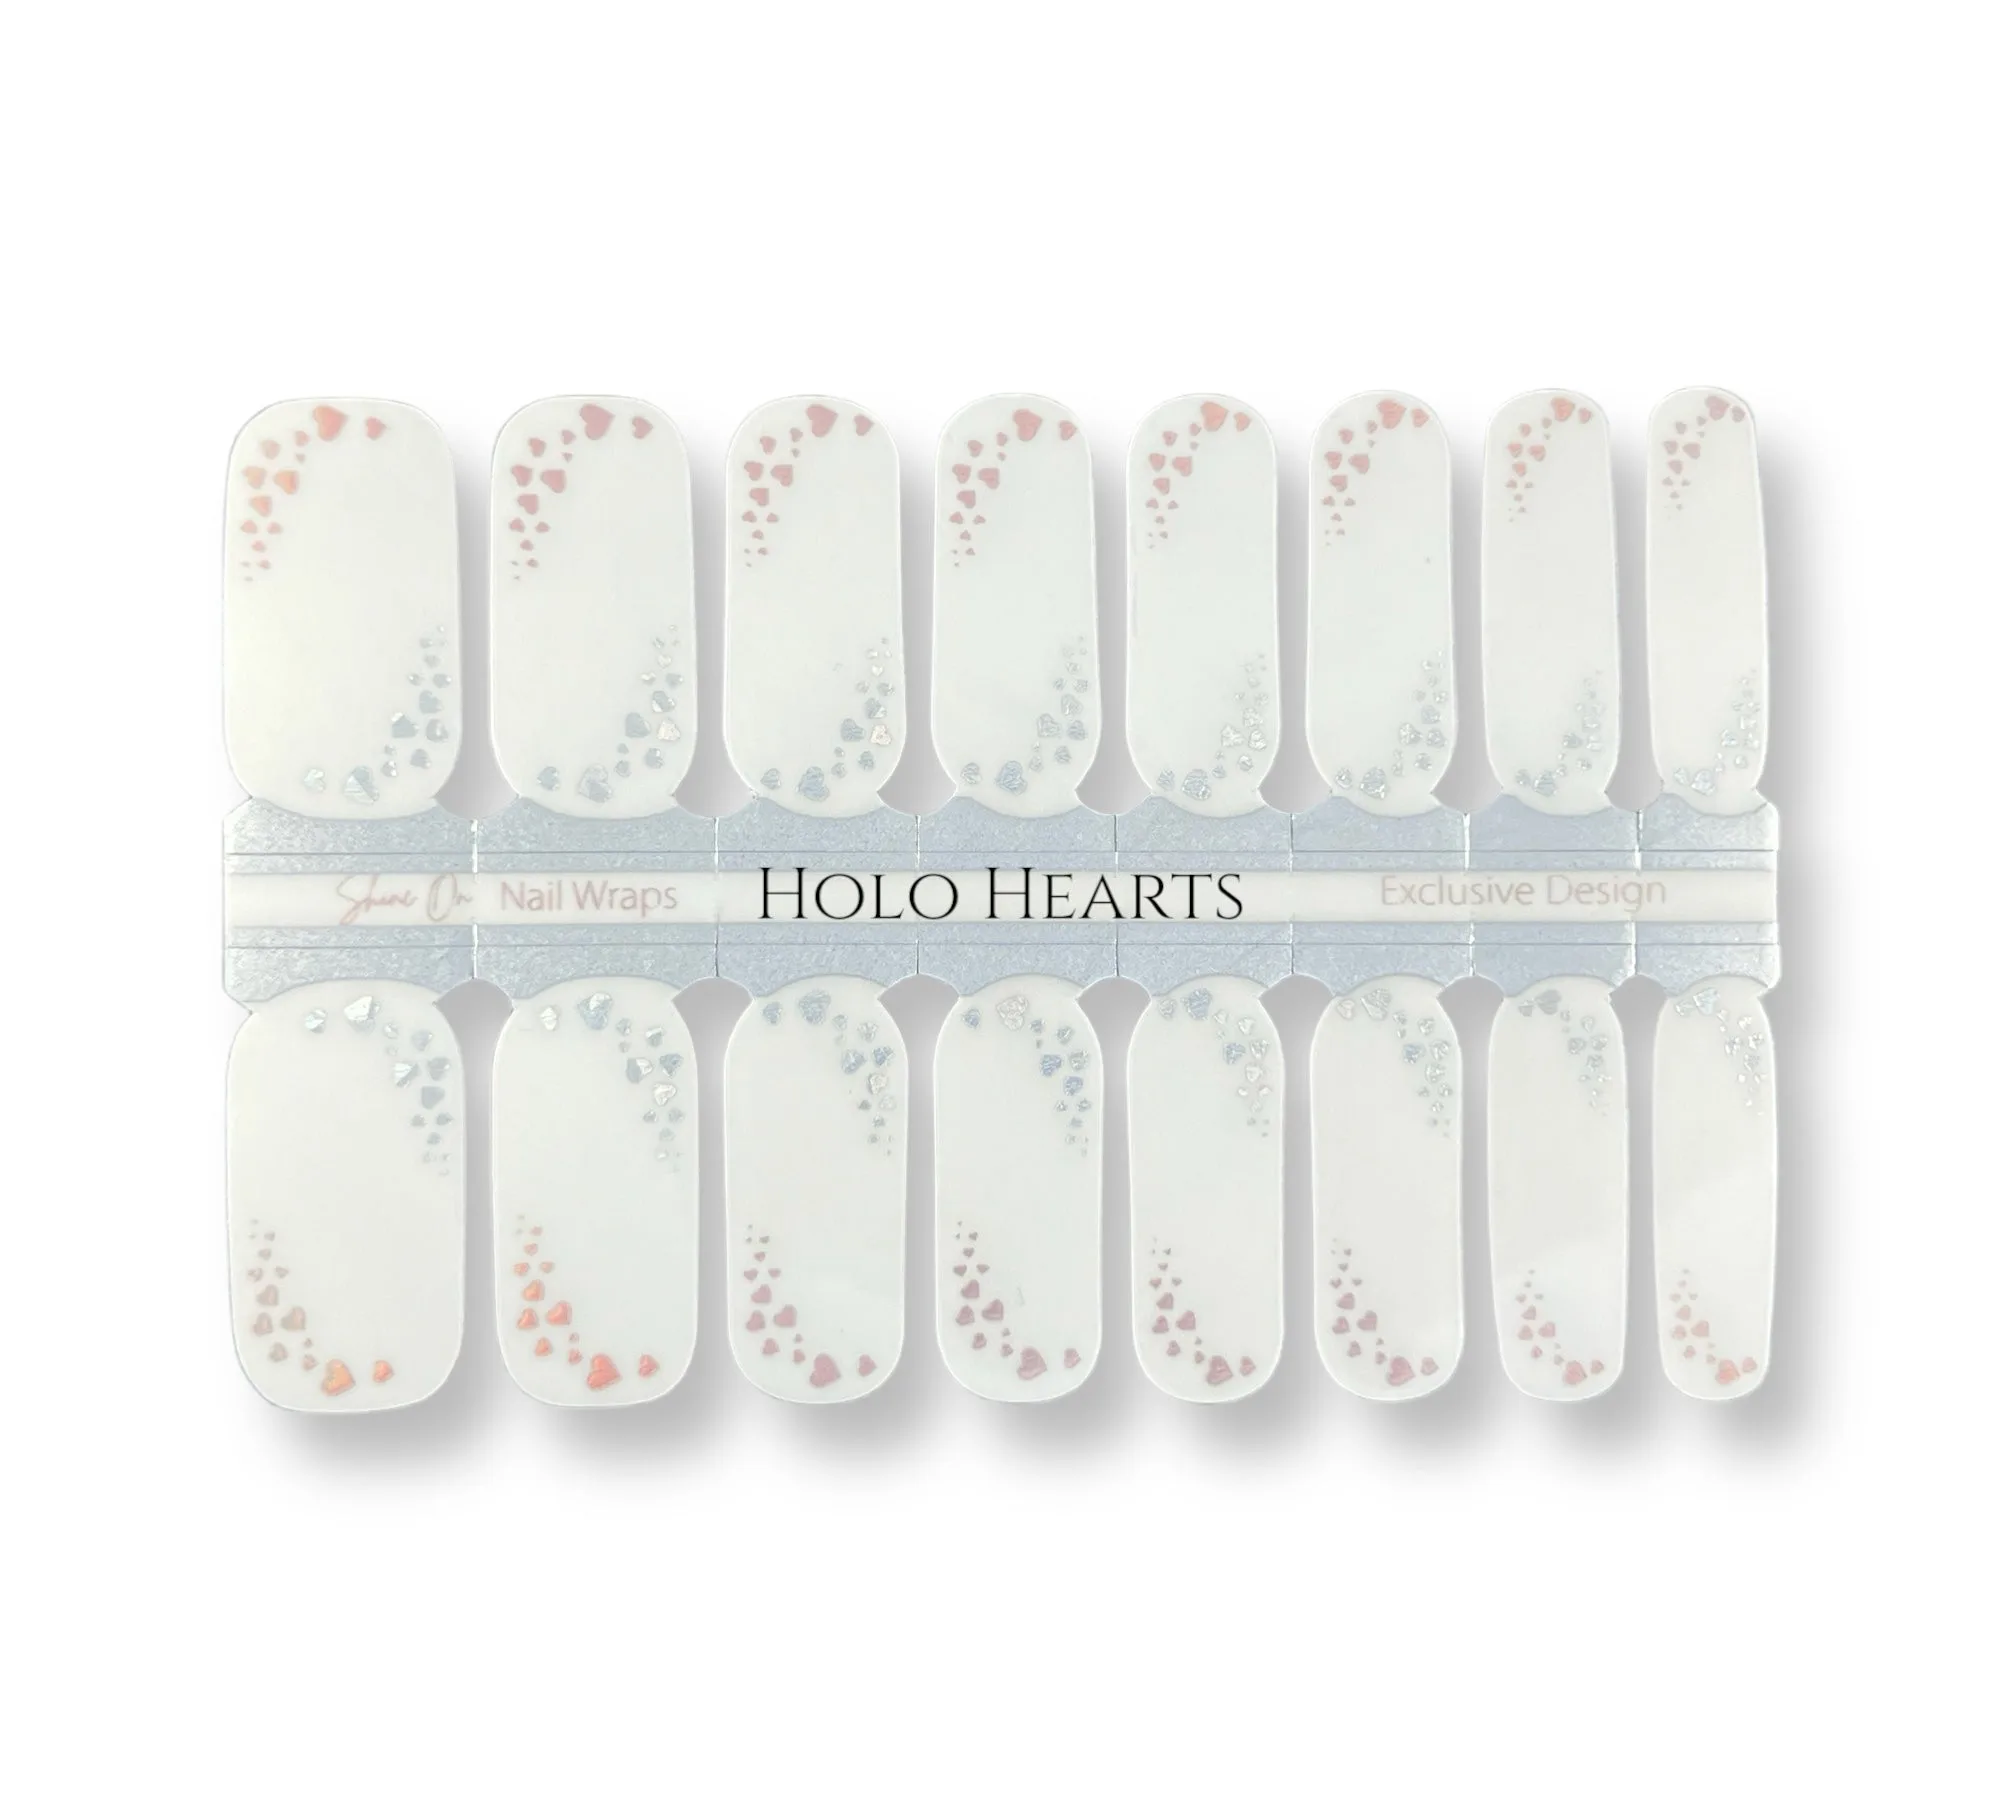
For a softer approach, DAISY CHAIN has a clear base with a white floral overlay, ideal for a subtle French twist. HOLO HEARTS offers rose holographic hearts on one end and classic holographic hearts on the other, on a transparent base, for a playful take. All these wraps come with 16 real nail polish strips per pack.
- KRYPTONITE and LIKE A BOSS are real nail polish strips; DAISY CHAIN and HOLO HEARTS are also real nail polish strips.
- For semi-cured gel options, consider 089 (white to coral ombré) or 047 (semi-transparent pink with red iridescence), which require a UV light to cure.
Tips for a Flawless French Look
To avoid lifting, make sure your nails are completely dry and free of cuticle oil before applying. Press the wrap down firmly at the edges, and cap the tip with topcoat. If you have short nails, trim the wrap to fit before applying.
For a more traditional French manicure, you can use a clear or nude wrap and then paint the tip with white polish, but pre-designed French tip wraps are faster and more consistent. If you're using semi-cured gel wraps, always follow the curing instructions and add a gel topcoat for durability.
- Avoid water for the first hour after application.
- Store unused wraps in a cool, dry place.
French Manicure with Nail Wraps: Step-by-Step
- Prep nails: Clean, buff, and dehydrate nails to remove oils. Skipping this step can cause lifting within a day.
- Select size: Choose a wrap that fits your nail width without touching skin. If unsure, size up and trim; too small will leave gaps.
- Apply wrap: Place at cuticle, press down, and smooth toward tip. Work from center outward to avoid bubbles.
- Trim and file: Fold excess over tip and file downward to remove. File in one direction to prevent tearing.
- Seal with topcoat: Apply clear topcoat, especially at the tip, and cure if using gel. This step extends wear and adds shine.
Product Facts
- KRYPTONITE: 16 real nail polish strips featuring a crystal-like geometric design in a holographic glitter at the tips and negative space at the cuticle. This design mimics a French tip with a modern holographic twist, and the negative space at the cuticle makes it easy to align with your natural nail.
- LIKE A BOSS: 16 real nail polish strips per pack, strong deep wine color with gold glitter accent lines, design category with glitter detailing. A bold alternative to the classic French look, with glitter accents that add sparkle without requiring extra polish.
- DAISY CHAIN: 16 real nail polish strips, white floral overlay on a clear base, part of the ALL WRAPS, DESIGN, and OVERLAY range. The clear base lets your natural nail show through, similar to a French manicure, while the floral overlay adds a delicate touch.
With a little practice, nail wraps can give you a salon-quality French manicure at home. Choose a design that suits your style, follow the steps, and enjoy a flawless look that lasts.