Quick answer
A paint pot topper replaces the lid on a standard paint pot with a wide, shallow well that lets you load a brush without tipping the pot or scooping from a deep reservoir. Fit one topper per pot, add a few drops of paint or water, load from the shallow edge, and rinse the well before the paint dries. It is the fastest way to keep a batch-painting session moving without constantly opening and closing lids.
Most wasted painting time is not spent on the miniature. It is spent opening pots, dribbling paint down the thread, and scraping dried paint off a lid that no longer seals. A paint pot topper solves that specific problem by turning the pot into a stable, open well you can load from directly.
This guide walks through fitting a topper, loading it correctly, keeping it workable across a long session, and cleaning it so it survives more than one project. The steps assume a standard screw-top hobby pot and a brush you already use.
What a paint pot topper actually changes
A topper is a replacement cap with a raised rim and a shallow inner well. Instead of dipping a brush into a deep pot, you load from a surface that sits just below the rim. That gives you control over how much paint the bristles pick up, which matters most with thin washes and contrast-style paints that flood a brush if you go too deep.
The second change is access. With the lid off and the well open, you can reach the paint with one hand while the other holds the miniature. That sounds minor until you are painting twenty troops in a row and the constant lid-twisting breaks your rhythm.
- Wide, shallow wells suit detail brushes and drybrush work better than deep pots.
- Open access helps most during batch painting, where you reload every few seconds.
Matching the topper to your pot and your paint
Toppers are not universal. Before buying, check the pot thread and diameter against the topper's stated fit, because a loose cap will wobble and a tight one can crack at the rim. If a listing does not state a pot size, treat that as a genuine limitation and measure your pot rather than guessing.
Paint type also matters. Thick layer paints sit happily in a shallow well, but very thin washes will run to the edges and pool. For those, load less and tilt the pot slightly so the paint gathers on one side of the well. If you use a wet palette for blending, keep the topper for your most-used base and layer colours instead of every pot you own.
- Measure the pot opening before ordering if the fit is not specified.
- Keep toppers on the five or six colours you reach for most, not the whole rack.
Setting up a station that stays organized
Painting organization is mostly about reducing reach distance. Group the topper-fitted pots you are using for the current project in front of you, and push everything else back or off the desk. A small tray or a non-slip mat stops the pots sliding when you load a brush, which is the most common cause of a tipped pot mid-session.
If you paint squads, set up one topper per colour in the scheme and leave them fitted for the whole batch. That way the scheme is physically laid out in front of you, and you are not hunting for a pot while the paint on the miniature is still wet. When you finish, cap the pots in the same order every time so nothing gets missed.
- A non-slip mat under the pots prevents most spills.
- Line up toppers in the order you apply the colours.
Loading and cleaning without wasting paint
Load from the shallow edge, not the centre. Touch the bristles to the paint, then drag them back along the rim to remove the excess. This is the single habit that separates efficient painting from paint running down the ferrule and into the bristles, which shortens brush life and ruins fine tips.
Clean the well before the paint dries, not after. A quick wipe with a damp cloth or a rinse under lukewarm water takes seconds while the paint is wet, but dried acrylic in a shallow well is awkward to remove without scratching the surface. If you are stopping for the day, clean the topper, dry it fully, and refit it to a closed pot.
- Drag the brush along the rim to control the load.
- Clean while wet; never let paint dry in the well.
Seven steps to a topper-based painting session
- Check the fit before you commit: Match the topper to your pot's thread and diameter. If the fit is not stated, measure the pot opening first. Checkpoint: the cap should seat firmly with no wobble and no forcing.
- Fit one topper per working colour: Screw or press the topper on and confirm the well sits level. Leave the rest of your rack closed. Mistake to avoid: fitting toppers to every pot you own, which just creates more open paint to dry out.
- Set up the station: Place the topper-fitted pots in the order you apply them, on a non-slip mat or tray, within easy reach of your brush hand. Checkpoint: you should be able to reach every colour without moving your torso.
- Load from the shallow edge: Touch the bristles to the paint at the edge of the well, then drag them along the rim to strip the excess. Mistake to avoid: dipping into the centre, which floods the ferrule and ruins fine tips.
- Work in batches, not one model at a time: Apply one colour across the whole squad before moving to the next pot. The open wells stay workable while you do. Checkpoint: keep a damp brush handy so paint in the well does not skin over.
- Clean the well while the paint is wet: Wipe or rinse the topper as soon as you finish a colour. Dried acrylic in a shallow well is hard to remove without scratching. Mistake to avoid: leaving cleanup until the end of the session.
- Dry, refit, and store: Dry the topper fully, refit it to a closed pot, and return the pots to their usual order so the next session starts clean. Next step: note which colours earned a permanent topper and which did not.
Bits that keep a painting session organized
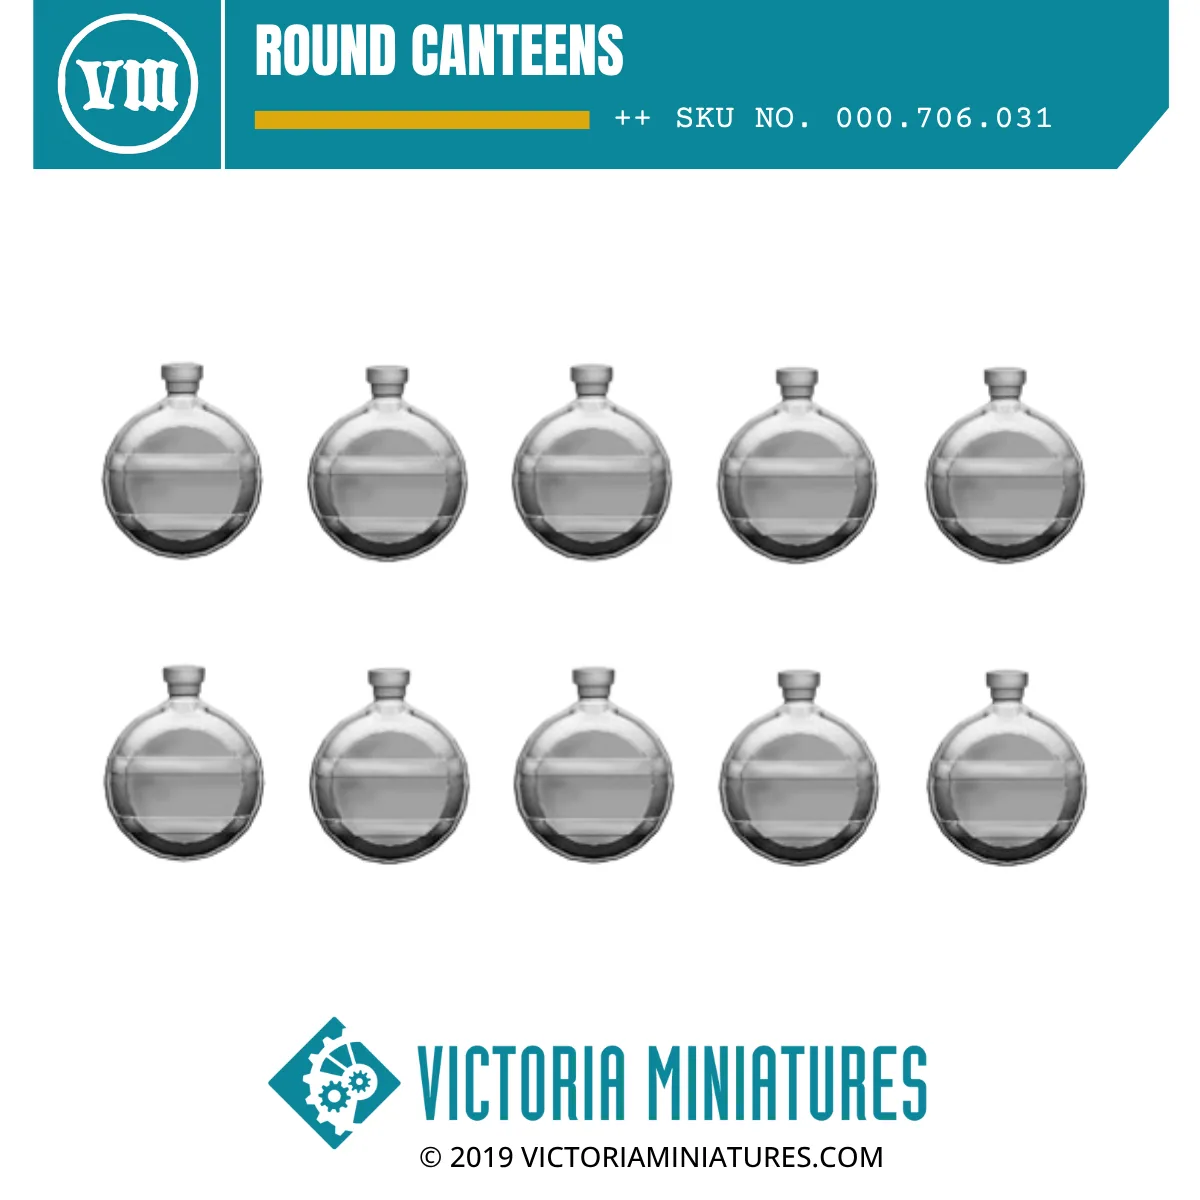
- Round Canteens: Ten round water canteens suitable for heroic scale miniatures, produced as a high resolution plastic 3D print. A cheap way to add pouches and gear to the troops you are batch painting, so a long session produces finished-looking models rather than bare torsos.
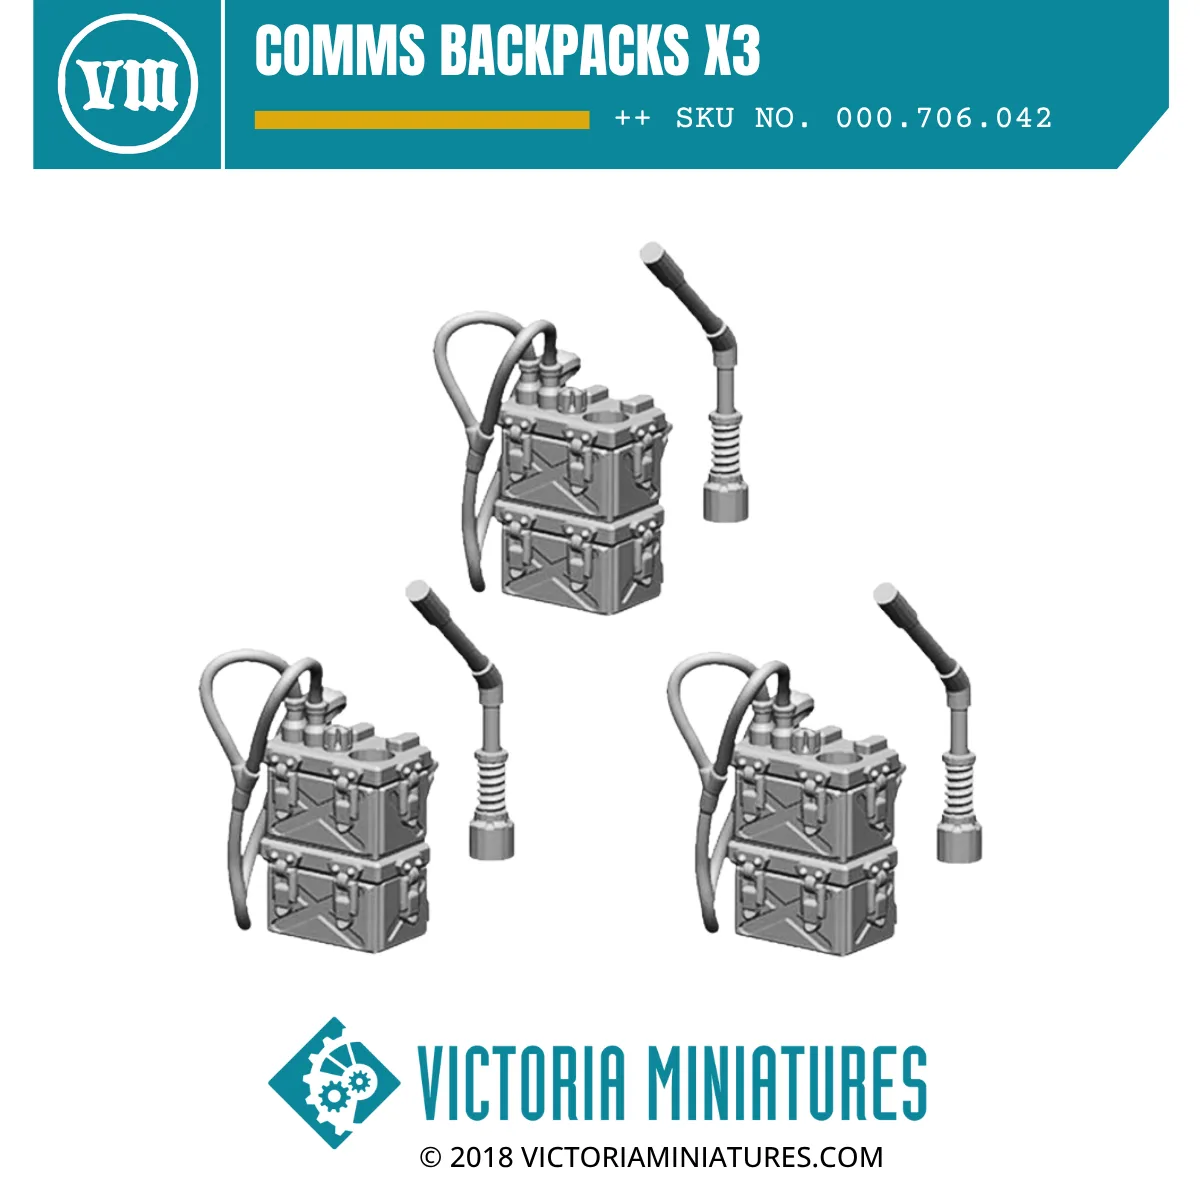
- Comms Backpacks x3: Three high resolution 3D printed comms backpacks, compatible with Victoria Miniatures Guard and popular plastic kits. Small add-on pieces like these are ideal for the final detail pass, when your topper-loaded fine brush is already set up and the paint is flowing.
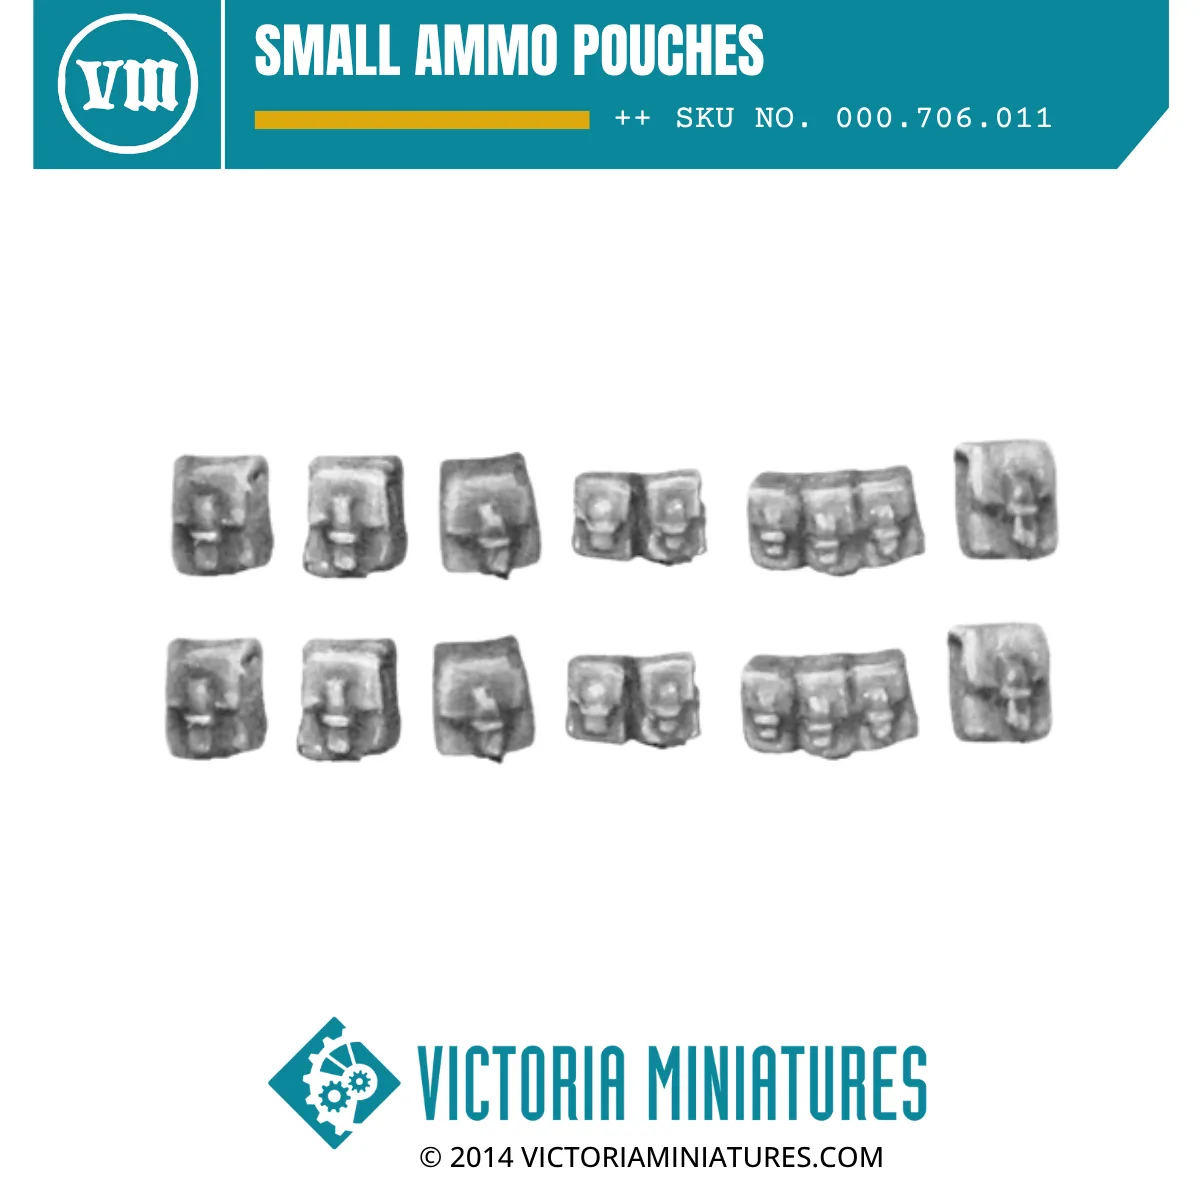
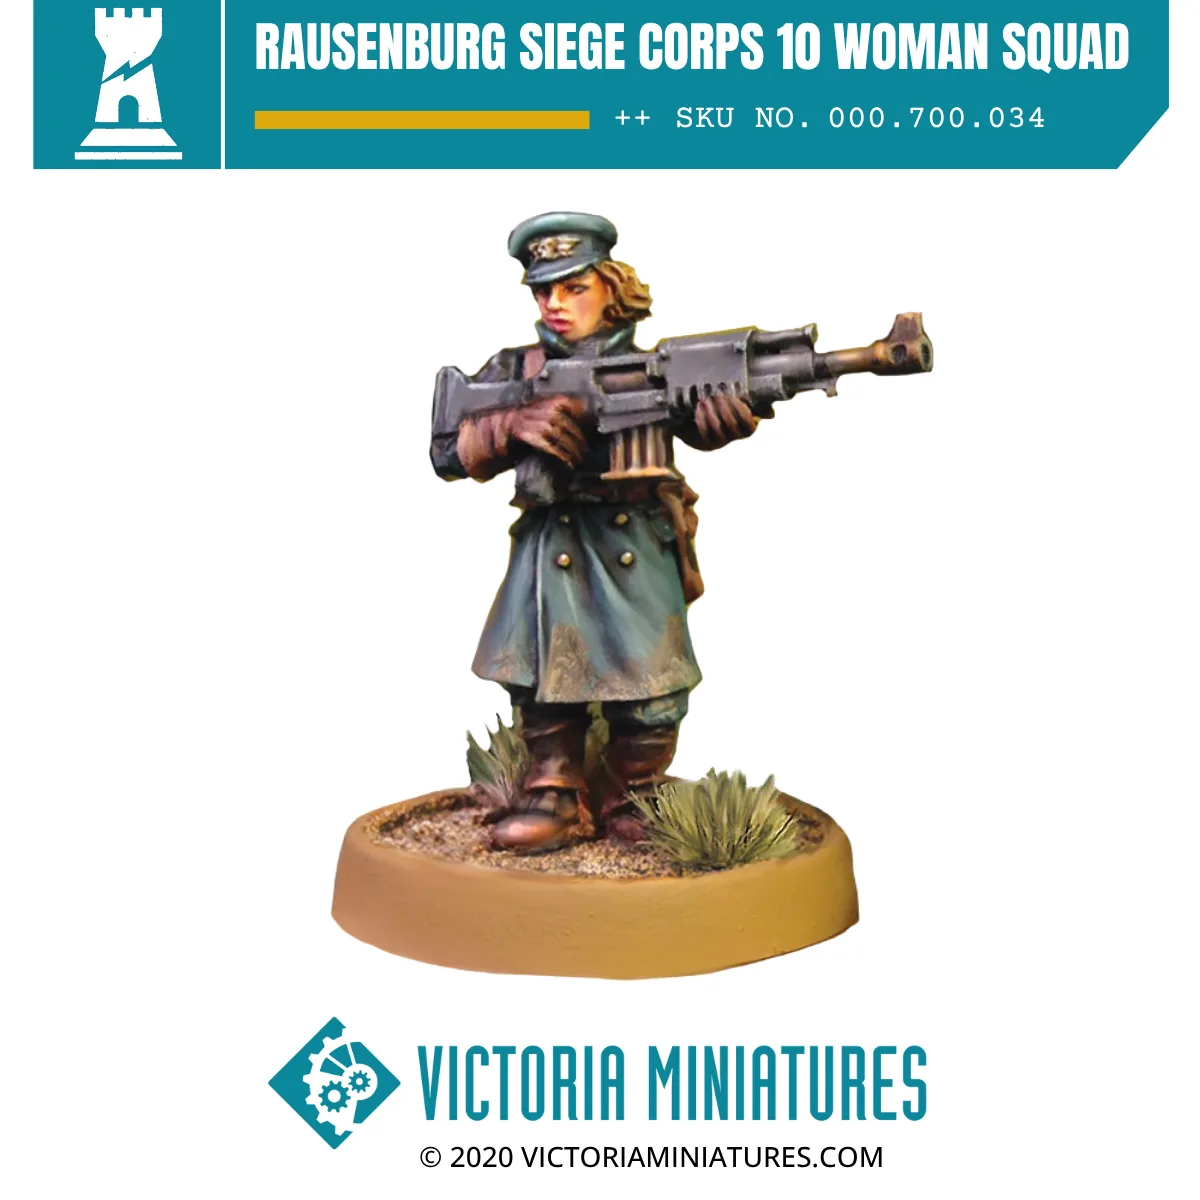
- Rausenburg Siege Corps 10 Woman Squad: A resin kit with eleven female dress cap heads, ten greatcoat torsos and legs, twenty small ammo pouches, ten bayonets in sheathes and ten bread bags, plus a female officer arms sprue. Ten figures with this much separate kit is exactly the kind of batch job where a topper per colour and a fixed station layout saves the most time.
A paint pot topper is a small change that pays off across every session: less dribbled paint, faster loading, and a station you can read at a glance. Fit one to your most-used colours, load from the edge, and clean while the paint is still wet. Do that and efficient painting stops being a technique you chase and becomes the default way you work.