Quick answer
Use Madam Sew Pegboard 11x11 panels to build a custom storage wall that fits your exact sewing space. Each lightweight panel mounts easily and holds a surprising amount of tools.
Why modular panels work better than a single large board
A single large pegboard can be awkward to install and limits your layout options. Modular 11x11 panels let you start small and expand as your needs grow. You can arrange them in a grid, skip a panel for a window or outlet, or reconfigure later without replacing the whole system.
The panels are lightweight but sturdy enough to hold scissors, rulers, thread racks, and small cutting tools. Because each panel has its own mounting brackets, you can attach them to drywall, studs, or even a cabinet door.
What to consider before you start
Plan your wall layout on paper first. Measure the available wall space and decide how many panels you need. Leave at least 2 inches between panels if you want a clean grid look, or butt them together for a continuous surface.
Check what accessories you already own. Standard pegboard hooks and bins work with the 11x11 panels, so you can reuse existing organizers. If you are starting from scratch, the Madam Sew Pegboard Starter Set gives you a foundation to build on.
Step-by-step guide to creating your custom pegboard storage
- Plan your layout: Measure your wall and sketch a grid of 11x11 panels. Decide whether you want a tight grid or spacing between panels. Mark the wall with a pencil where each panel will go. Double-check your measurements before drilling. A common mistake is forgetting to account for the bracket width, which can shift the panel position.
- Mount the first panel: Attach the supplied mounting brackets to the back of one panel using glue or nails. Hold the panel against the wall at your marked position and secure it. Use a level to make sure it is straight. If you use nails, pre-drill pilot holes to avoid splitting the wall. Glue works on smooth surfaces but may not hold on textured walls.
- Add adjacent panels: Place the next panel next to the first, matching the height. Use a spacer (like a piece of cardboard) if you want consistent gaps. Repeat until your layout is complete. Check alignment after every two panels. A small error early on can compound and leave your grid crooked.
- Organize your tools: Insert pegboard hooks, bins, and holders into the panels. Group frequently used items like scissors, seam rippers, and marking tools at eye level. Store less-used items on lower panels. Avoid overloading one panel. The lightweight board can hold a lot, but distributing weight across multiple panels keeps the system stable.
Product facts
-
Pegboard 11x11 inches - Create any size pegboard you need: Each 11x11 inch board comes with mounting brackets that can be glued or nailed to the wall. The board is lightweight but can store a surprising amount of tools. You can mount the panels without heavy-duty hardware, making it easy to install on most wall types and rearrange later.
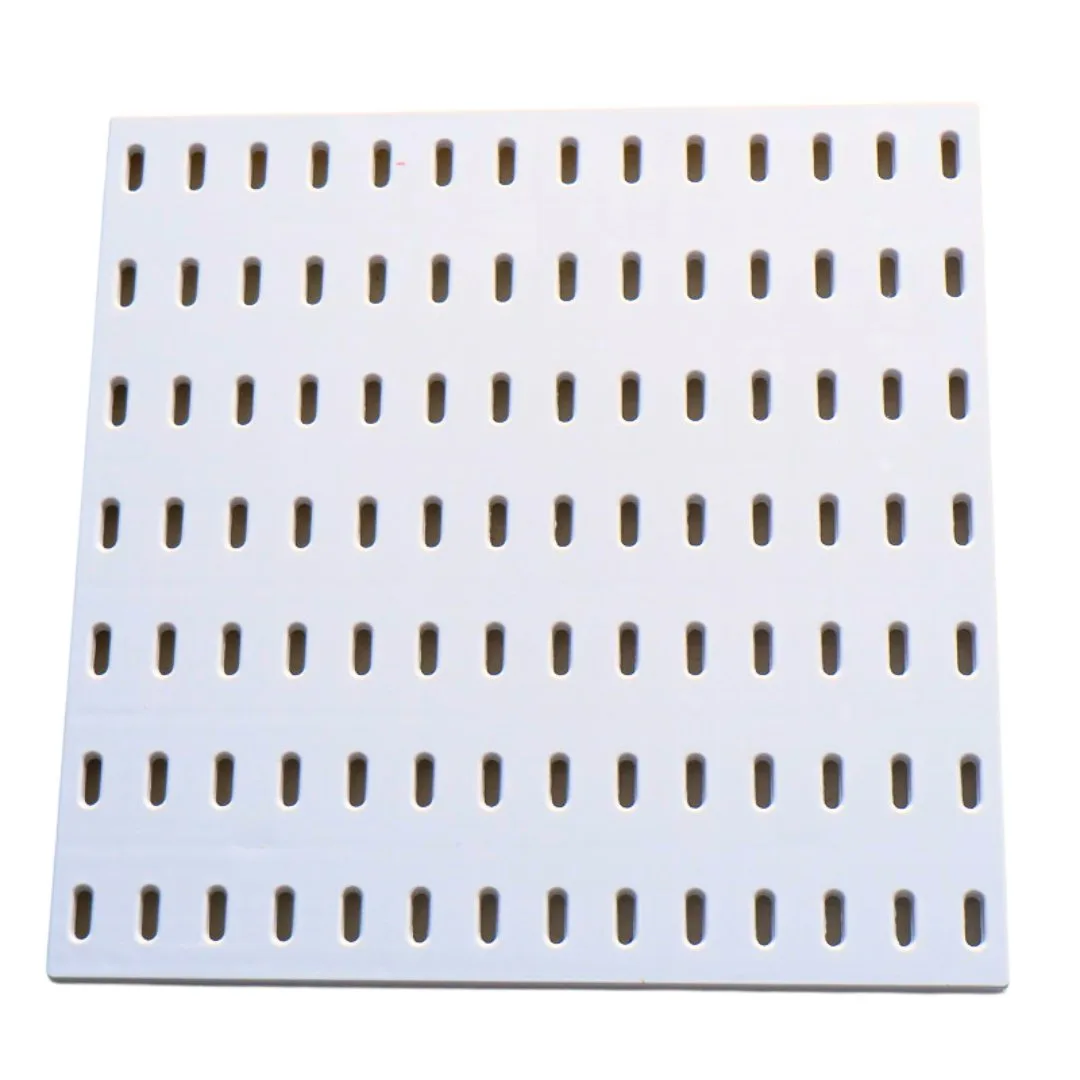
Pegboard 11x11 inches - Create any size pegboard you need