Quick answer
Use a paper blending stump with a little blending fluid to soften and merge coloured pencil layers, working from light to dark and cleaning the stump between colour families. If you are using Spectrum Noir DuoColour Pencils, their paired tips already blend when layered, so reach for the stump mainly to smooth edges or soften larger areas.
Why a stump helps even when your pencils already blend
DuoColour Pencils pair two coordinating colours on one pencil, and those twinned colours blend when layered. That makes them a fast choice for gradients inside a single colour family. A paper stump does a different job: it physically burnishes the pigment already on the paper, softening hard edges and smoothing the transition between two separate pencils or between a DuoColour pair and a neighbouring shade.
The trade-off is control. A stump can lift and spread pigment beyond where you placed it, so it works best on small areas and deliberate transitions rather than large backgrounds. Keep the stump dry for gentle softening, or use it with blending fluid when you want colours to melt together more visibly.
When to skip the stump
If your DuoColour Pencils are already producing the blend you want, adding a stump can muddy the crisp paired effect. Skip it on fine detail, lettering, and areas where you want visible pencil texture. Also skip it when the paper is thin or already saturated, because burnishing can pill the surface.
Step-by-step: blending coloured pencils smoothly with a paper stump
- Lay down light layers first: Apply your coloured pencil in light, even layers, starting with the lighter colour and building toward the darker one. Keep the pressure light so pigment stays on the surface rather than being pressed flat. Checkpoint: if the paper looks shiny or feels slick, you have pressed too hard and the stump will struggle to move colour.
- Choose a stump size that matches the area: Pick the smallest stump that comfortably covers the transition you want to soften. A large stump on a small area spreads pigment where you do not want it.
- Decide between dry and fluid blending: Use the stump dry for gentle softening and texture control. For a smoother, more melted transition, dip the tip lightly in blending fluid and test on scrap paper first so you know how much fluid the stump holds. Checkpoint: too much fluid darkens the colour and can mark the paper, so blot the tip before touching your artwork.
- Work in small circles along the transition: Move the stump in small circular strokes along the boundary between the two colours, gradually pulling the lighter colour into the darker one. Work in short passes rather than scrubbing one spot.
- Clean or change stumps between colour families: Wipe the stump on scrap paper or switch to a clean one when moving from one colour family to another, especially from dark to light. Reusing a loaded stump carries pigment into areas you want to keep clean. Checkpoint: keep one stump reserved for light colours so you are not fighting transferred dark pigment.
- Let the area dry before adding more layers: If you used blending fluid, let the paper dry fully before adding more pencil. Adding layers to damp paper can tear the surface and dull the colour.
Products that support this technique
-
Spectrum Noir - Pencil Blending Stumps: This pack includes 6 paper stumps in a variety of sizes, designed for use with blending fluid. Having several sizes lets you match the stump to the area you are softening, from tight corners to broader gradients, without overworking one tool.
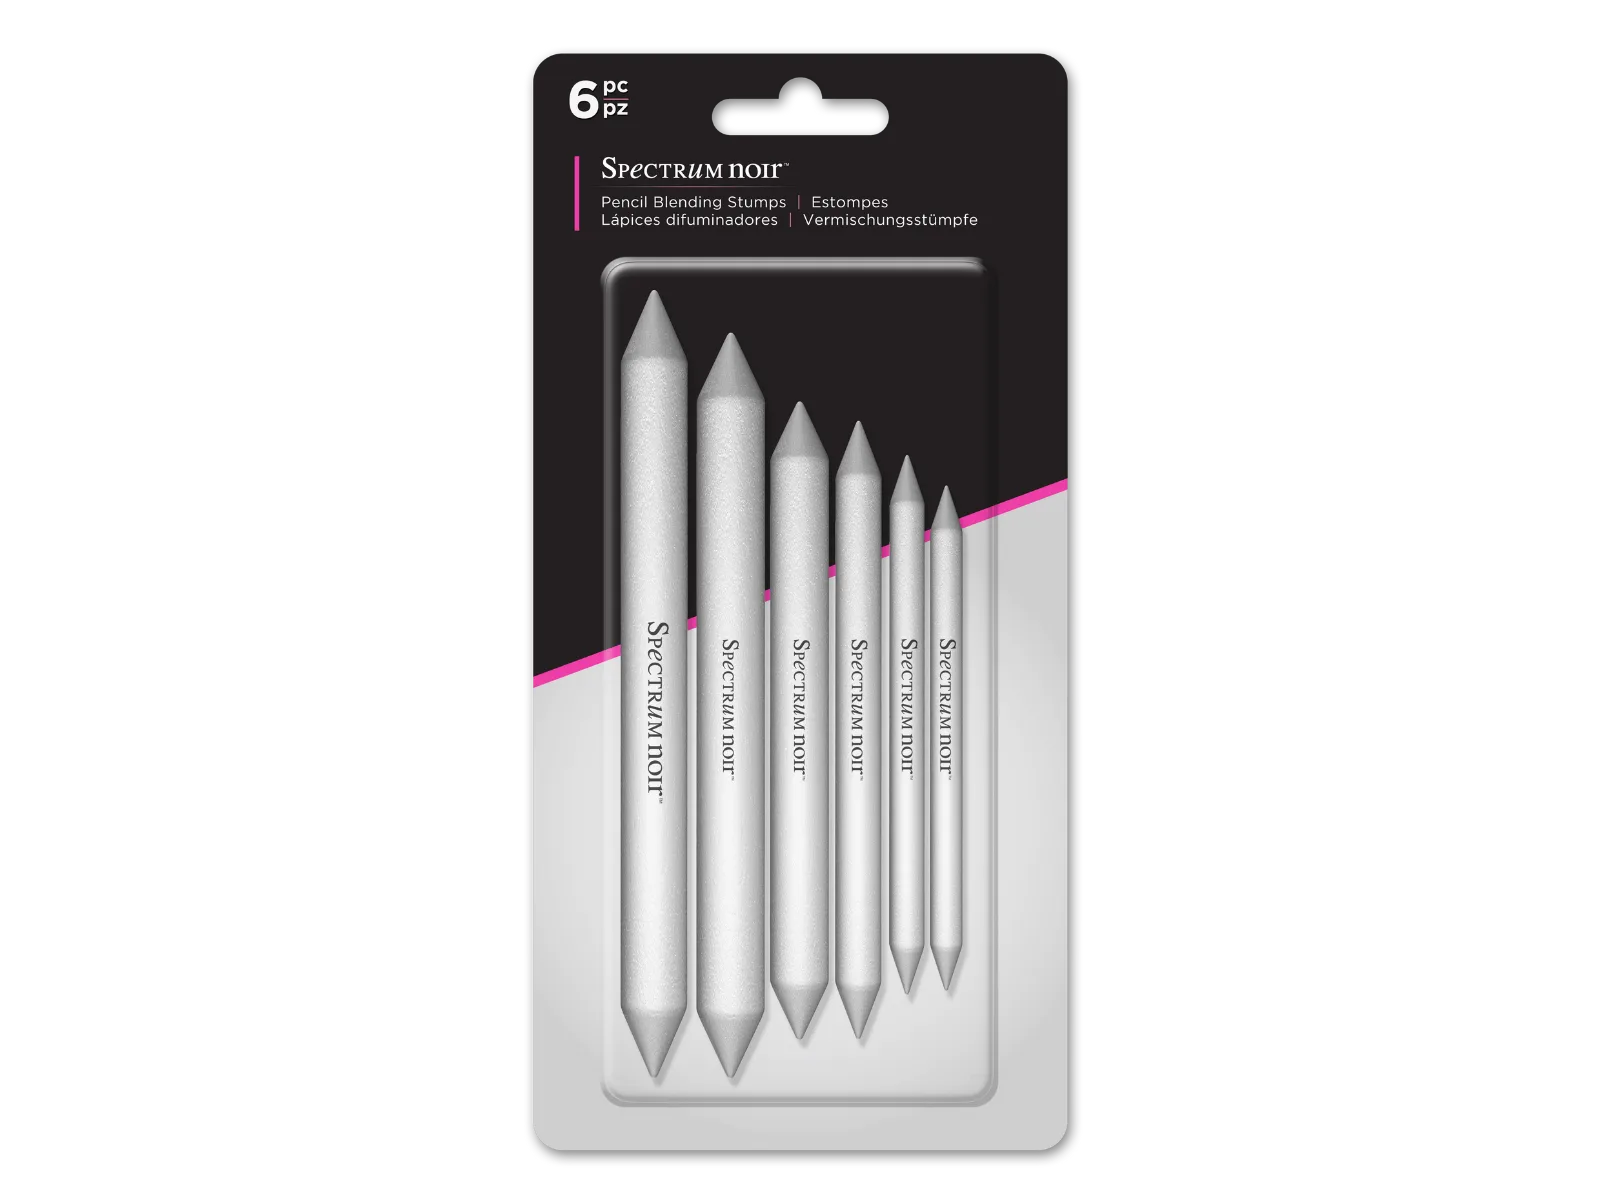
Spectrum Noir - Pencil Blending Stumps
-
Spectrum Noir DuoColour Pencils - Botanic Garden: The Botanic Garden set contains 13 dual-tipped pencils with twinned, blendable colours that are paired to blend when layered. You can build many transitions by layering the paired tips first, then use a stump only where you want extra smoothing.
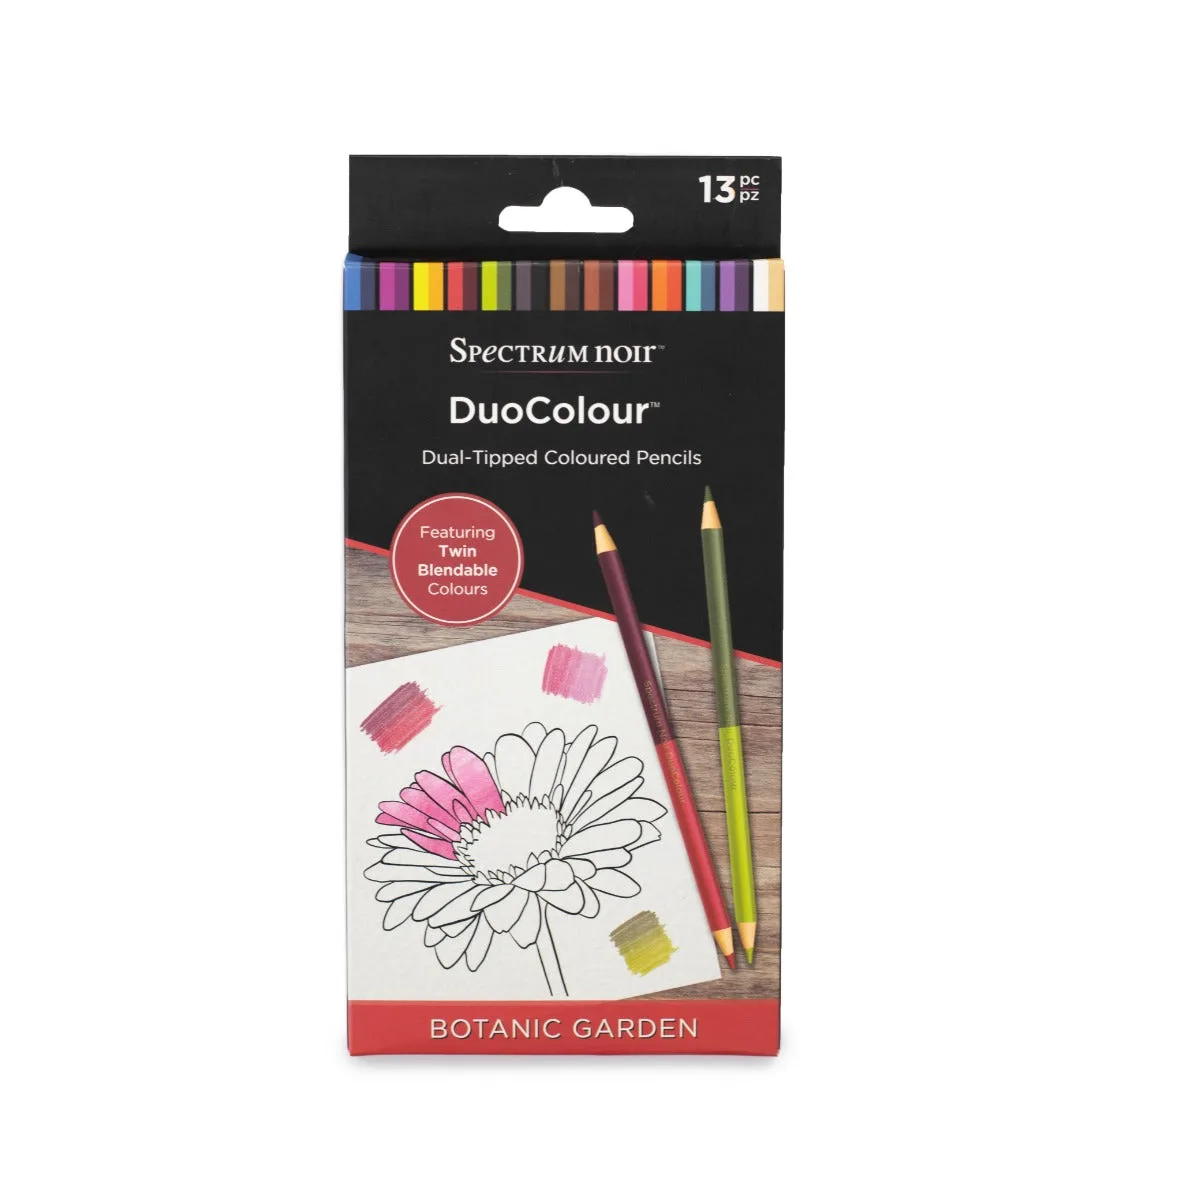
Spectrum Noir DuoColour Pencils - Botanic Garden