Quick answer
To use a plastic tarp for camp or trail shelter, pick a size that covers your sleep area plus overhang, pitch it low and taut with a ridge line or trekking poles, and keep the edges off the ground unless you need a wind block. Check tension and drainage before you stake it down.
Choose the right tarp size for your shelter plan
Tarp size determines whether you can build an A-frame, a lean-to, or a flat roof. A small tarp works as a ground cloth or a one-person windbreak, while a larger one gives you room to sit up and store gear under cover.
Match the tarp to your expected weather: a lower, smaller pitch sheds wind and rain better, but a larger tarp gives more living space in calm conditions. If you plan to use the tarp as a ground cover, choose a size that extends slightly beyond your sleeping pad.
Pitch low and taut for rain, higher for airflow
A low pitch keeps rain out and reduces wind exposure, but it can trap condensation. A higher pitch improves ventilation but catches more wind. Adjust the height and angle based on the forecast and your site.
In heavy rain, orient the tarp so the lowest edge faces the wind and the highest edge faces away. This encourages water to run off instead of pooling.
Common mistakes to avoid
Pitching on a slope without a drainage plan can let water run under the tarp. Setting up under dead branches or in a low gully invites falling debris or pooling water. Leaving slack in the tarp causes flapping and wind damage.
Always inspect your site for hazards and choose high, well-drained ground when possible.
Step-by-step tarp shelter setup
- Pick a site and clear hazards: Choose high, well-drained ground away from dead branches and gullies. Clear sharp rocks, sticks, and debris from the area where the tarp will touch the ground. Check for overhead hazards before you unpack the tarp.
- Lay out the tarp and identify tie-out points: Spread the tarp flat and locate reinforced corners or grommets. If your tarp lacks grommets, tie small pebbles or bundled fabric at the corners to create anchor points. Use a smooth object inside the tarp corner to avoid tearing plastic.
- Rig a ridge line or support poles: Tie a line between two trees or use trekking poles to create a ridge at the height you want. For an A-frame, set the ridge height so the tarp slopes steeply enough for rain to run off. Keep the ridge line slightly off-center if wind is expected from one direction.
- Attach the tarp and tension it gradually: Drape the tarp over the ridge and tie the corners to stakes or anchors. Tighten lines a little at a time, working from opposite corners to keep the tarp even and taut. A taut tarp should have a slight give but not flap in the wind.
- Adjust the pitch for weather and airflow: Lower the windward edge and raise the leeward edge in rain. In calm, warm weather, raise both sides for ventilation. Keep the tarp edges off the ground unless you need a wind block. Leave a gap for airflow to reduce condensation inside the shelter.
- Check drainage and secure loose edges: Look for low spots where water could pool under the tarp. Dig a shallow trench or redirect the tarp so water runs away. Stake down any loose corners. Test the setup with a light tug before you store gear underneath.
Product facts
-
Plastic Tarp: Available in 6 ft x 8 ft, 8 ft x 10 ft, and 12 ft x 14 ft sizes. You can pick a size that matches your shelter plan, from a solo ground cloth to a group canopy.
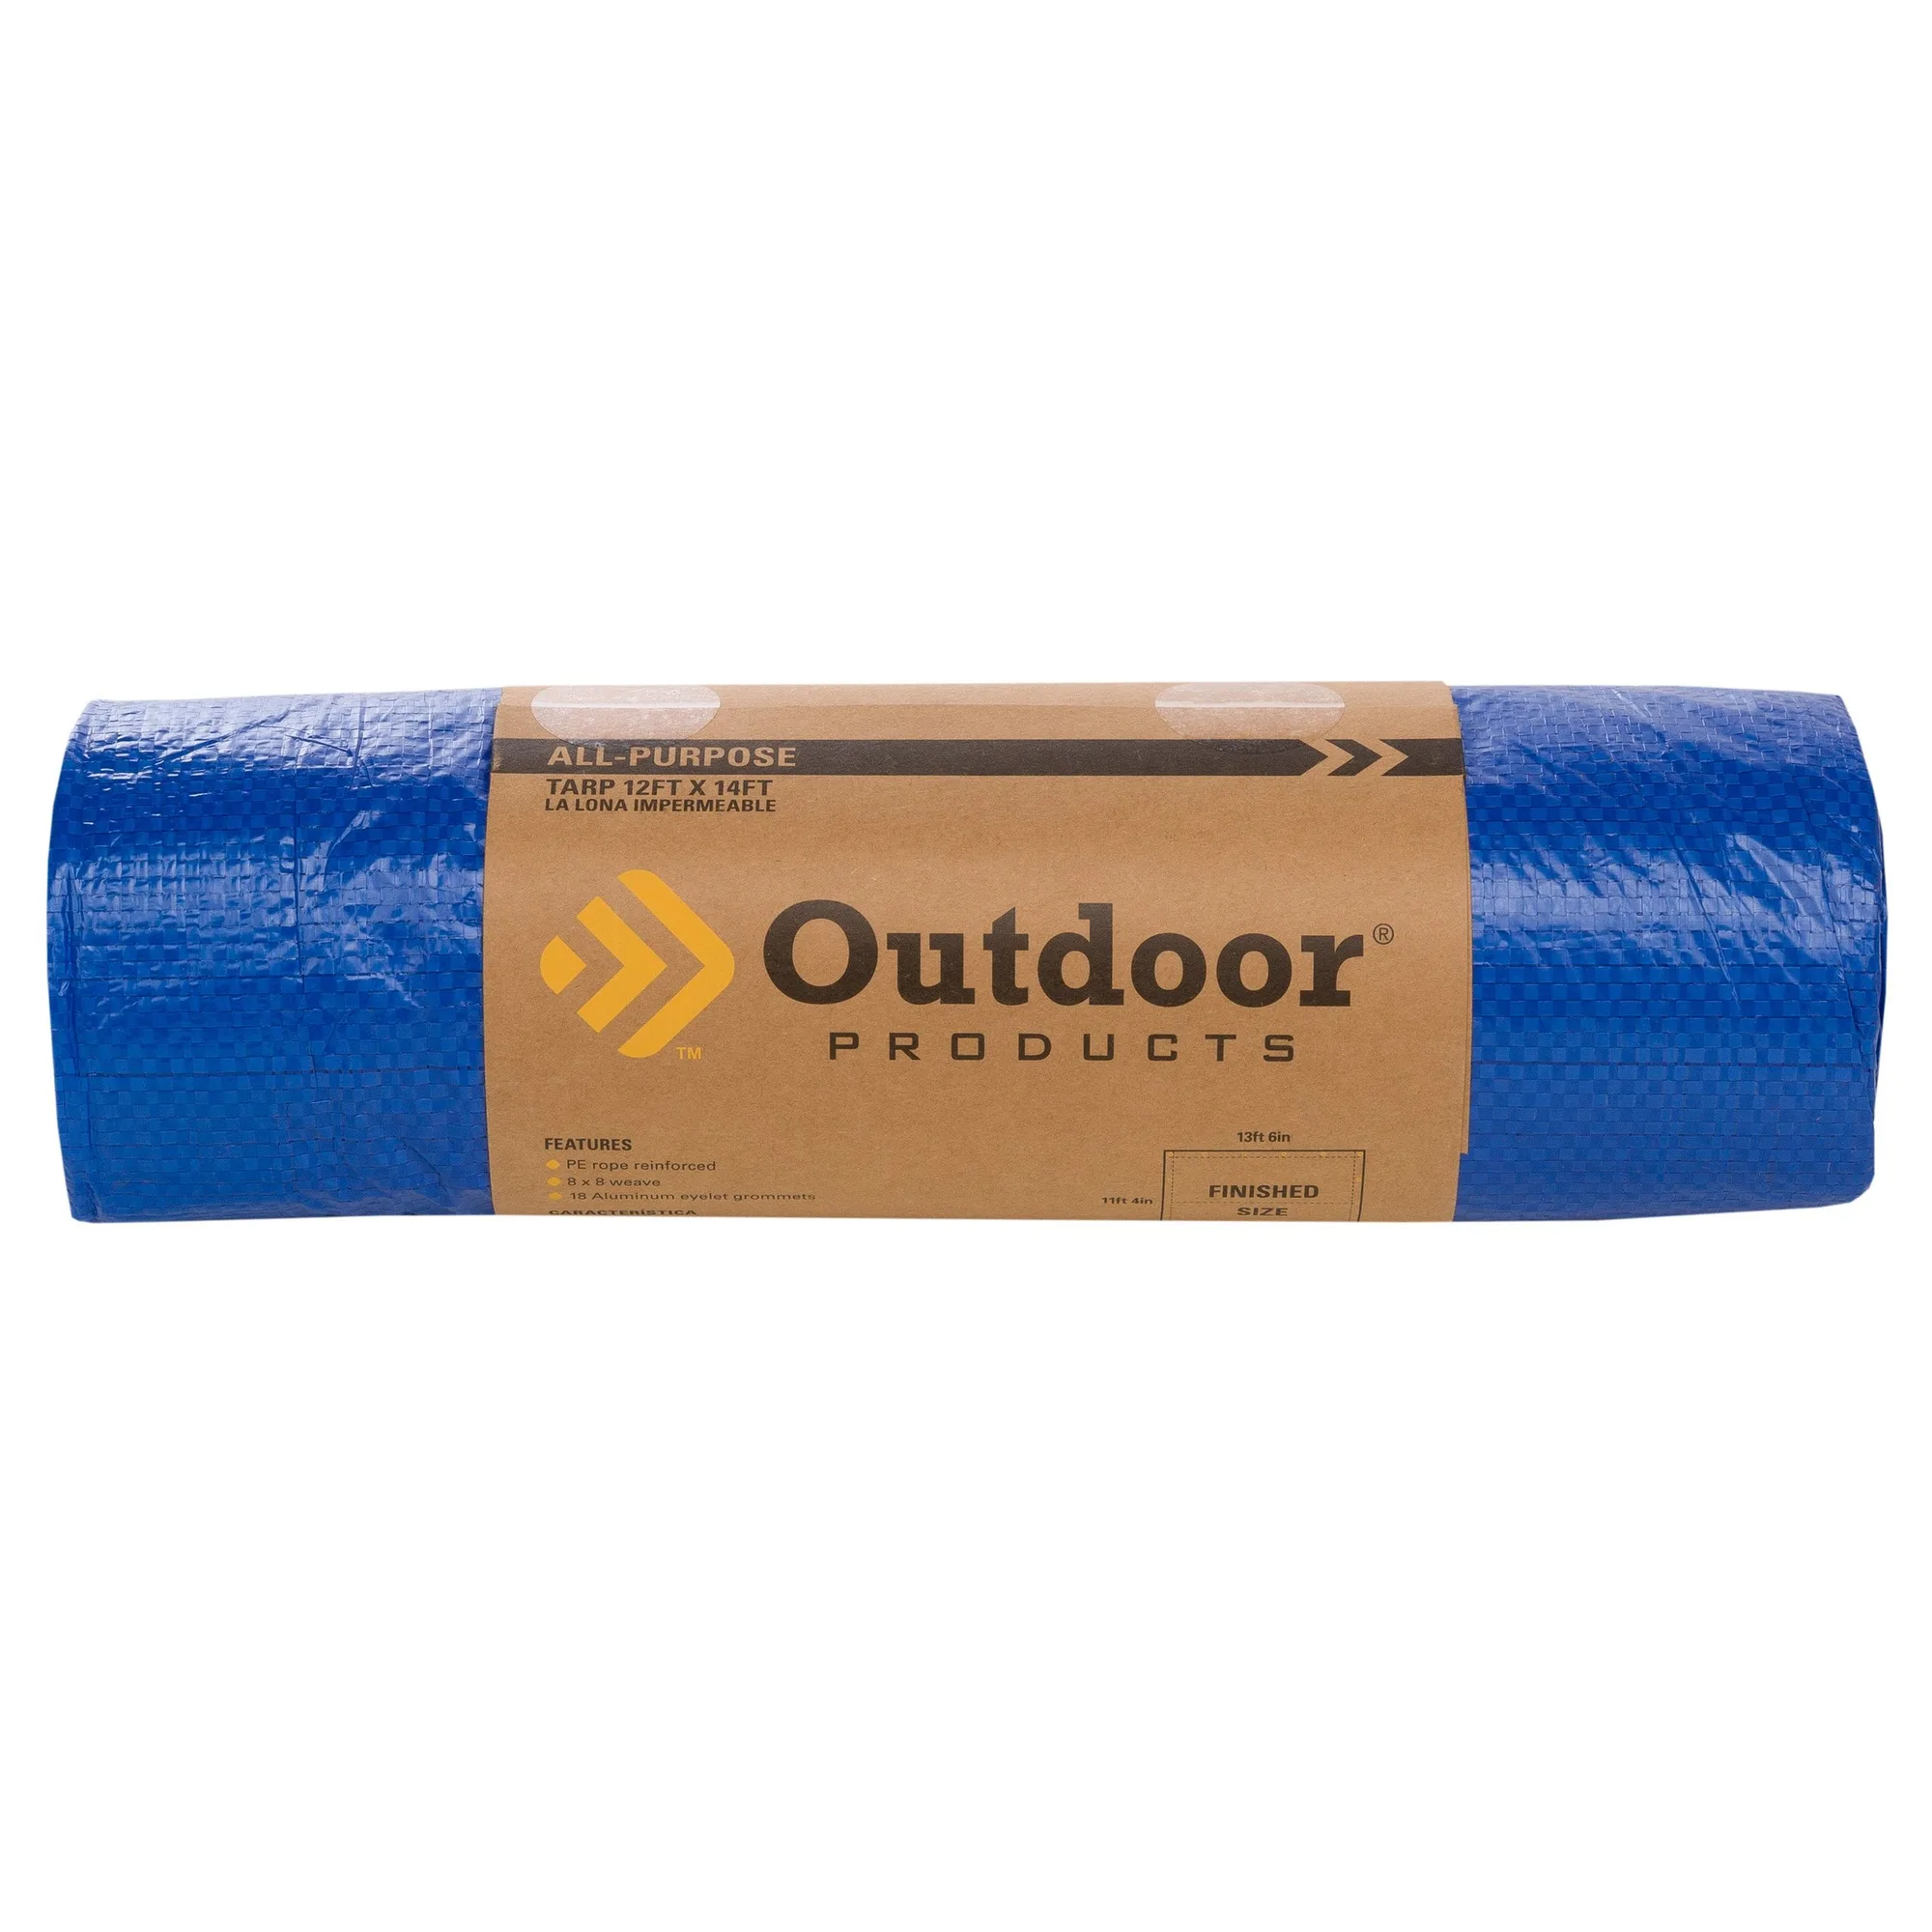
Plastic Tarp
-
Plastic Tarp: Durable plastic construction for reliable protection. Plastic resists moisture and is easy to wipe clean, making it a practical choice for wet or muddy conditions.
-
Plastic Tarp: Backed by the Outdoor Products Plain + Simple Lifetime Manufacturer's Guarantee. You get long-term support for a basic shelter accessory that sees repeated use.