Quick answer
Use pregnancy announcement and milestone cards to create a consistent photo series starting with your positive test, then weekly bump updates, and finally monthly baby photos through the first year.
Why a consistent photo background matters
Using the same spot—like a nursery corner or a plain wall—makes your weekly and monthly photos easy to compare. The cards do the storytelling, so you don’t need a complicated setup. A consistent background also helps when you later create a photo book or digital album.
Trade-off: weekly vs. monthly photos
Weekly bump photos give you a detailed timeline of your pregnancy, but they require remembering to snap a picture every seven days. Monthly baby photos are easier to keep up with and still show clear growth. Choose weekly if you enjoy a routine; choose monthly if you want a simpler, less stressful habit.
Step-by-step guide
- Step 1: Choose your announcement moment: Select one of the announcement cards—like “We’re having a baby” or “For this child I have prayed”—and take a photo with your partner, a pet, or the ultrasound. Post or print this as your first reveal. A common mistake is waiting too long for the “perfect” shot. Pick a card and snap a simple photo within a few days of your positive test or first ultrasound.
- Step 2: Set a weekly photo schedule: Use the weekly cards (every other week) to document your bump. Place the card at belly height, stand in the same spot, and take a photo. The fruit/veggie illustrations show baby’s size—for example, a lemon at week 8 or a banana at week 16. Set a recurring phone reminder for the same day and time each week. If you miss a week, skip that card and continue with the next one—don’t try to catch up.
- Step 3: Transition to monthly baby photos: After birth, use the same milestone card set for monthly baby photos. Place the card next to your baby with a simple prop like a stuffed animal for scale. Continue through month 12 to show the full first year. Keep the prop the same size in every photo so the growth is obvious. A common error is changing the prop or angle—consistency makes the series powerful.
- Step 4: Store and display your cards: After each photo, store the card in a keepsake box or a binder with clear sleeves. When the series is complete, you can create a photo book or a wall collage using the cards as title pages. Write the date and a short memory on the back of each card before storing it. This adds a personal touch that a digital file alone can’t capture.
Product facts
-
Pregnancy Announcement & Milestone Cards: This set includes weekly cards with hand-drawn fruit and veggies to illustrate baby’s size every other week, plus bonus pregnancy announcement cards with sayings like “We’re having a baby” and “Today I felt you kick.” You get both bump-week prompts and announcement-ready cards in one set, so you don’t need to buy separate products for pregnancy and baby milestones.
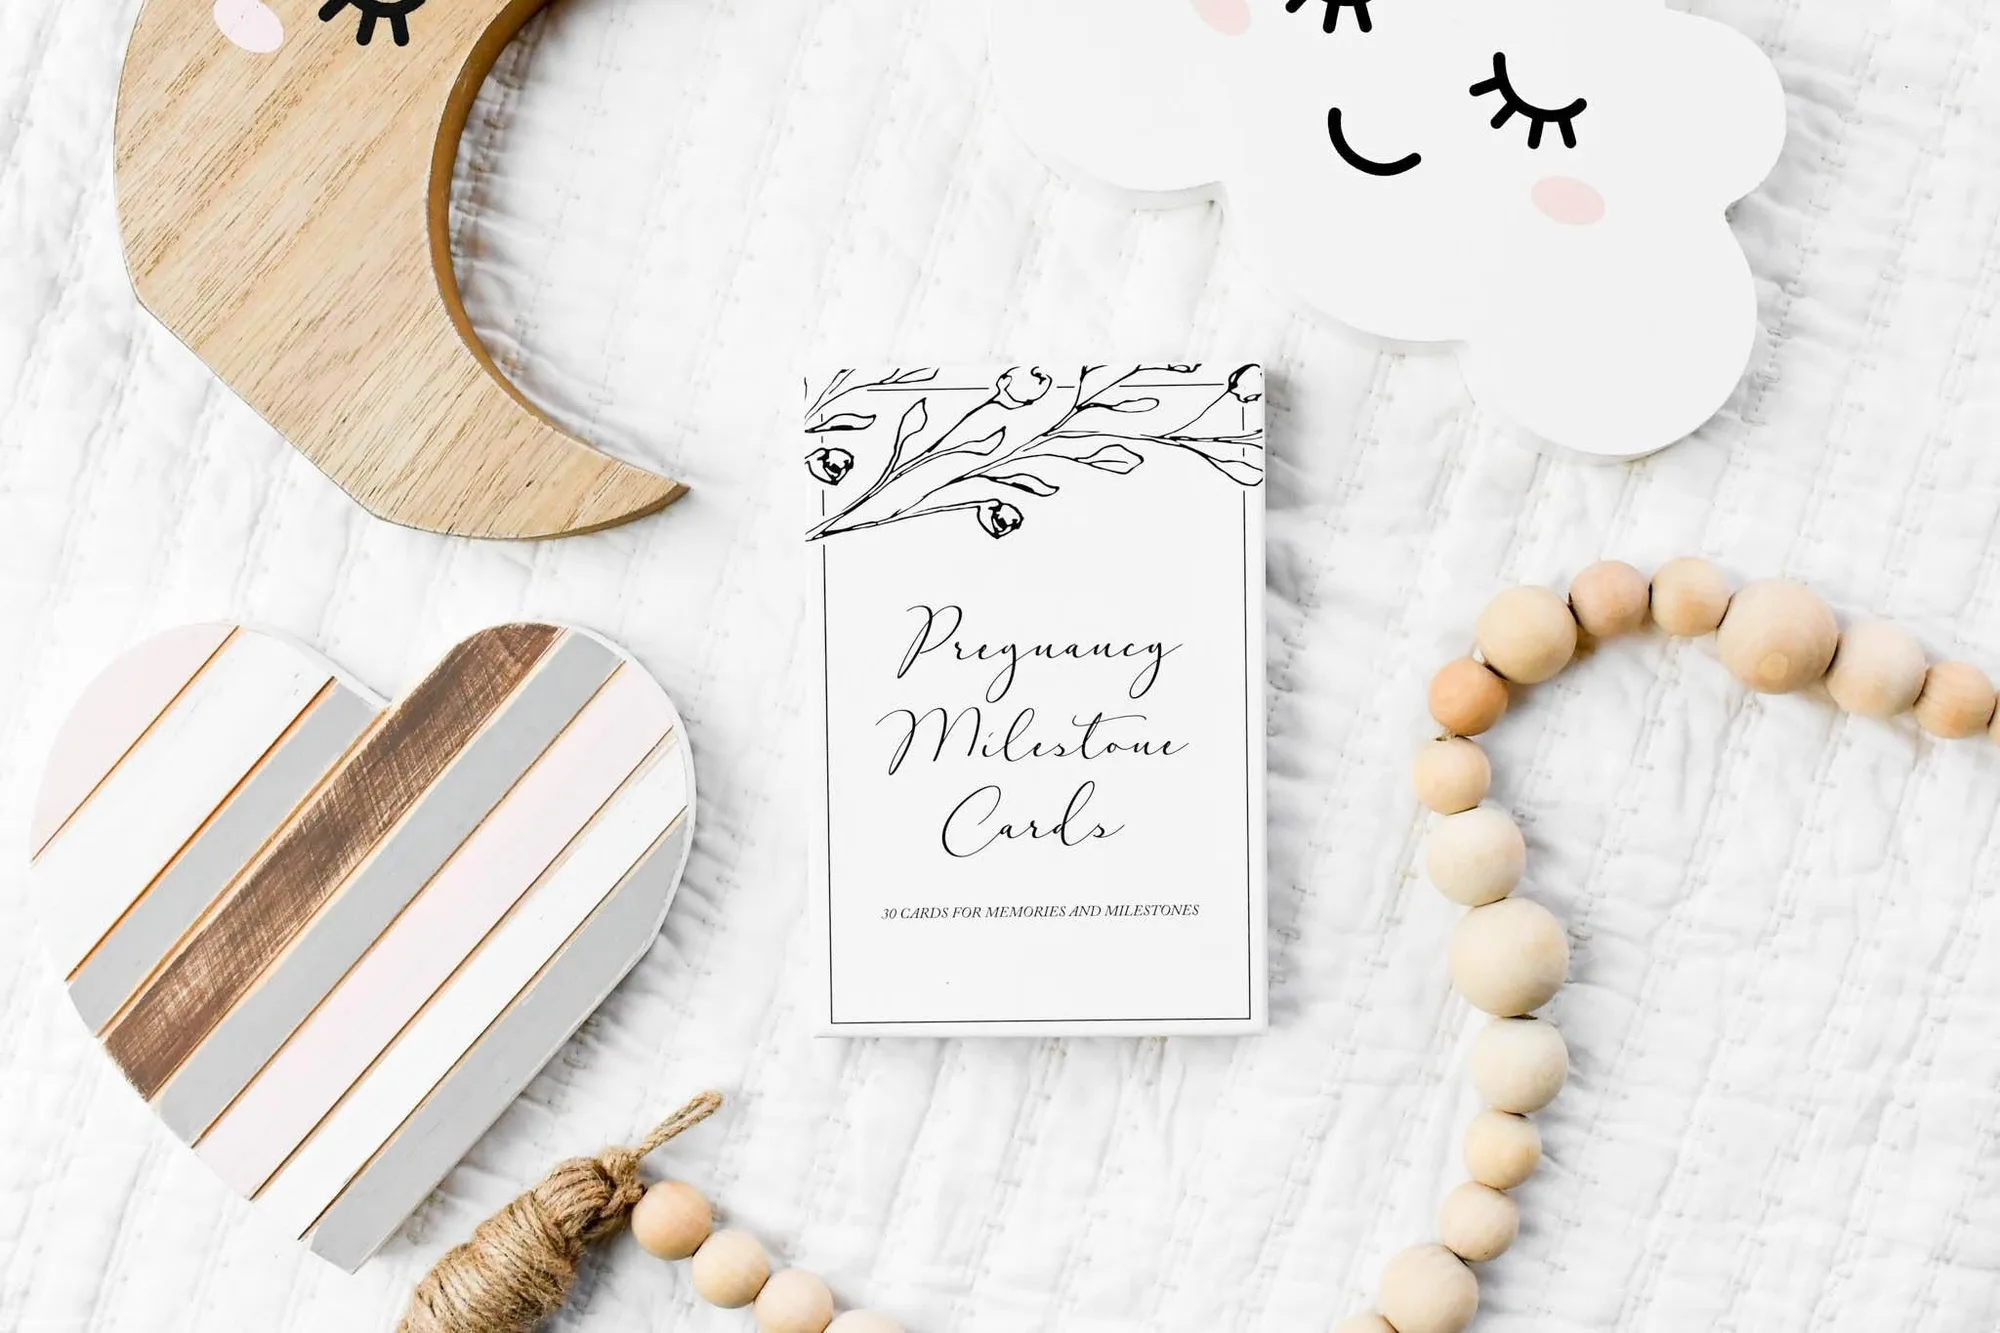
Pregnancy Announcement & Milestone Cards