Quick answer
Use the Premium Cedar Board 24 in (RCB24) as a modular building block for custom raised bed lengths. Pair it with compatible Premium line posts and plan your layout so every joint lands on a post.
Why 24-inch boards work well for raised beds
The 24-inch length is a versatile module that lets you build beds in increments of 2 feet. You can create a 4x4, 4x6, or even a 4x8 bed by combining multiple boards without needing to cut every piece. This reduces waste and speeds up assembly.
Because the board is made from untreated cedar, it resists rot naturally and can be left unfinished or stained to match your garden. Just remember that Premium boards only fit Premium line posts, so check compatibility before you buy.
What to consider before you start
Plan your bed dimensions first. A 4x4 bed needs two boards per side (four boards total per layer). For a taller bed, stack additional layers using longer Premium posts. Measure your garden space and decide on height before ordering materials.
The boards are 3.5 inches wide, so a single layer gives a 3.5-inch side wall. For deeper soil, you'll want two or three layers. Each layer requires its own set of boards and posts.
Step-by-step guide to using Premium Cedar Board 24 in
- Plan your bed layout: Decide the length and width of your raised bed in 2-foot increments. For a 4x4 bed, you need 8 boards per layer (2 per side). For a 4x6 bed, you need 10 boards per layer (2 for the 4-ft sides, 3 for the 6-ft sides). A common mistake is ordering too few boards for the second layer. Count layers and multiply accordingly.
- Cut boards for non-standard lengths: If your bed length is not a multiple of 24 inches, measure and mark the board, then cut with a circular saw or handsaw. For example, a 5-ft side needs two 24-inch boards and one 12-inch piece cut from a third board. Always measure twice and cut once. Uneven cuts will leave gaps between boards.
- Attach boards to Premium posts: Position a Premium post at each corner and at every board joint. Use corrosion-resistant screws (included with some post kits) to fasten each board end to the post. Ensure the board sits flush with the top of the post for a clean look. Pre-drill pilot holes to prevent the cedar from splitting, especially near the ends.
- Stack additional layers: For taller beds, repeat the process for the second and third layers. Use longer Premium posts (e.g., 15-inch or 20-inch) that extend above the top board. Attach each new layer's boards to the same posts. Make sure each layer is level before moving to the next. An uneven base will cause the entire bed to wobble.
- Finish and fill the bed: Optionally stain or seal the cedar to preserve its color. Fill the bed with soil and compost, leaving 1-2 inches below the top board to prevent spillover. If you leave the wood unstained, it will naturally weather to a silver-gray patina over time.
Product facts
-
Premium / Classic Cedar Board 24 in x 3.5 in RCB24 RCB24EC: Premium boards are only compatible with Premium line posts. Mixing board and post lines will not fit, so always buy the same line for both boards and posts.
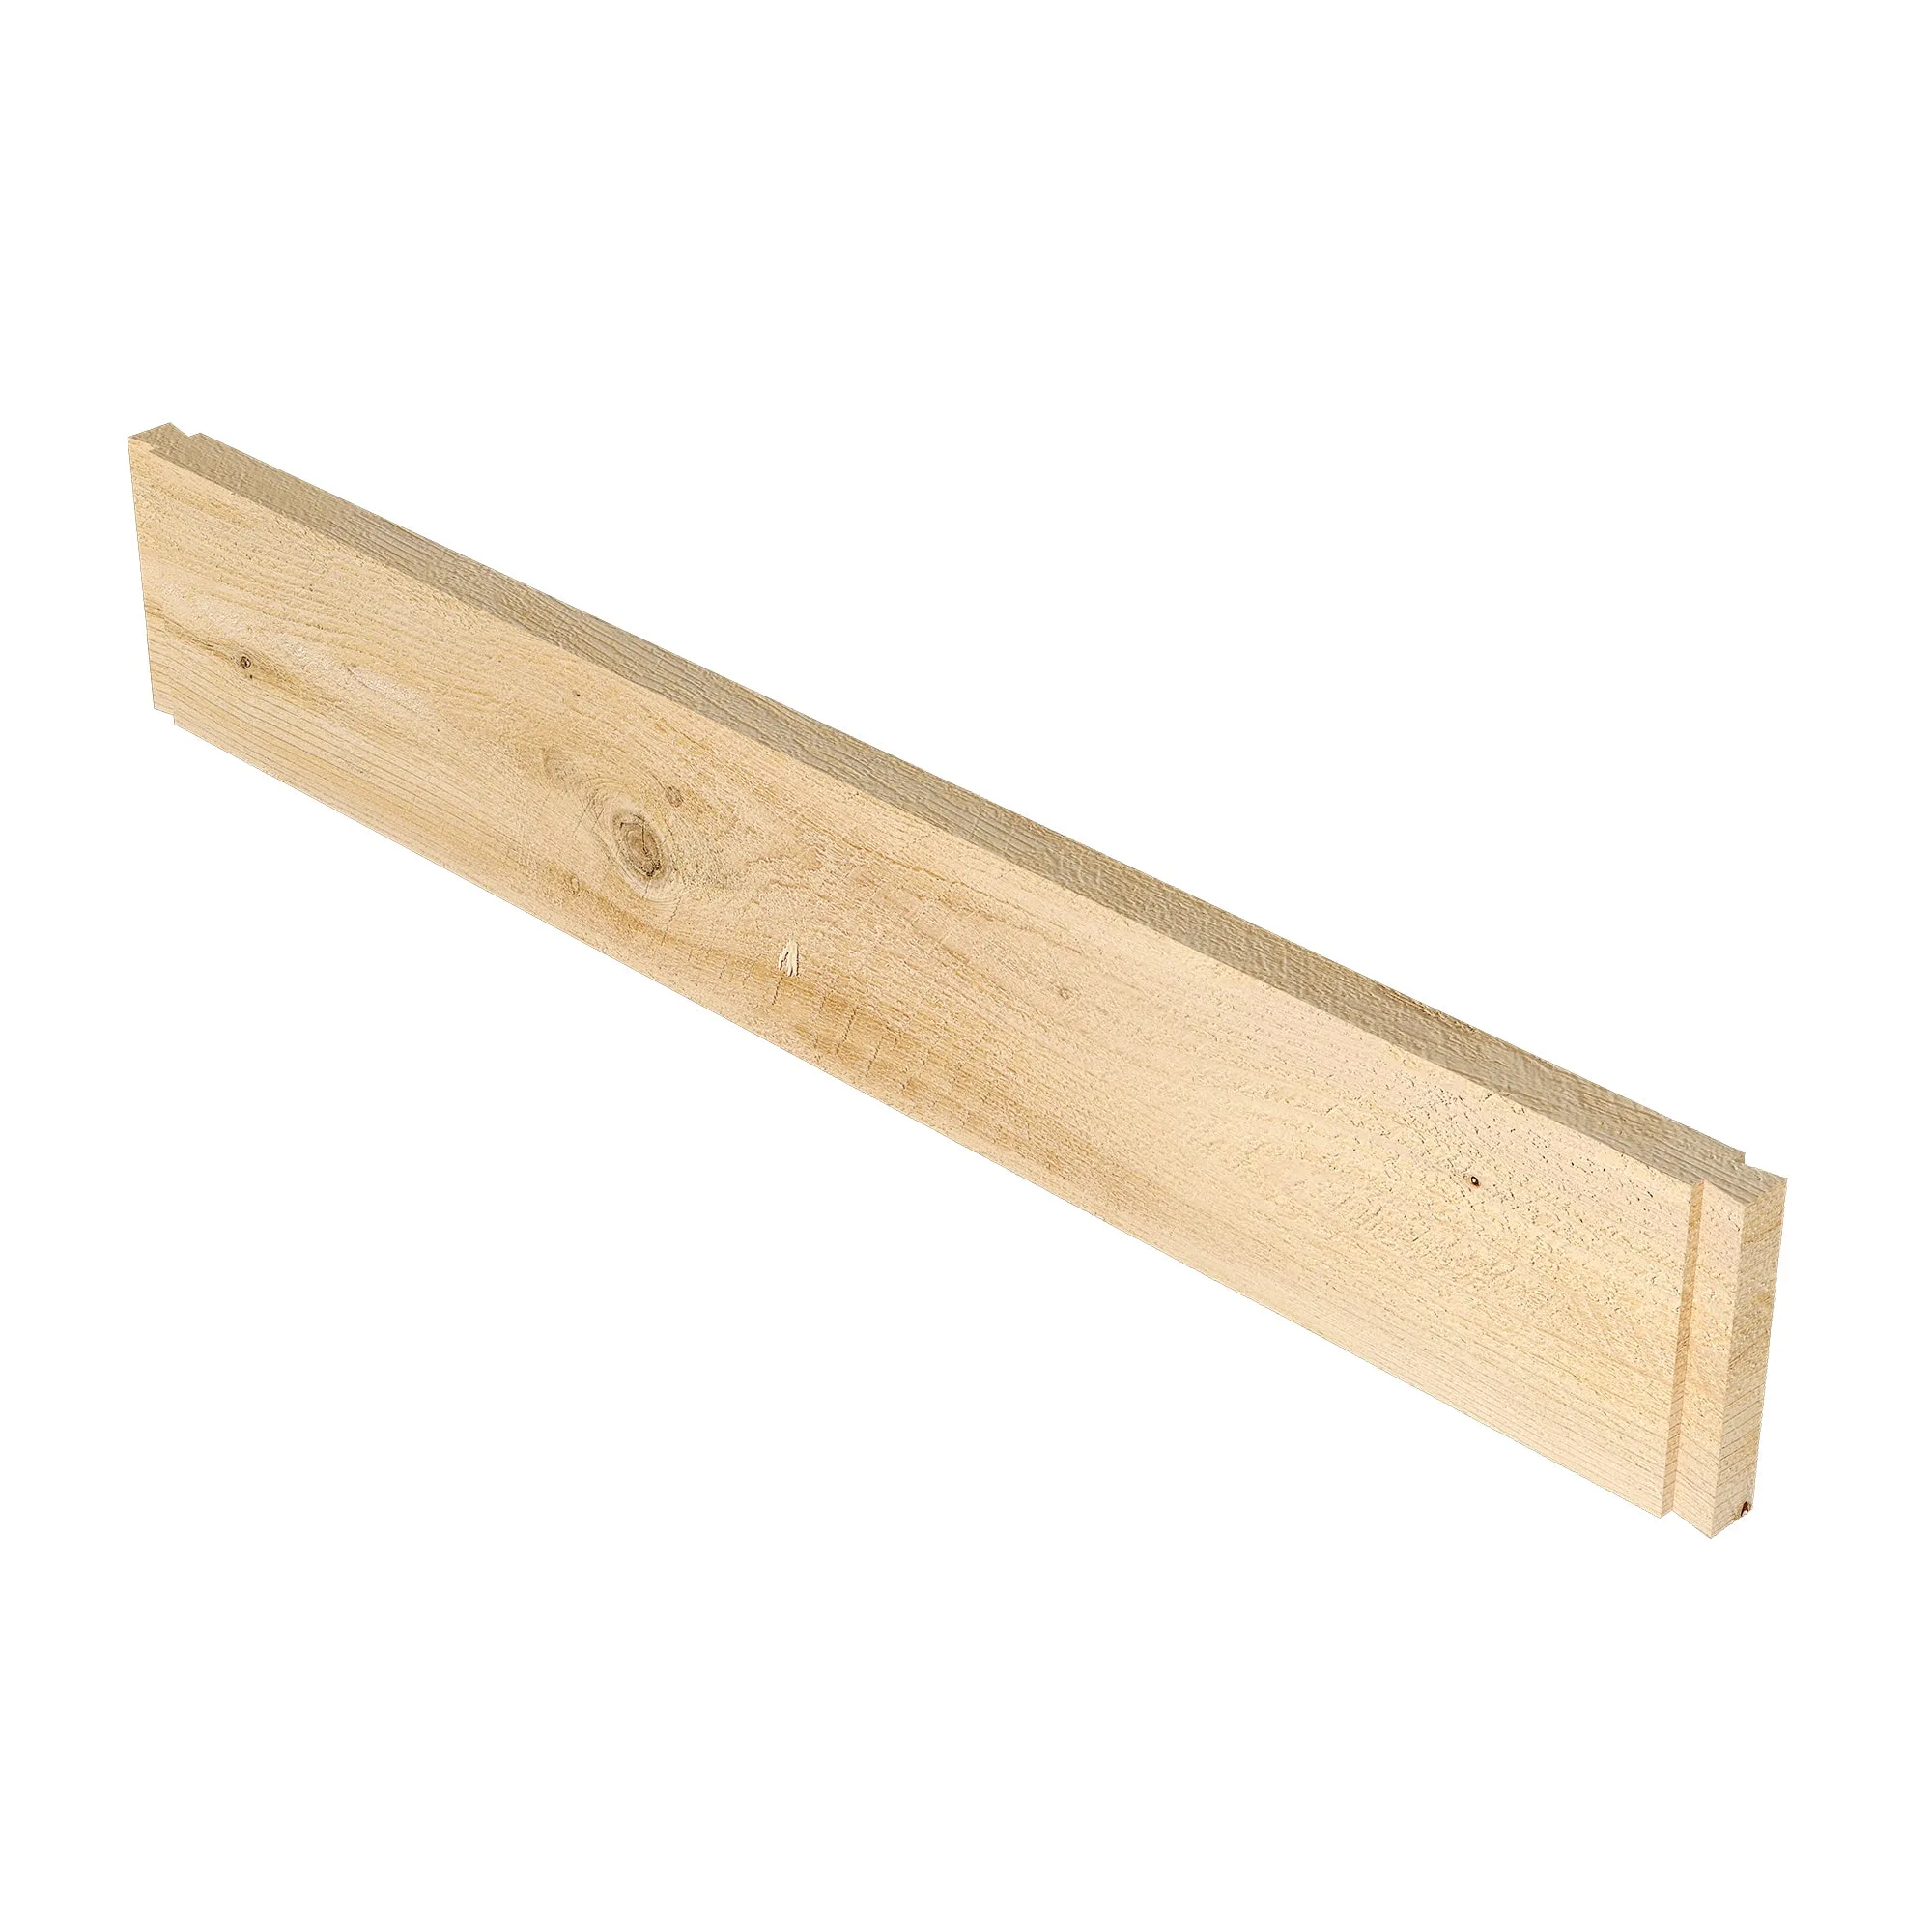
Premium / Classic Cedar Board 24 in x 3.5 in RCB24 RCB24EC
-
Premium / Classic Cedar Board 24 in x 3.5 in RCB24 RCB24EC: The board is made from untreated cedar wood and can be stained or left natural. Untreated cedar is safe for vegetable gardens and requires no chemical treatment, but it will weather to a silver-gray over time if left unstained.