Quick Answer
Start with a simple fold that suits your baby's shape, then secure with a snappi and cover. Practice a few folds to find the one that fits best.
Why Flats Are a Smart Newborn Choice
Flats are a single layer of fabric that you fold to fit. They dry quickly and wash easily, making them a practical option for the frequent changes of the newborn stage. The Retro Super Newborn Flats Bundle gives you multiple flats so you always have a clean one ready.
Because flats are so versatile, you can adjust the fold as your baby grows. This means the same flats can adapt to different body shapes and sizes, offering a custom fit that prefolds may not provide.
Choosing the Right Fold
There are several folds you can use with newborn flats. The diaper fold (or pad fold) is simple and works well with a cover. The origami fold offers more containment, especially for heavy wetters. The bikini twist is great for active babies.
Start with the diaper fold because it's the easiest. Once you're comfortable, try the origami fold for better leak protection. Each fold changes the shape of the flat, so you can tailor it to your baby's needs.
Step-by-Step Guide to Using Retro Newborn Flats
- Prep Your Flats: Wash and dry your flats before first use to increase absorbency. If they feel stiff, a second wash can help soften them. Check that flats are fully dry before storing to prevent mildew.
- Choose Your Fold: Lay the flat flat on a changing surface. For the diaper fold, fold in the sides to create a rectangular pad. For the origami fold, fold diagonally to create a triangle. Start with the diaper fold; it's the easiest for beginners.
- Position the Flat: Place the folded flat under your baby, with the longer edge at the waist. For a boy, point the extra fabric toward the front; for a girl, toward the back. Ensure the flat is centered to avoid gaps at the legs.
- Fasten the Diaper: Bring the front panel up between your baby's legs and secure with a snappi or pins. Pull the sides snugly but not too tight. You should be able to fit two fingers between the diaper and your baby's waist.
- Add a Cover: Place a waterproof cover over the flat and fasten it. Make sure the cover's leg gussets are tucked into the leg creases to prevent leaks. If you see red marks on your baby's legs, the cover is too tight.
- Change and Launder: Change the diaper every 2-3 hours or when wet. Remove the flat and cover, and store soiled items in a wet bag until wash time. Rinse heavily soiled flats in cold water before washing to prevent stains.
Product Facts
-
Retro Super - Newborn Flats Cloth Diaper Bundle: The Retro Super - Newborn Flats Cloth Diaper Bundle includes multiple newborn-sized flats for everyday diapering needs. Having several flats on hand means you can build a stash without buying separately, making it easier to keep up with newborn laundry cycles.
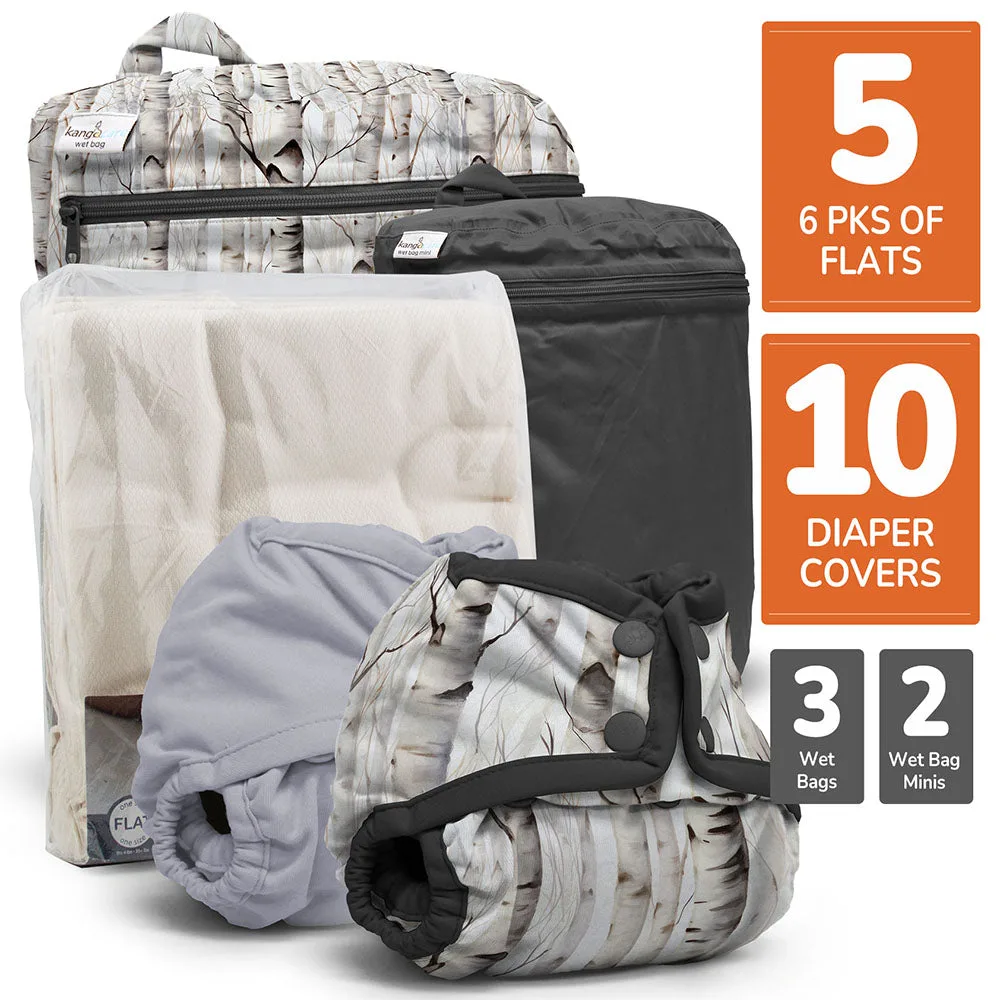
Retro Super - Newborn Flats Cloth Diaper Bundle