Quick answer
Use the rivet setter, anvil, and punch together to install double-cap rivets: punch a clean hole, set the rivet on the anvil, and hammer the setter to secure the cap.
Why a dedicated set makes a difference
Double-cap rivets require both a setter and an anvil to compress the cap evenly. Without the anvil, you risk bending the rivet post or cracking the cap. The included punch ensures the hole is the exact size for the rivet post, preventing loose or distorted installations.
Choosing the right spot and material
Double-cap rivets work best on fabric or leather that is at least as thick as the rivet post length. Mark your placement carefully—once set, these rivets are permanent. Test on a scrap piece first to confirm the post length and hole size match your material stack.
How to install double-cap rivets
- 1. Mark and punch the hole: Place your fabric or leather on a cutting mat. Use the 1/8" (3mm) punch and a hammer to create a hole exactly where you want the rivet. Hold the punch straight and give it one firm strike. Punch on a hard, flat surface—not directly on the anvil—to avoid damaging the tool.
- 2. Insert the rivet post from the front: Push the rivet post (the part without the cap) through the hole from the right side of your project. The cap should sit flush against the material surface. If the post is too long, the rivet won't compress fully. Trim the post with wire cutters before setting.
- 3. Place the project on the anvil: Set the project upside down on the anvil so the rivet post rests inside the anvil's concave depression. This supports the post and prevents it from bending. The anvil must sit on a solid, non-slip surface. A rubber mat underneath helps keep it steady.
- 4. Add the cap and position the setter: Place the second cap over the rivet post on the back side of your project. Fit the rivet setter's cup over the cap. Make sure the setter is centered. A misaligned setter will dent the cap or push it off-center. Check alignment before every strike.
- 5. Hammer the setter firmly: Give the setter one or two solid hammer blows. The cap will compress and lock onto the post. Do not over-hammer—two strikes are usually enough. Too many strikes can crack the cap or damage the anvil. Stop once the cap feels snug.
- 6. Check the installation: Flip your project over and inspect both sides. The caps should be flush, centered, and spin-free. Gently tug to confirm the rivet is locked. If the rivet spins or wobbles, it wasn't set fully. Place it back on the anvil and give one more careful strike.
What you need
-
Rivet Setter/Anvil & Punch Set for Double-Cap Rivets (3 Pieces): This set includes a rivet setter for caps up to 10mm wide, one anvil, and one 1/8" (3mm) punch. The anvil supports the rivet post while you hammer, and the punch creates a clean starter hole, so the rivet installs straight and secure.
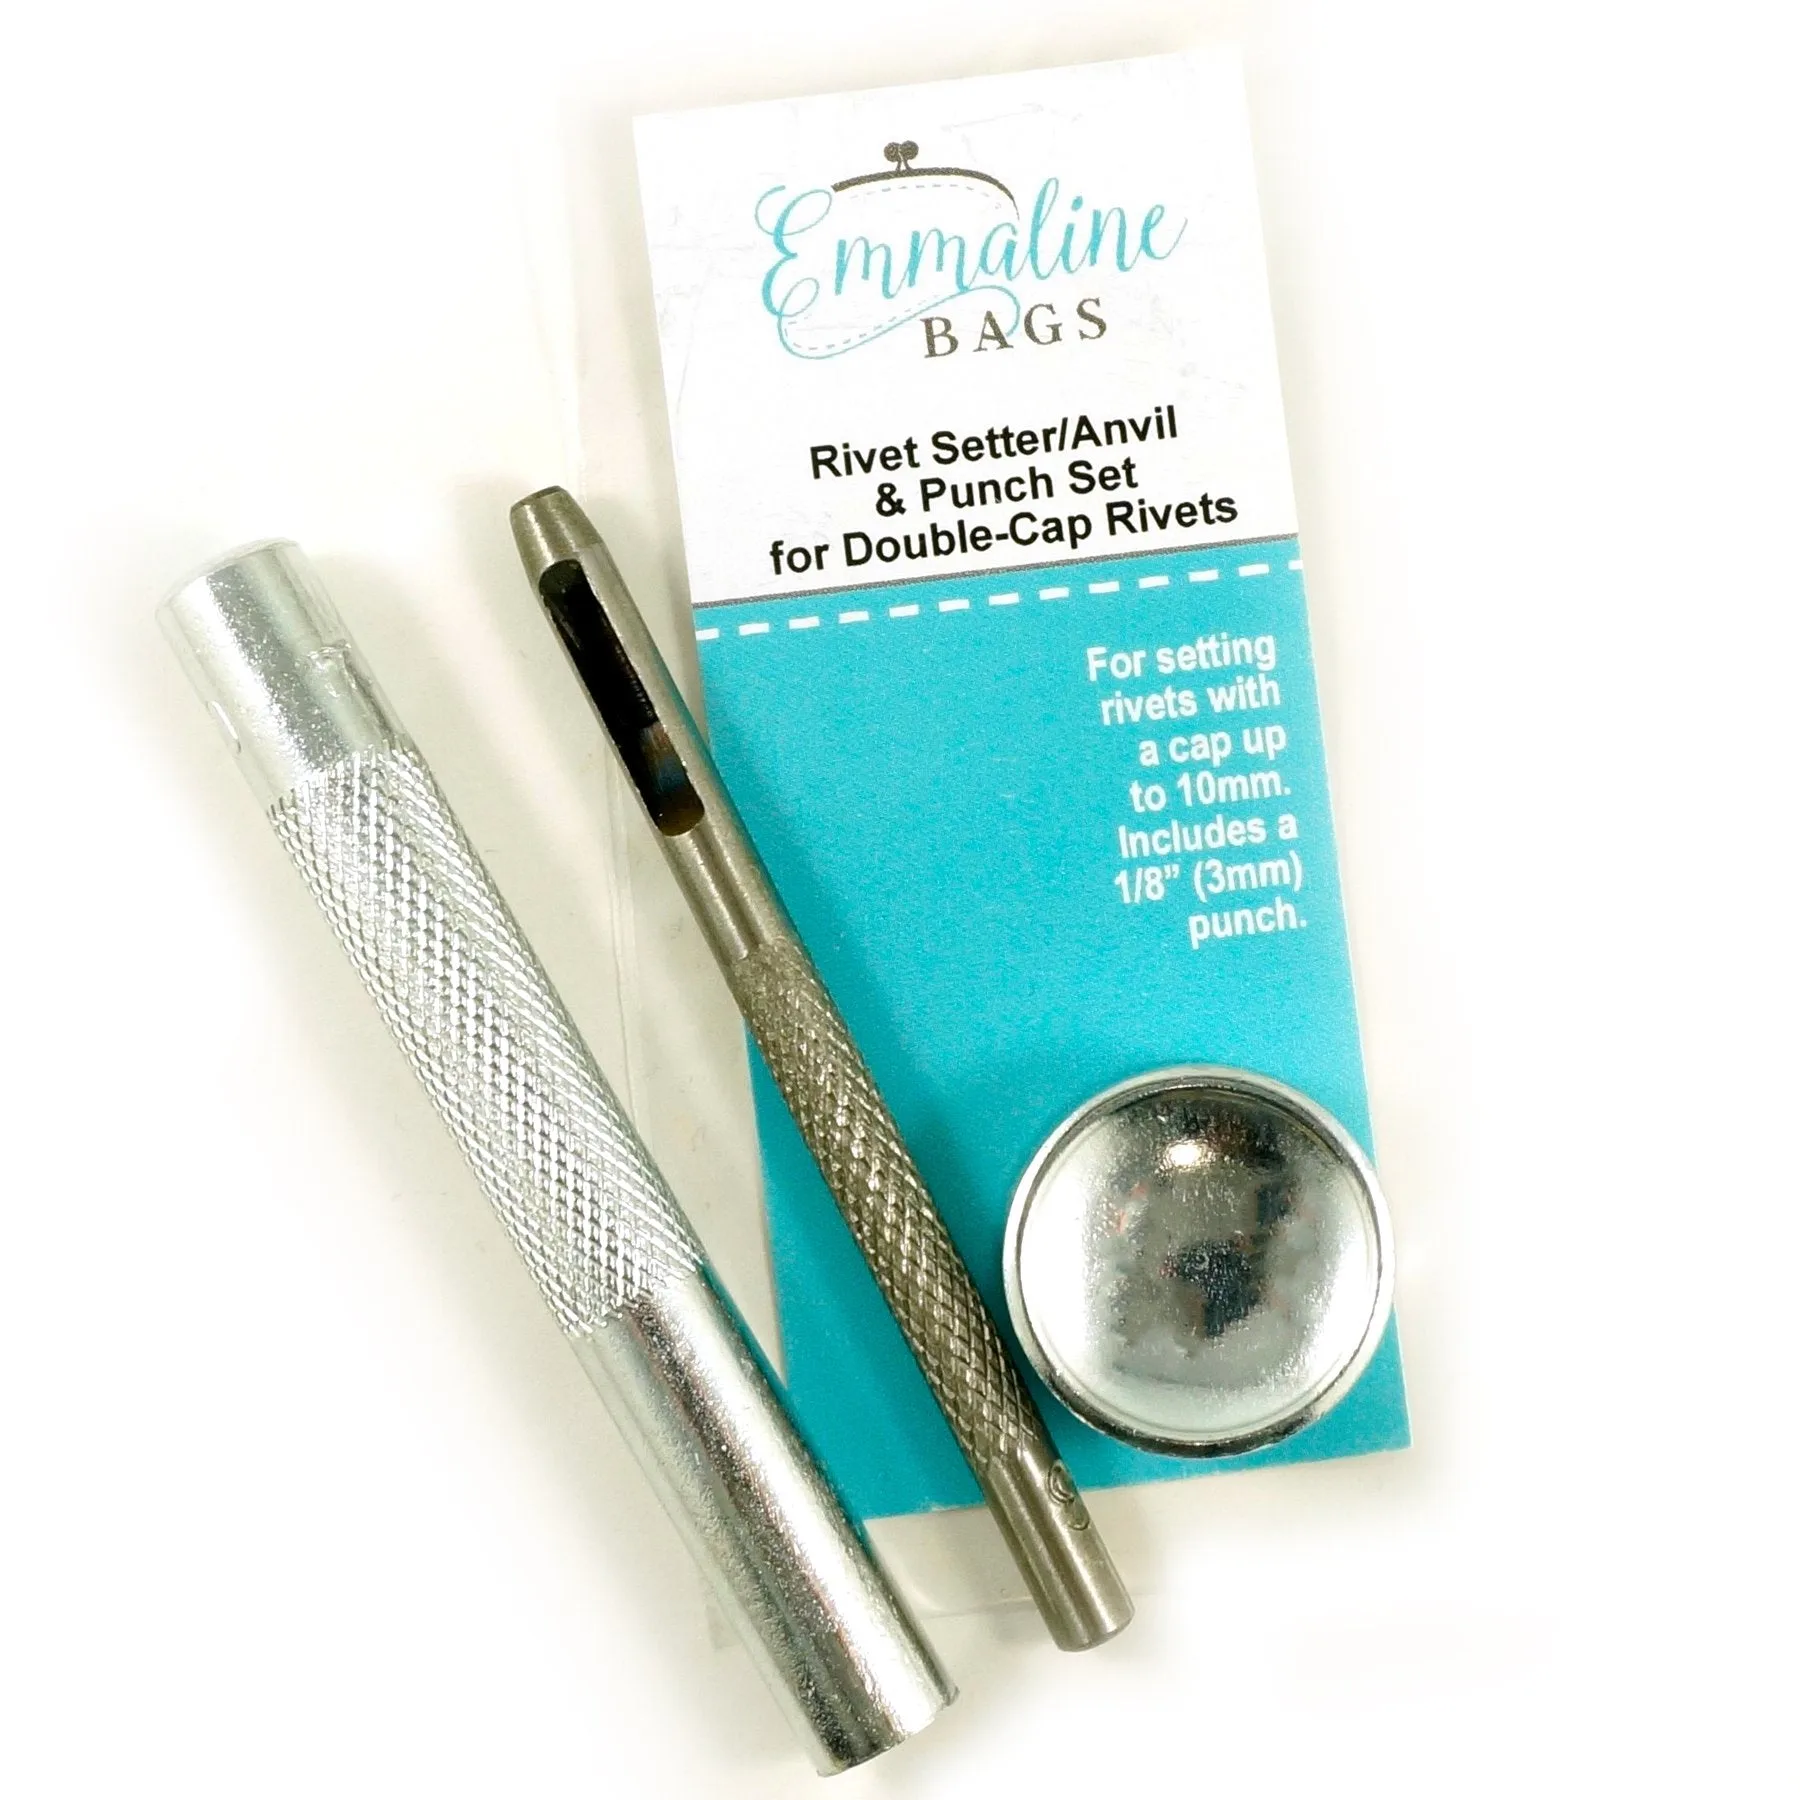
Rivet Setter/Anvil & Punch Set for Double-Cap Rivets (3 Pieces)