Quick Answer
To use a https://kindaero.store/products/roasting-pan-rack-97210https://kindaero.store/products/roasting-pan-97162roasting pan rack, place the rack inside the pan, set your meat on top, and roast. The rack elevates the meat, allowing hot air to circulate for even cooking and preventing the bottom from becoming soggy. This simple tool is key to achieving juicy, evenly browned roasts.
A roasting pan rack is a simple yet essential tool for anyone who wants to cook meats that are evenly browned, juicy, and perfectly cooked. By elevating the meat off the bottom of the pan, the rack allows hot air to circulate around all sides, ensuring consistent heat distribution and preventing the meat from sitting in its own juices. This not only improves texture and flavor but also helps achieve that desirable crispy exterior.
Whether you're roasting a chicken, turkey, or beef, using a rack can make a noticeable difference. In this guide, we'll walk you through the steps to get the most out of your roasting rack, along with practical tips to avoid common mistakes. You'll learn how to set up your pan, prepare your meat, and manage the cooking process for the best results every time.
Why Use a Roasting Rack?
A roasting rack lifts your meat so that heat can circulate underneath as well as on top. This promotes even cooking and prevents the bottom from becoming overcooked or soggy. It also allows excess fat to drip away, which can lead to crispier skin and a healthier final dish.
Without a rack, the meat sits in its own juices, which can stew the bottom and create uneven cooking. The rack also makes it easier to carve and serve, as the meat is elevated and easier to lift out of the pan.
- Ensures even heat circulation for consistent doneness.
- Prevents the bottom from becoming soggy or overdone.
- Allows fat to drip away, promoting crispy skin.
How to Set Up Your Roasting Pan and Rack
Start by placing the rack inside the roasting pan. Make sure it fits securely and sits flat. If your rack is adjustable, position it at the desired height—lower for smaller cuts, higher for larger roasts. The rack should be stable enough to hold the weight of your meat without wobbling.
For easier cleanup, you can line the bottom of the pan with aluminum foil or parchment paper before placing the rack. This catches drippings and makes washing up simpler. If you plan to make gravy, you might want to leave the pan unlined to collect the drippings directly.
- Ensure the rack is stable and level before placing meat.
- Line the pan with foil for easy cleanup, or leave unlined for drippings.
Preparing Your Meat for Roasting
Pat your meat dry with paper towels before seasoning. This helps the surface brown better. Season generously with salt, pepper, and any herbs or spices you like. For poultry, you can truss it to ensure even cooking, but it's not necessary if you use a rack.
Place the meat on the rack, making sure it's centered. If you're roasting multiple pieces, leave space between them for air to circulate. Avoid overcrowding, as this can trap steam and prevent browning.
- Dry the meat thoroughly to promote browning.
- Leave space between pieces to allow air circulation.
Roasting and Monitoring Temperature
Roast according to your recipe, but use a meat thermometer to ensure accuracy. Insert the thermometer into the thickest part of the meat, avoiding bone, and check the internal temperature. For poultry, the safe minimum is 165°F (74°C). For beef, pork, and lamb, refer to your recipe for desired doneness.
During roasting, you may need to rotate the pan halfway through for even browning. Avoid opening the oven door frequently, as this lets heat escape and can increase cooking time.
- Use a meat thermometer for precise doneness.
- Rotate the pan halfway through for even browning.
Resting and Carving
Once the meat reaches the desired temperature, remove it from the oven and let it rest on the rack for 10-20 minutes, depending on size. Resting allows the juices to redistribute, resulting in a moister, more flavorful roast.
After resting, transfer the meat to a cutting board and carve. The rack keeps the meat elevated, making it easier to lift without tearing. Use the drippings in the pan to make a delicious gravy or sauce.
- Rest the meat to allow juices to redistribute.
- Use drippings for gravy or sauce.
Step-by-Step Guide to Using a Roasting Rack
- Place the rack in the pan: Set the rack securely inside the roasting pan, ensuring it's level and stable. If adjustable, choose the height based on your meat size. A stable rack prevents accidents and ensures even cooking.
- Prepare the meat: Pat the meat dry, season generously, and place it centered on the rack. Leave space for air circulation. Dry surfaces brown better; avoid overcrowding.
- Roast with a thermometer: Insert a meat thermometer into the thickest part, avoiding bone. Roast until the internal temperature reaches your target. Accurate temperature ensures perfect doneness.
- Rest and carve: Let the meat rest on the rack for 10-20 minutes before carving. This allows juices to redistribute. Resting yields juicier, more flavorful meat.
Roasting Pan Options from Made In Cookware
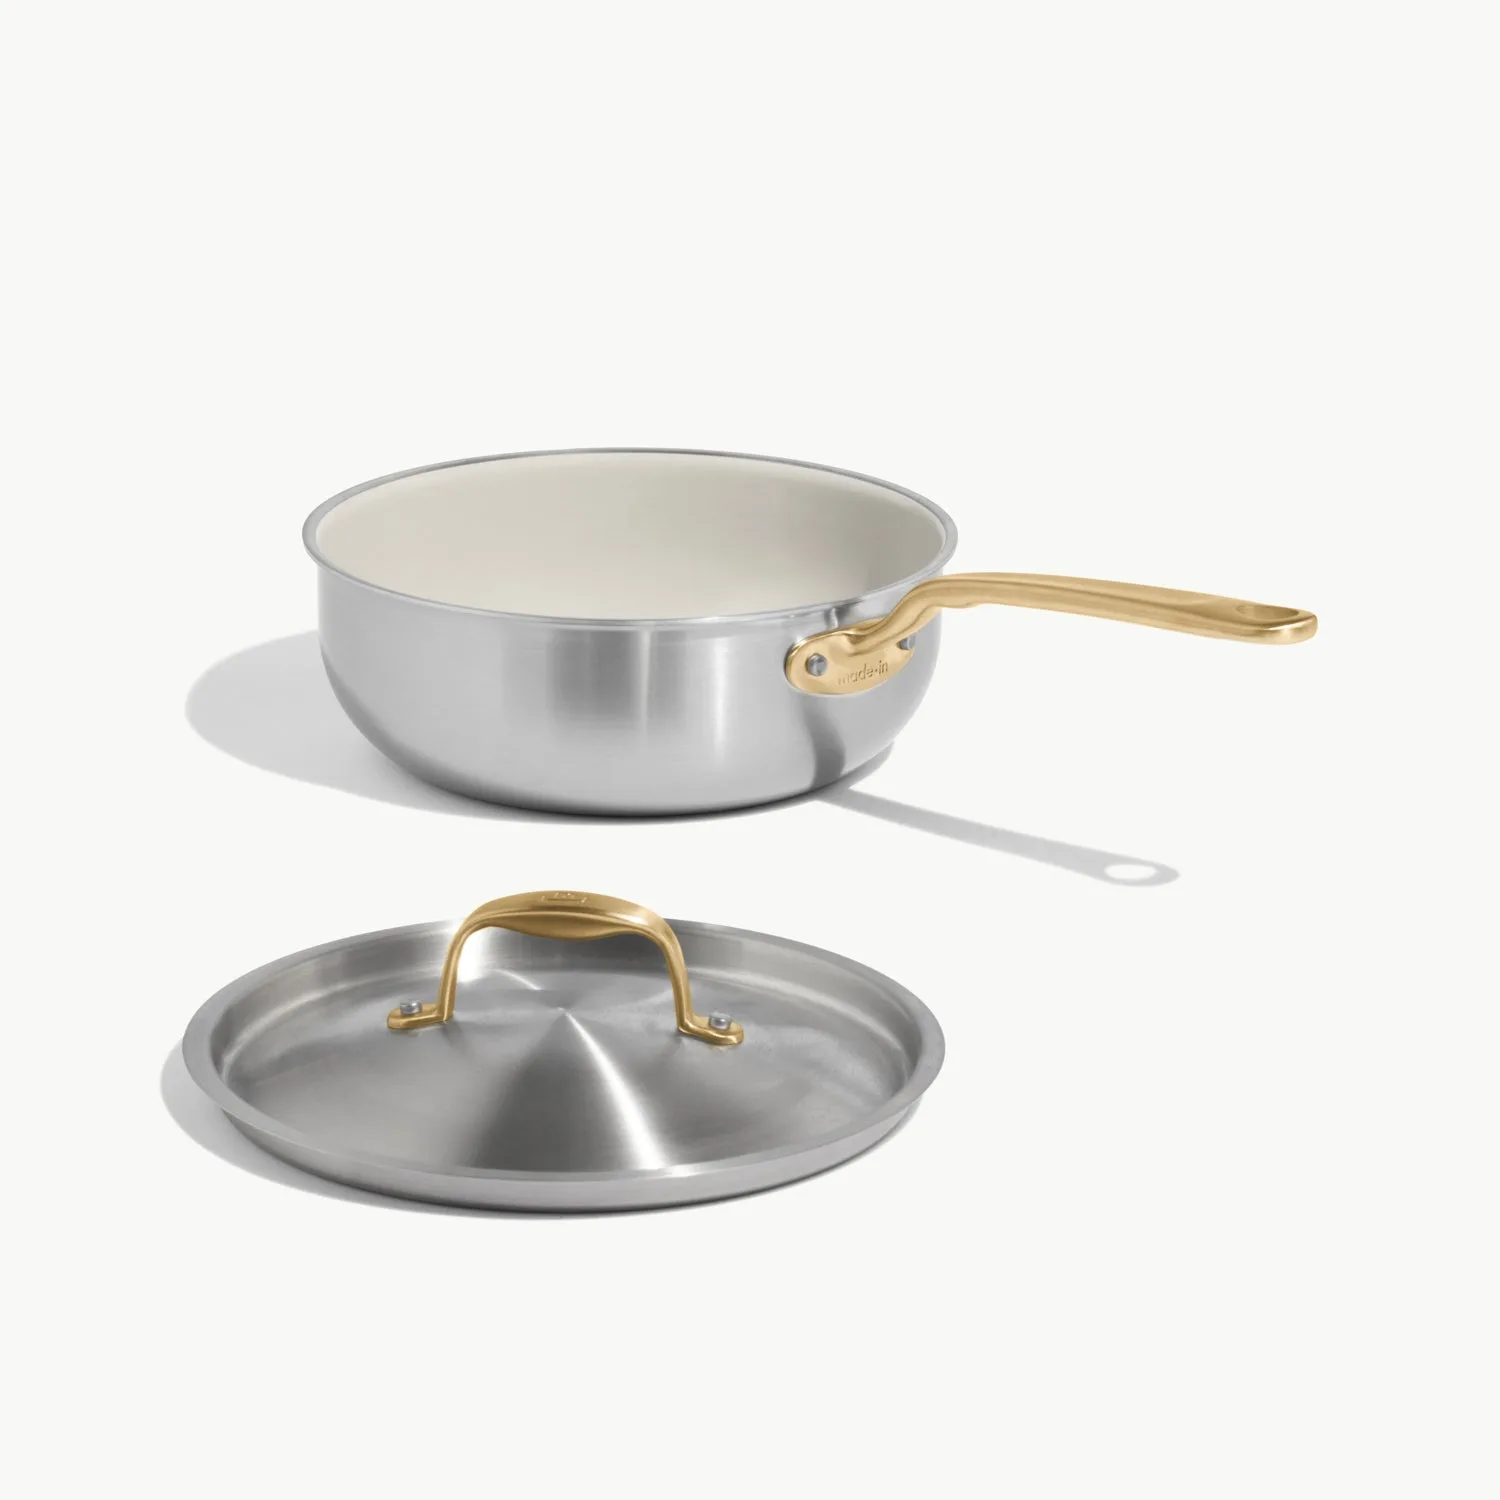
- https://kindaero.store/products/stainless-clad-saucepan-97160Stainless Clad Saucepan: The Stainless Clad Saucepan features 360° cladding for consistent heat distribution, ideal for preparing sauces, soups, and other simmered dishes. While not a roasting pan, this saucepan is perfect for making gravies and sauces from your roast drippings, ensuring they heat evenly without scorching.
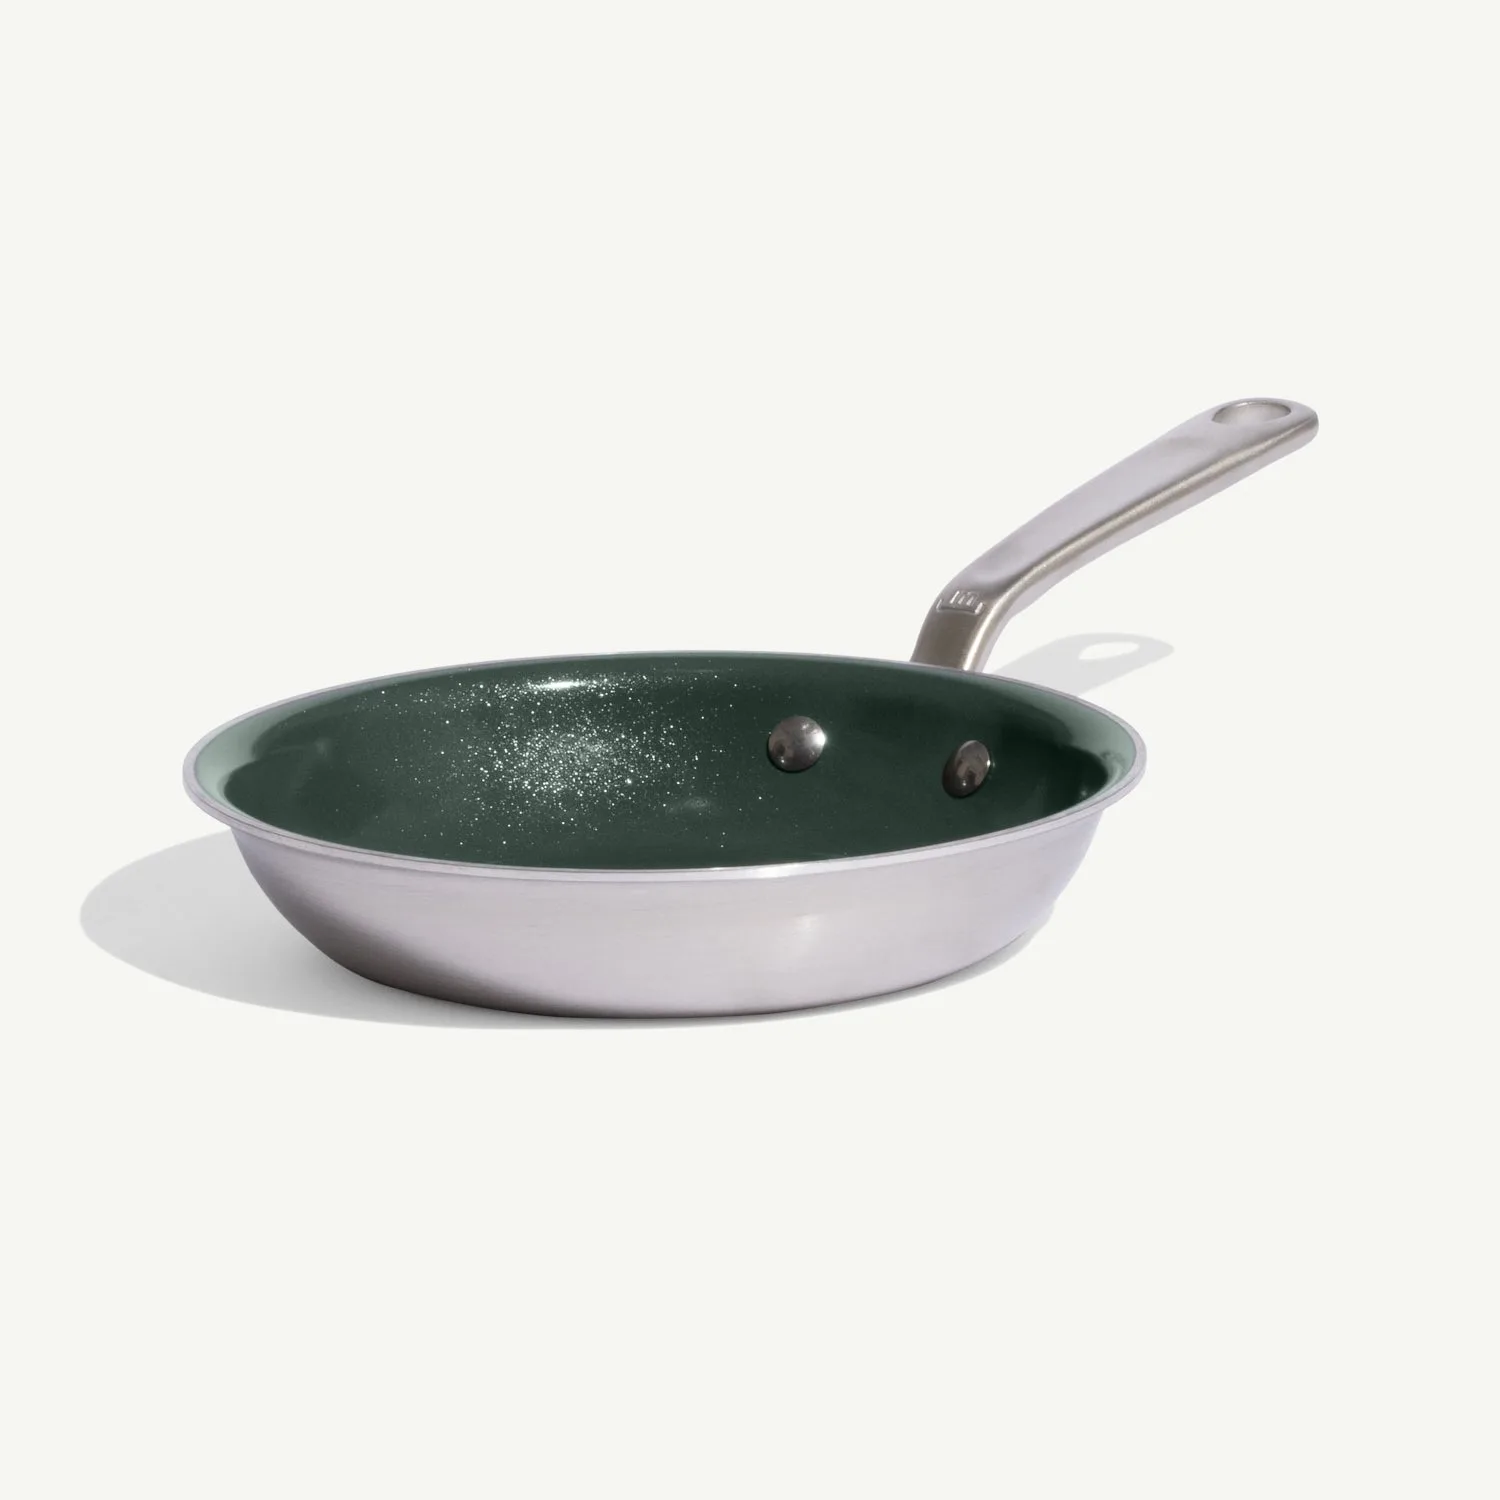
- Seasoned Carbon Steel Frying Pan Set: This set includes three seasoned carbon steel frying pans in different sizes, pre-seasoned for immediate use and designed for high-heat searing. Use a carbon steel pan to sear your roast before placing it on the rack. High-heat searing locks in flavor and creates a beautiful crust, complementing the even cooking of the rack.
Using a roasting pan rack is a simple technique that elevates your cooking by promoting even heat circulation and preventing soggy results. With the right setup and a few practical tips, you can achieve perfectly cooked meats every time. Pair your roasting skills with quality cookware from Made In Cookware to enhance your kitchen experience.