Quick answer
A sanding band is a disposable barrel-shaped sleeve that fits over a mandrel drill bit, used to smooth nail enhancements and remove shine during prep. Use medium grit bands on acrylic, dip powder, gel, and artificial tips for fast, even results.
Why medium grit works best for most prep
Medium grit sanding bands (like Kiara Sky's 50 Ct. Sanding Band Medium - Black) strike a balance between cutting power and surface control. They are aggressive enough to remove shine and smooth acrylic or gel quickly, but gentle enough to avoid gouging the natural nail plate when used with light pressure.
If you need to remove bulk product or shape tips, consider a coarser grit. For final buffing before polish or dip, switch to a fine grit band. Medium is your go-to for the main prep pass.
Common mistakes to avoid
Pressing too hard is the most frequent error. Let the sanding band's rotation do the work—excessive pressure creates heat, discomfort, and uneven surfaces.
Using a worn-out band also compromises results. Sanding bands are disposable; replace them after each client or when the grit appears clogged or smooth.
How to use a sanding band for nail prep
- Step 1: Attach the band to the mandrel: Slide a medium grit sanding band onto your Kiara Sky Crystal Mandrel drill bit until it sits flush. The band should be snug but not stretched to the point of tearing. Make sure the band is centered and secure before turning on the drill.
- Step 2: Set the drill speed: Start at a low to medium RPM (around 10,000–15,000). Higher speeds generate heat and reduce control. Test the band on your own nail or a practice tip to confirm the speed feels comfortable. If the band vibrates or skips, the speed is too high or the band is not seated properly.
- Step 3: Smooth the enhancement surface: Hold the drill like a pen and use light, sweeping motions over the nail enhancement. Focus on removing shine and leveling any bumps. Keep the band moving to avoid creating grooves or heat spots. Stop and inspect the surface regularly. If you see shiny patches, continue lightly until the entire enhancement has a matte, even finish.
- Step 4: Clean up edges and cuticles: Switch to the side of the band to gently refine the area near the cuticle and sidewalls. Keep the bit parallel to the nail plate to avoid nicking the skin. Never force the band into the cuticle pocket—use a dedicated cuticle bit for that area.
- Step 5: Remove dust and check the surface: Brush away all dust with a clean nail brush or wipe with a lint-free pad and alcohol. Run your finger over the surface—it should feel smooth and matte with no visible scratches or dips. If the surface feels rough or has visible lines, go back with a fresh medium band for a final light pass.
Product used in this guide
-
50 Ct. Sanding Band Medium - Black: Kiara Sky's medium grit Sanding Bands are perfect for smoothing the surface and removing the shine from nail enhancements such as acrylic, dip powder, gel, and artificial tips. This single band type covers most prep tasks across popular enhancement materials, reducing the need to switch grits mid-service.
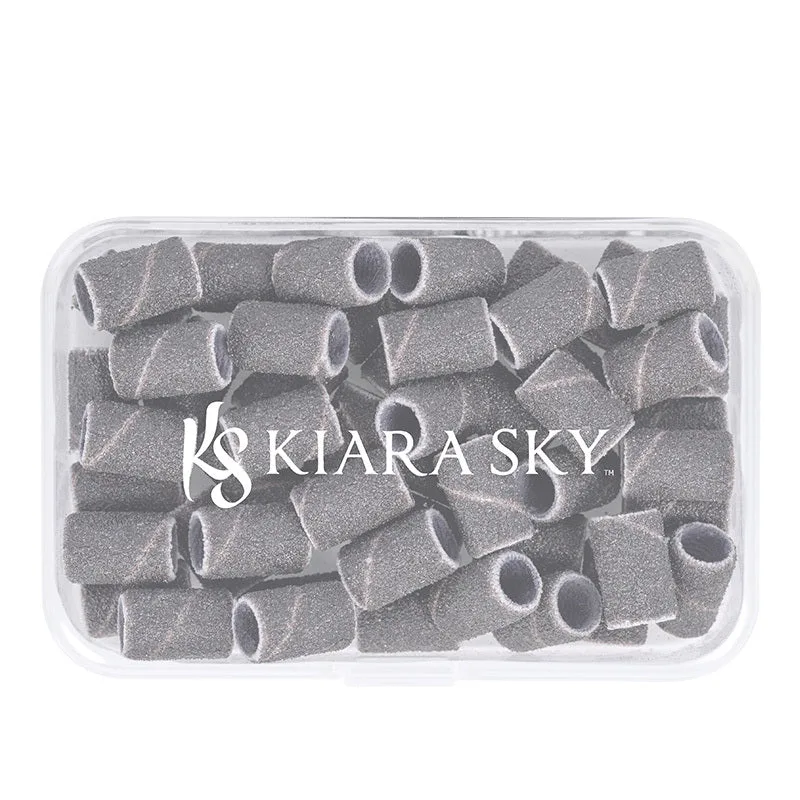
50 Ct. Sanding Band Medium - Black