Dreaming of a sun-kissed glow without the harmful UV rays? Self-tanning is your best friend. But let's be honest: nothing screams 'amateur' like orange streaks and patchy elbows. The good news? With the right self tanning application tips, you can achieve a natural-looking tan that rivals a professional spray tan.
Whether you're a self tan for beginners or a seasoned pro looking to refine your routine, this guide covers everything from skin prep to aftercare. We'll also break down the self tanning butter vs lotion debate so you can pick the perfect formula for your skin. Let's dive in.
Why Self-Tanning Is a Game-Changer
Self-tanning products have come a long way from the streaky, orange formulas of the past. Today's advanced blends—like those from frank body—use natural ingredients to deliver a believable, buildable color that fades evenly. Plus, you get all the glow without the skin damage, premature aging, or increased skin cancer risk associated with UV exposure.
A natural looking tan can boost your confidence, make your skin look more toned, and even help camouflage minor imperfections. The key is choosing the right product and applying it correctly. With a little practice, you'll be able to achieve a flawless finish every time.
- No UV damage: Self-tanners are a safe alternative to sunbathing or tanning beds.
- Buildable color: You control the depth of your tan by layering.
- Instant gratification: See results in a few hours, no waiting for the sun.
Self-Tanning Butter vs Lotion: Which Should You Choose?
One of the most common questions is whether to use a self-tanning butter or a lotion. The answer depends on your skin type and the finish you desire. Self-tanning butters are typically richer and more moisturizing, making them ideal for dry skin or for use during colder months. They often contain nourishing ingredients like shea butter and oils, which help the tan develop evenly and leave skin feeling soft.
On the other hand, self-tanning lotions tend to be lighter and absorb more quickly. They're great for oily or combination skin, and they can be easier to apply evenly over large areas. Lotions often dry faster, which means less waiting time before getting dressed. If you're new to self-tanning, a lotion might be easier to control, but a butter can provide a more glowy, hydrated finish.
At frank body, we offer a range of tanning products designed to suit different preferences. For a moisturizing, gradual glow, consider our Tanning Butter. If you prefer a quick-drying formula, our Tanning Lotion is a great choice. Both are formulated with natural ingredients to help you achieve a natural-looking tan without streaks.
Prepping Your Skin for a Flawless Application
The secret to a streak-free tan is all in the prep. Start by exfoliating your skin 24 hours before you plan to tan. This removes dead skin cells and creates a smooth canvas for the product. Focus on rough areas like elbows, knees, and ankles, but be gentle—over-exfoliating can cause irritation and lead to uneven color.
On the day of application, shower and shave at least a few hours beforehand. Shaving right after can remove some of the tan, so give your skin time to recover. Avoid using oil-based moisturizers or deodorants before applying self-tanner, as they can create a barrier that prevents even absorption. If you have dry patches, apply a light, water-based moisturizer to those areas only.
For an extra layer of protection, apply a barrier cream to your cuticles, nails, and the palms of your hands. This prevents the tanner from staining these areas, which can look unnatural.
- Exfoliate 24 hours before tanning for a smooth base.
- Shower and shave at least 2-3 hours before applying.
- Avoid oil-based products on application day.
- Use a barrier cream on hands and nails.
Step-by-Step Application: How to Apply Self Tanner
Now for the main event. Follow these self tanning application tips to achieve a natural-looking tan:
1. Work in sections: Apply the product to your legs, arms, torso, and back separately. Use a tanning mitt or gloves to ensure even coverage and avoid stained palms.
2. Use circular motions: Massage the product into your skin using gentle, circular motions. This helps the formula blend seamlessly and prevents streaks.
3. Don't forget tricky spots: Pay extra attention to your knees, elbows, and ankles. Use a light hand and blend well to avoid dark patches.
4. Let it dry: Wait at least 10-15 minutes before getting dressed. Wear loose, dark clothing to avoid transferring the product.
5. Wash your hands: If you didn't use a mitt, wash your hands thoroughly after application to avoid orange palms.
6. Build gradually: If you want a deeper tan, apply a second layer after the first has dried. This is safer than applying too much at once.
Avoiding an Orange Tan: Common Mistakes to Steer Clear Of
The dreaded orange tan is often the result of a few common mistakes. First, applying too much product or using a formula that doesn't suit your skin tone. Choose a shade that matches your natural skin tone or is just one shade deeper. If you're fair-skinned, start with a light or medium shade and build up.
Second, not exfoliating properly. Dead skin cells can cause the tanner to cling unevenly, resulting in patchy, orange-looking areas. Always exfoliate thoroughly before application.
Third, applying to dry skin. Self-tanner develops unevenly on dry patches. Moisturize dry areas like elbows and knees before applying, but avoid oily moisturizers that can repel the product.
Finally, not blending enough. Take your time and blend the product well, especially at the wrists, ankles, and neck. These areas are prone to harsh lines that can look unnatural.
Extending Your Tan: Aftercare Tips
Once you've achieved your perfect glow, you'll want to keep it looking fresh for as long as possible. Moisturize daily to keep your skin hydrated and prevent flaking, which can cause the tan to fade unevenly. Use a gentle, fragrance-free moisturizer like our Nourishing Cream Moisturiser to lock in hydration and extend the life of your tan.
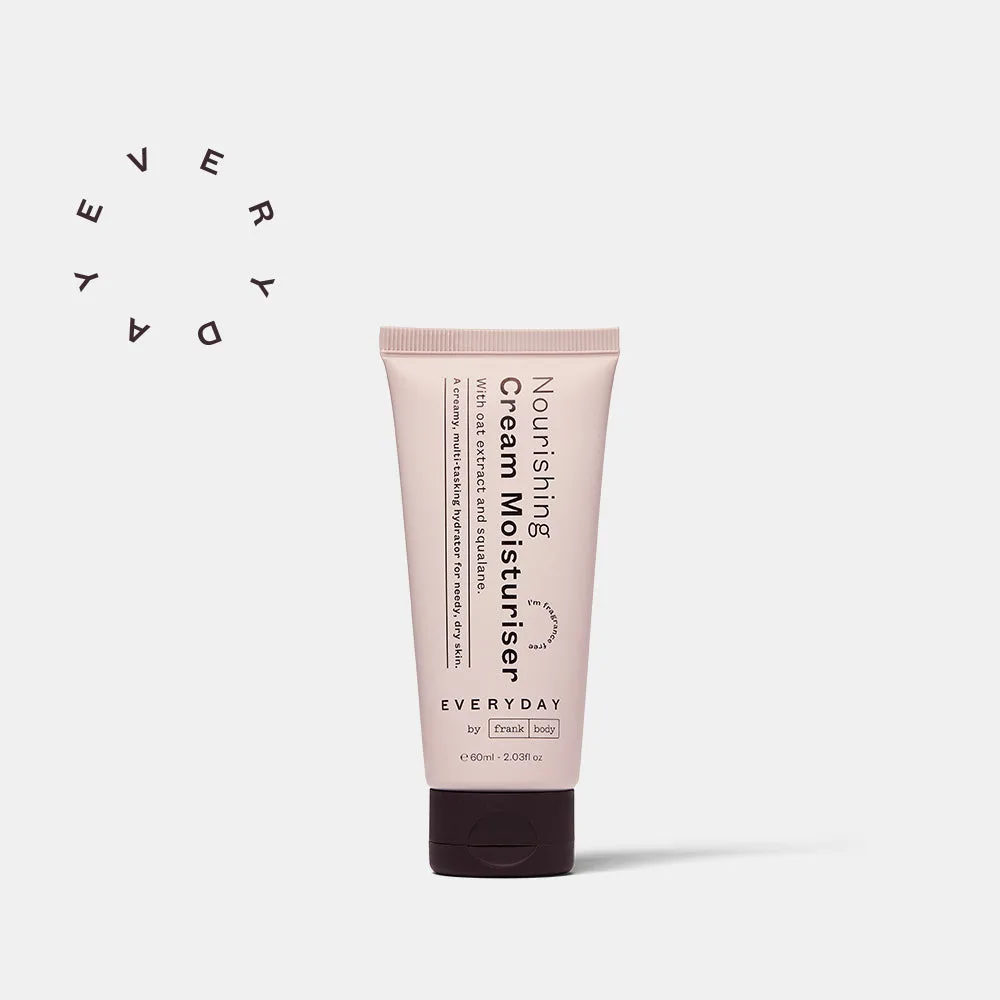
Nourishing Cream Moisturiser
Avoid hot showers and harsh soaps, as they can strip away the tan faster. Pat your skin dry after showering instead of rubbing. Also, skip exfoliating while you have a tan, or use a very gentle scrub only if needed. With proper care, your tan can last up to a week or more.
Self Tan for Beginners: Start Simple
If you're new to self-tanning, start with a gradual tanning lotion that builds color over a few days. This allows you to control the intensity and get comfortable with the application process. You can also try a tanning mist for an even, quick application. Practice on a small area first to see how your skin reacts.
Remember, practice makes perfect. Don't get discouraged if your first attempt isn't flawless. With these self tanning application tips, you'll be a pro in no time.
Achieving a natural-looking tan is all about preparation, technique, and the right product. Whether you choose a butter or lotion, following these steps will help you avoid orange tan and enjoy a beautiful, sun-kissed glow. Ready to elevate your self tan routine? Explore our range of tanning products, including the Tanning Butter, to find your perfect match.