Quick Answer
A slanted foundation brush gives you controlled, precision coverage with cream and liquid formulas. Use sweeping, pressing, and rolling motions to build a streak-free finish.
Why a slanted brush works for foundation
The slanted shape of the brush head follows the natural contours of your face—around the nose, under the eyes, and along the jawline—so you can apply foundation precisely where you need it. The angled edge also helps you blend into smaller areas without dragging the product across your whole face.
Because the brush is fluffy rather than dense, it picks up just enough product to build coverage in thin layers. That makes it easier to avoid a heavy, mask-like finish while still covering redness or uneven spots.
Trade-offs to keep in mind
A slanted foundation brush is best for cream and liquid formulas. If you prefer a very sheer, skin-like finish, you may need to use lighter pressure and build in extra thin layers—this brush applies more product per swipe than a stippling brush.
With a fluffy head, you'll also need to be more careful near the hairline and jaw. Because the brush covers a larger area, foundation can easily creep into the hair or create a visible line if you don't blend the edges well.
How to apply foundation with a slanted brush
- Prep your skin and brush: Start with a moisturized, primed face. Make sure your slanted brush is clean and dry—a damp brush can dilute cream and liquid foundation and cause streaking. Checkpoint: If your brush is damp, let it air-dry fully before applying foundation.
- Dot foundation onto your face: Apply small dots of foundation to the center of your face—cheeks, forehead, chin—rather than squeezing product directly onto the brush. This keeps the amount controlled and prevents overloading the bristles. Checkpoint: Start with less than you think you need; you can always add more.
- Sweep from the center outward: Using the flat side of the slanted brush, sweep the foundation from the center of your face outward in short, light strokes. Work one section at a time so the product stays blendable. Checkpoint: Blend each section before moving to the next to avoid visible edges.
- Press and roll for extra coverage: For areas that need more coverage, use a pressing or rolling motion with the brush tip. This layers the product without disturbing the foundation underneath. Checkpoint: Use a light hand—pressing too hard can push foundation into fine lines.
- Blend the edges: Use the slanted edge of the brush to blend along the jawline, hairline, and around the nose. This helps the foundation melt into your skin for a seamless, streak-free finish. Checkpoint: Check your reflection in natural light to spot any unblended lines.
A brush worth trying
-
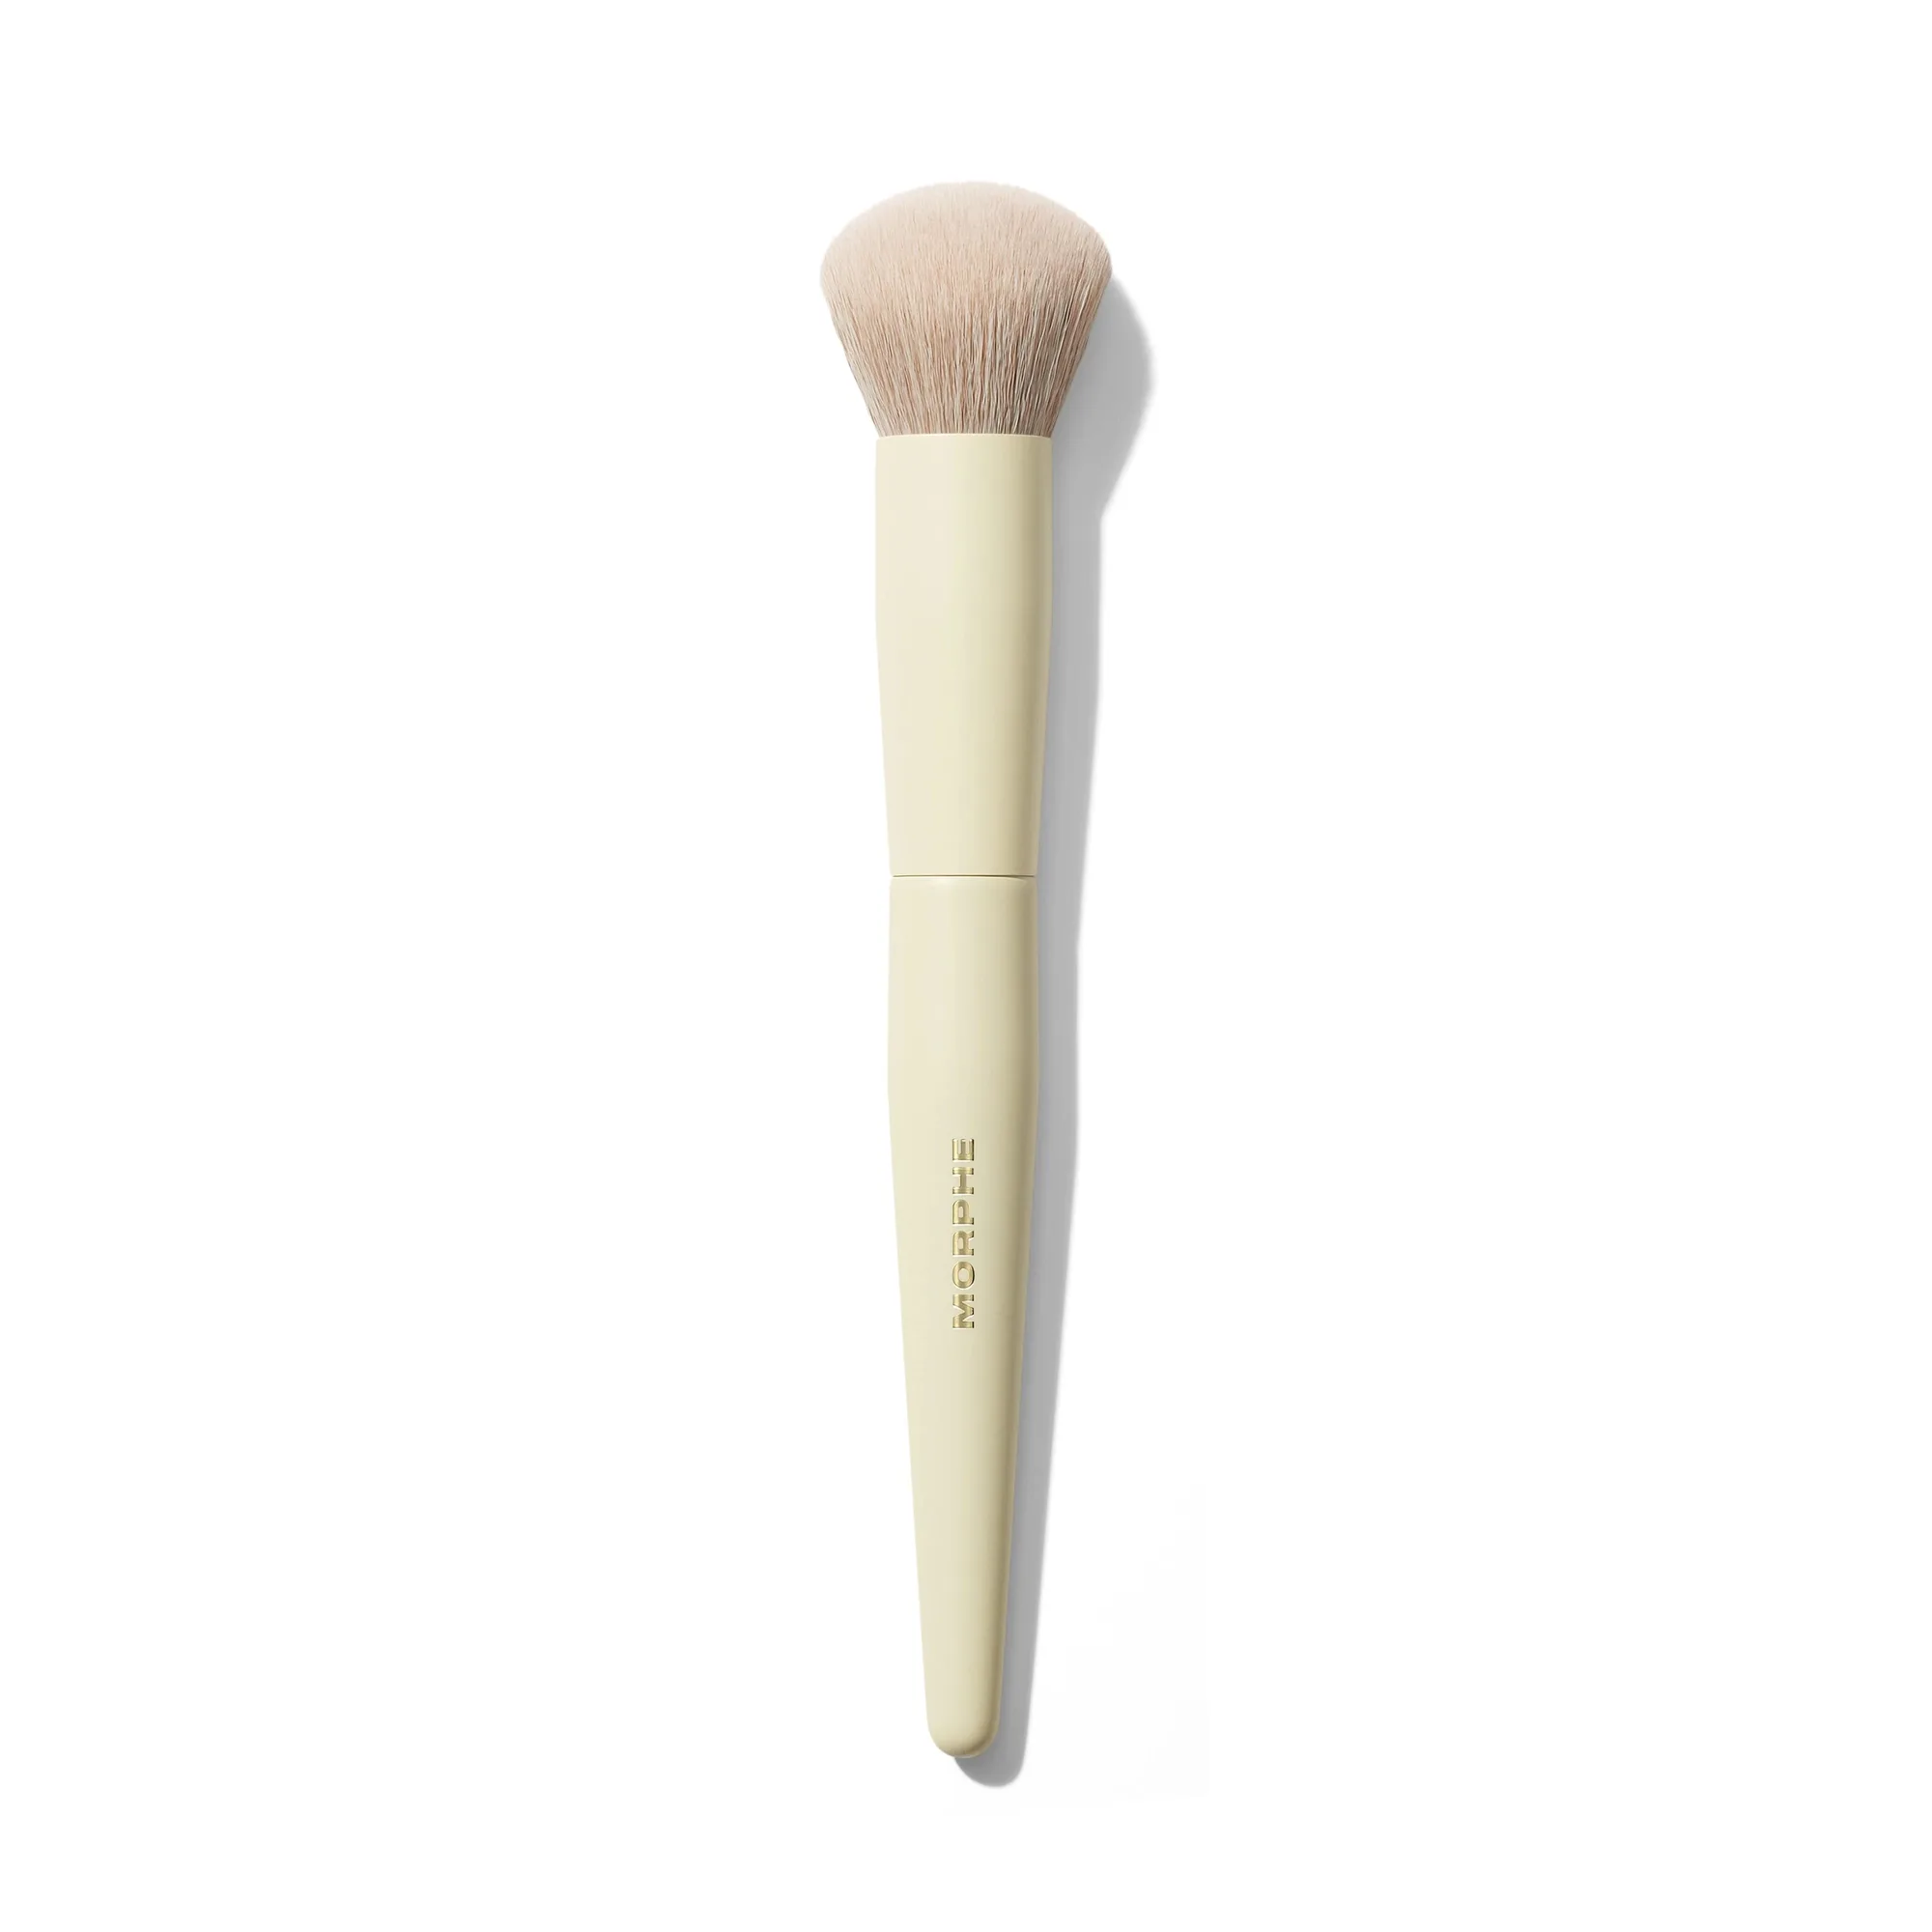
Buttery Blends M108 Slanted Foundation Brush: The Buttery Blends M108 Slanted Foundation Brush is designed for use with creams and liquids and features a fluffy head. Its fluffy, slanted shape helps you apply and blend foundation with controlled, precision coverage—so you can build a streak-free finish without overloading your skin.
Buttery Blends M108 Slanted Foundation Brush