Spot patches have become a staple in acne care routines, offering a targeted, mess-free way to heal breakouts faster. But simply sticking a patch on a pimple isn't enough to get the best results. Using a spot patch correctly can significantly reduce healing time, prevent scarring, and stop you from picking at your skin. In this step-by-step tutorial, we'll walk you through exactly how to apply and remove a spot patch for maximum effectiveness.
Whether you're new to pimple patches or looking to refine your technique, this guide covers everything from skin preparation to aftercare. We'll also highlight why the Ultra-Thin Spot Cover Patch is a game-changer for sensitive and acne-prone skin.
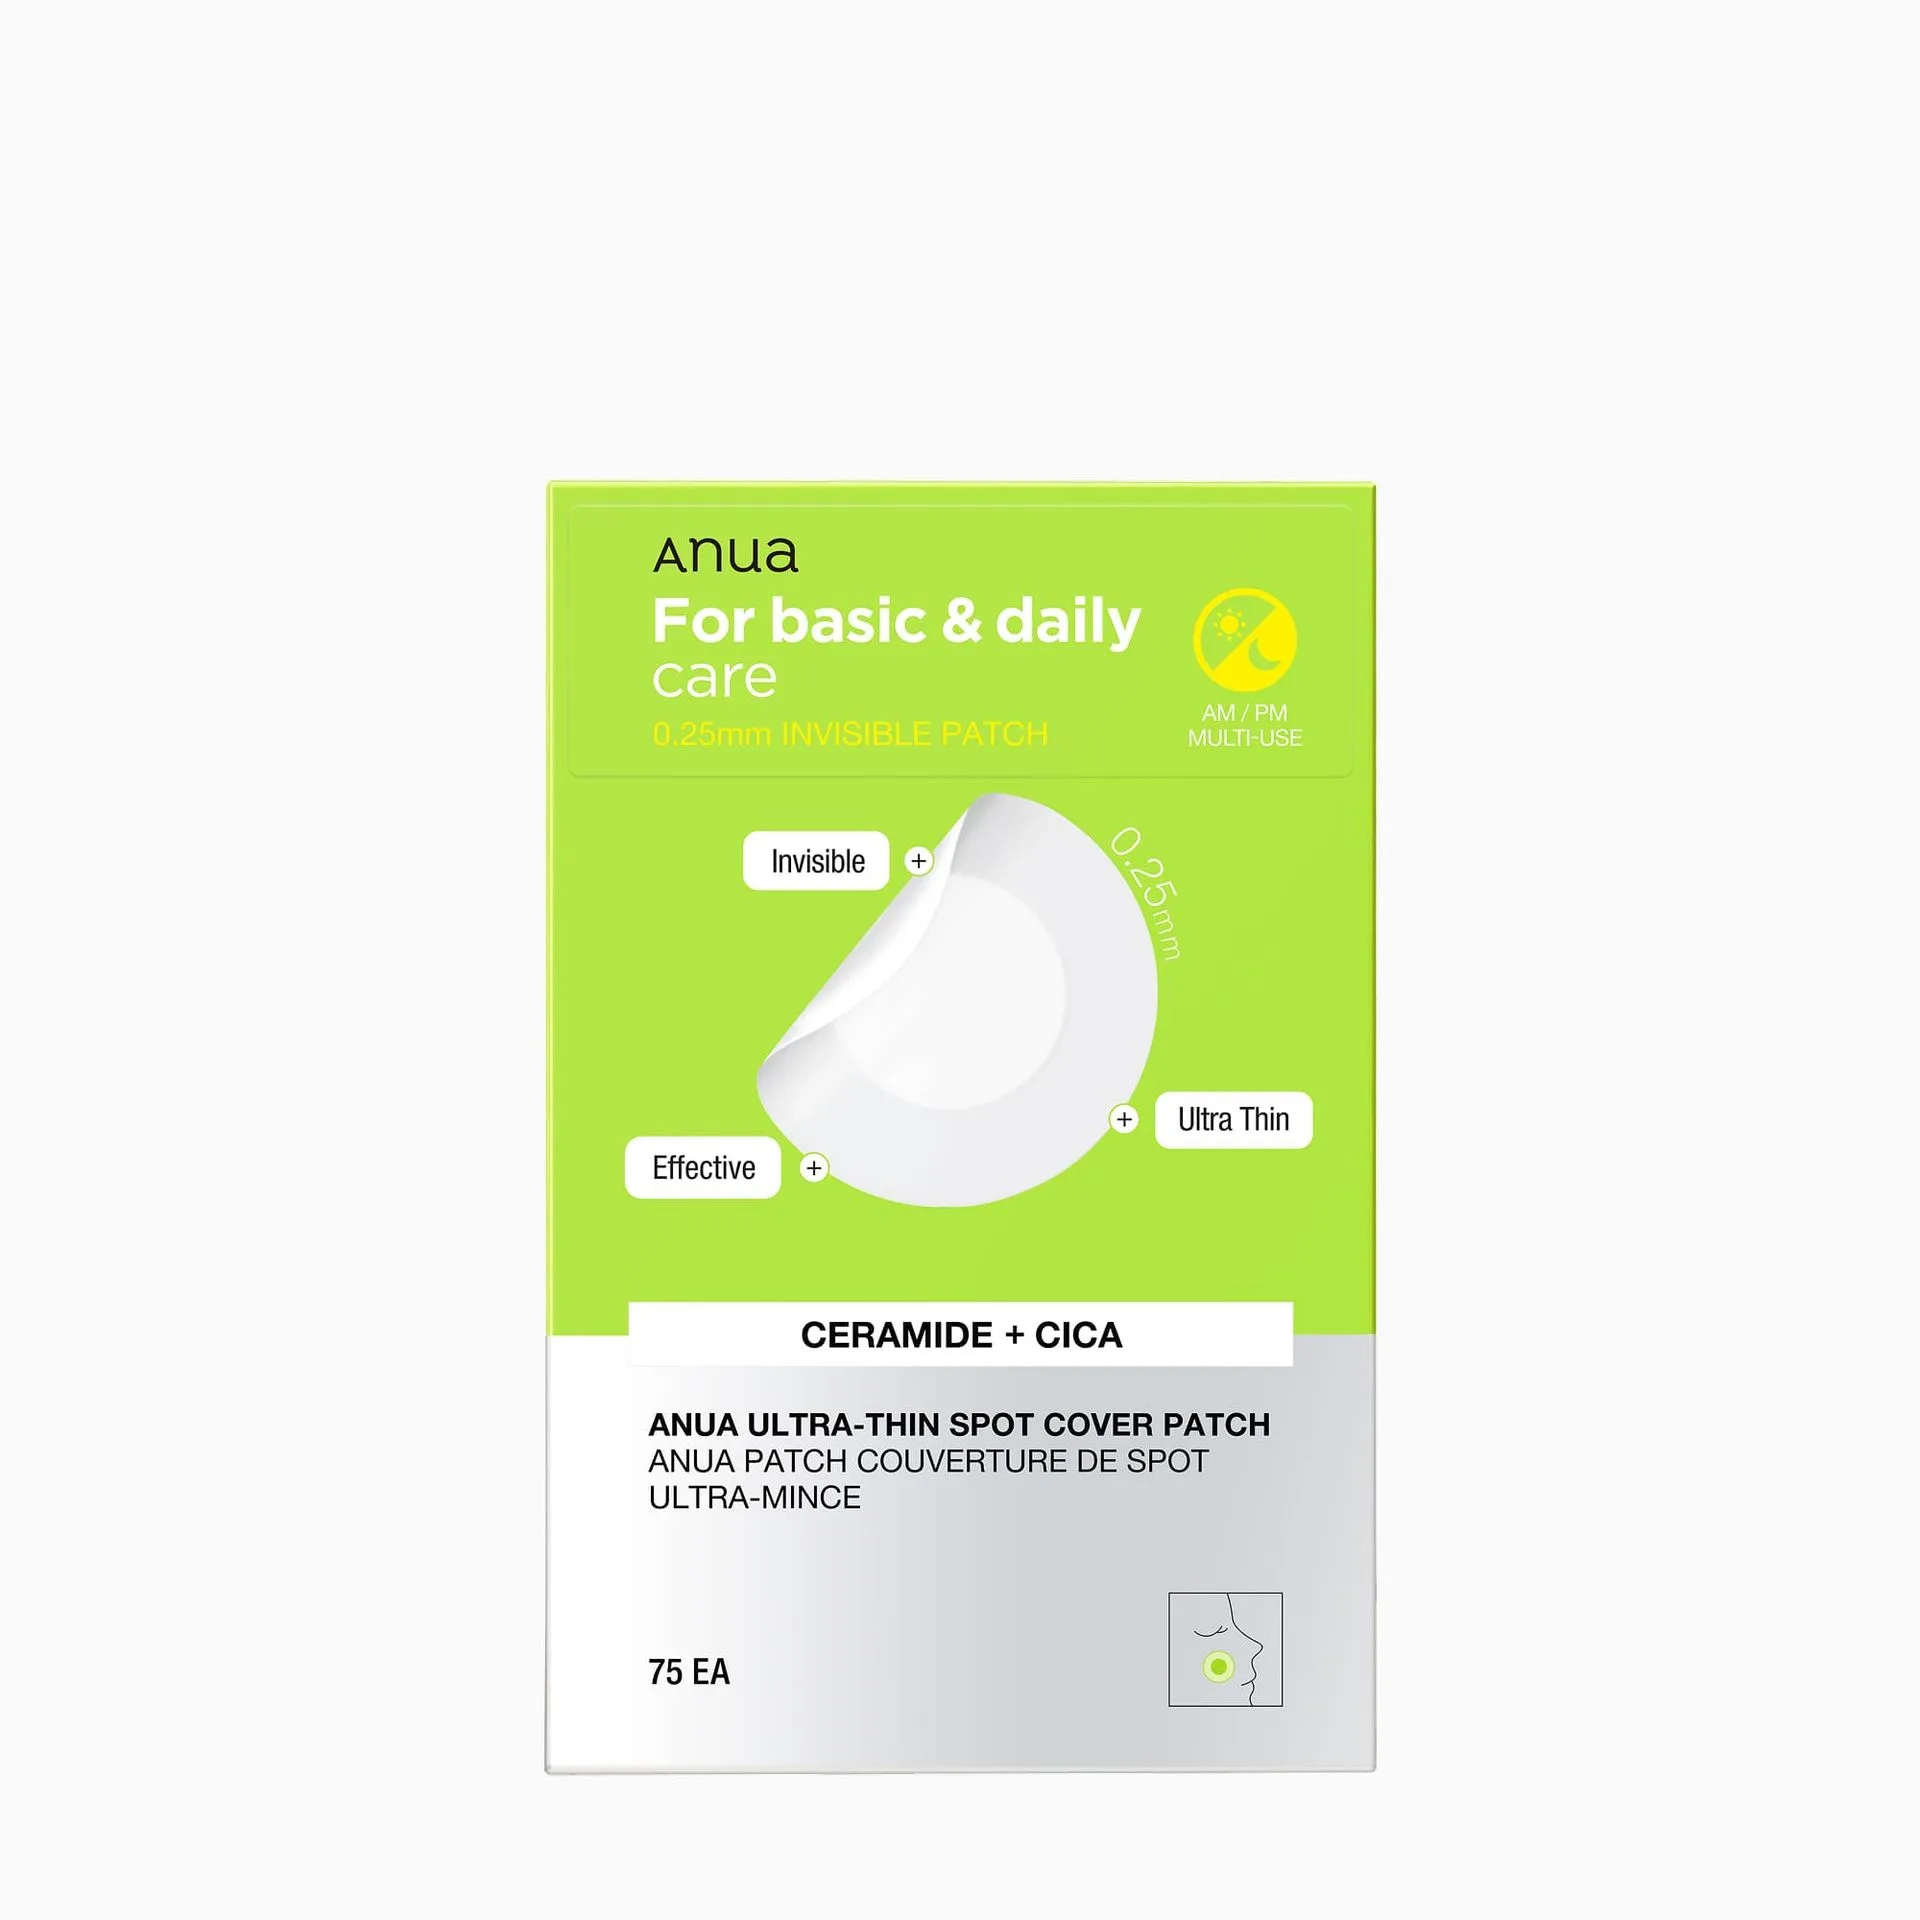
Ultra-Thin Spot Cover Patch
What Is a Spot Patch and How Does It Work?
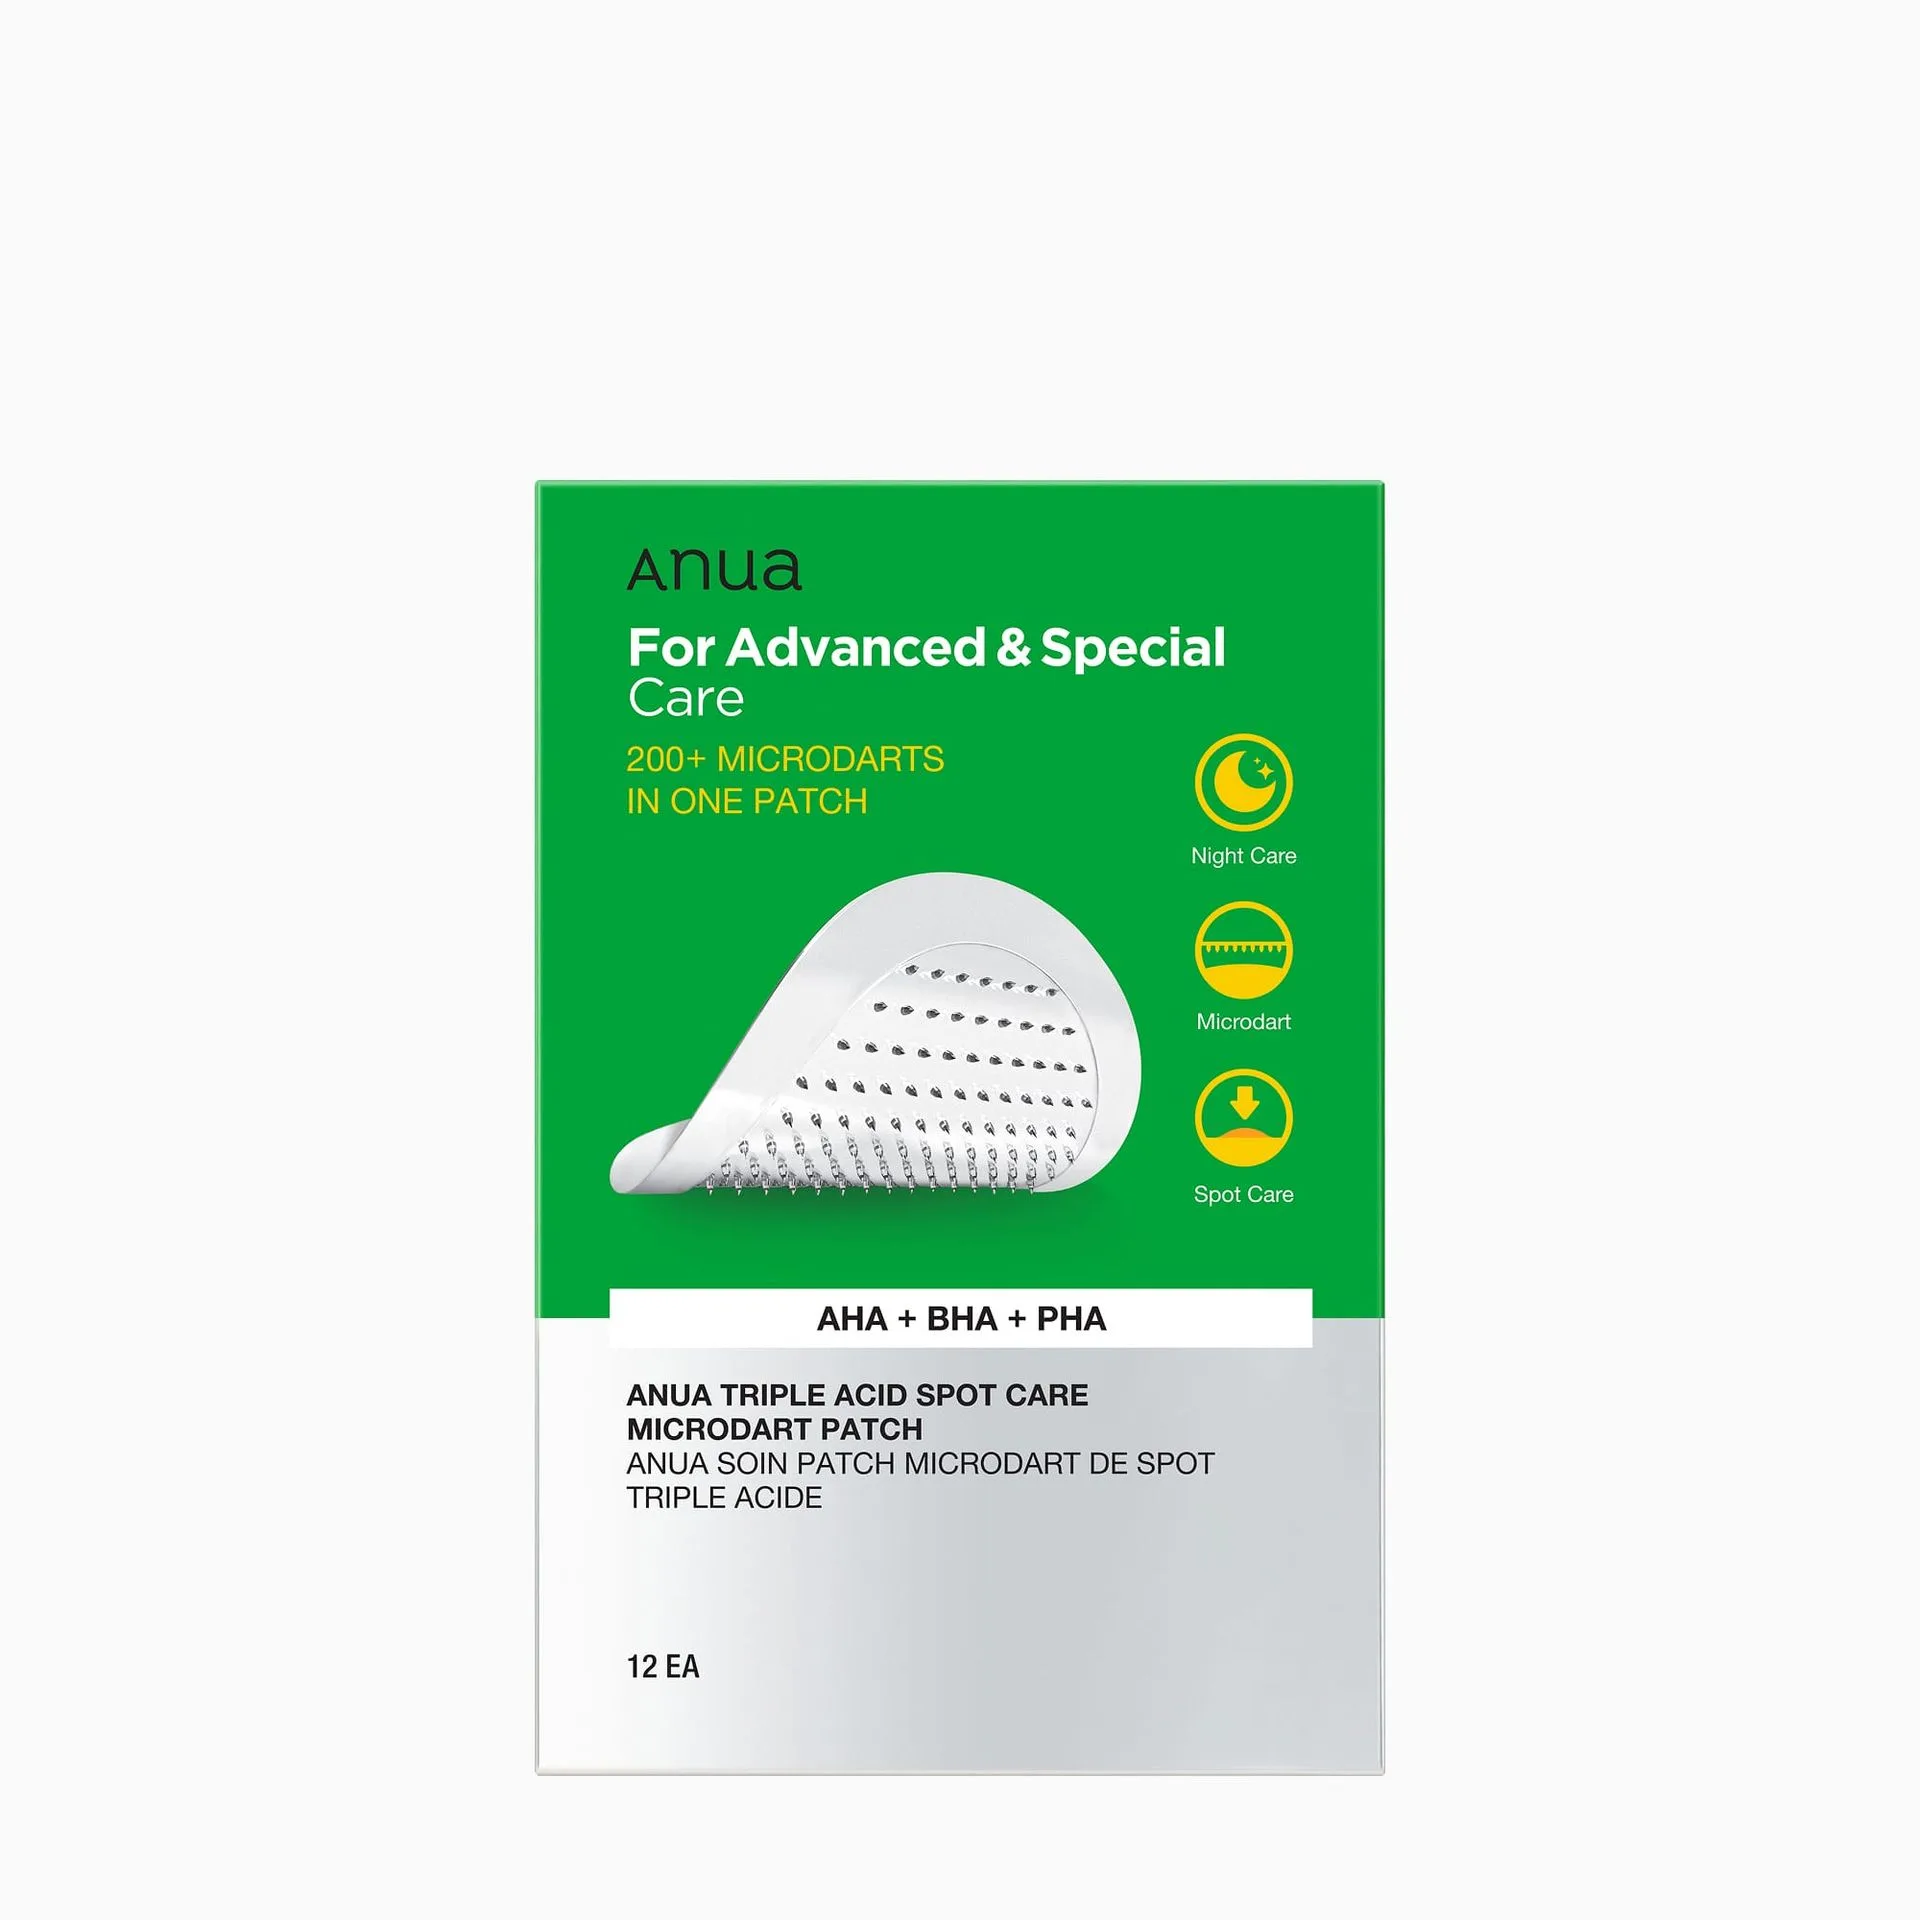
A spot patch is a small adhesive sticker made from hydrocolloid or hydrogel material that you place directly over a pimple. Hydrocolloid patches work by absorbing excess fluid, oil, and pus from the blemish while creating a protective barrier against bacteria and dirt. This environment speeds up healing and reduces inflammation.
Modern spot patches, like the Ultra-Thin Spot Cover Patch, are designed to be nearly invisible, so you can wear them during the day or overnight without drawing attention. They also prevent the urge to pick or squeeze, which is one of the main causes of acne scarring.
- Hydrocolloid patches absorb fluid and flatten pimples faster.
- Ultra-thin patches are discreet and comfortable for all-day wear.
- They protect the blemish from external irritants and bacteria.
Step 1: Cleanse Your Skin Thoroughly
Before applying any spot patch, your skin must be clean and dry. Start by washing your face with a gentle cleanser to remove makeup, sunscreen, and excess oil. A good option is the https://purebeautytools.store/products/8-hyaluronic-acid-moisturizing-gentle-gel-cleanser-514858 Hyaluronic Acid Moisturizing Gentle Gel Cleanser, which hydrates while cleansing without stripping the skin barrier.
Pat your face dry with a clean towel. Do not apply any toner, serum, or moisturizer on the area where you plan to place the patch. The adhesive needs direct contact with clean, dry skin to stick properly and work effectively.
- Use a gentle, non-stripping cleanser to prep the skin.
- Avoid applying any skincare products under the patch.
- Ensure the skin is completely dry before application.
Step 2: Choose the Right Time and Patch Type
Spot patches work best on whiteheads or pustules that have come to a head. If your pimple is still a red, inflamed bump without a visible head, the patch may not absorb anything. In that case, consider using a soothing treatment like the Heartleaf 70 Soothing Collagen Mask to calm inflammation first.
For best results, apply the patch at night when your skin is in repair mode. You can also wear one during the day if you're staying home or using a nearly invisible patch. Always choose a patch that covers the entire blemish with a small margin around it.
- Use patches only on pimples with a visible white or yellow head.
- Nighttime application allows longer wear (6–8 hours).
- Select a patch size that fully covers the blemish.
Step 3: Apply the Patch Without Touching the Adhesive
Peel the patch from its backing using the tab or edge. Avoid touching the adhesive center with your fingers, as oils and bacteria can reduce stickiness. Carefully place the patch over the pimple and press gently from the center outward to ensure full contact.
Once applied, do not touch or adjust the patch. If it doesn't stick well, your skin may still be damp or you may have applied too much product underneath. Remove and start again with clean, dry skin if needed.
- Handle the patch by the edges only.
- Press firmly but gently for a secure seal.
- If the patch lifts, reapply on completely dry skin.
Step 4: Leave It On for the Right Duration
For maximum absorption, leave the patch on for at least 6 hours. Overnight wear is ideal because your skin's natural repair processes are most active while you sleep. You'll notice the patch turn white or opaque as it absorbs fluid from the blemish.
Do not remove the patch early just to check progress. Let it work its magic. If you need to apply a new patch, wait until the current one has fully absorbed or after 8 hours. Avoid reusing patches, as they lose their adhesive and absorbency.
- Minimum wear time: 6 hours; optimal: overnight.
- A white spot on the patch indicates fluid absorption.
- Do not reuse a patch once removed.
Step 5: Remove Gently and Follow Up with Soothing Care
To remove the patch, peel it off slowly from one edge. If it sticks stubbornly, dampen it with a little water to loosen the adhesive. Never yank or pull, as this can irritate the skin and cause redness.
After removal, the area may be slightly pink or sensitive. Apply a gentle, soothing moisturizer or a calming ingredient like centella or cica. Avoid exfoliating or using active ingredients like retinol or acids on the spot for at least 24 hours to let the skin recover fully.
- Remove slowly and gently to avoid irritation.
- Use water to loosen the adhesive if needed.
- Follow up with a soothing moisturizer or barrier repair product.
Common Mistakes to Avoid When Using Spot Patches
Many people make simple errors that reduce the effectiveness of their spot patches. One common mistake is applying the patch on a pimple that hasn't come to a head yet. The patch can't absorb anything from a closed bump, so it's better to use a different treatment first.
Another mistake is applying the patch over skincare products like serums or moisturizers. The adhesive won't stick, and the patch may slide off. Always apply on bare, clean skin. Also, avoid using the same patch for more than 12 hours, as bacteria can accumulate under it.
- Don't apply on closed, inflamed pimples.
- Always apply on bare, dry skin.
- Replace the patch after 8–12 hours max.
Why the Ultra-Thin Spot Cover Patch Is a Top Choice
The Ultra-Thin Spot Cover Patch stands out because of its barely-there thickness, making it comfortable to wear under makeup or during sleep. Its hydrocolloid material draws out impurities quickly while keeping the area moist for faster healing. Plus, the micro-dart technology helps deliver soothing ingredients deeper into the skin.
For those who struggle with recurring breakouts, adding this patch to your routine can reduce healing time by up to 50%. It's also dermatologist-tested and safe for sensitive skin. Pair it with a gentle cleanser like the 8 Hyaluronic Acid Moisturizing Gentle Gel Cleanser for a complete acne-care routine.
- Ultra-thin design is invisible and comfortable.
- Hydrocolloid absorbs fluid and speeds healing.
- Safe for sensitive and acne-prone skin.
Using a spot patch correctly can transform how you manage breakouts, helping you heal faster and avoid scarring. By following these steps—cleanse, apply on a dry blemish, leave it on overnight, and follow up with soothing care—you'll get the most out of every patch. For a reliable, ultra-thin option that works wonders, check out the Ultra-Thin Spot Cover Patch and add it to your skincare arsenal today.