Quick Answer
The stopper on your reformer is a simple but essential safety feature that limits the carriage's travel and prevents it from slamming into the frame. To use it correctly, position it at the right distance for your leg length, secure it firmly, and always check it before each session. This small step protects your joints, your equipment, and ensures a safer, more controlled workout.
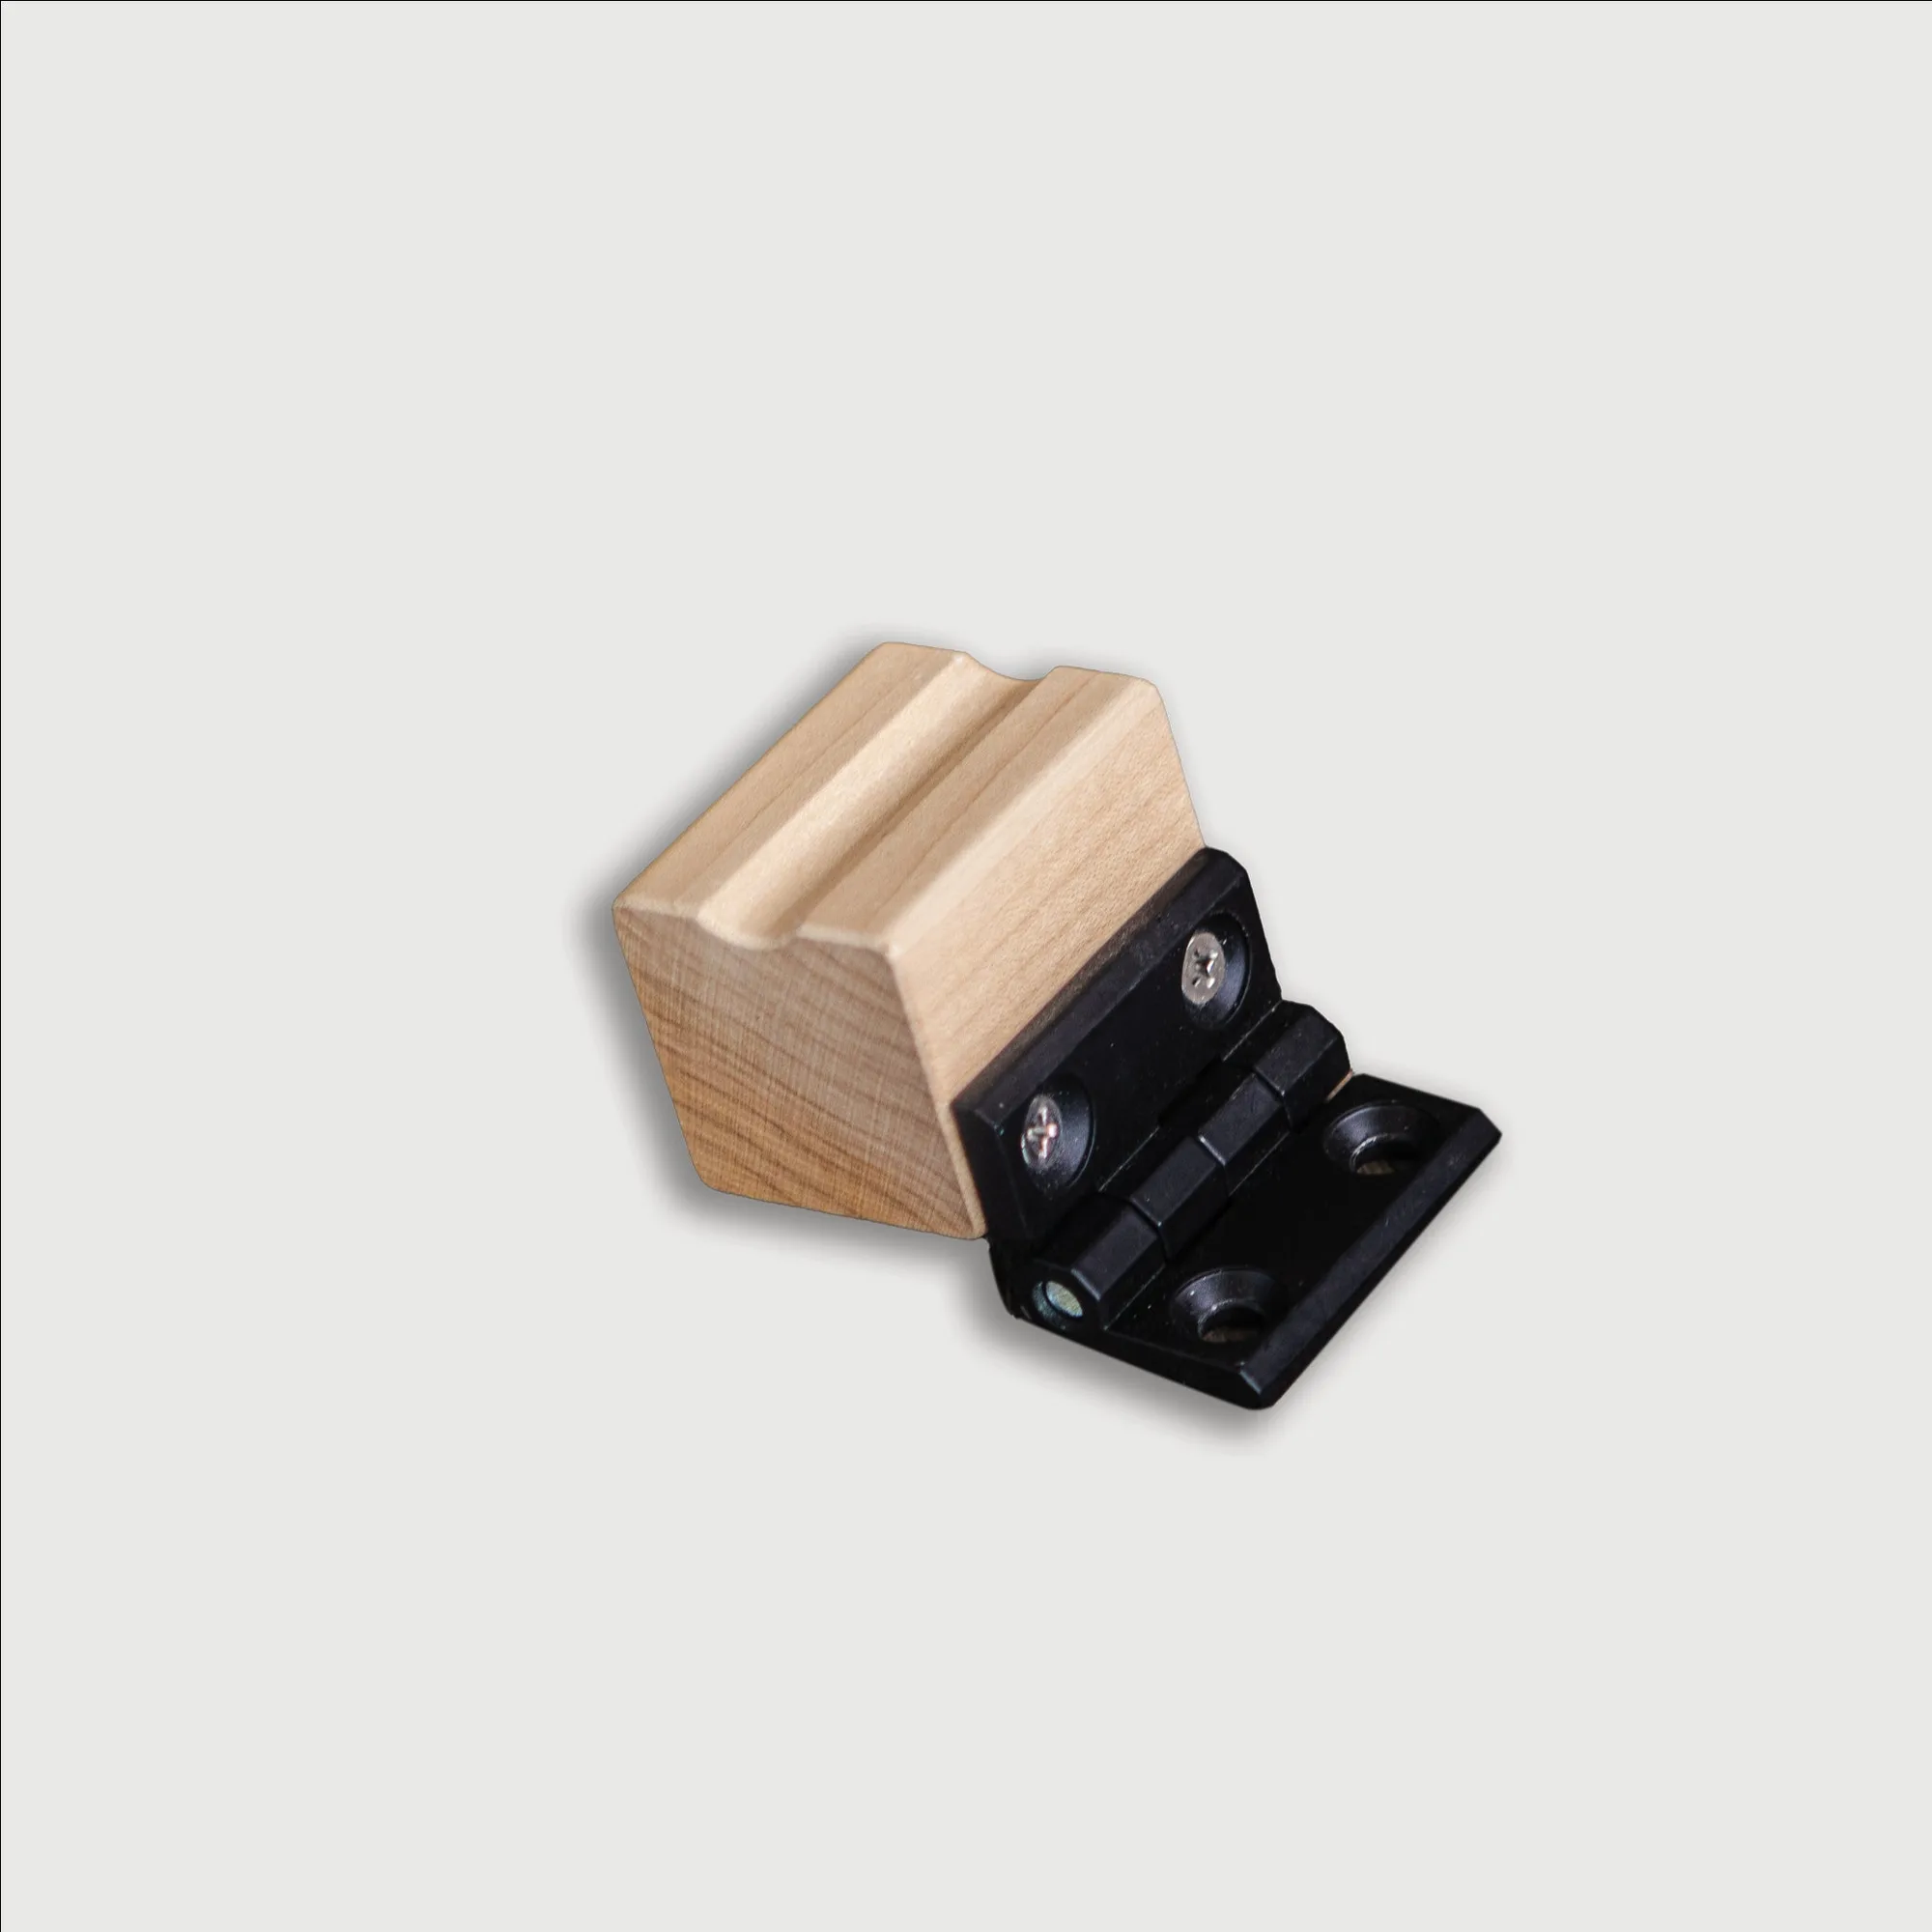
stopper
The stopper on your Pilates reformer might seem like a minor part, but it plays a big role in keeping your practice safe. Whether you're a beginner learning the ropes or a regular user fine-tuning your setup, understanding how to position and use the stopper can prevent injuries and extend the life of your machine.
In this guide, you'll learn exactly how to use the stopper, common mistakes to avoid, and how to check that it's working correctly. By the end, you'll feel more confident and in control every time you step onto your reformer.
What Is the Stopper and Why Does It Matter?
The stopper is a movable block on the reformer's frame that limits how far the carriage can roll. It's your first line of defense against over-extension, which can strain your lower back or hamstrings. By setting the stopper at the right position, you control your range of motion, making your workout both safer and more effective.
Many users overlook the stopper, assuming the springs alone control the movement. But the stopper works with the springs to provide a hard stop, especially useful during exercises like the Long Stretch or when you're fatigued. It also protects the reformer's internal parts from unnecessary wear and tear.
- Always check the stopper's position before starting any exercise.
- Use the stopper to limit range of motion for exercises that require controlled movements.
- If you're unsure about the correct position, start with a shorter range and adjust gradually.
Step-by-Step: How to Position the Stopper
Positioning the stopper correctly depends on your body and the exercise you're doing. Here's a simple method to find the right spot every time.
Start by lying on the reformer with your feet on the footbar. Push the carriage out until your legs are almost straight, then note where your hands land. The stopper should be placed just behind that point, so you have a slight bend in your knees when the carriage is fully extended. This prevents hyperextension while still allowing a full range of motion.
- For footwork exercises, the stopper should be further back to allow for deeper knee bends.
- For upper body work, bring the stopper closer to limit the carriage travel and protect your shoulders.
- Always re-adjust the stopper when switching between exercises that require different ranges of motion.
Common Mistakes and How to Avoid Them
One of the most common mistakes is setting the stopper too far away, which defeats its purpose. If the carriage can still hit the frame, you're not getting the safety benefit. Another mistake is forgetting to check the stopper after adjusting the footbar or changing springs.
Some users also place the stopper too close, which limits their movement and can cause them to compensate with poor form. The key is to find a balance that allows for a full, controlled range without locking your joints.
- Always double-check the stopper's position after any adjustment to the machine.
- If you feel any jarring or impact during your workout, stop and re-evaluate the stopper's placement.
- Listen to your body: if a movement feels restricted, adjust the stopper slightly.
Follow These Steps Every Session
- Check the Stopper Position: Before you begin, visually inspect the stopper to ensure it's secure and in the correct position for your planned exercises. Slide it along the frame and lock it in place. Checkpoint: If the stopper moves easily by hand, tighten it or replace it.
- Adjust for Your Body: Lie on the reformer and extend your legs. Position the stopper so your knees have a slight bend when the carriage is fully extended. This prevents hyperextension and protects your lower back. Checkpoint: You should feel a comfortable stretch without strain.
- Test the Range of Motion: Do a few slow, controlled reps to test the range. If you feel any jarring or the carriage slams, adjust the stopper slightly closer to the footbar. Checkpoint: The movement should be smooth and controlled from start to finish.
- Re-check After Adjustments: Whenever you change the footbar height, springs, or switch exercises, re-check the stopper's position. It's easy to bump it out of place during a session. Checkpoint: Make it a habit to glance at the stopper before every set.
Related Products for a Safer Practice
- Foot Bar Spring: This Foot Bar Spring is a replacement part designed for use with your reformer. Manufactured by Your Reformer USA, it offers a precise fit for maintaining proper tension and functionality. A properly functioning foot bar spring ensures the carriage returns smoothly, reducing the risk of sudden stops that can put stress on your joints. If your springs feel worn, replacing them keeps your reformer safe and reliable.
- 4 Star Handle: The 4 Star Handle from Your Reformer USA is a genuine replacement part and accessory designed for compatible reformer equipment. This standard-size handle offers a dependable option for maintaining or upgrading your reformer. A secure and comfortable handle improves your grip and control, especially during exercises that require pulling or pushing against the springs. Upgrading to a quality handle can enhance your stability and overall safety.
Using the stopper correctly is a small habit that makes a big difference in your reformer practice. It keeps you safe, protects your equipment, and helps you get the most out of every movement. Take a few extra seconds before each session to set it right, and you'll reap the benefits for years to come.