Quick Answer
To use a tanning mitt, start with clean, exfoliated, and completely dry skin. Apply a small amount of self-tanner to the mitt and use long, sweeping motions to spread it evenly, working from your ankles upward. Use light pressure and blend thoroughly at joints like knees and elbows to avoid streaks. Finish by washing your hands and allowing the tanner to dry completely before dressing.
A flawless self-tan is all about the application, and the secret weapon is a tanning mitt. Whether you're a self-tan newbie or a seasoned pro, using a mitt can make the difference between a natural-looking glow and a streaky mess. In this guide, we'll walk you through the step-by-step process of using a tanning mitt to achieve a smooth, even tan every time.
Tanning mitts are designed to create a barrier between your hands and the product, preventing stained palms and ensuring an even distribution. They also help you blend the product seamlessly into your skin, especially in tricky areas like knees, elbows, and ankles. With the right technique, you can achieve a salon-quality tan at home.
Why Use a Tanning Mitt?
Tanning mitts are essential for achieving a streak-free tan. They allow you to apply self-tanner evenly without leaving dark patches on your hands. The soft, velvety texture of a mitt glides over the skin, helping the product blend effortlessly. This is especially important for beginners who might struggle with uneven application.
Moreover, using a mitt reduces the risk of over-applying product in certain areas. It also keeps your hands clean, so you don't have to worry about stained palms. A good tanning mitt can be washed and reused, making it a cost-effective addition to your self-tanning routine.
- Prevents stained palms and uneven patches.
- Ensures smooth, even application even on hard-to-reach areas.
- Reusable and easy to clean, saving you money in the long run.
Preparing Your Skin for Self-Tan
Before you even pick up your tanning mitt, proper skin preparation is crucial. Start by exfoliating your entire body to remove dead skin cells. This creates a smooth canvas and helps the self-tanner adhere evenly. Focus on rough areas like knees, elbows, and ankles, as these tend to absorb more product and can look darker.
After exfoliating, rinse off thoroughly and pat your skin dry. Make sure your skin is completely free of any lotions, oils, or deodorant, as these can create a barrier that prevents the tanner from developing evenly. Wait a few minutes to ensure your skin is fully dry before applying the self-tanner.
- Exfoliate 24 hours before tanning for best results.
- Shave or wax at least 12 hours prior to application.
- Avoid applying moisturizer on the day of tanning, unless it's a tanning-specific primer.
Step-by-Step Application with a Tanning Mitt
Now that your skin is prepped, it's time to apply the self-tanner. Start by applying a small amount of product to the mitt. You can pump the mousse or lotion directly onto the mitt or onto your hand and then transfer it. The key is to use a small amount and build up gradually to avoid over-darkening.
Begin applying from your ankles and work your way up. Use long, sweeping motions, and blend in circular movements at joints like knees and elbows. For your back, you may need a friend or a long-handled applicator. Remember to use light pressure and keep the mitt moving to avoid streaks.
- Always apply in sections, such as legs, then arms, then torso.
- Use a separate, smaller amount for your face and neck.
- Wait a few minutes between sections to avoid smudging.
Step-by-Step: How to Use a Tanning Mitt
- Prep Your Skin: Exfoliate and dry your skin completely. Avoid applying any lotions or oils that could interfere with the tan. Smooth, dry skin is key to an even tan.
- Apply Product to Mitt: Pump a small amount of self-tanner onto the mitt. Start with a conservative amount; you can always add more. Less is more – build up gradually.
- Apply in Sections: Start from your ankles and work upward. Use long, sweeping strokes and blend in circular motions at joints. Work quickly but carefully to avoid streaks.
- Blend at Joints: Knees, elbows, and ankles tend to absorb more product. Use a light hand and blend well to prevent dark patches. Bend your joints slightly while applying to avoid creases.
- Let It Dry: Allow the tanner to dry completely before getting dressed. Wait at least 10 minutes, or as directed on the product label. Patience prevents smudging and uneven color.
Products to Enhance Your Self-Tan Routine
- In Your Dreams Sleep Scrub & Soak: A 2-in-1 scrub and soak packed with soothing magnesium and gently exfoliating epsom salts to relieve sore muscles and smooth dry skin. Exfoliating before tanning is essential for a smooth, even application. This scrub helps remove dead skin cells, ensuring your tan develops evenly and lasts longer.
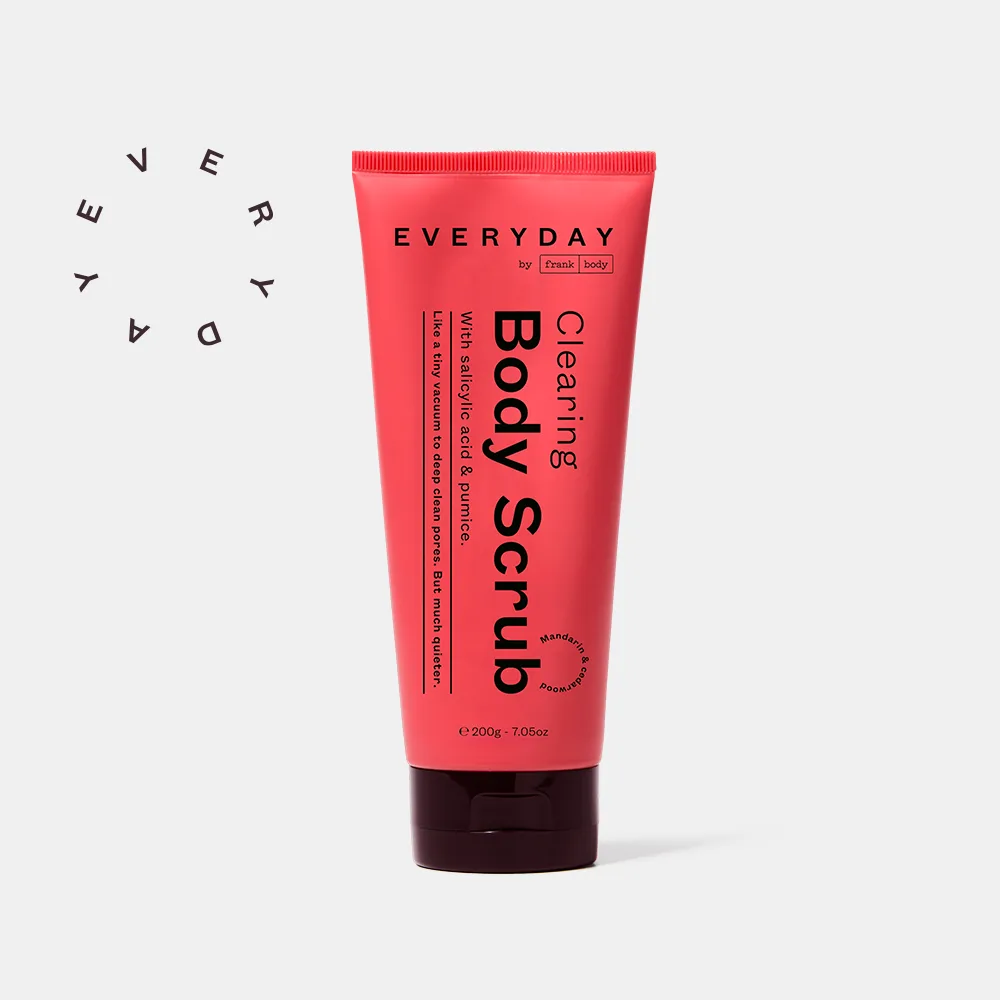
- Clearing Body Scrub: A clay-based body scrub with fine pumice exfoliant, purifying white clay, refining salicylic acid, smoothing niacinamide, and calming willow bark to manage oil and redness. If you have acne-prone or sensitive skin, this scrub gently exfoliates without aggravating breakouts, prepping your skin for a flawless tan without irritation.
Using a tanning mitt is the key to achieving a professional-looking self-tan at home. With the right preparation and technique, you can enjoy a streak-free, natural glow that lasts. Remember to exfoliate beforehand, apply in sections, and blend thoroughly at joints. For best results, pair your self-tanning routine with a gentle exfoliating scrub like the In Your Dreams Sleep Scrub & Soak to keep your skin smooth and your tan even. Now go ahead and glow!