Start with the right shade for your skin
The Bronzer comes in eight shades: Dusty Rose, Light Tan, Tan, Medium Tan, Golden Tan, Cinnamon, Terracotta, and Cocoa. The shade names suggest a range from soft rose to deep cocoa, and the product was developed to work across a range of skin tones and types. For a natural look, choose a shade that is one to two steps warmer than your skin, not dramatically darker. If you are unsure, start with a lighter shade and build up—sheer and buildable means you can always add more.
If you have a cool undertone, a shade with rose or tan warmth (like Dusty Rose or Light Tan) can look natural. If you have a warm or golden undertone, Golden Tan or Medium Tan may blend seamlessly. Deeper skin tones may find Cinnamon, Terracotta, or Cocoa gives the most believable warmth. These are suggestions based on the shade names; the catalog does not provide undertone labels, so use your own judgment and test on your jawline in natural light.
Prep your skin and base
The Bronzer is a silky powder, so it works best on skin that is moisturized but not slick. If you use a foundation stick, apply and blend it first, then set lightly if needed. Powder bronzer can skip or grab on unset cream, so a thin layer of setting powder or a wait of a minute or two helps. If you are going foundation-free, apply skincare and let it absorb before bronzing. The catalog does not specify a primer, but a smooth, dry-to-the-touch base will help the powder blend evenly.
Apply The Bronzer step by step
Use a fluffy brush or a duo-fiber brush for the most natural result. Tap off excess before applying.
- 1. Load the brush lightly: Swirl or tap the brush into the powder, then tap off excess on the back of your hand. Start with less than you think you need.
- 2. Place where the sun hits: For a natural look, focus on the high points of the face: tops of cheekbones, temples, bridge of the nose, and a touch on the chin. This is different from contour, which uses shadow to sculpt. Bronzer adds warmth, so keep it on the areas that naturally catch the sun.
- 3. Build in thin layers: Use a light hand and blend in small circular motions. The Bronzer is sheer and buildable, so add a second layer only where you want more warmth. Avoid applying a heavy stripe—blend until edges disappear.
- 4. Check in natural light: Step to a window or use a hand mirror to make sure the color looks seamless. If it looks patchy, buff with a clean brush or a slightly damp sponge to soften.
Bronzer vs. contour: where each goes
The Bronzer is designed to add warmth and can also be used for color correction, but it is not a contour product. Knowing the difference helps you place it naturally.
- Bronzer placement: High points of the face—cheekbones, temples, nose bridge, chin—to mimic a sun-kissed glow. Keep it warm and diffused.
- Contour placement: Hollows of the cheeks, jawline, sides of the nose—to create shadow and shape. Contour is typically cooler and more pigmented. The Bronzer is sheer and buildable, so it is not ideal for sharp contouring; use it for warmth instead.
Using The Bronzer with a foundation stick
If you use a foundation stick, apply it first and blend well. Let it set for a moment, then lightly powder if you have oily skin. The Bronzer is a powder, so it layers easily over stick foundation without disturbing it, as long as you use a light hand. For a natural look, avoid applying bronzer directly over unblended foundation—blend the foundation first, then bronze the high points. If you want a more seamless finish, you can tap bronzer onto the cheeks with a damp sponge for a softer edge.
What The Bronzer is designed to do
-
The Bronzer: Silky powder that adds instant warmth to the skin. Explains why it blends easily and gives a natural glow rather than a flat look.
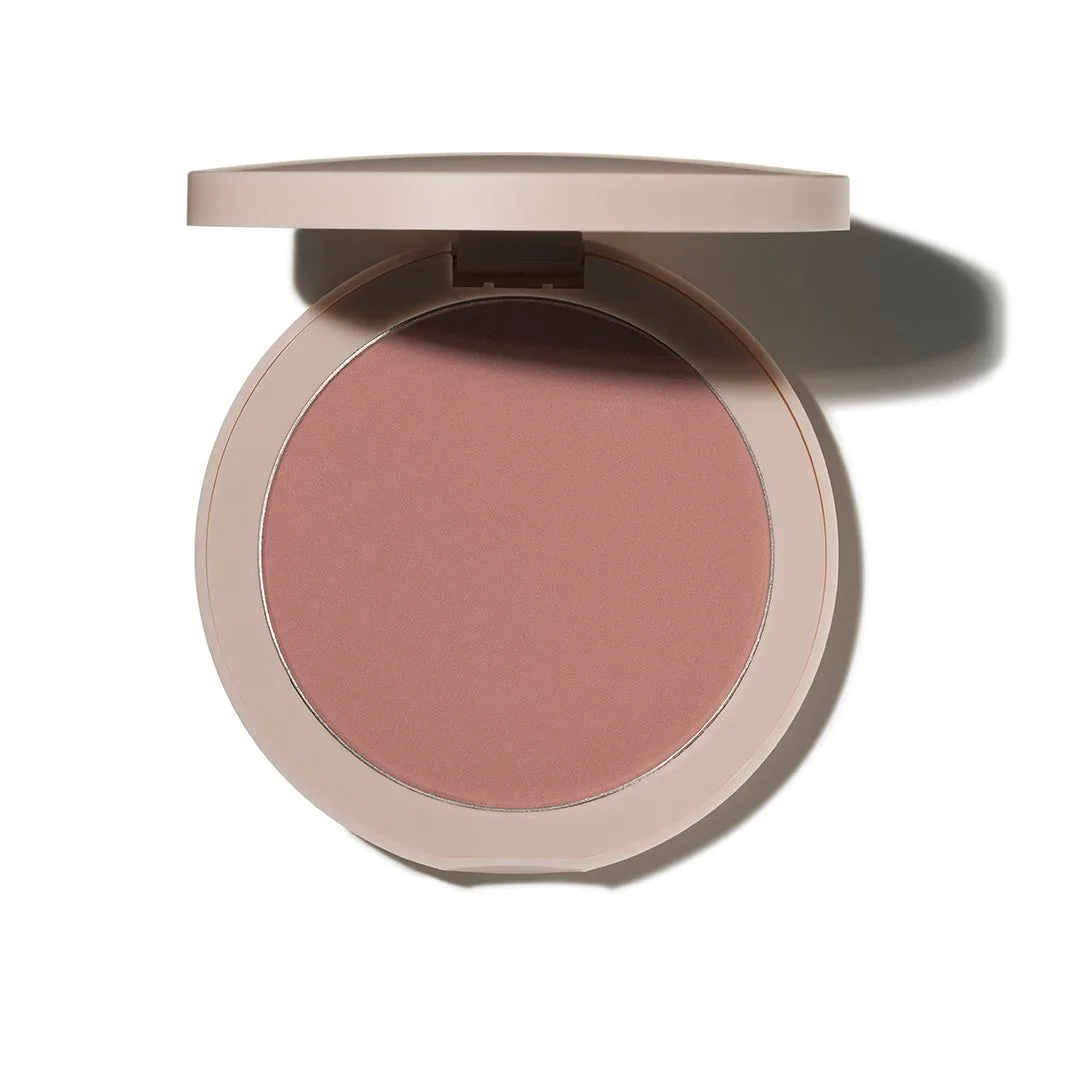
The Bronzer
-
The Bronzer: Sheer and buildable, can be used for a natural tint or color correction. Supports layering and using it subtly; color correction is an option if you need to neutralize redness.
-
The Bronzer: Available in eight shades and developed to work across a range of skin tones and types. Helps you find a match and trust that the formula suits different skin types.
Common mistakes to avoid
The most common mistake is applying too much at once. Because The Bronzer is sheer, it is forgiving, but a heavy hand can still look muddy. Always tap off excess and build gradually. Another mistake is placing bronzer in the hollows of the cheeks—that is contour placement and can look unnatural with a warm powder. Keep bronzer on the high points. Finally, blending is key: if you see edges, keep buffing. A clean, fluffy brush helps diffuse any harsh lines.
If you have dry skin, make sure your base is hydrated; powder can cling to dry patches. The catalog does not provide specific skincare instructions, so rely on your usual moisturizer. If you have oily skin, a light dusting of setting powder before bronzer can help it last, but the catalog does not make longevity claims.