Quick answer
For targeted dry patches, glide The Oil Stick directly over the area after cleansing, then press it in with clean fingertips. Use it as a spot treatment on flaky cheeks, around the nose, or anywhere skin feels tight, and build in thin layers rather than one heavy coat.
Why a balm stick works for dry patches
Dry patches often need more than a general moisturizer. The Oil Stick delivers a concentrated blend of coconut alkanes and four oils—apricot, jojoba, rosehip, and sunflower—in a portable format, so you can target the exact spots that flake or feel rough without re-creaming your whole face.
Because it's a solid stick, you can control placement precisely. That makes it useful for dry patches around the nose, on the cheeks, or near the mouth, where a heavy cream can feel messy or migrate. It's also easy to carry for touch-ups during the day.
When to use it—and when to skip it
The Oil Stick fits best into a routine when your skin is dry but not irritated. If a patch is cracked, stinging, or visibly inflamed, hold off on any oil-based product and consult a dermatologist; the stick is not designed to treat medical skin conditions.
For very oily or acne-prone skin, test the stick on a small area first. The formula is oil-based, so it may be too rich for areas prone to breakouts. Use it only on genuinely dry spots rather than all over the face unless your skin tolerates it well.
Step-by-step: targeted dry patch routine
- Start with clean, dry skin: Cleanse your face and gently pat dry. Apply The Oil Stick as the first moisturizing step, or after a lightweight serum if you use one. Common mistake: applying to damp skin straight from the sink—water can dilute the stick and make it feel less effective. Wait a few seconds after cleansing so skin is fully dry before swiping.
- Twist up a small amount: Advance the stick just enough to expose a thin layer—about 1–2 mm. You can always add more. Common mistake: twisting up too much product, which can bend or break the stick during application. Keep the stick low and build in layers.
- Glide directly over the dry patch: Use light, even strokes over the flaky or tight area. For small spots like the sides of the nose, use the edge of the stick. Common mistake: pressing hard or rubbing back and forth, which can tug dry skin. One or two gentle passes are enough; don't scrub.
- Press in with clean fingertips: Use your fingers to gently press the product into the skin until it feels absorbed. This helps distribute the oils evenly. Common mistake: leaving a thick, greasy layer on the surface—press it in so it doesn't transfer to makeup or clothing. If it still feels slick after pressing, you applied too much; blot gently with a tissue.
- Layer if needed—but don't overdo it: For very dry patches, you can repeat with a second thin layer. Wait a minute between layers to see how much your skin actually needs. Common mistake: piling on multiple layers at once, which can feel heavy and waste product. Two thin layers are usually enough for daytime; save a third for overnight if skin still feels tight.
- Reapply as needed during the day: Keep The Oil Stick in your bag for touch-ups on dry patches, especially in dry indoor air or cold weather. Swipe and press with fingers, just like in the morning. Common mistake: applying over makeup without pressing—this can disturb foundation. Instead, press gently with a fingertip to blend. For makeup touch-ups, warm the stick on the back of your hand first, then tap on with a finger.
Product facts
-
The Oil Stick: A multipurpose face oil in portable stick form, made with coconut alkanes and a quartet of oils: apricot, jojoba, rosehip, and sunflower. The stick format lets you apply concentrated moisture exactly where you need it, without dispensing oil onto your fingers first.
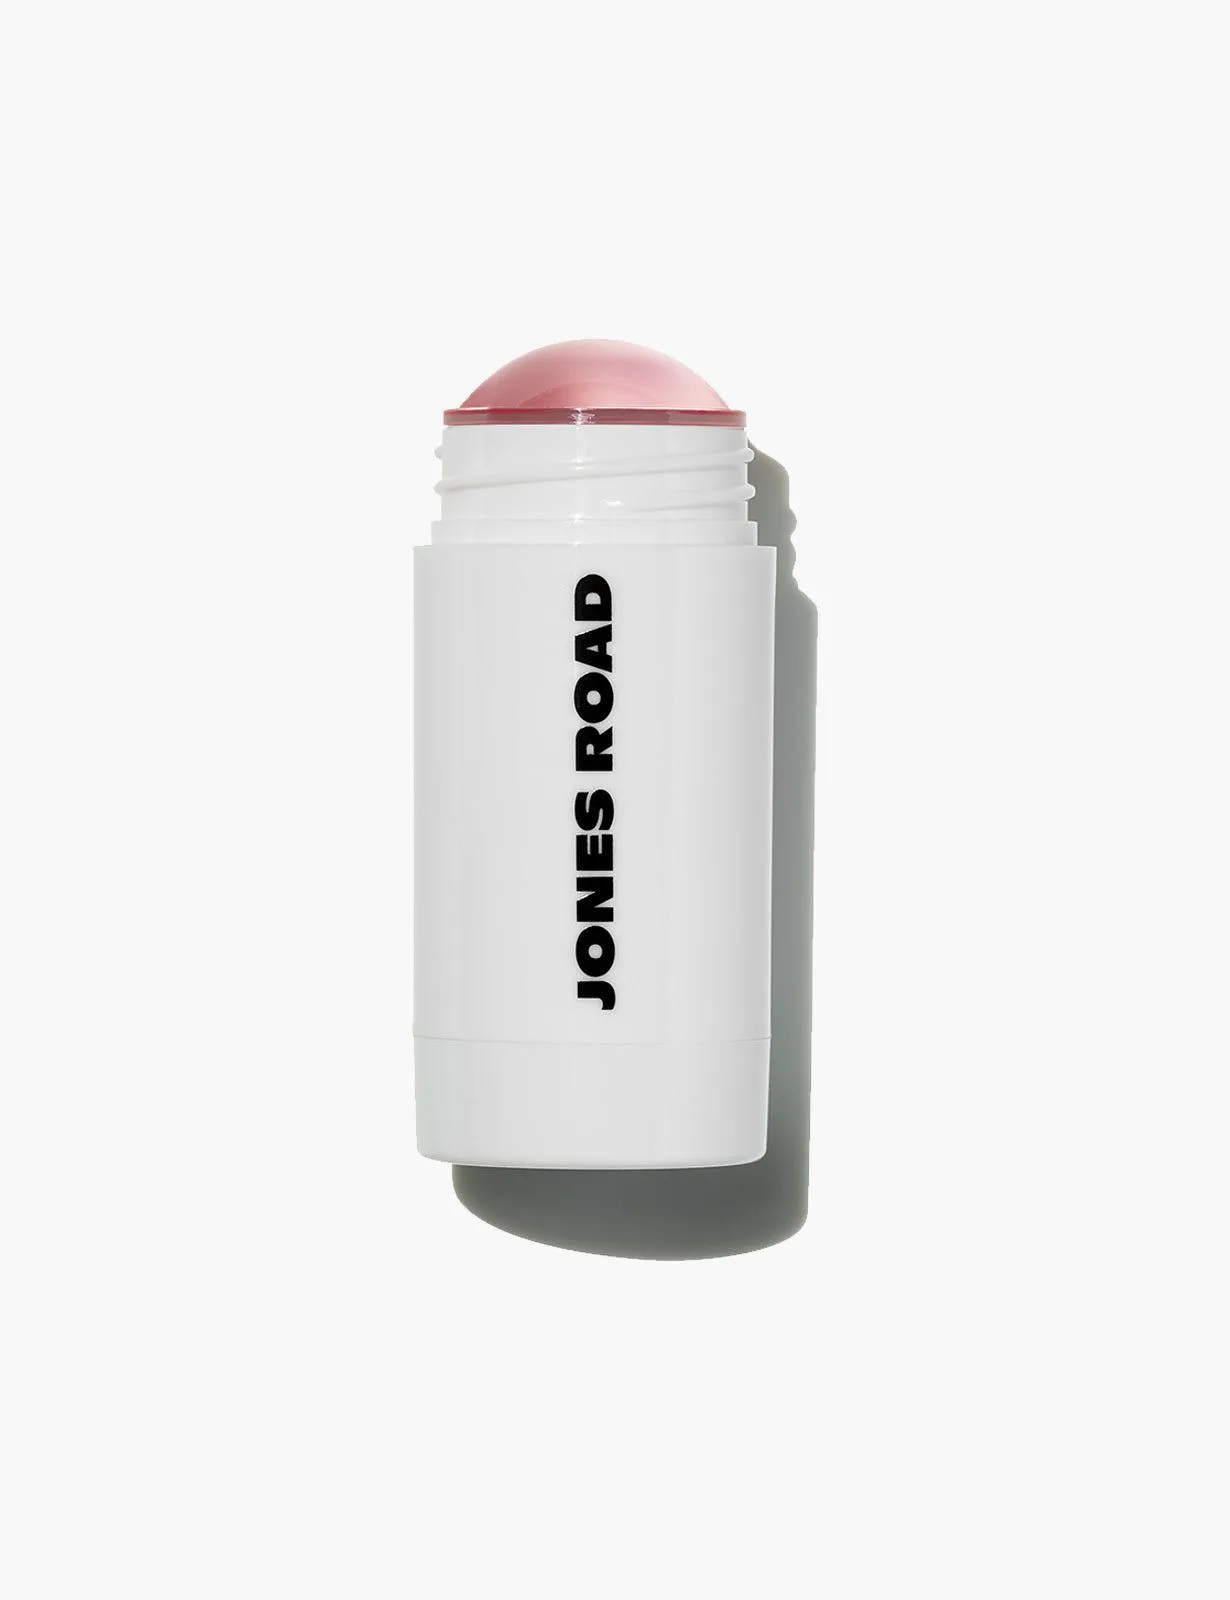
The Oil Stick