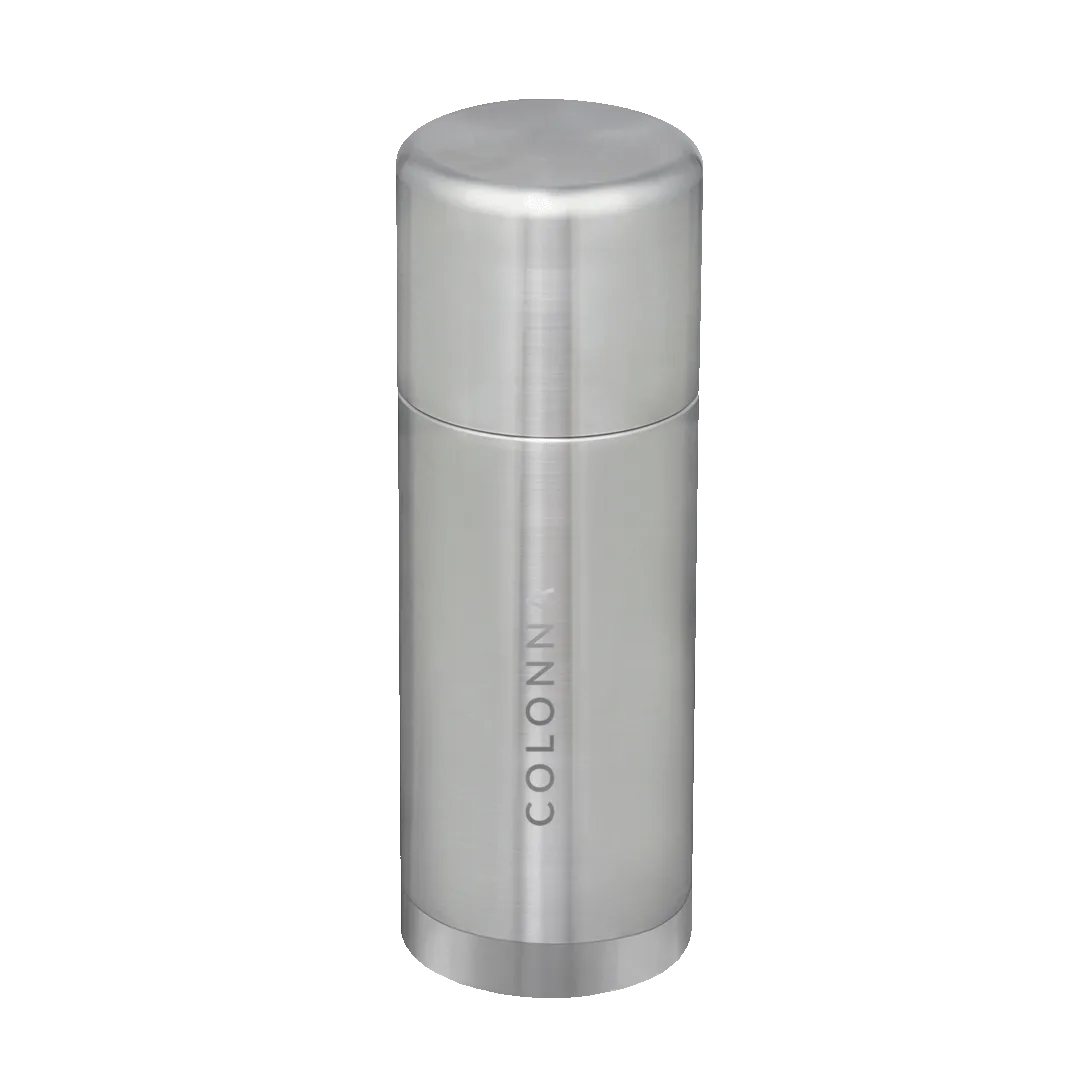
Whether you're commuting, hiking, or simply enjoying a slow morning at home, a vacuum insulated flask is one of the best investments you can make for your coffee routine. Unlike regular thermoses, these flasks use double-wall vacuum insulation to dramatically reduce heat transfer, keeping your coffee piping hot or refreshingly cold for six to twelve hours or more. But to truly unlock that performance, you need to know a few key techniques.
In this guide, we’ll cover everything from preheating your flask properly to choosing the right brew temperature, avoiding common mistakes, and even using your flask for cold brew or iced coffee. Plus, we’ll highlight some top-quality gear to elevate your portable coffee experience.
Why Vacuum Insulated Flasks Are Superior for Coffee
Vacuum insulated flasks work by creating a vacuum between two stainless steel walls, which virtually eliminates heat conduction and convection. This means your coffee stays at the temperature you poured it — hot or cold — for hours without relying on external power. Unlike ceramic mugs or standard travel cups, these flasks don’t leach heat into the environment, so your last sip tastes as good as the first.
Another advantage is durability. Most high-quality flasks are made from 18/8 stainless steel, which is resistant to rust, corrosion, and impacts. They also don’t retain flavors, so you can switch between coffee and tea without cross-contamination. For the best results, look for flasks with a wide mouth for easy cleaning and a tight-sealing lid to prevent spills.
- Double-wall vacuum insulation maintains temperature for 6–12 hours.
- Stainless steel construction is durable and flavor-neutral.
- Wide-mouth designs make cleaning and filling effortless.
How to Preheat Your Flask for Maximum Heat Retention
One of the most overlooked steps is preheating your flask. If you pour hot coffee into a cold flask, the metal immediately absorbs heat, dropping your brew temperature by 10–15°F (5–8°C). To prevent this, fill the flask with boiling water, close the lid, and let it sit for 3–5 minutes. Then empty it and immediately pour in your hot coffee.
This simple ritual ensures that the flask’s interior is already warm, so your coffee loses minimal heat. For cold drinks, do the opposite: fill the flask with ice water for a few minutes before adding cold brew or iced coffee. The same principle applies — a pre-chilled flask keeps cold beverages colder for longer.
- Preheat with boiling water for hot coffee; pre-chill with ice water for cold coffee.
- Let the flask sit for 3–5 minutes before emptying and filling.
- Always pour coffee immediately after preheating to retain peak temperature.
Best Practices for Filling and Sealing Your Flask
How you fill your flask matters. For hot coffee, fill it to the brim to minimize the amount of air inside. Air is a poor insulator, so less air means slower cooling. However, leave just a tiny gap at the top to prevent the lid from creating a vacuum seal that makes opening difficult. For cold drinks, add plenty of ice cubes first, then pour your coffee over them.
After filling, screw the lid on tightly. Many flasks have a small vent or button that allows you to pour without removing the entire lid — this preserves heat even better because you’re not exposing the contents to outside air. If your flask has a cup lid, use it only when drinking; otherwise, keep the main seal closed.
- Fill to the brim for hot coffee to reduce air space.
- Add ice first for cold drinks, then pour coffee over.
- Use the pour-through lid feature to minimize heat loss.
Choosing the Right Coffee and Brew Temperature
Not all coffee behaves the same in a flask. Darker roasts tend to hold up better over time because their oils help preserve flavor. Lighter roasts, while delicious fresh, can turn bitter or flat after hours in a flask. Consider using a medium-dark roast or a blend designed for longevity. Brew your coffee at 195–205°F (90–96°C) for optimal extraction, then let it cool for about 30 seconds before pouring into your preheated flask.
If you’re taking coffee on the go, avoid adding milk or sugar until you’re ready to drink. Dairy can spoil or curdle after several hours, and sugar can alter the flavor profile. Instead, carry a small insulated container for milk or use shelf-stable alternatives. For a truly premium portable experience, pair your flask with a high-quality brewing tool like the https://beansyai.shop/products/xbloom-studio-coffee-machine-133593XBloom Studio Coffee Machine, which lets you brew fresh single-serve coffee directly into your flask.
- Medium-dark roasts maintain flavor longer in a flask.
- Brew at 195–205°F, then cool slightly before pouring.
- Add milk or sugar only when ready to drink to avoid spoilage.
Cleaning and Maintaining Your Flask for Longevity
To keep your flask performing at its best, clean it thoroughly after each use. Coffee oils can build up over time, causing stale odors and off-flavors. Use a bottle brush with warm, soapy water to scrub the interior, paying special attention to the lid and threads. Avoid using bleach or harsh chemicals, as they can damage the stainless steel and insulation.
For stubborn stains or coffee residue, fill the flask with a mixture of hot water and baking soda (or white vinegar) and let it soak for 15–20 minutes. Rinse thoroughly and air dry with the lid off. Never put a vacuum insulated flask in the dishwasher — the high heat and detergent can compromise the vacuum seal. With proper care, a quality flask like the https://beansyai.shop/products/tkpro-vacuum-insulated-flask-750ml-133545TKPro - Vacuum Insulated Flask (750ml) can last for years, providing reliable temperature retention and a sleek, portable design.
- Hand wash with warm soapy water after each use.
- Use baking soda or vinegar for deep cleaning.
- Never dishwasher or microwave your vacuum insulated flask.
Using Your Flask for Cold Brew and Iced Coffee
Vacuum insulated flasks aren’t just for hot coffee — they’re perfect for cold brew and iced coffee too. The same insulation that keeps heat in also keeps cold out, so your iced coffee stays chilled for hours without diluting. To make cold brew in your flask, combine coarse-ground coffee with cold water at a 1:8 ratio, stir, and let it steep in the refrigerator for 12–24 hours. Then filter and enjoy.
For iced coffee, brew a double-strength batch of hot coffee, let it cool to room temperature, then pour over ice in your pre-chilled flask. The flask will keep the ice from melting too quickly, preserving the bold flavor. You can also experiment with adding a splash of milk or a flavored syrup before sealing. For a convenient option, try Rare Lungo Capsules — they brew a concentrated lungo that’s ideal for pouring over ice.
- Make cold brew directly in the flask with a 1:8 coffee-to-water ratio.
- Pre-chill the flask with ice water before adding cold drinks.
- Use concentrated brews like lungo capsules for iced coffee.
A vacuum insulated flask is a game-changer for anyone who loves great coffee on the go. By preheating, filling smartly, and choosing the right brew, you can enjoy barista-quality flavor hours after you pour. Ready to upgrade your portable coffee setup? Explore the TKPro - Vacuum Insulated Flask (750ml) for a durable, stylish, and high-performance companion that keeps every sip perfect.