Quick Answer
To use vibrating nipple clamps, start by cleaning the clamps and your skin, then adjust the clamp pressure to a comfortable level before attaching them to your nipples. Begin with low vibration and increase as desired, and always limit wear time to 15-20 minutes to prevent discomfort.
Why Start with Adjustable Clamps?
Adjustable nipple clamps let you control the pressure, which is especially important for beginners. A clamp that is too tight can cause pain or numbness, while one that is too loose may slip off. Look for clamps with a screw or sliding mechanism that allows you to fine-tune the grip.
The Zalo Nave Vibrating Nipple Clamps feature EasyClamp technology, which makes them simple to open and attach. This design is forgiving for those new to nipple play, as you can adjust the fit before turning on the vibrations.
Vibration: Start Low and Go Slow
Vibrating nipple clamps add an extra layer of sensation, but it can be overwhelming at first. Start with the lowest vibration setting and gradually increase the intensity as you become more comfortable. This allows your body to adjust and helps you discover what feels best.
The Zalo Nave has dual motors in the tips of the clamps, providing targeted stimulation. Begin with short sessions—5 to 10 minutes—to gauge your sensitivity.
Step-by-Step Guide to Using Vibrating Nipple Clamps
- Prepare the Clamps and Your Skin: Clean the clamps with a toy cleaner or mild soap and water. Wash your nipples and chest area to remove oils or lotions that could affect grip. Check for any cracks or damage on the clamps before use.
- Adjust the Clamp Pressure: If your clamps are adjustable, set them to a light pressure first. You can always tighten them later, but starting too tight can cause discomfort or bruising. You should feel a firm pinch, not sharp pain. If it hurts, loosen the clamp.
- Attach the Clamps: Open the clamp using the EasyClamp mechanism (pinch the bottom sides) and place it on your nipple, centering the clamp over the areola. Release slowly to avoid a sudden pinch. Attach one clamp at a time and check the position in a mirror if needed.
- Turn on the Vibration: Start with the lowest vibration setting. Hold the clamp in place for a few seconds to let your body adjust before increasing the intensity. If the vibration feels too intense, turn it down or take a break.
- Monitor Wear Time: Limit wear to 15-20 minutes per session. Remove the clamps immediately if you experience numbness, sharp pain, or a change in skin color. Set a timer to avoid losing track of time during play.
- Remove and Care: Remove the clamps slowly, and gently massage your nipples to restore circulation. Clean the clamps again and store them in a dry, safe place. If any soreness persists, apply a gentle, unscented moisturizer.
Product Spotlight: Zalo Nave Vibrating Nipple Clamps
-
Zalo Nave Vibrating Nipple Clamps: Made with luxurious liquid silicone and features EasyClamp technology that opens by pinching the bottom sides. This makes it easy to attach and remove, even for beginners, and the silicone is gentle on sensitive skin.
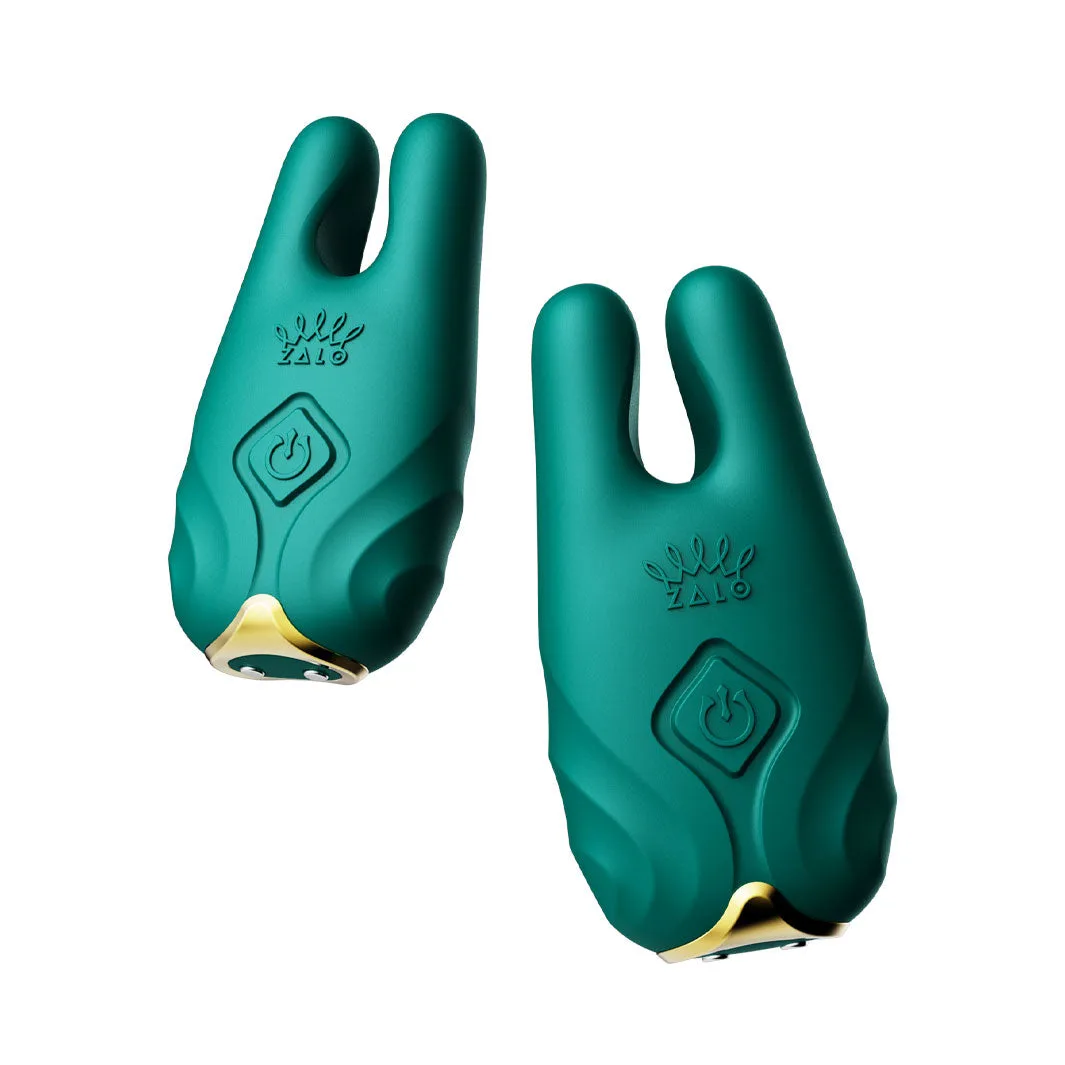
Zalo Nave Vibrating Nipple Clamps