Quick answer
Use Xmas airbrush stencils to create crisp holiday nail designs. Apply stencils with tweezers, airbrush over them, and lift gently for reusable patterns.
Why stencils work for holiday nails
Stencils let you add detailed Christmas motifs—snowflakes, trees, ornaments—without freehand painting. They save time and give consistent results even if you're new to airbrushing. The key is gentle handling to reuse them 2–3 times.
Step-by-step guide
- Prep your nail surface: Start with a clean, dry base coat. Make sure the nail is free of oils or dust so the stencil adheres evenly. Skipping base prep often causes paint to bleed under the stencil.
- Peel and place the stencil: Use tweezers to carefully lift a stencil from the sheet. Position it on the nail and press down gently—avoid touching the adhesive side with fingers. Finger oils can ruin the adhesive, causing the stencil to lift during airbrushing.
- Airbrush over the stencil: Hold the airbrush about 4–6 inches away and spray in light, even passes. Too much paint in one spot can cause bleeding. Multiple thin layers give sharper edges than one heavy coat.
- Remove the stencil carefully: Wait until the paint is dry to the touch (usually 10–20 seconds). Use tweezers to peel the stencil off slowly at a 45-degree angle. Pulling too fast or while wet can smudge the design or tear the stencil.
- Clean and store stencils for reuse: Gently wipe paint residue from the stencil with a damp cloth or alcohol wipe. Store flat in the original packaging or a clean envelope. Stencils can be reused 2–3 times if handled gently; avoid scrubbing or bending them.
Product facts
-
Xmas Collection - Airbrush Stencils (10 styles): The Xmas Collection includes 10 styles with 4 pieces per sheet, designed for airbrush nail art and Christmas themes. You get enough variety to mix and match holiday looks without buying multiple sets.
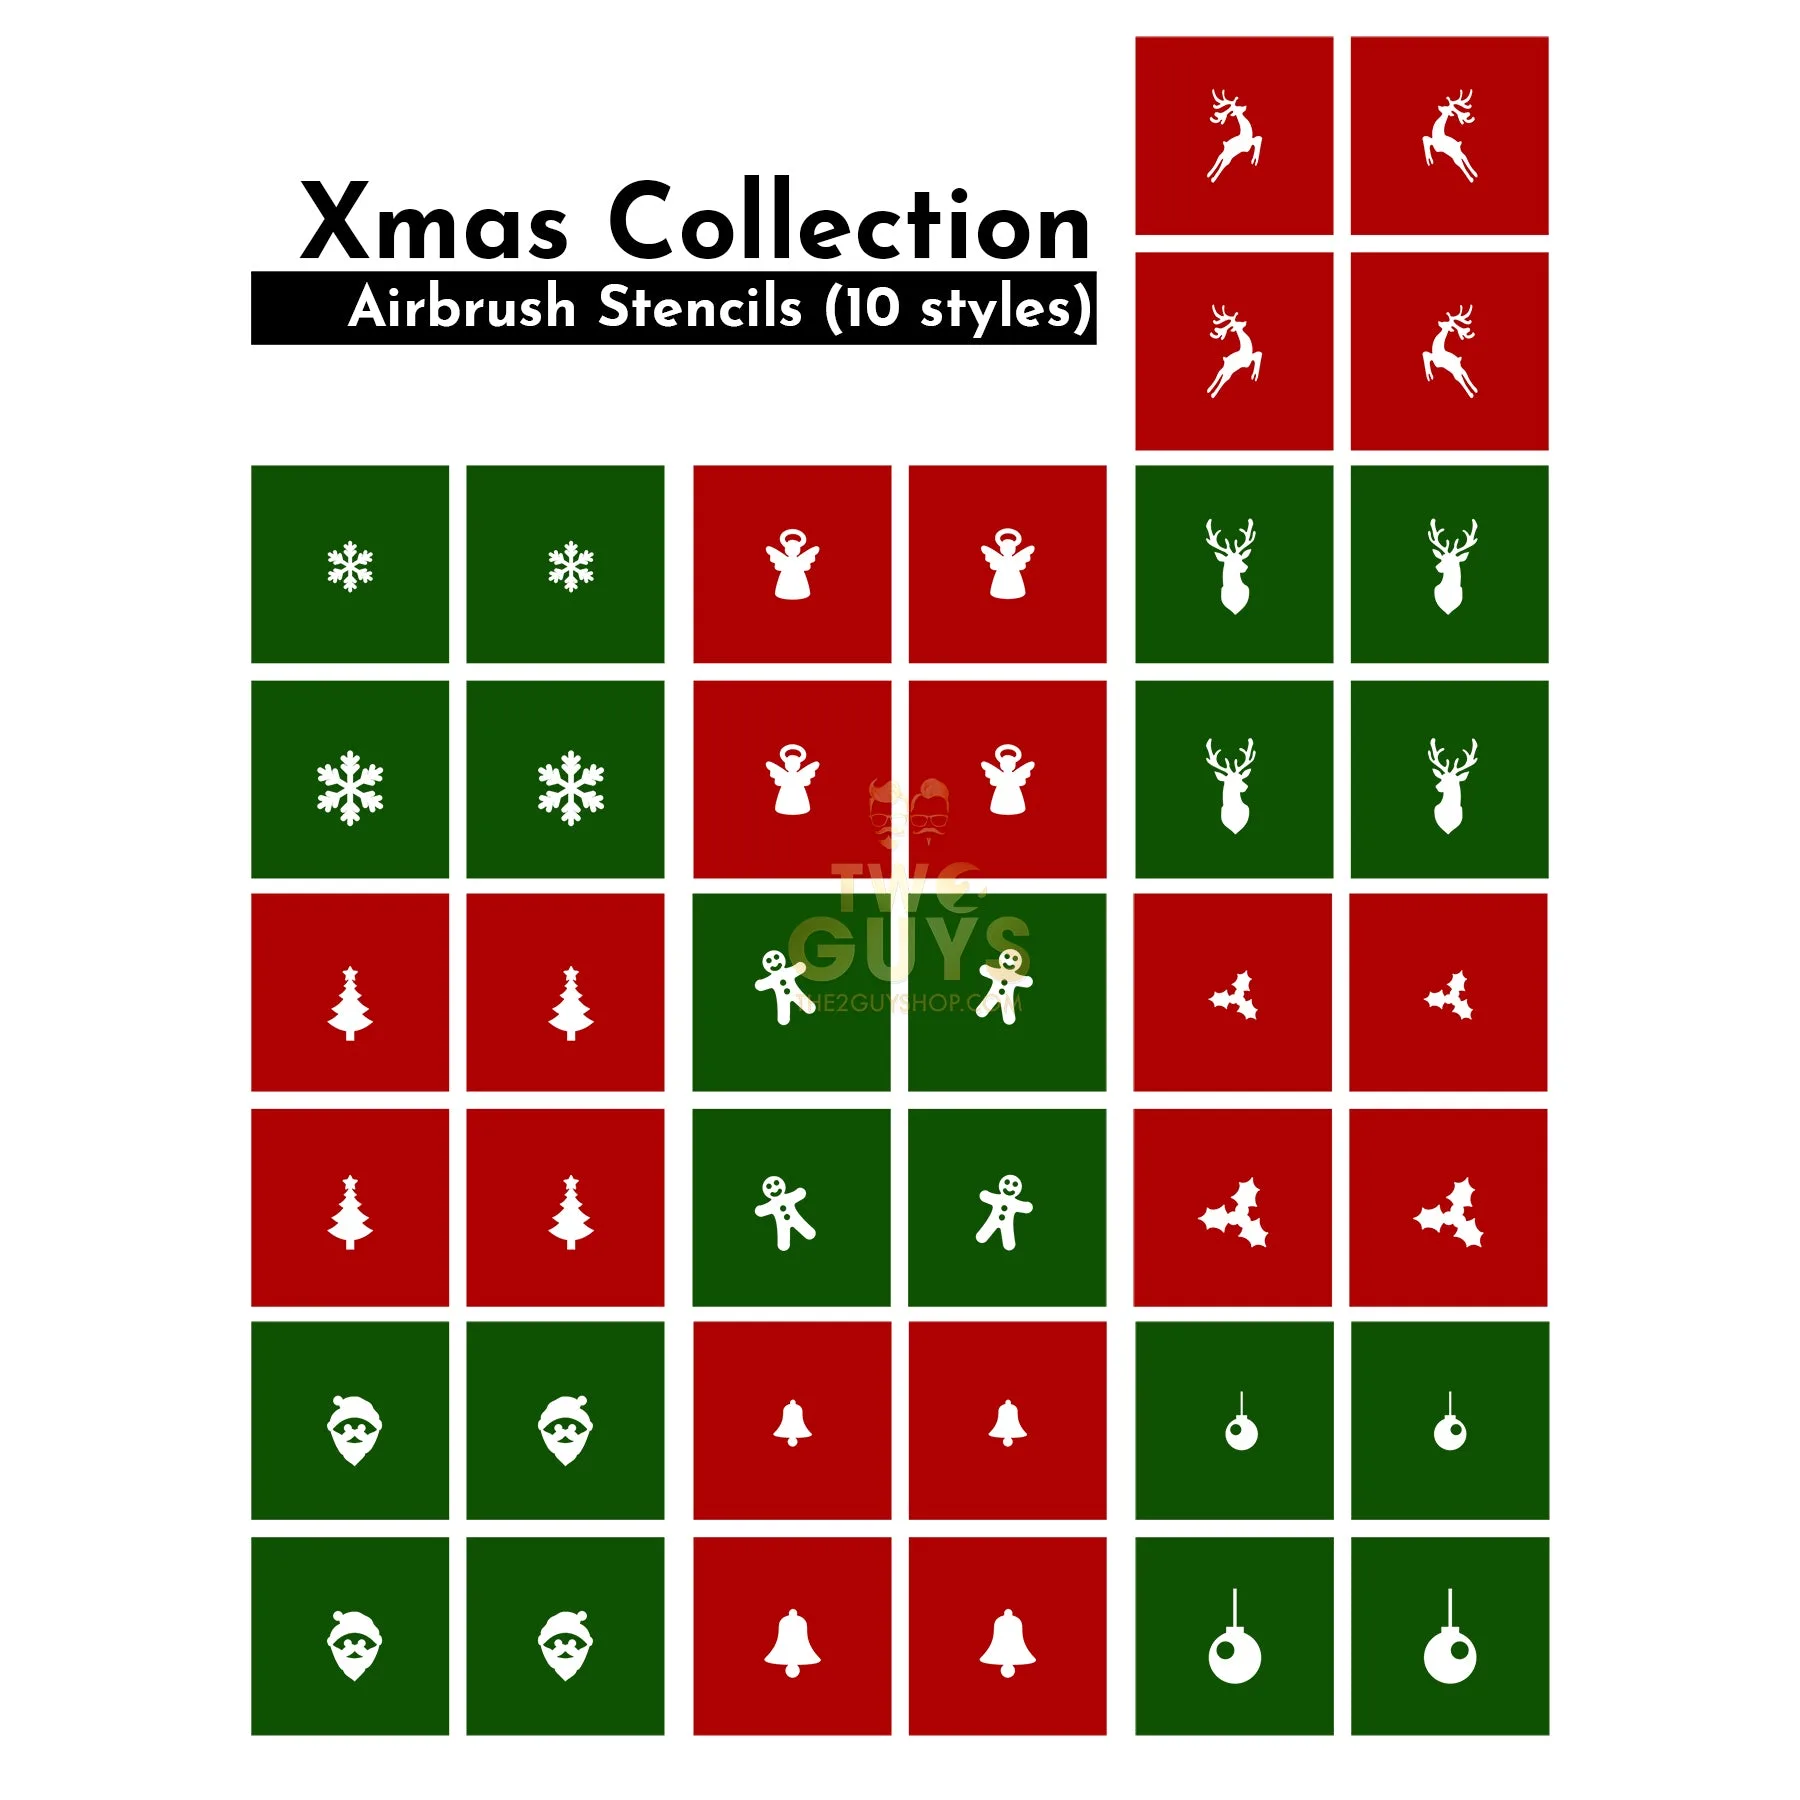
Xmas Collection - Airbrush Stencils (10 styles)