Quick Answer
Using a yoga block under your heels or hips can instantly improve your squat depth and hip mobility by giving you the support you need to maintain proper alignment. Start with a block under your heels to feel more grounded, then progress to a block between your thighs to engage your inner thighs. For hip mobility, use the block as a seat or support in low squats and hip-openers.
Struggling to hit depth in your squats or feeling tightness in your hips? A yoga block is a simple, affordable tool that can transform your squat and hip mobility. Whether you're a beginner or an experienced lifter, adding a block to your routine helps you move safer and deeper.
In this guide, you'll learn step-by-step how to use a yoga block to improve your squat depth, open your hips, and build better balance. You'll also discover common mistakes to avoid and practical tips to get the most out of every rep.
Why Use a Yoga Block for Squats
A yoga block is more than a prop—it's a tool that gives you feedback and support. When you place a block under your heels, it shifts your weight forward, which can help you squat deeper if you have tight ankles or poor ankle dorsiflexion. This is especially useful if you're new to squatting or recovering from an injury.
Blocks also help with hip mobility. By placing a block under your sit bones in a low squat, you can relax into the position and let your hips open gradually. Over time, this reduces tension in your glutes, hip flexors, and lower back, making everyday movements feel easier.
- Use a block under your heels to improve squat depth without compromising your lower back.
- Place a block between your thighs to activate your inner thighs and improve knee tracking.
- Sit on a block in a low squat to reduce pressure on your knees and allow your hips to open progressively.
Step-by-Step: How to Use a Yoga Block for Better Squats
Start with a block under your heels. Stand with your feet hip-width apart, place the block flat on the floor, and rest your heels on it. This elevates your heels and allows you to squat deeper with a more upright torso. If you feel stable, you can progress to a lower block or no block.
Next, hold a block between your thighs. Place the block between your knees and squeeze gently as you squat. This activates your adductors and helps your knees track over your toes, which is key for knee safety. Keep your chest up and your core braced throughout the movement.
- Common mistake: Letting your knees cave inward. Keep the block between your thighs and press outward to maintain alignment.
- Checkpoint: If your heels lift off the block, you're going too deep or your ankles are too tight. Reduce the depth or use a thicker block.
Yoga Block Exercises for Hip Mobility
For hip mobility, try a supported low squat. Place a block on its lowest height and sit on it, with your feet wide and toes turned out. Let your knees fall open and relax your upper body. Hold for 30-60 seconds, breathing deeply. This position gently stretches your inner thighs and opens your hips.
Another effective exercise is the hip flexor stretch with a block. Kneel on one knee, place the block under your back foot, and lunge forward. This increases the stretch in your hip flexors and quadriceps. Hold for 20-30 seconds on each side, and you'll notice improved range of motion in your next squat.
- Common mistake: Holding your breath. Exhale as you sink deeper into the stretch to help your muscles relax.
- Checkpoint: If you feel sharp pain in your knees, adjust your foot position or use a lower block.
Common Mistakes and How to Avoid Them
One common mistake is using a block that's too high or too low for your current mobility. If the block is too high, you might not get the full benefit of the stretch; if it's too low, you might not get enough support. Experiment with different heights and listen to your body.
Another mistake is rounding your lower back during squats. Always keep your chest proud and your core braced. If you feel your back rounding, reduce your depth or use a block under your hips for extra support.
- Use a mirror or record yourself to check your form.
- Start with a thicker block and progress to a thinner one as you gain mobility.
- Always warm up with 5-10 minutes of light cardio before using blocks.
Your 4-Step Yoga Block Squat Routine
- Warm up: Do 5-10 minutes of light cardio and dynamic stretches like leg swings to prepare your hips and ankles. Warm muscles are more pliable and less prone to injury.
- Heel-elevated squats: Place a block under your heels and perform 3 sets of 10 bodyweight squats, focusing on depth and keeping your chest up. This helps you feel the correct squat pattern and improves ankle mobility.
- Block between thighs: Squeeze a block between your thighs and perform 3 sets of 12 squats, pressing outward to activate your inner thighs. This builds strength in your adductors and improves knee stability.
- Supported squat hold: Sit on a block in a low squat position for 3 sets of 30 seconds, breathing deeply and relaxing your hips. This is your mobility finisher—it opens your hips and reinforces the deep squat position.
Yoga Blocks That Support Your Practice
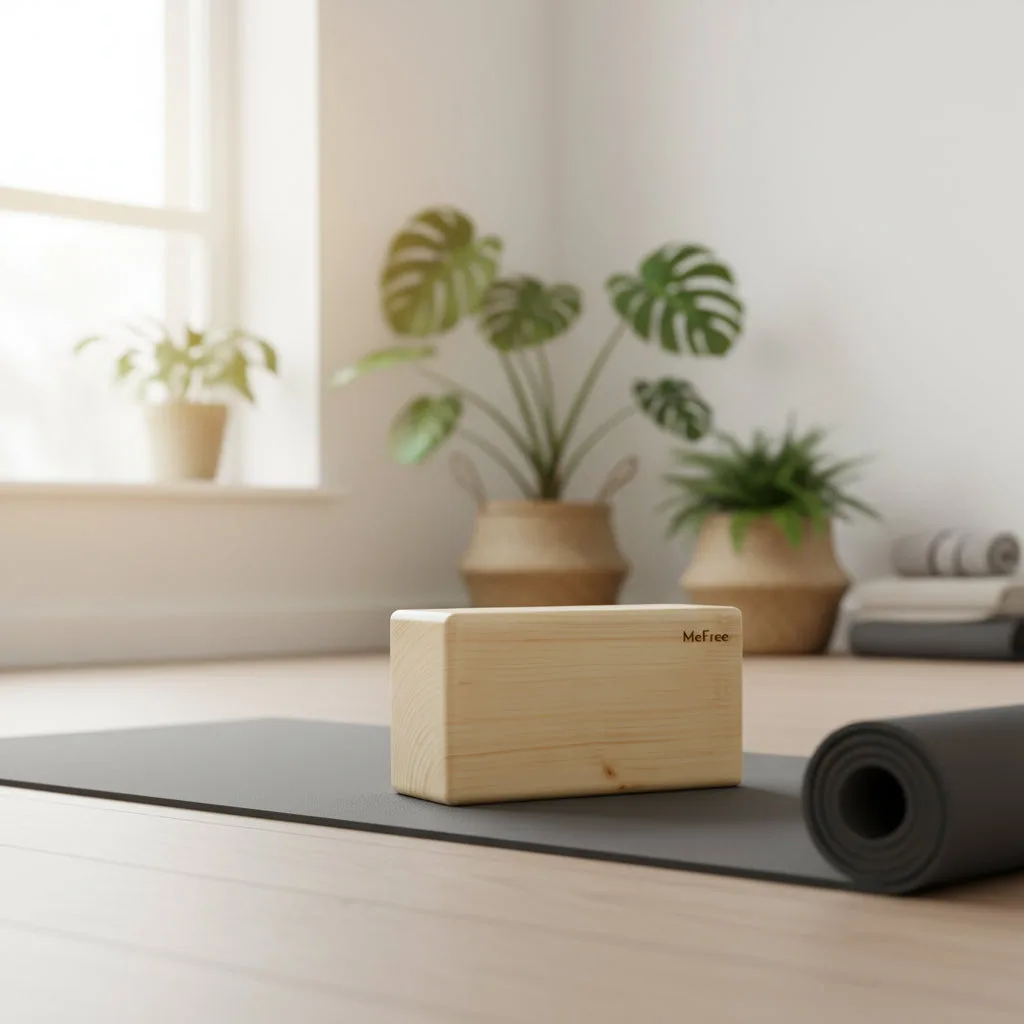
- Infinity Blocks - Pack of 2: These solid pinewood blocks provide the unwavering foundation you need to progress in your practice. The firm, solid surface of pinewood gives you stable support for squats and hip openers, so you can focus on your form without the block wobbling or compressing.
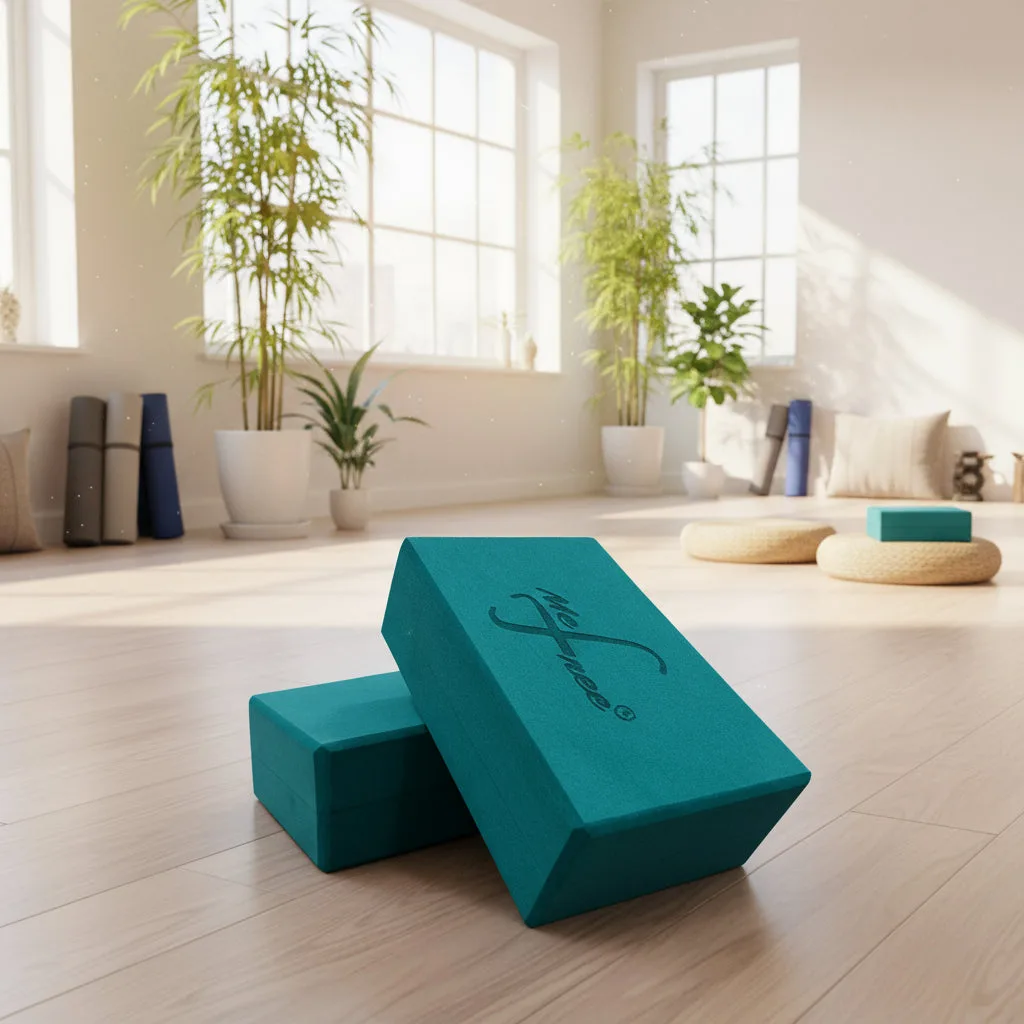
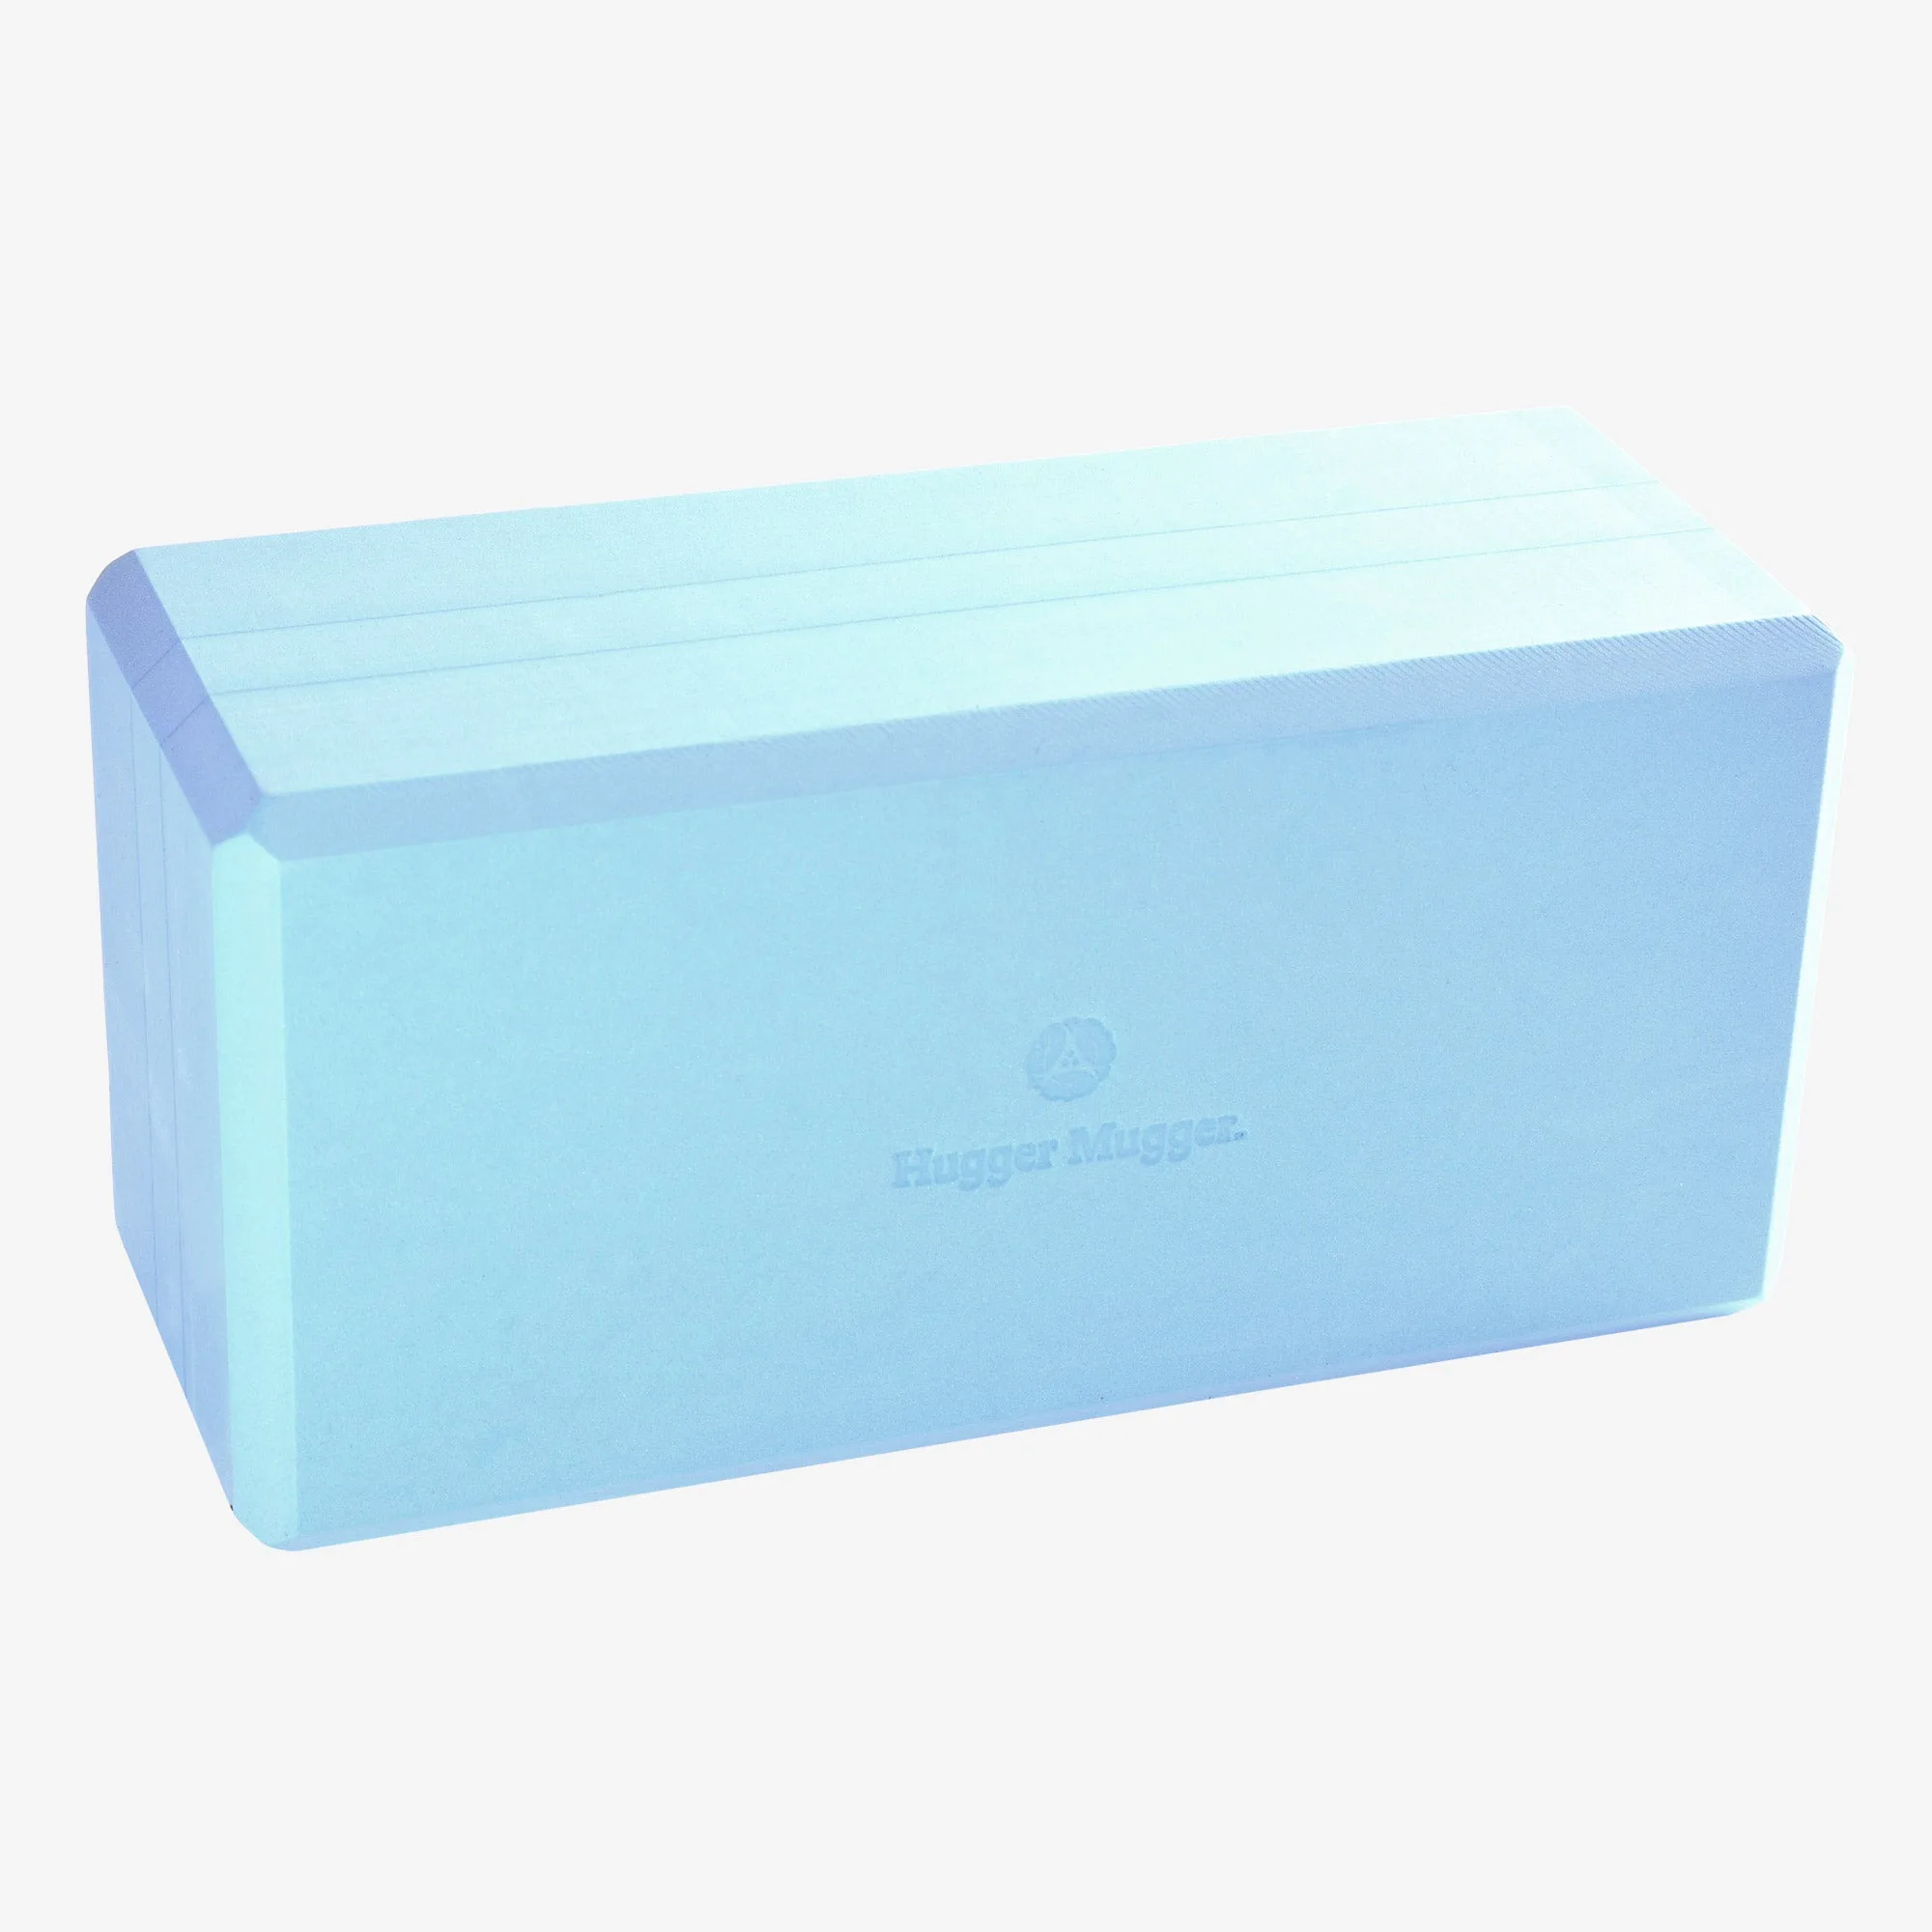
- Foam Yoga Blocks Set of 2: Designed to bridge the gap between your current reach and your wellness goals, these blocks provide the essential stability needed for both restorative sessions and technical Iyengar-inspired practices. The high-density foam is firm enough to support your weight but has a slight give, making it comfortable for seated hip stretches and restorative poses where you might hold a position for a while.
Adding a yoga block to your squat and hip mobility routine is a simple way to see real progress. Whether you're using a block under your heels, between your thighs, or as a seat, you'll feel more stable and move deeper. Start with these steps, listen to your body, and you'll be squatting with better form and less discomfort in no time.