Quick Answer
A yoga bolster is an excellent tool for hip opening and relaxation. By supporting the hips and spine, it allows you to release tension passively. This guide walks you through the most effective poses and techniques.
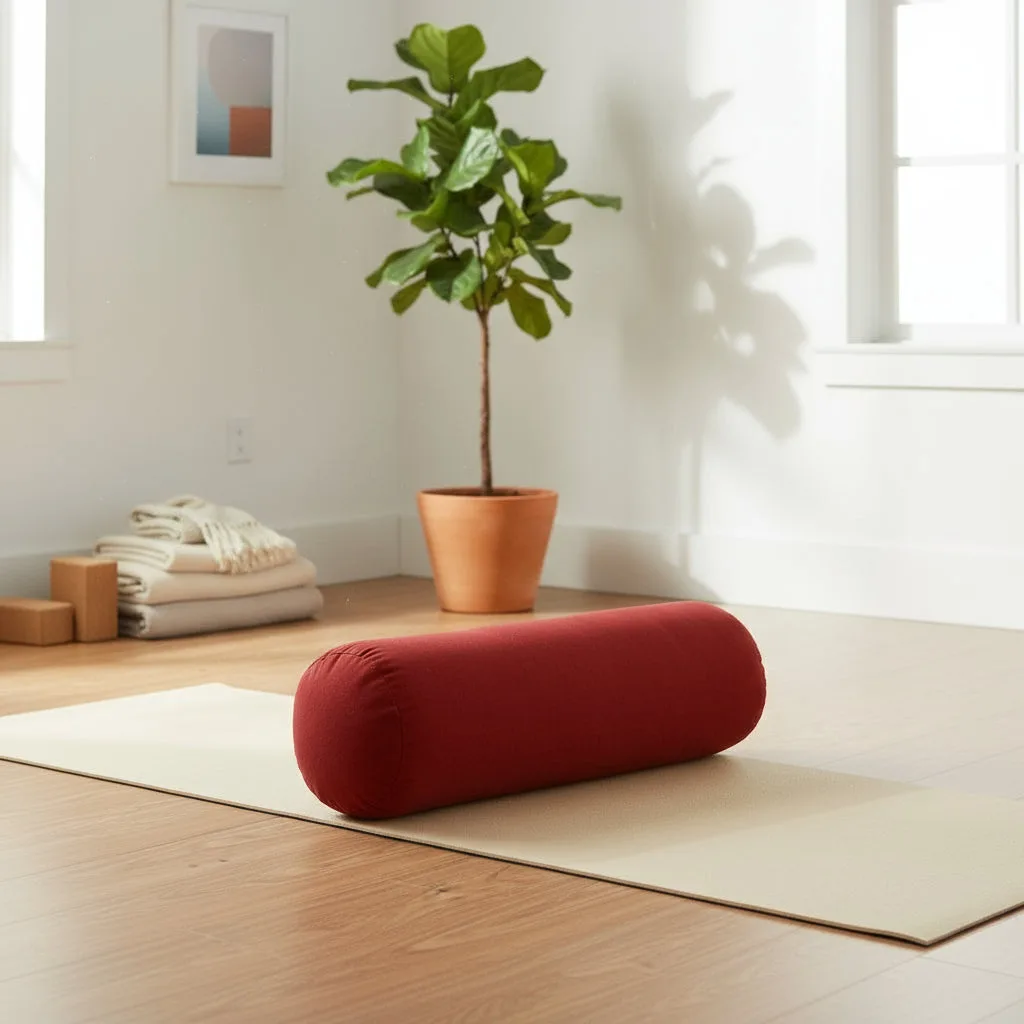
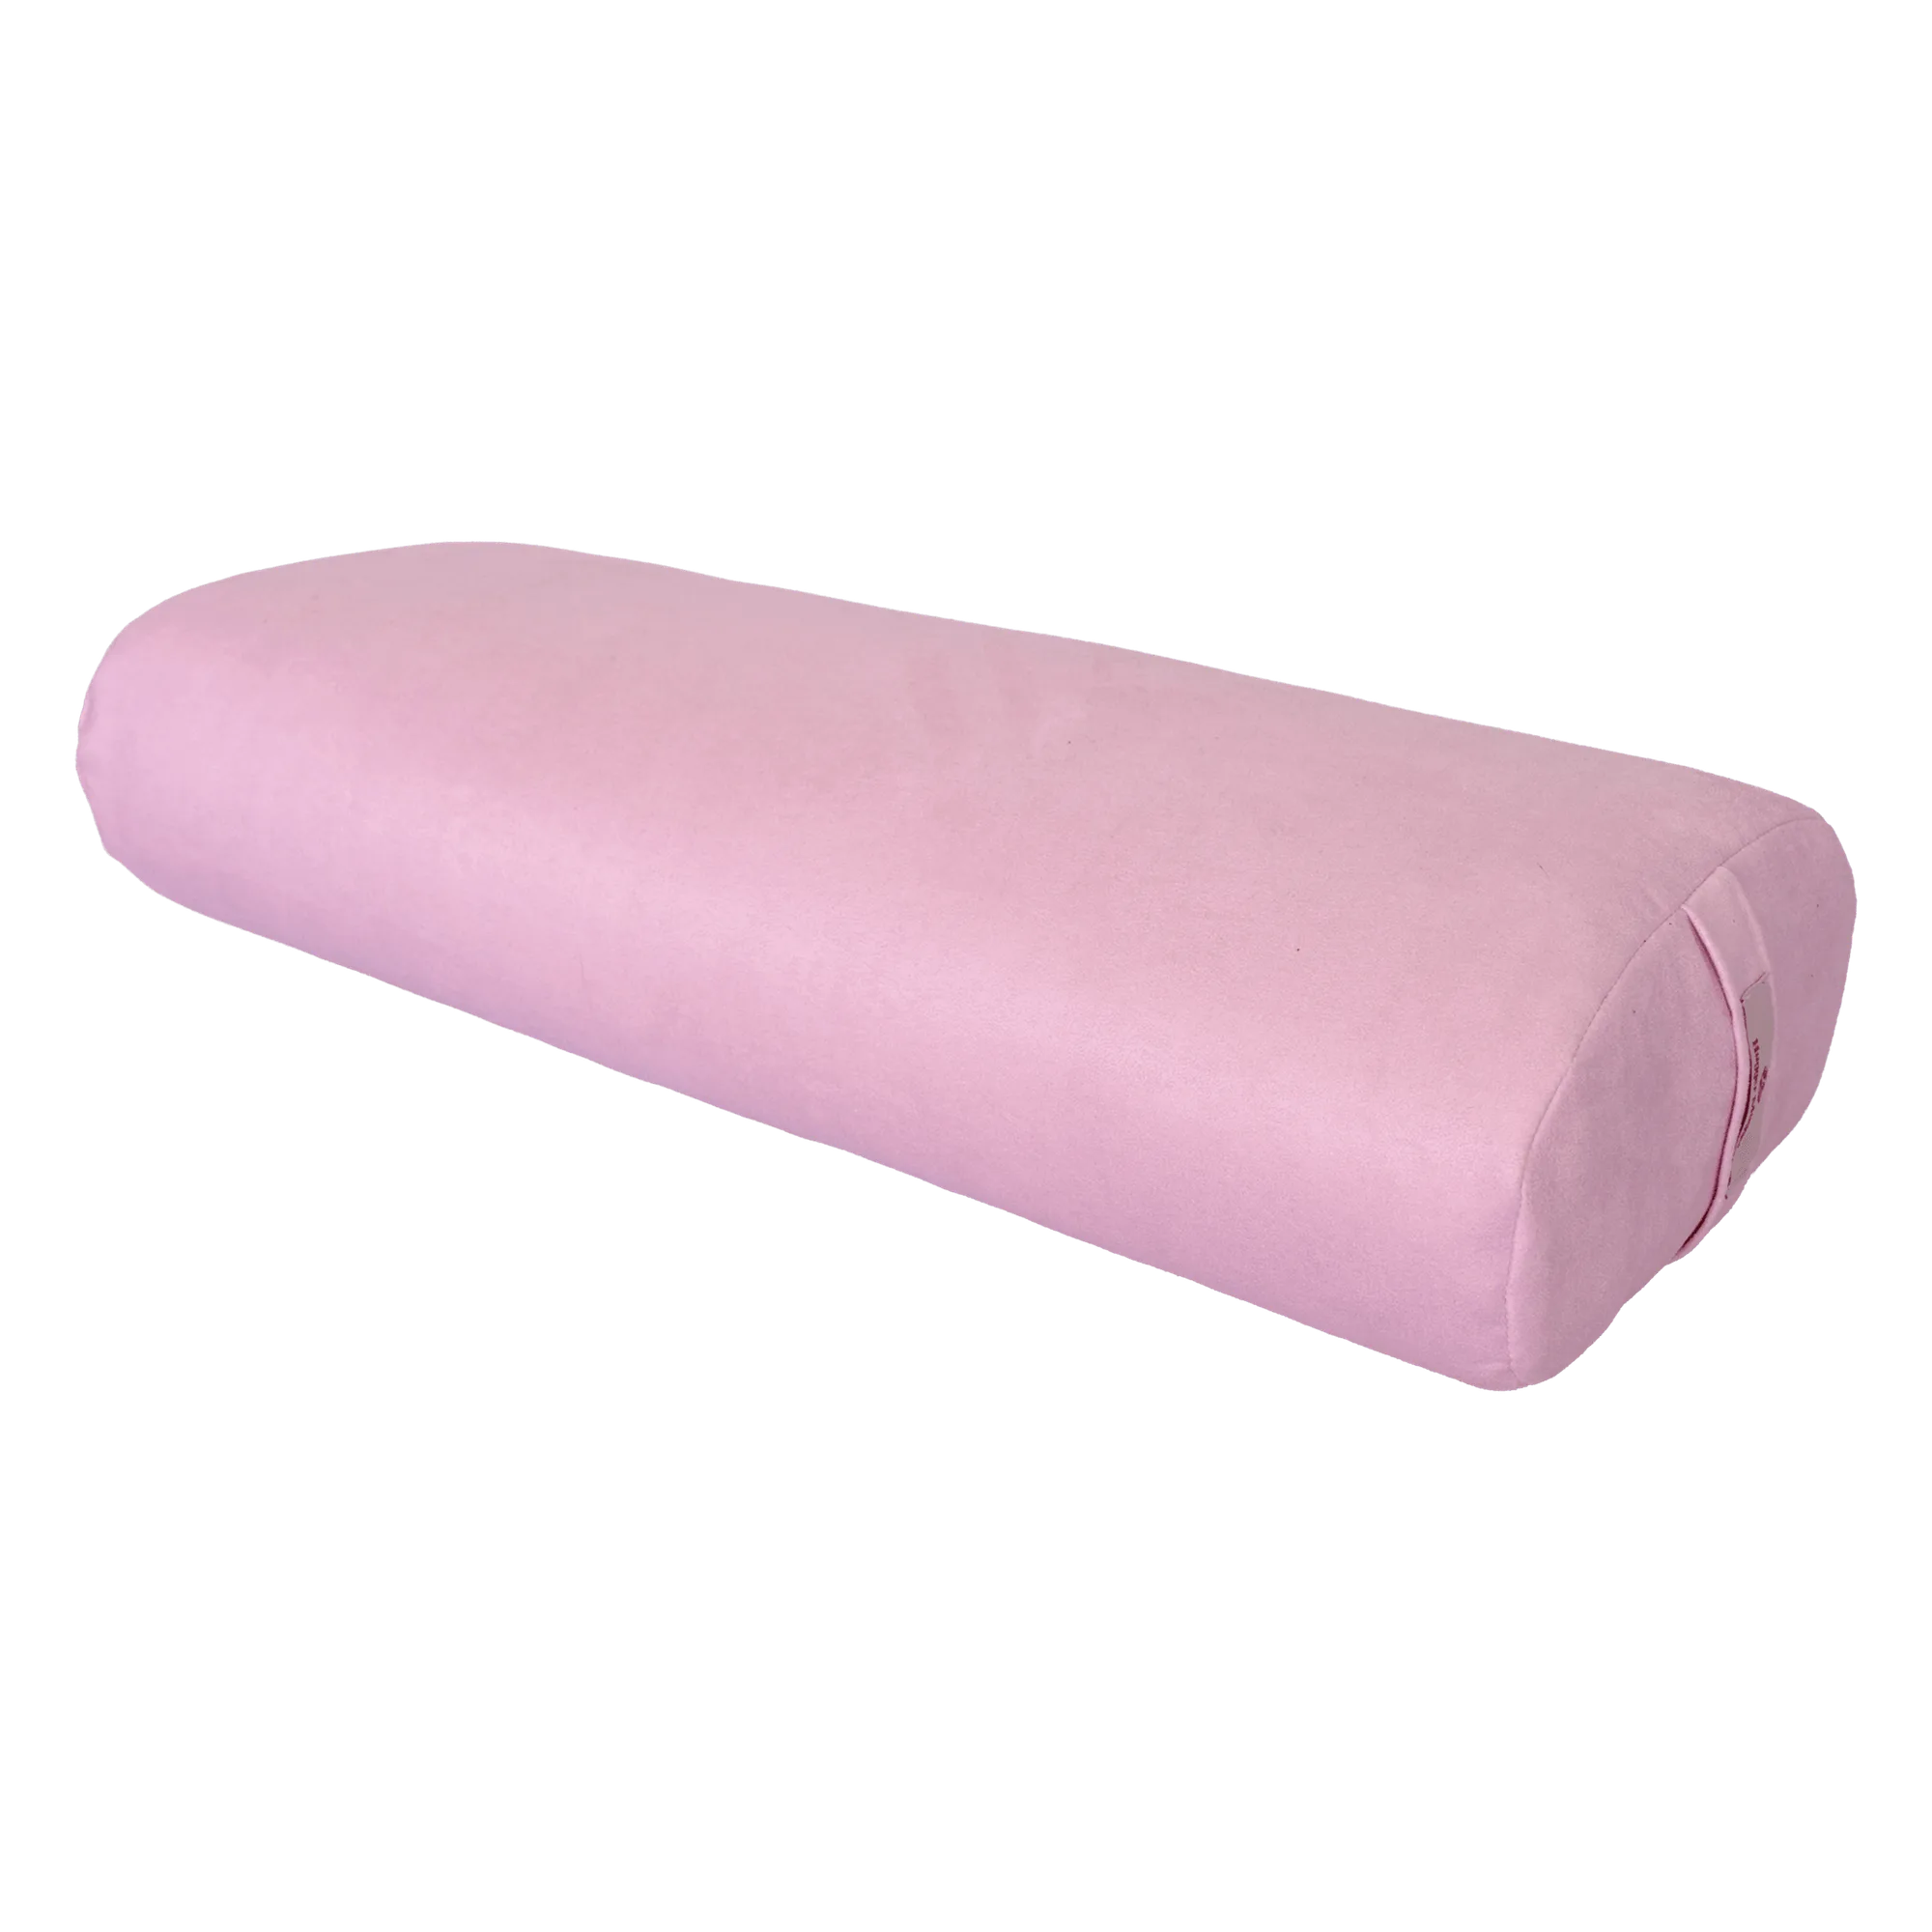
bolster
Hip opening is a cornerstone of any balanced yoga practice, but tight hips can make poses feel strained rather than restorative. A yoga bolster provides the gentle, passive support needed to release deep tension without engaging your muscles. Whether you are recovering from a long day or preparing for meditation, using a bolster under your hips or spine transforms challenging poses into soothing experiences.
In this guide, you will learn four step-by-step poses that target the hips while promoting full-body relaxation. We also highlight how props like the Setubandh Bench and Triangular Blocks can serve as alternatives or complementary tools when a bolster is not available.
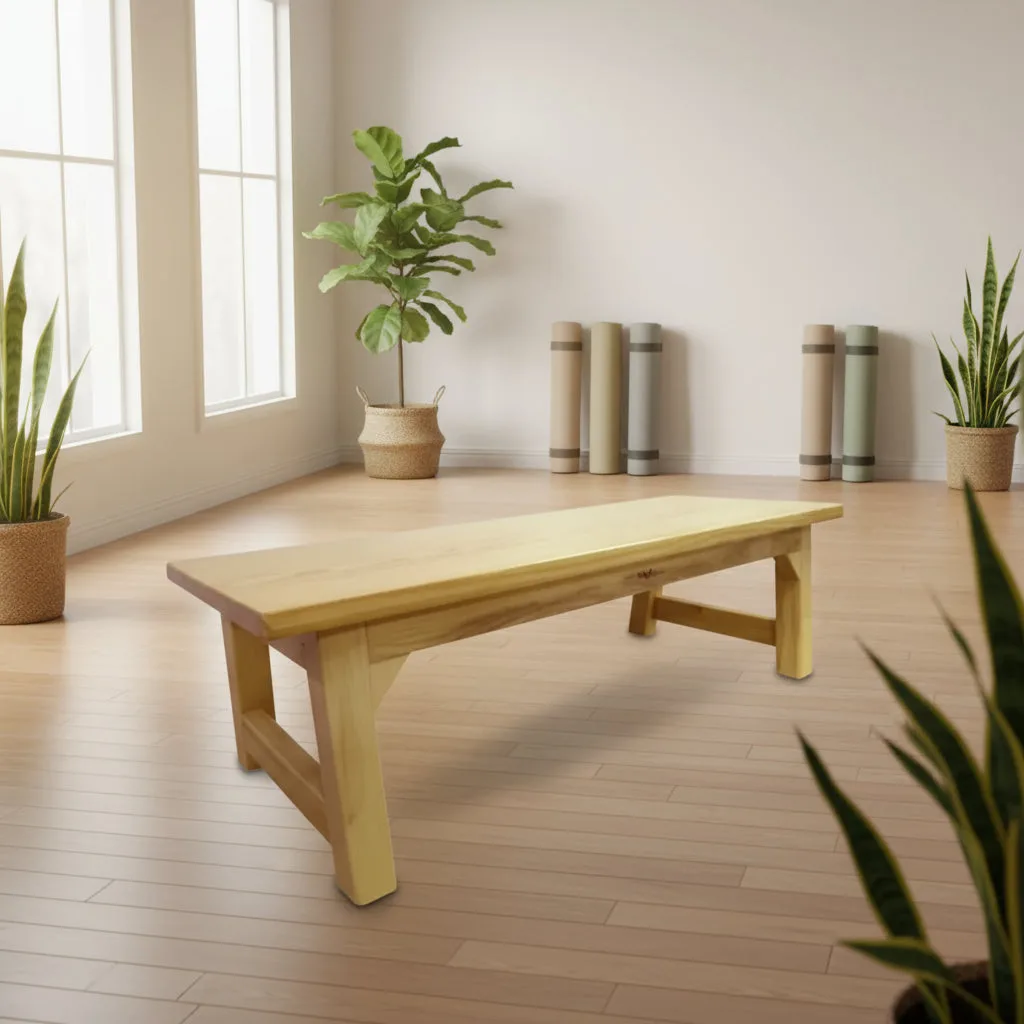
Setubandh Bench
Why Use a Yoga Bolster for Hip Opening?
Unlike active stretching, which relies on muscle contraction, a bolster allows gravity and time to do the work. When you place a bolster under your hips or lower back, the body can gradually release the iliopsoas, glutes, and piriformis without force. This passive approach is especially helpful for students with chronic tightness or injuries.
A bolster also elevates the pelvis, creating space in the hip joints and reducing pressure on the sacrum. For restorative practices, the soft yet firm support encourages the nervous system to shift into a parasympathetic state, deepening both the physical and mental release.
- If you don't have a yoga bolster, a firm pillow or folded blanket can work, but a dedicated bolster offers consistent density and height.
Step-by-Step: Yoga Bolster Poses for Hip Opening and Relaxation
- Step 1: Set Up Your Space: Place your yoga bolster lengthwise on the center of your mat. Sit on the floor in front of it, then lie back so the bolster supports your entire spine from the tailbone to the base of your skull. Let your arms rest at your sides, palms up. Adjust the distance until your lower back feels fully supported. Common mistake: placing the bolster too high under the neck. The support should end at the shoulder blades, not the head. Use a folded towel under your head if needed.
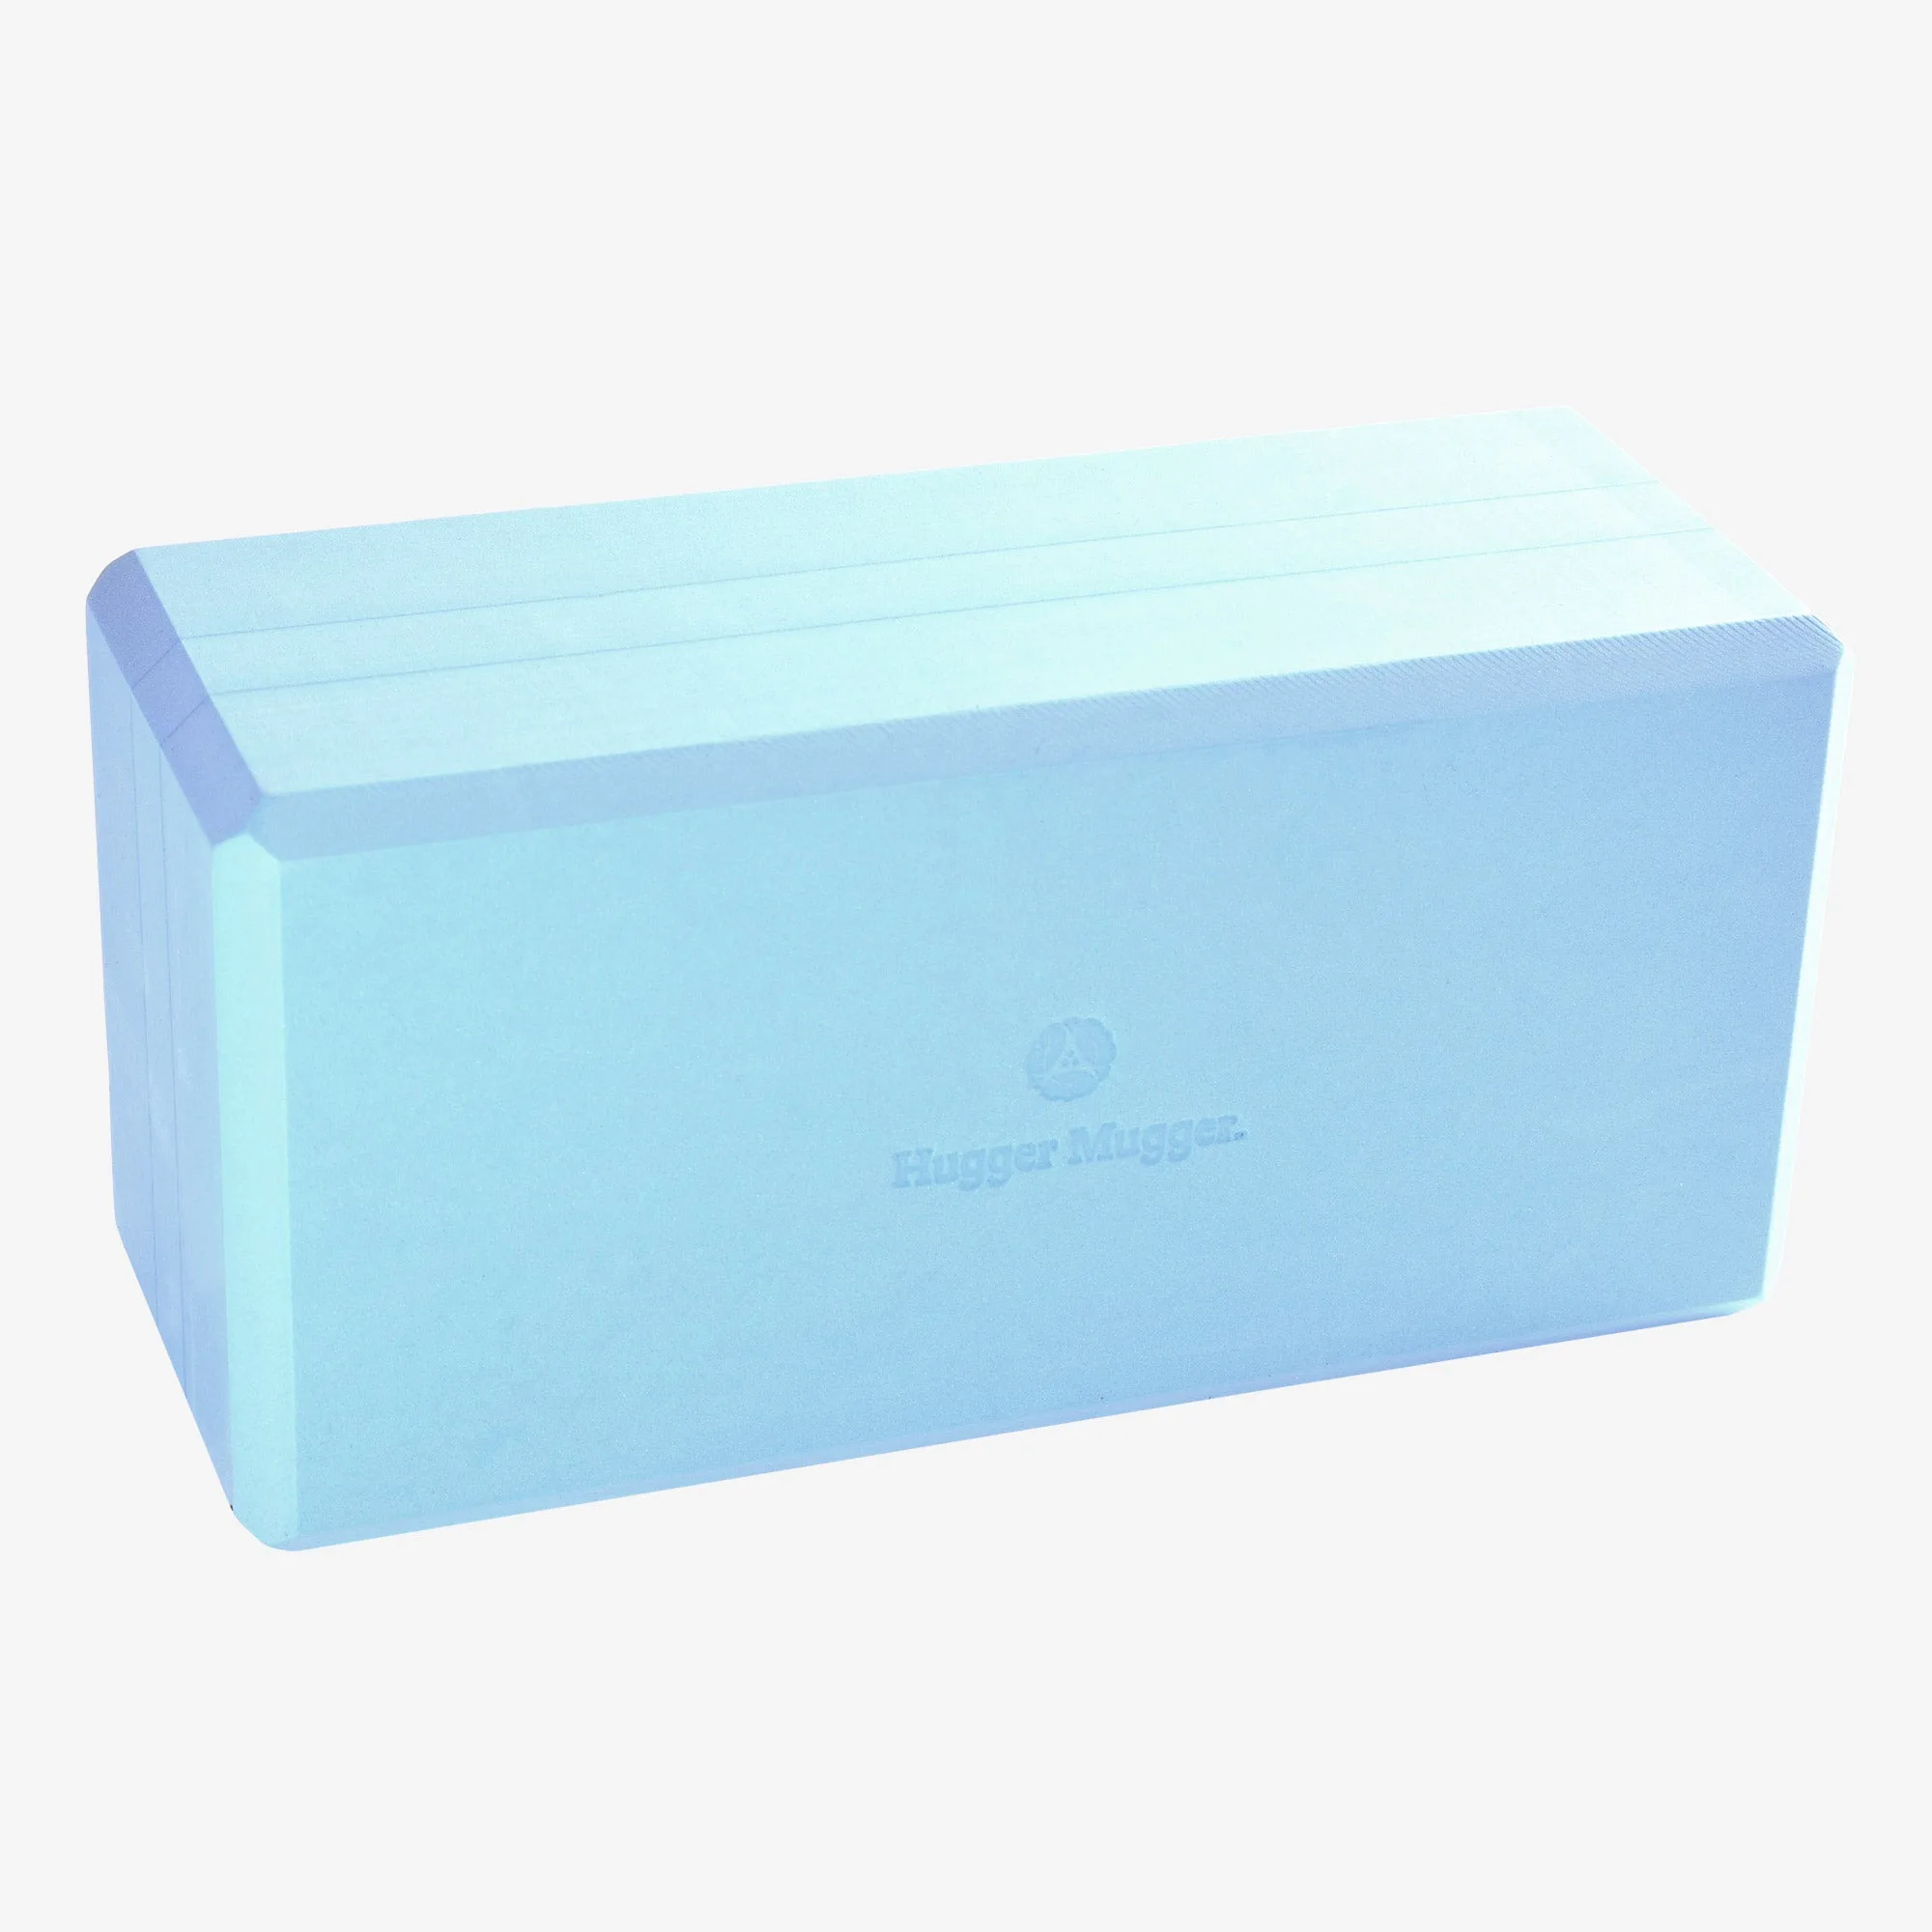
- Step 2: Supported Bound Angle Pose (Supta Baddha Konasana): From the setup position, bring the soles of your feet together and let your knees fall open toward the floor. Keep the bolster under your spine. If your knees do not reach the ground, place a small triangular block under each thigh for support. Stay here for 3–5 minutes, breathing deeply. Checkpoint: do not force your knees down. Let gravity and time create the opening. If you feel pinching in the groin, move the feet farther from the pelvis.
- Step 3: Supported Pigeon Pose: Remove the bolster from your spine and place it vertically in front of you. Come into a tabletop position, then slide your right knee forward toward your right wrist. Place your right shin at a comfortable angle. Lower your hips onto the bolster, keeping your left leg extended behind you. Fold forward over your right leg, resting your forehead on your hands or a block. Hold for 2 minutes per side. Common mistake: letting the front hip lift off the bolster. If your hip does not reach, add a folded blanket under the bolster to raise it. Keep the back leg active to protect the knee.
- Step 4: Final Relaxation (Savasana with Bolster): Lie flat on your back again. Place the bolster under your knees to elevate them slightly, reducing pressure on the lower back. Let your feet fall open. Rest your arms at your sides, palms up. Close your eyes and stay for 5–10 minutes, focusing on the release in your hips. Checkpoint: if your lower back still feels compressed, try placing the bolster under your entire spine instead of just the knees. Use a blanket under your head if your chin tilts upward.
Prop Alternatives and Complementary Tools
- Setubandh Bench: Designed to withstand heavy use while maintaining its elegant form, it is an essential tool for practitioners looking to improve alignment, enhance flexibility, and explore new dimensions in their yoga. For hip opening, the Setubandh Bench provides a stable platform for supported bridge pose, allowing the hips to relax without strain. It is a durable alternative when a bolster is too soft or low.
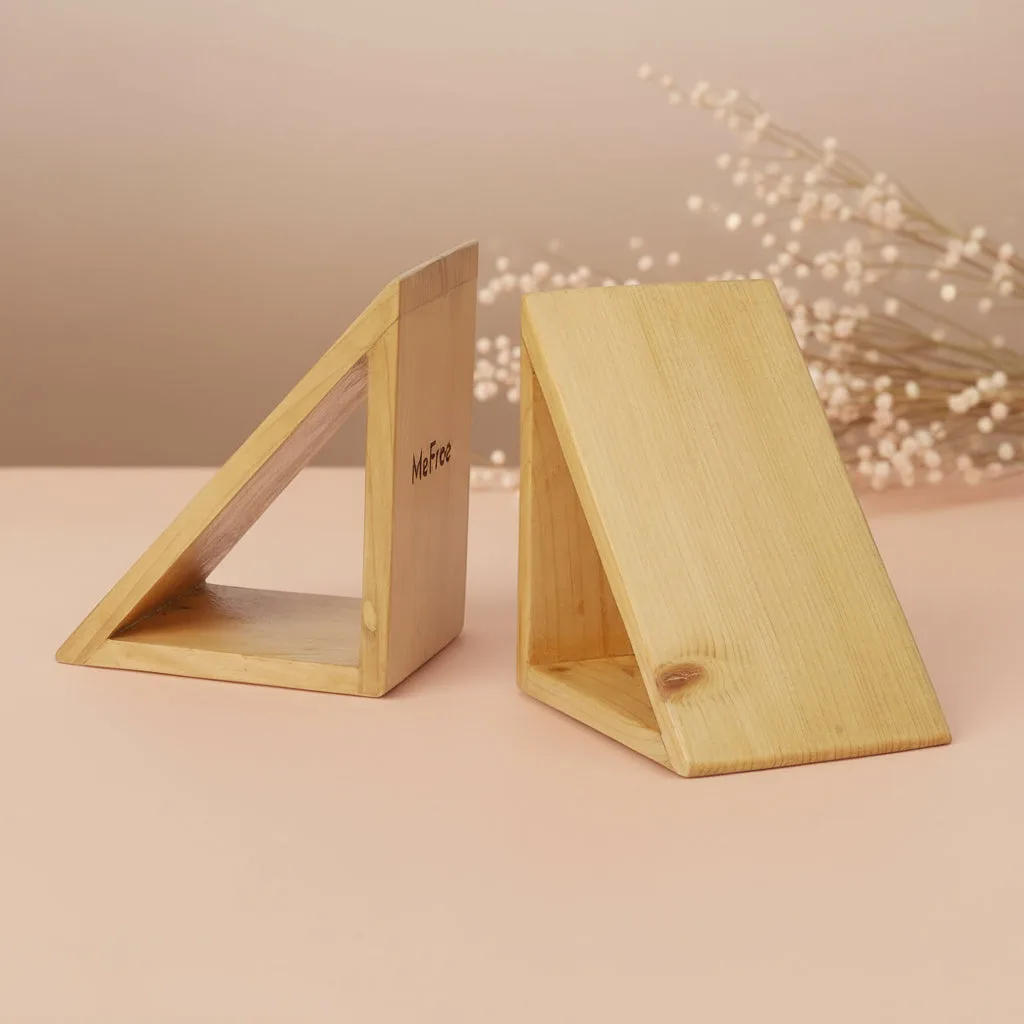
- Triangular Block- Small Pair: Engineered to support you in finding your perfect positioning during your practice. Helps you refine your technique while providing additional stability and precision. Small triangular blocks can be placed under the thighs or hips in restorative poses to adjust the angle and deepen the stretch safely. They are especially useful for fine-tuning alignment in bound angle pose.
Using a yoga bolster for hip opening is a gentle yet powerful way to release deep tension and invite relaxation. By following these four steps, you can create a restorative practice that supports your body and calms your mind. Experiment with the Setubandh Bench or Triangular Blocks to find the perfect support for your unique anatomy.