Quick Answer
To use a yoga wheel for backbends safely, start on the floor with the wheel under your upper back, keep your hips grounded, and roll slowly. Focus on controlled breathing and stop if you feel sharp pain. Use props like the MeFree Curvature Plank to support alignment.
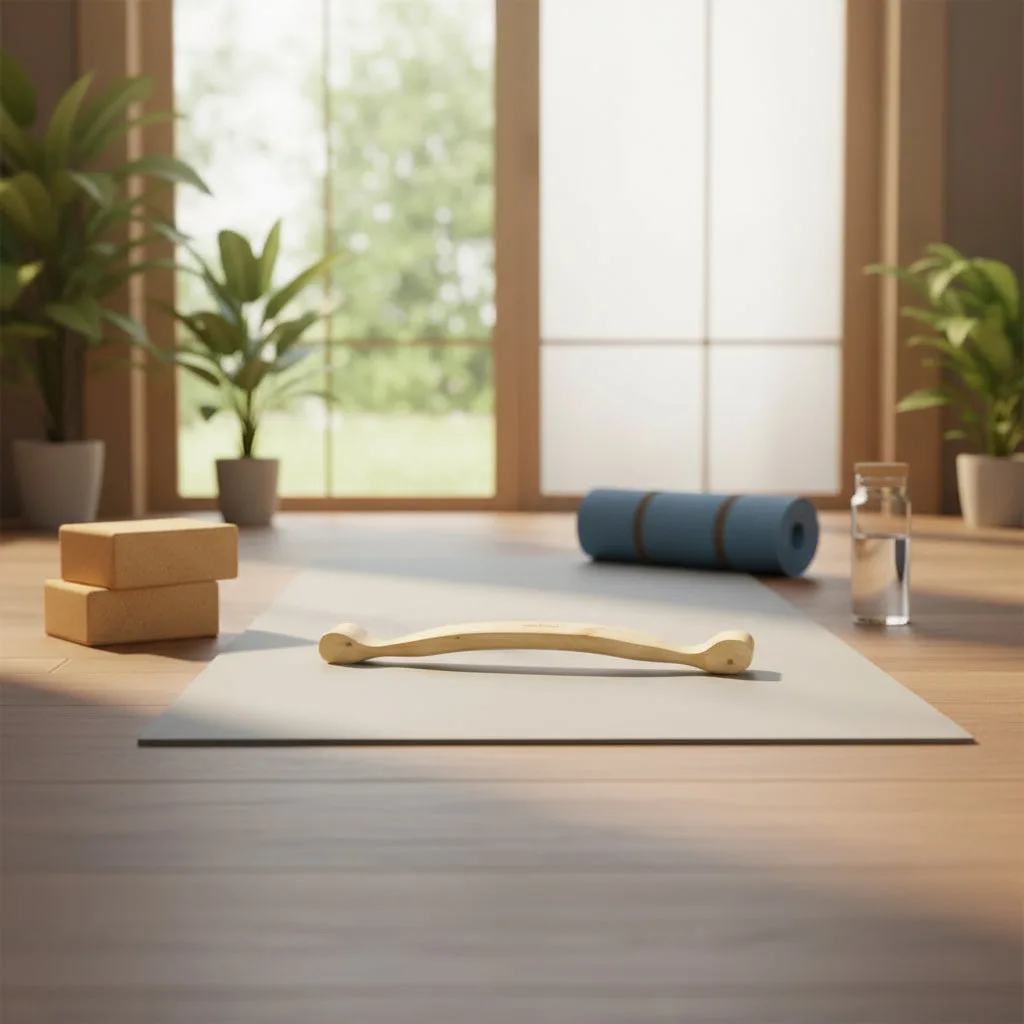
Curvature Plank
A yoga wheel can transform your backbend practice by adding support and increasing spinal mobility. However, without proper technique, it can strain your lower back or neck. This guide walks you through safe setup, common mistakes, and actionable drills to build confidence.
Whether you're a beginner or an experienced practitioner, using a yoga wheel for backbends requires attention to alignment and gradual progression. The key is to start small, listen to your body, and use props like the MeFree Curvature Plank to maintain a neutral spine.
Why Use a Yoga Wheel for Backbends?
A yoga wheel helps open the chest, shoulders, and spine without compressing the lower back. It provides a curved surface that supports the natural arch of a backbend, allowing you to stretch deeper with less risk. Many practitioners find it easier to maintain length in the spine compared to unsupported backbends.
However, the wheel can also encourage over-arching if you rush. The goal is not to drop your head back or force your hips forward. Instead, focus on using the wheel to lengthen through the front body while keeping your core engaged.
- Place the wheel under your shoulder blades, not your lower back, to start.
Essential Setup and Safety Checks
Before attempting any yoga wheel exercises, ensure the wheel is on a non-slip surface like a yoga mat. The MeFree Light Weight TPE Yoga Mat 6mm provides a stable, cushioned base with alignment lines to help you center the wheel. Start seated, then lie back so the wheel rests under your upper back.
Common mistake: letting your neck drop back. Keep your chin slightly tucked and your gaze toward your knees. If you feel pinching in your lower back, roll the wheel higher up your spine or reduce the range of motion.
- Check that your feet are hip-width apart and parallel for stability.
Step-by-Step Yoga Wheel Backbend Drills
- Step 1: Set Up the Wheel: Place the yoga wheel horizontally under your upper back, just below the shoulder blades. Lie back with your head supported by your hands or the floor. Keep your feet flat and knees bent. Checkpoint: Your neck should feel long, not compressed. Adjust the wheel position if needed.
- Step 2: Roll and Breathe: Inhale to lengthen your spine, then exhale as you gently roll the wheel toward your mid-back. Keep your hips heavy on the mat. Only go as far as your ribs allow without strain. Common mistake: holding your breath. Keep breathing steadily to relax into the stretch.
- Step 3: Add Arm Support: Reach your arms overhead and place your palms flat on the floor or on the Curvature Plank for support. Press through your hands to lift your chest slightly, deepening the backbend. Checkpoint: If your wrists hurt, use a yoga belt around your forearms to reduce pressure.
- Step 4: Return Slowly: To come out, bend your knees, tuck your chin, and roll the wheel back toward your shoulders. Use your hands to guide your head up. Avoid jerking or twisting your spine. Final tip: Practice this drill 3-5 times per session, resting in child's pose between rounds.
Props That Support Safe Backbends
- Curvature Plank: Designed to enhance your yoga practice and improve your posture. It is a unique yoga prop that provides many features and advantages for the yoga practitioner. The Curvature Plank can be used alongside a yoga wheel to support the hands or feet during backbend drills, helping maintain alignment and reducing wrist strain.
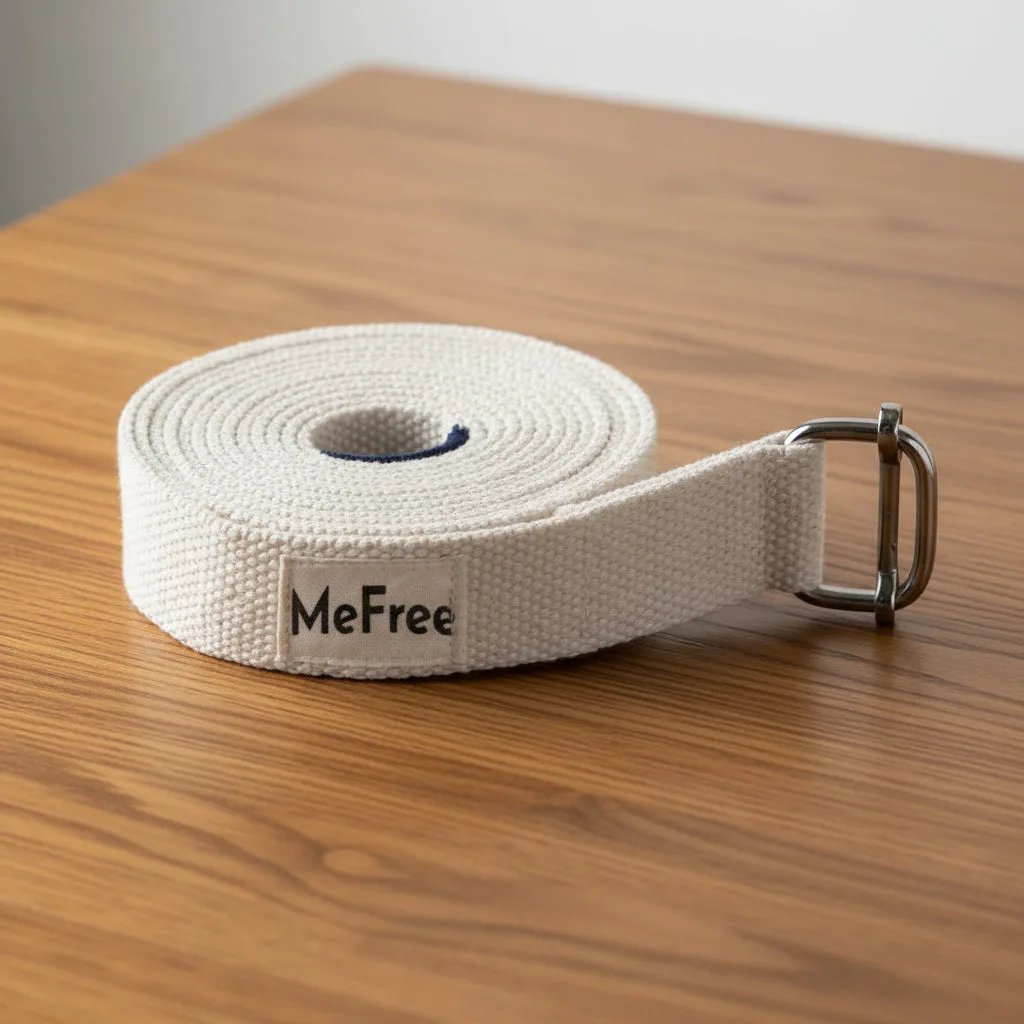
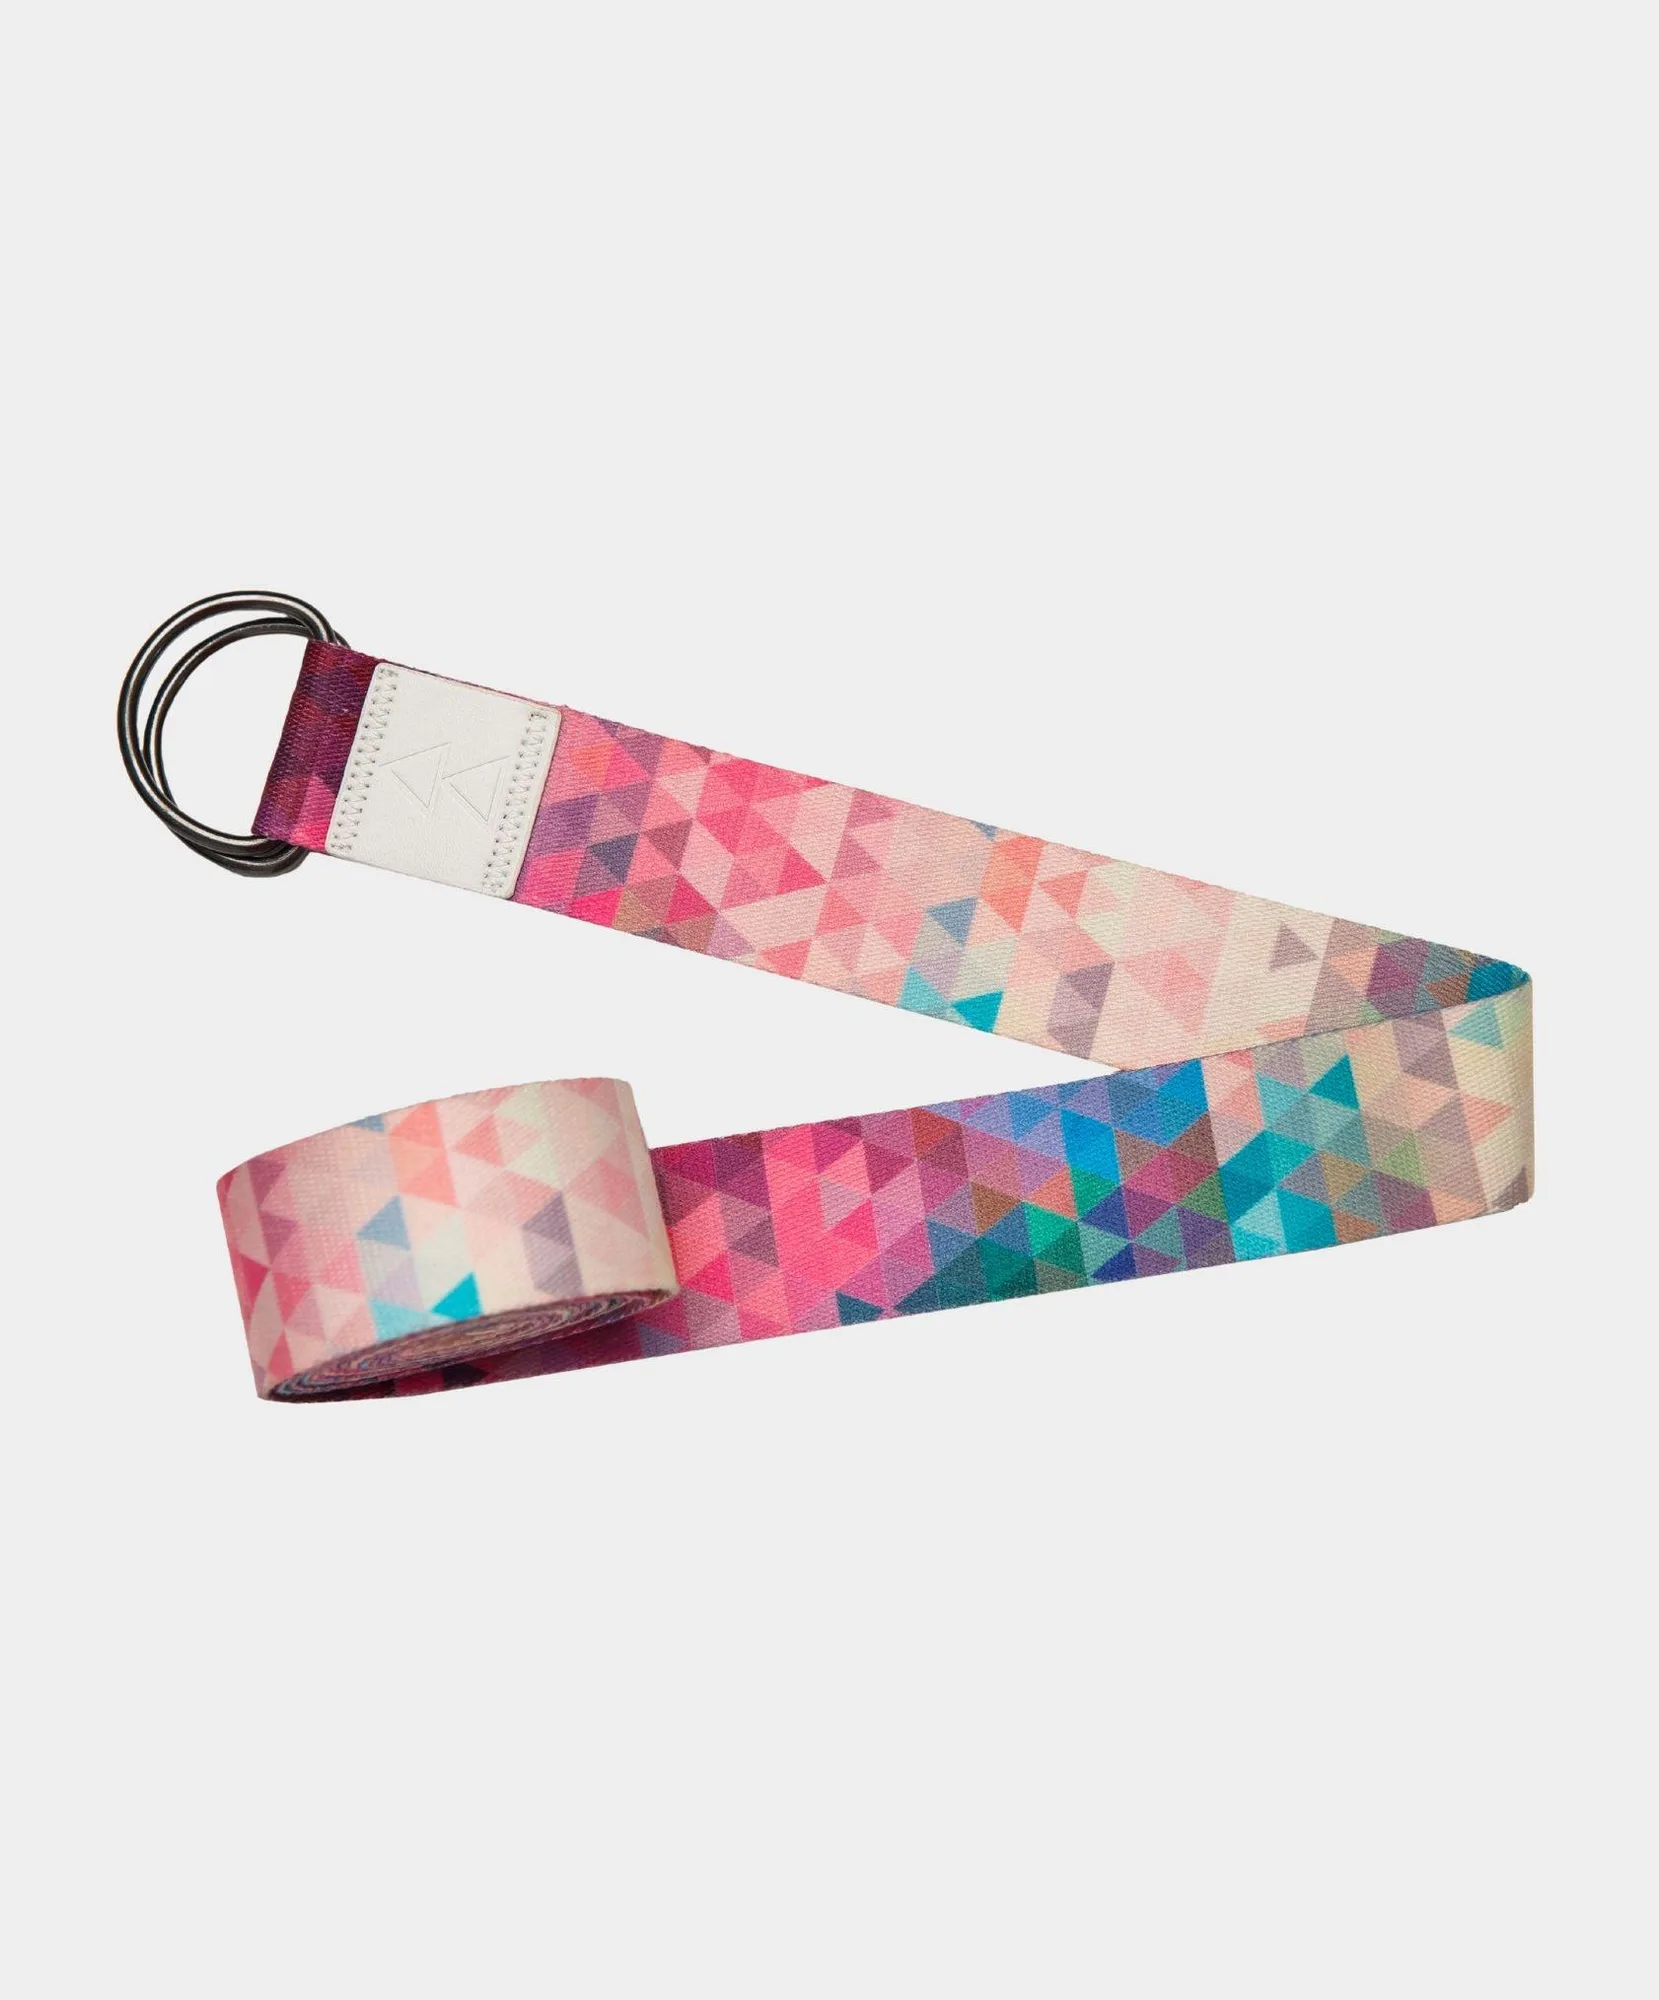
- Yoga Belt: An essential technical prop designed to act as a seamless extension of your limbs, allowing you to access advanced postures with safety and control. A yoga belt can help you hold a backbend position without gripping the wheel too tightly, promoting relaxation and deeper opening.
Using a yoga wheel for backbends can be a safe and effective way to improve spinal flexibility when done with proper technique. Start with these drills, listen to your body, and consider adding props like the Curvature Plank or yoga belt to enhance your practice. With consistency, you'll build confidence and control in your backbends.