Quick Answer
Install a gable vent near the peak of your kennel wall to create passive airflow that exhausts hot, humid air and draws in fresh air without using electricity.
Why a Gable Vent Works for Dog Kennels
A gable vent is a simple, low-cost solution that uses natural convection. Warm, moist air rises and exits through the vent, while cooler air enters through lower openings. This passive system works even when the kennel is unoccupied, reducing condensation, mold, and odors.
Unlike powered fans, a gable vent has no moving parts, so it requires no maintenance or wiring. The exterior shutters keep out rain and pests while allowing continuous airflow.
Choosing the Right Location
Place the gable vent on the highest possible wall of the kennel, ideally on the side opposite the prevailing wind. This creates a pressure difference that maximizes air exchange.
If your kennel has a sloped roof, install the vent in the gable end (the triangular wall under the roof peak). Avoid placing it near the floor, where it would only circulate cool, stale air.
Step-by-Step Gable Vent Installation
- 1. Mark the Cutout: Hold the gable vent against the wall where you want it. Trace the inside opening of the vent onto the wall surface. Double-check that the location is centered between wall studs so you don't cut into framing. Common mistake: Cutting too close to a stud leaves no room for fasteners. Use a stud finder before marking.
- 2. Cut the Opening: Drill a starter hole at one corner of the traced rectangle. Use a jigsaw or reciprocating saw to cut along the line. Cut slightly inside the line so the vent flange covers the rough edge. Checkpoint: Wear safety glasses and a dust mask. Kennel walls may contain insulation or dust that irritates eyes and lungs.
- 3. Insert the Gable Vent: Slide the gable vent into the opening from the outside. The flange should sit flush against the wall surface. If the fit is tight, lightly sand the opening edges. Common mistake: Forcing the vent can bend the shutters. If it doesn't fit, adjust the opening rather than the vent.
- 4. Secure and Seal: Drive screws through the pre-drilled holes in the vent flange into the wall. Apply exterior-grade caulk around the entire flange to seal out moisture and drafts. Checkpoint: Use stainless steel or galvanized screws to prevent rust. Silicone caulk works best for outdoor use.
- 5. Test Airflow: On a calm day, hold a thin strip of paper or a lighter flame near the vent from inside the kennel. The paper or flame should move toward the vent if air is exiting. If not, check that the shutters are open and not blocked. Common mistake: Blocked shutters from debris or paint. Ensure the shutters swing freely before finalizing the installation.
Product Used in This Guide
-
Gable Vent: With exterior shutters, improves air circulation, and regulates temperature in the kennel. The built-in shutters keep out rain and debris while allowing constant airflow, making it a low-maintenance choice for year-round kennel ventilation.
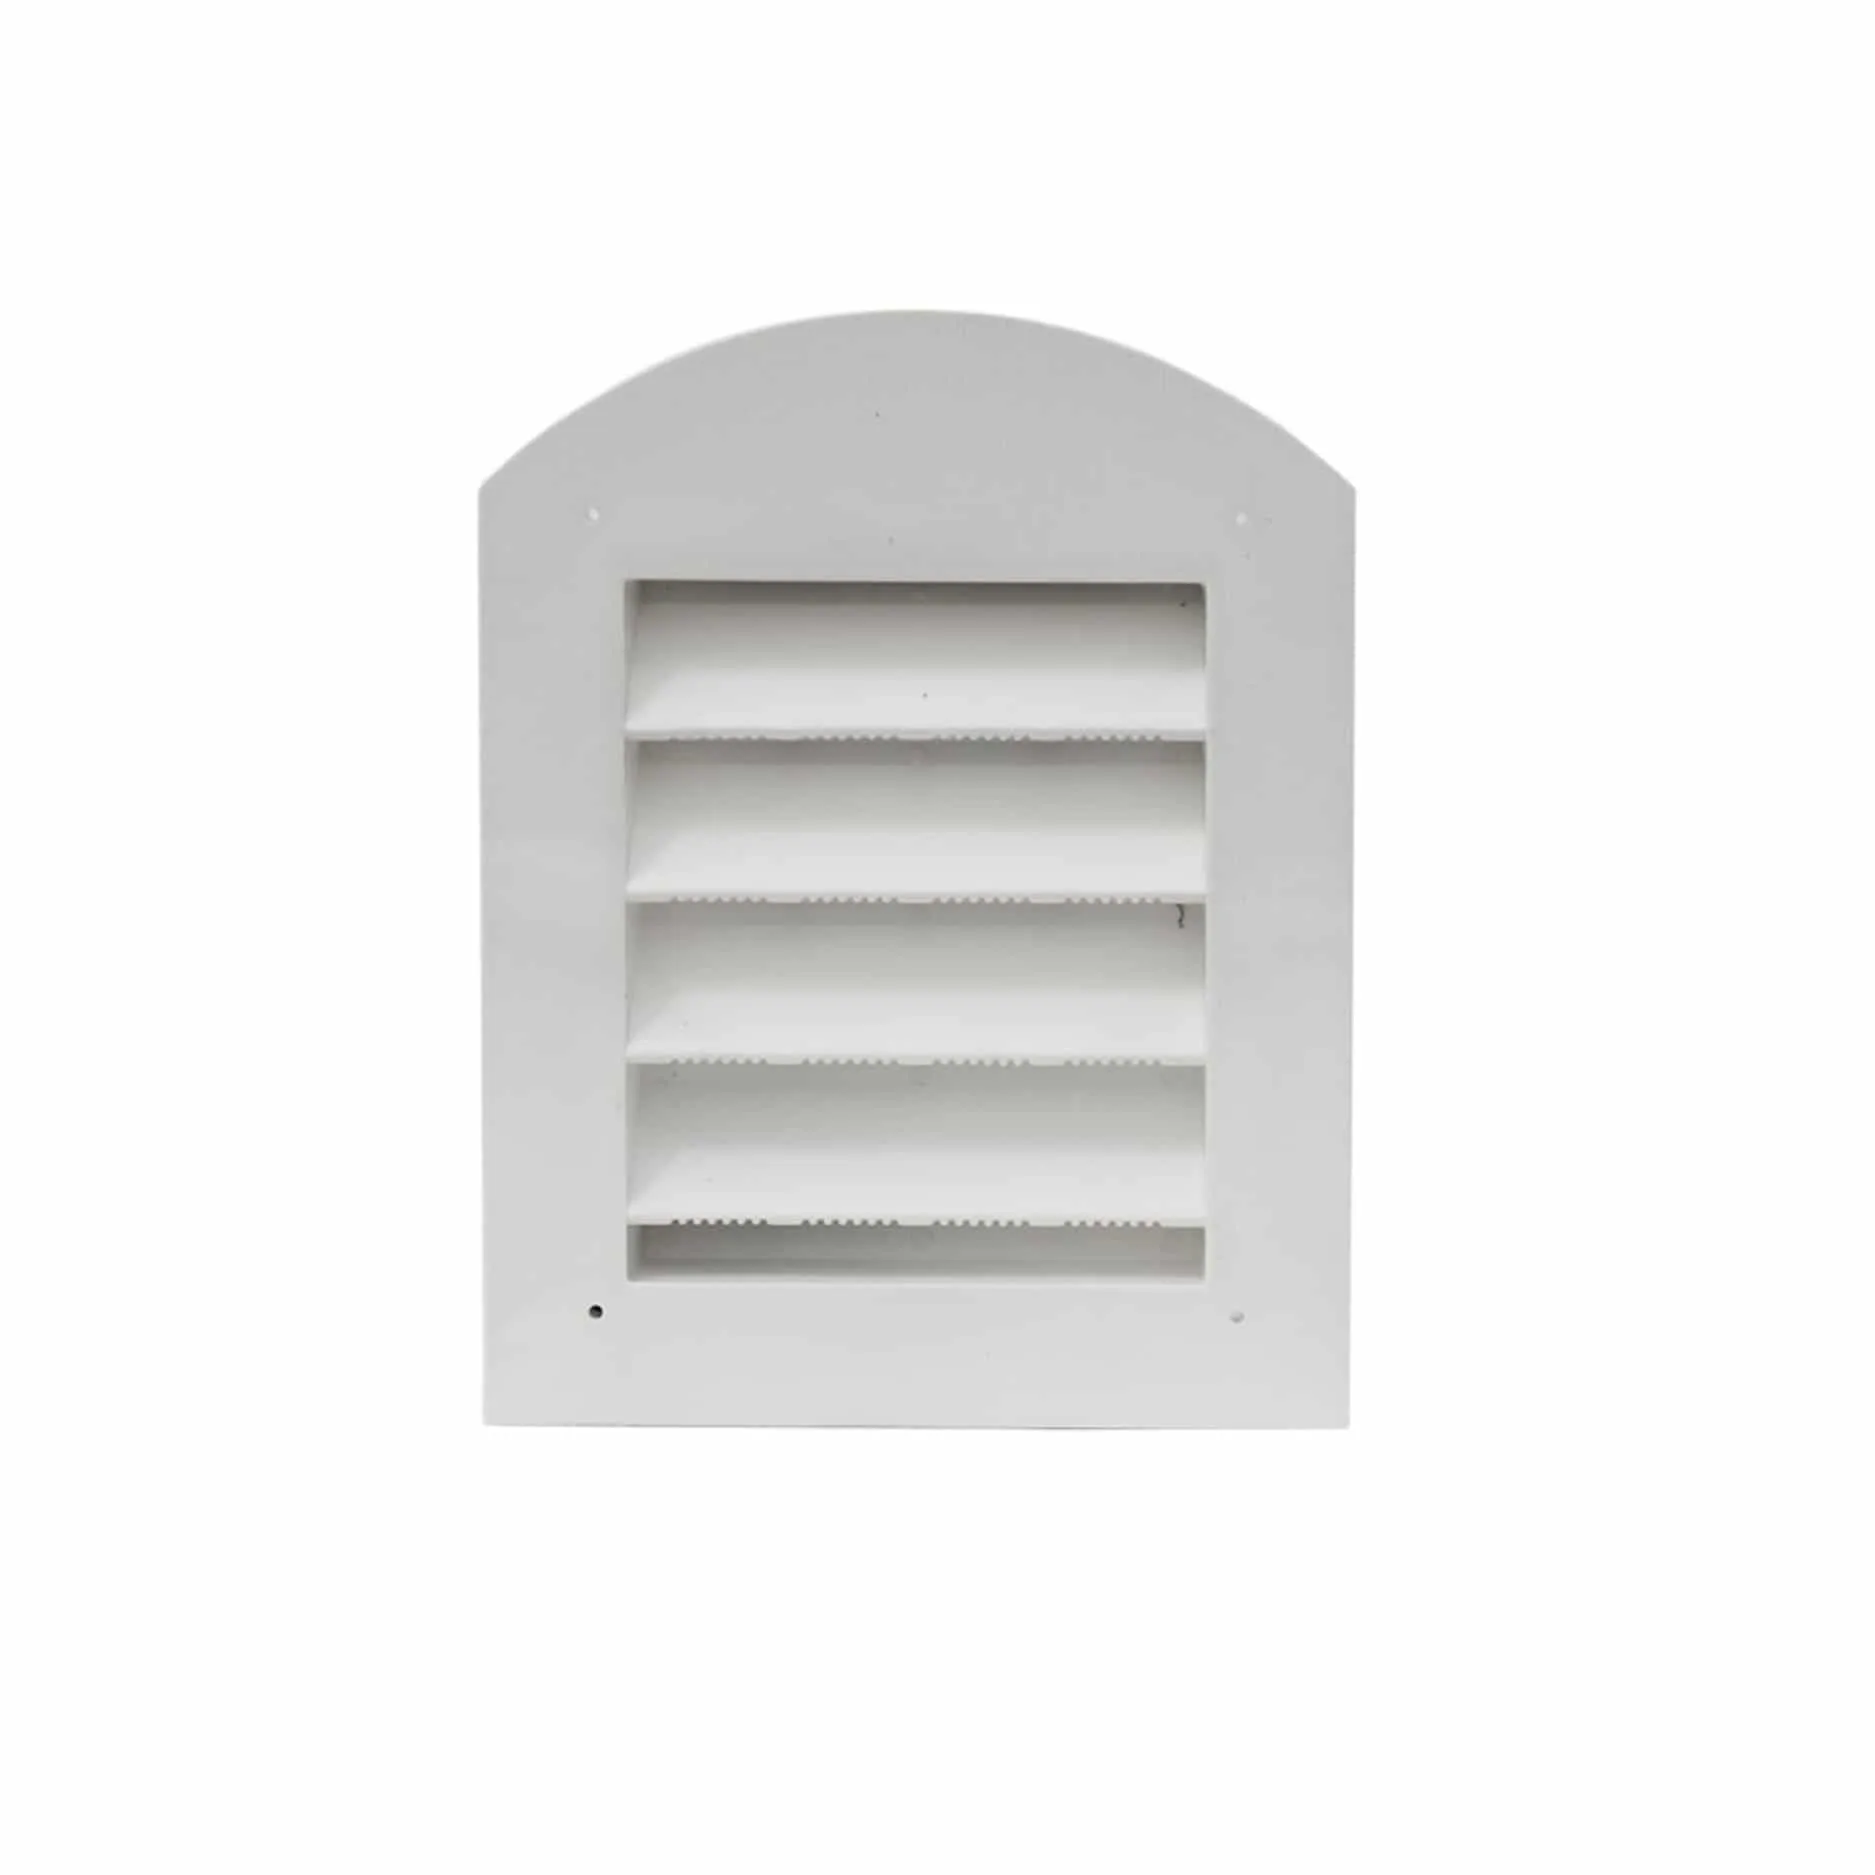
Gable Vent