Quick answer
Mount the Electric Cleaner K-9 Wall Mount bracket at a comfortable working height, secure the dryer, then attach the hose with the Electric Cleaner K-9 Hose Snap Clamp so the unit stays stable and ready for every groom.
Why wall-mounting changes your grooming space
A wall-mounted dryer frees up floor and table space, keeps the hose off the ground, and puts the controls within easy reach. The trade-off is that you lose the ability to roll the unit between stations, so choose a location that serves your main drying area.
The Electric Cleaner K-9 Wall Mount is designed for quick installation and stable, durable storage. Because the catalog does not list a weight capacity, check your dryer’s manual or the bracket’s packaging for any limits before mounting.
Hose connection matters more than you think
A loose hose wastes airflow and can pop off mid-groom. The Electric Cleaner K-9 Hose Snap Clamp is a simple snap-on clamp that gives a secure fit for hose accessories. Use it every time you connect or change a nozzle, and inspect the clamp for wear as part of your routine.
Step-by-step wall-mount and hose setup
- Choose and mark the mounting spot: Pick a wall location near your main drying table, high enough to keep the hose off the floor but low enough to reach the controls. Mark the bracket holes with a pencil. Common mistake: mounting too high or too far from the table, which strains the hose and your reach. Check that the hose reaches your work area before drilling.
- Install the wall mount bracket: Drill pilot holes and secure the Electric Cleaner K-9 Wall Mount bracket with appropriate fasteners for your wall type. Tighten until snug. Checkpoint: the bracket should not wobble when you press down on it. If the wall is hollow or fragile, use wall anchors rated for the load.
- Hang and secure the dryer: Lift the Electric Cleaner K-9 onto the bracket and confirm it sits flush and stable. Give it a gentle tug to test security. Common mistake: rushing this step and leaving the unit loose, which can vibrate during use. With the dryer off, try rocking it side to side—any movement means recheck the bracket.
- Attach the hose with the snap clamp: Slide the hose onto the dryer outlet and snap the Electric Cleaner K-9 Hose Snap Clamp into place. Tug gently on the hose to confirm the clamp holds. Checkpoint: the clamp should close fully with no gap. If the clamp feels loose, reseat it before turning on the dryer.
- Test airflow and adjust: Turn the dryer on low and feel for leaks at the hose connection. If air escapes, reseat the clamp. Then run through a typical grooming motion to confirm the hose length and position work for you. Listen for hissing at the connection—it signals a poor seal.
- Build a daily check into your workflow: At the start of each grooming day, glance at the bracket fasteners and snap clamp. Wipe the clamp if hair or debris builds up. Common mistake: skipping checks until a hose pops off mid-groom. Keep a spare snap clamp on hand so a worn clamp never stalls a groom.
Product facts
-
Electric Cleaner K-9 Wall Mount: The Electric Cleaner K-9 Wall Mount securely mounts your K-9 forced air dryer to the wall for easy-access storage. Keeps the dryer off the floor and within reach, reducing clutter and setup time between grooms.
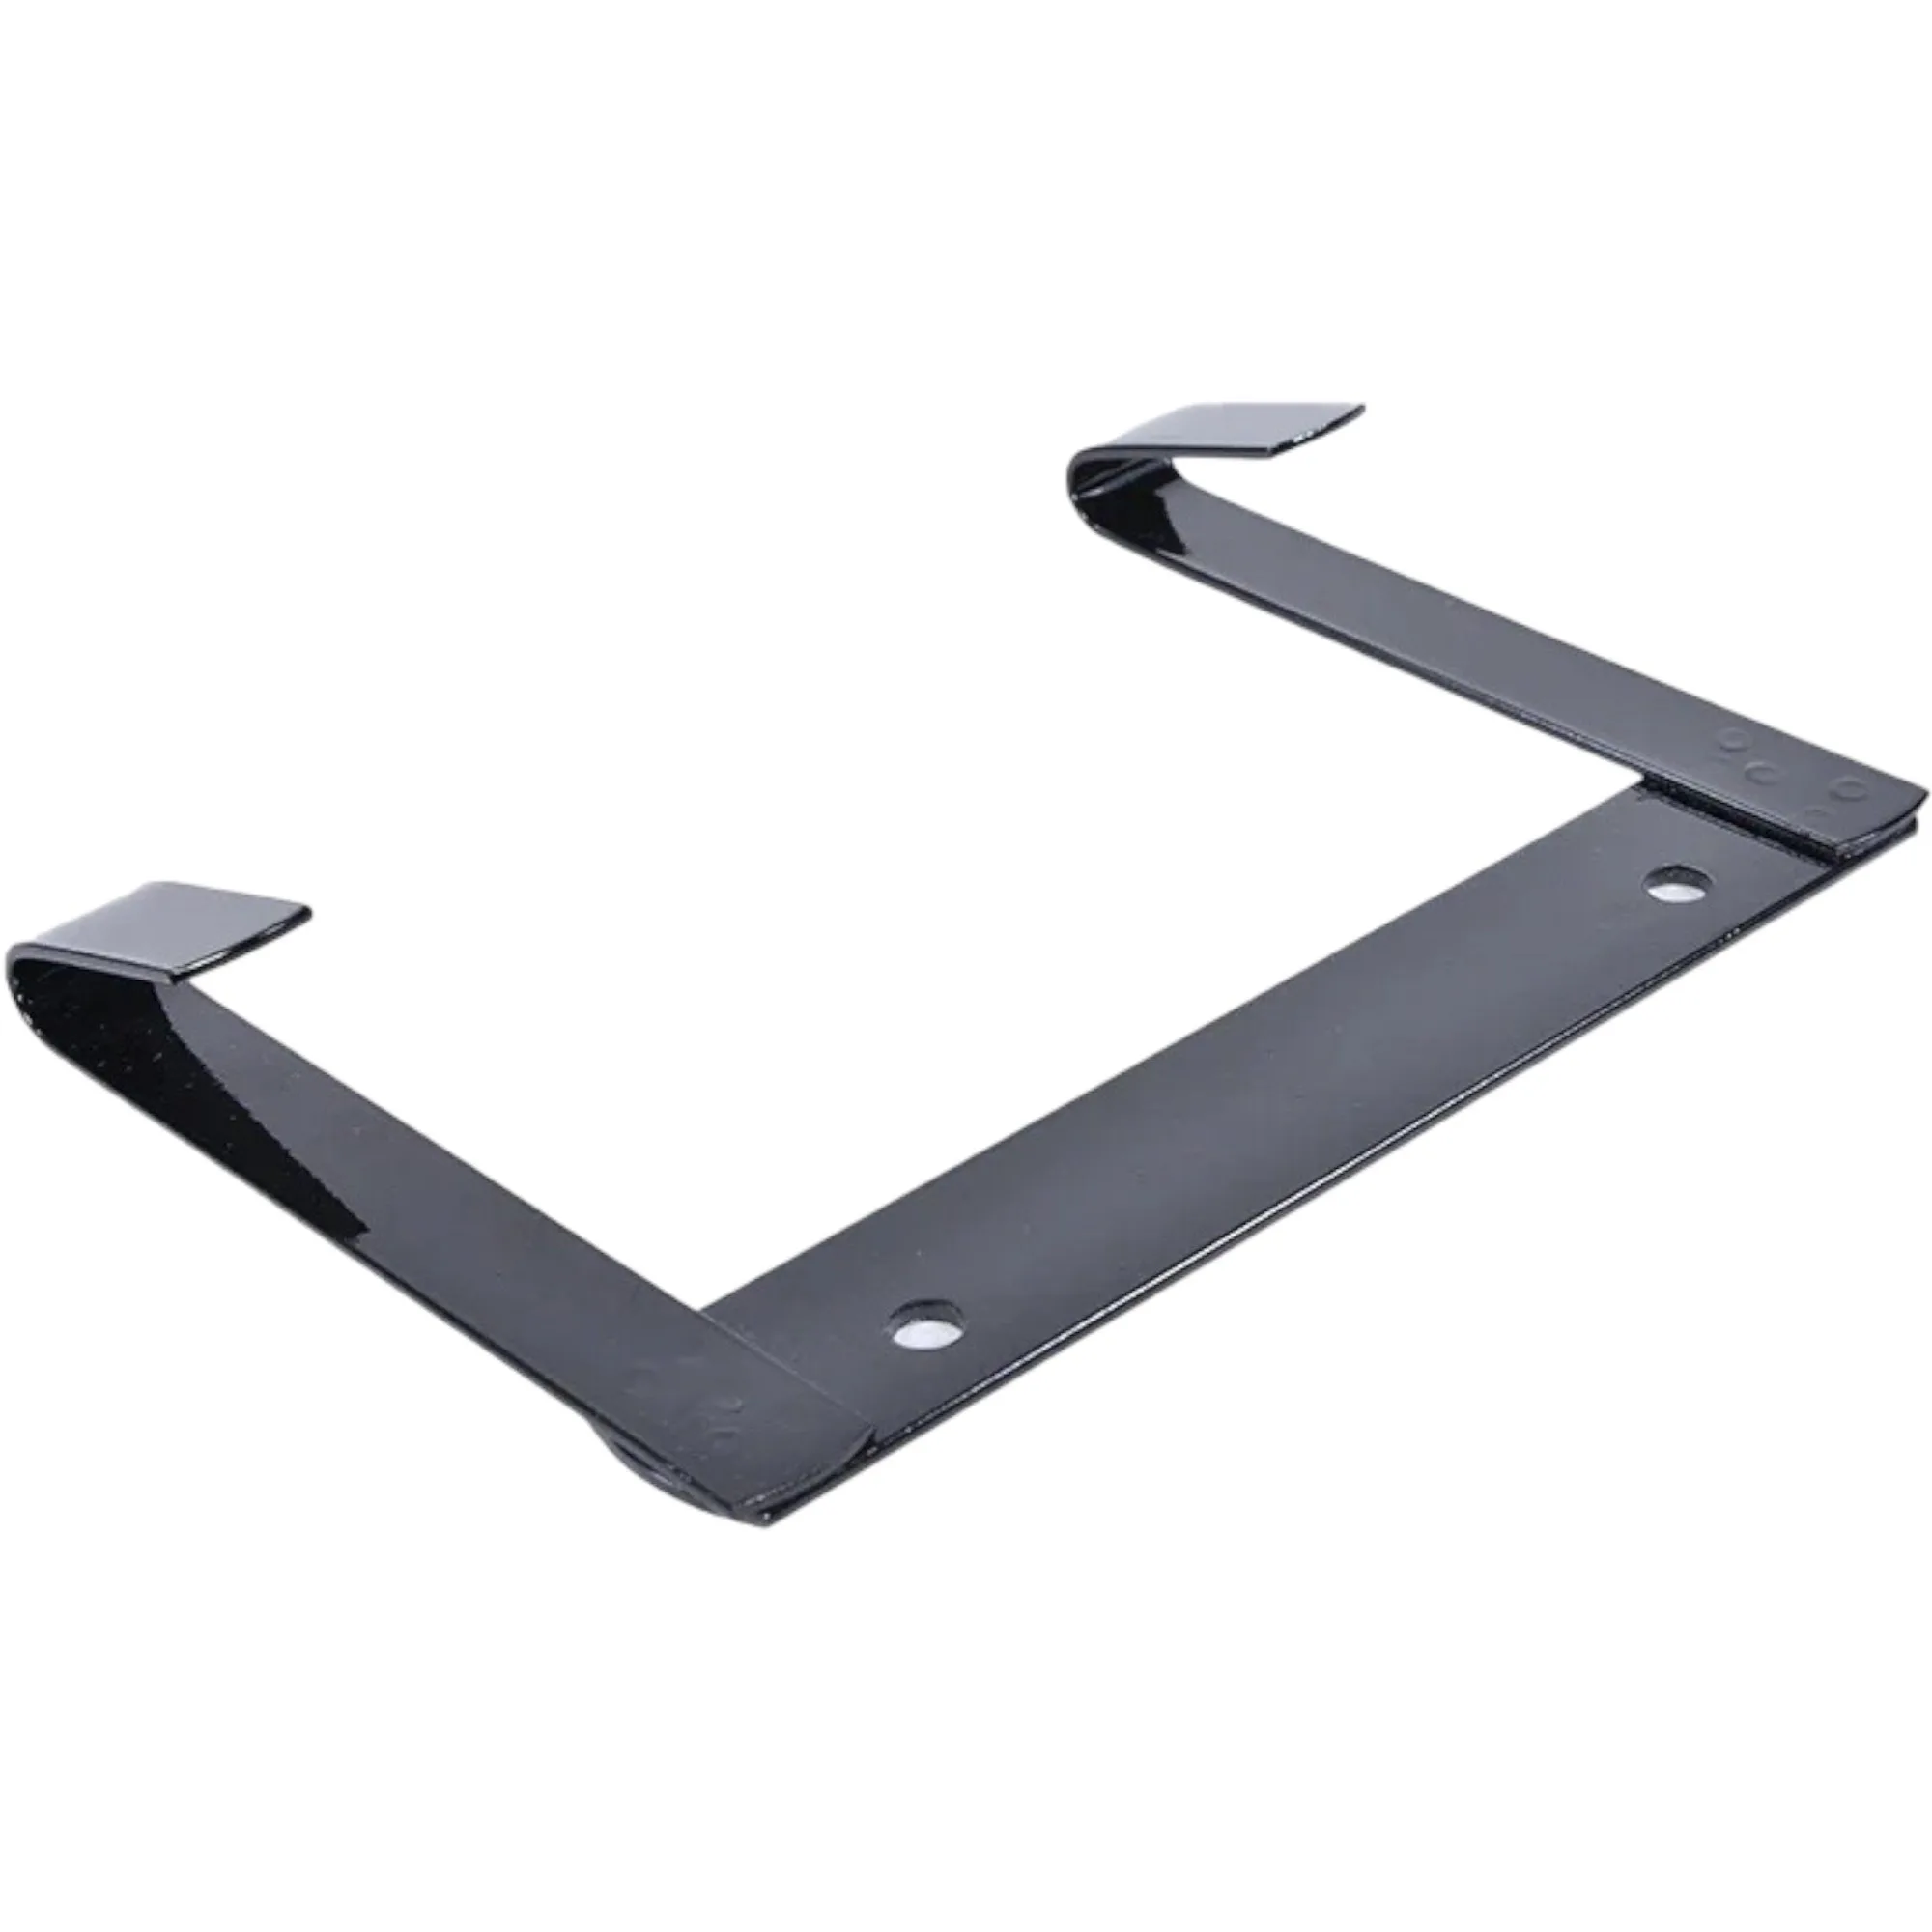
Electric Cleaner K-9 Wall Mount
-
Electric Cleaner K-9 Hose Snap Clamp: The Electric Cleaner K-9 Hose Snap Clamp offers a reliable connection for hose accessories with an easy-to-use snap clamp. Prevents accidental hose disconnects during grooming, so airflow stays consistent.
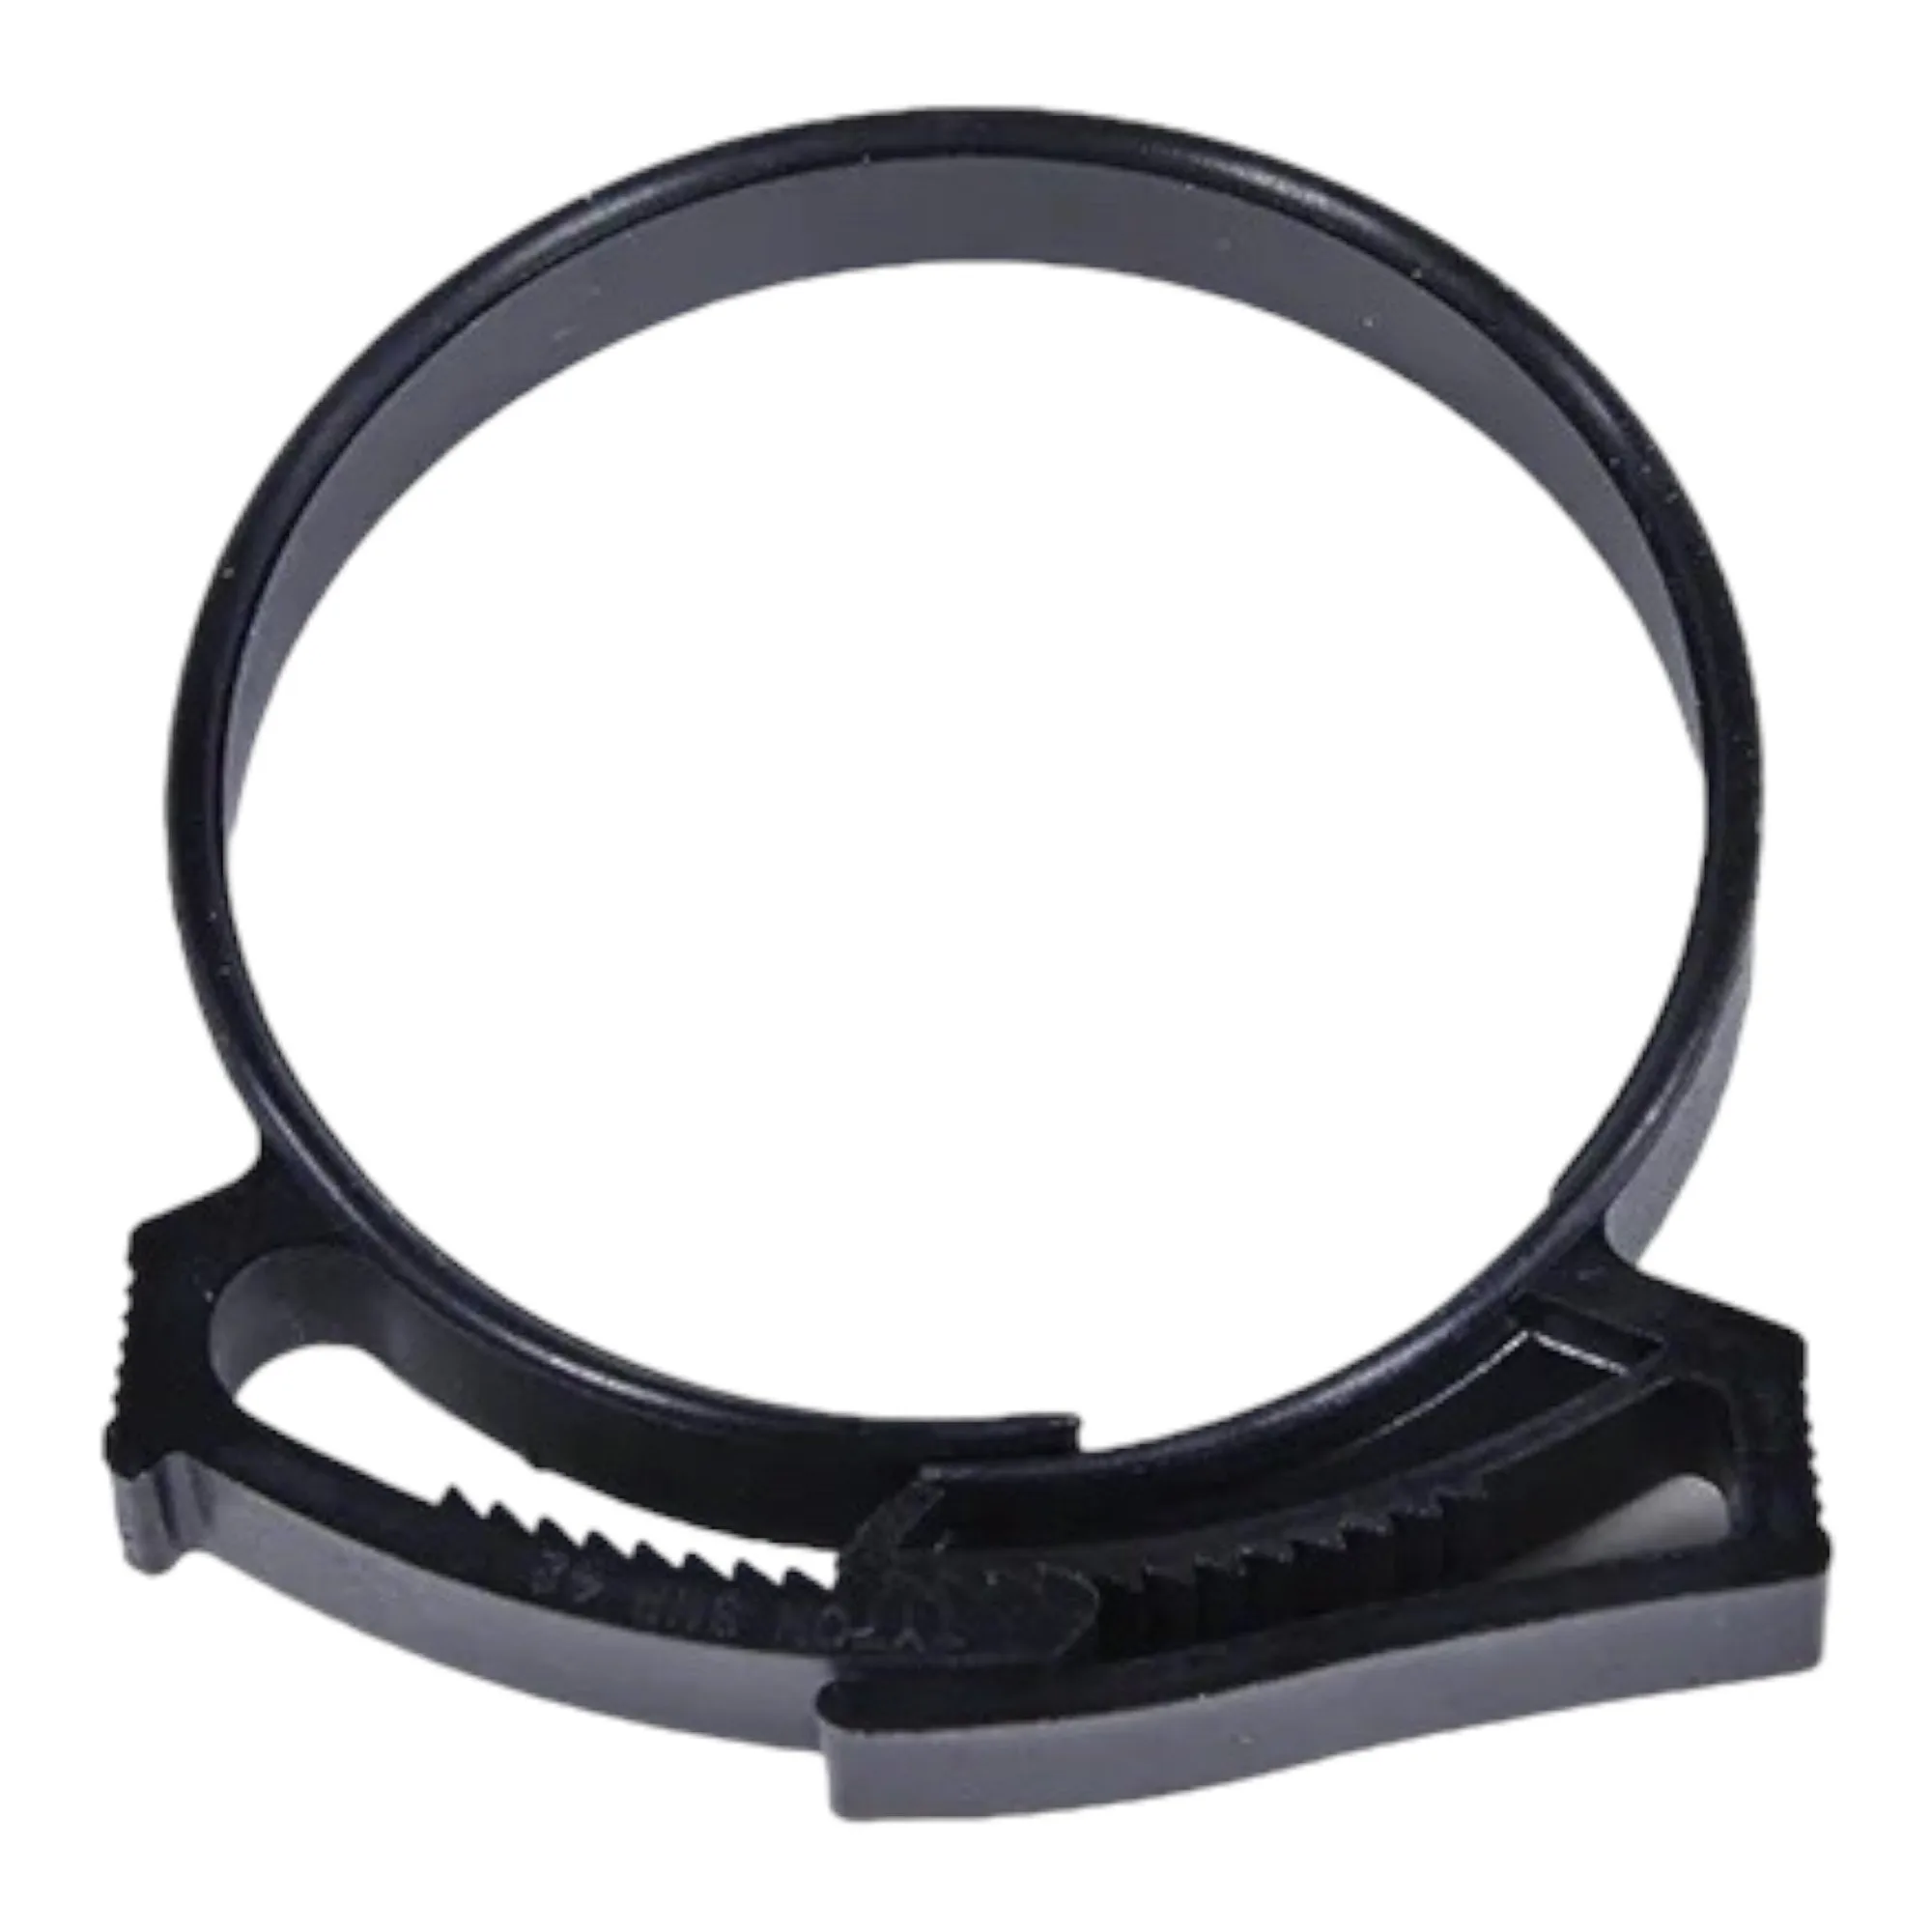
Electric Cleaner K-9 Hose Snap Clamp