Your MakeUp Eraser is a game-changer for removing makeup without harsh chemicals or disposable wipes. But to keep it working its best, proper care is essential. Washing it correctly not only extends its life but also ensures it stays hygienic and gentle on your skin. In this guide, we’ll walk you through the best practices for washing your MakeUp Eraser, whether you prefer hand washing or machine washing.
The key to longevity lies in understanding the fabric and avoiding common mistakes like fabric softeners or bleach. With just a few simple steps, your eraser can last for months, saving you money and reducing waste. Let’s dive into the dos and don’ts of MakeUp Eraser care.
Why Proper Washing Matters
The MakeUp Eraser is made from a unique, ultra-fine microfiber that traps makeup, oil, and dirt. Over time, residue can build up if not washed properly, reducing its effectiveness. Correct washing removes these particles, restores the fibers, and prevents bacteria growth. Plus, a well-maintained eraser stays soft and plush, making each use a pleasure.
Many users wonder if they can just toss it in the laundry with everything else. While that’s possible, there are specific steps to follow to avoid damaging the fabric. By learning the right technique, you’ll get the most out of your eraser and keep your skin happy.
- Prevents makeup residue buildup
- Keeps fibers soft and effective
- Extends the life of your eraser
- Maintains hygiene and skin health
Hand Washing Your MakeUp Eraser
Hand washing is the gentlest method and ideal if you use your eraser daily. Start by rinsing the eraser under warm running water to remove excess makeup. Then, apply a small amount of mild liquid soap (like a gentle hand soap or baby shampoo) directly to the fabric. Gently rub the eraser against itself or in your palms to work up a lather. Focus on areas with heavy makeup residue.
daily
Rinse thoroughly under warm water until all soap is gone. You’ll see the water run clear when it’s clean. Gently squeeze out excess water—don’t wring or twist, as that can damage the fibers. Lay the eraser flat on a towel or hang it to air dry. Avoid direct sunlight or high heat, which can degrade the microfiber.
- Use mild soap; avoid fabric softeners or bleach
- Rinse until water runs clear
- Air dry away from direct heat
Machine Washing Your MakeUp Eraser
For a deeper clean or if you have multiple erasers, machine washing is convenient. Place your eraser in a mesh laundry bag to protect it from snagging. Use warm water and a gentle cycle. Add a small amount of mild detergent—avoid bleach, fabric softeners, or dryer sheets, as these coat the fibers and reduce absorbency.
After the cycle, remove the eraser promptly. Tumble dry on low heat or air dry. High heat can melt the microfiber, so skip the high-temperature setting. If you air dry, it may take a few hours. Once dry, fluff the eraser by shaking it out to restore its plush texture.
- Use a mesh bag for protection
- Warm water, gentle cycle, mild detergent
- Low heat or air dry only
How Often Should You Wash It?
Frequency depends on how often you use it. If you use your MakeUp Eraser daily, wash it every 3-4 uses to prevent bacteria buildup. For occasional use, once a week is sufficient. You can also spot-clean between washes by rinsing with warm water and mild soap. Always wash before first use to remove any manufacturing residue.
A good rule of thumb: if the eraser looks stained or feels greasy, it’s time for a wash. With proper care, each eraser can last hundreds of washes, making it an eco-friendly and cost-effective choice.
- Every 3-4 uses for daily users
- Weekly for occasional use
- Wash before first use
Common Mistakes to Avoid
Many people accidentally shorten their eraser’s life by using the wrong products. Never use fabric softener—it clogs the fibers and reduces makeup-removing power. Bleach can weaken the fabric and cause discoloration. Also, avoid high heat in the dryer or ironing, which can melt the microfiber. Finally, don’t wring or twist the eraser when wet; instead, gently squeeze.
Storing a damp eraser can lead to mildew, so always let it dry completely before putting it away. By avoiding these pitfalls, your eraser will stay effective and soft for months.
- No fabric softener or bleach
- No high heat drying or ironing
- No wringing or twisting
- Store only when completely dry
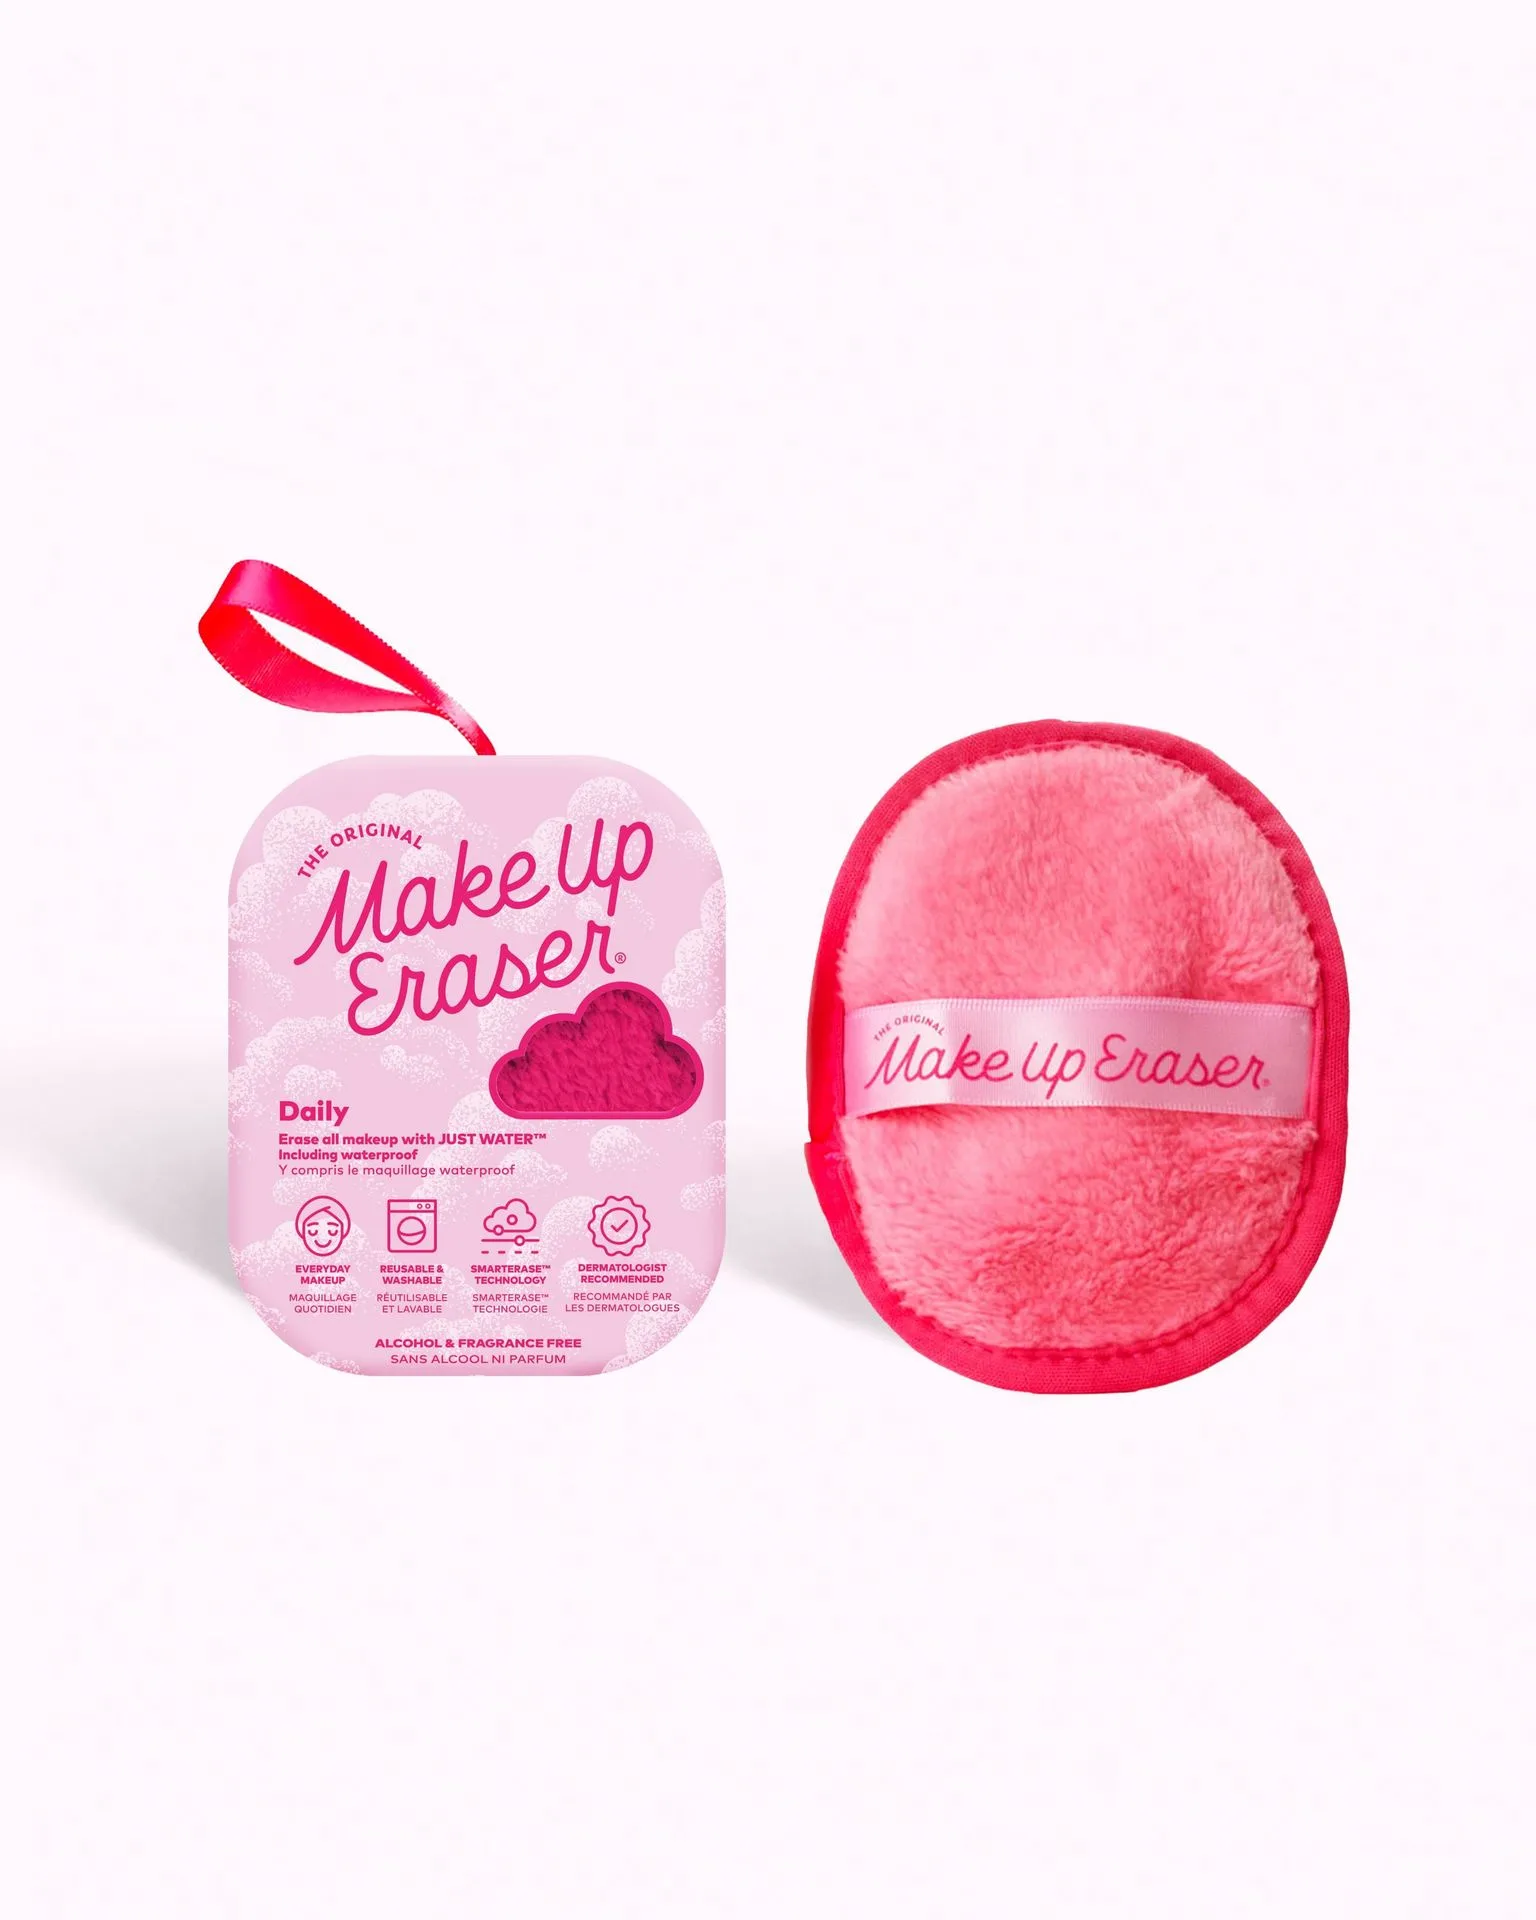
Caring for your MakeUp Eraser is simple and rewarding. With regular washing using mild soap and gentle drying, you’ll enjoy flawless makeup removal every time. For a fresh start, grab a new Daily eraser and follow these tips for maximum longevity.