Quick answer
To wire a 3-gang mixed light switch with one toggle and two dimmers, connect the live supply to the common terminal of the toggle switch, then link the dimmer modules to the same live feed using supplied connectors, and ensure all neutrals are joined in a separate terminal block.
Why a mixed switch requires extra care
A 3-gang plate that mixes a toggle switch with dimmers means you are controlling different types of load—one on-off circuit and two dimmable circuits—on the same faceplate. The toggle switch handles a standard resistive or inductive load (like an incandescent bulb or a fan), while each dimmer requires a compatible leading- or trailing-edge load. Before you start, confirm that your dimmable bulbs are rated for the dimmer type (auto-detect dimmers, like those in the Kepler range, simplify this).
The main wiring challenge is sharing the live feed: the toggle switch and both dimmers all need a permanent live supply. You must not daisy-chain the live wire through the dimmers; instead, use a dedicated connector block or the supplied wiring terminals to split the live feed safely. Also, the dimmer modules are typically deeper than a standard switch, so ensure your back box has enough depth (35 mm or more is recommended).
Understanding the Kepler 3G Knurled Mixed Switch
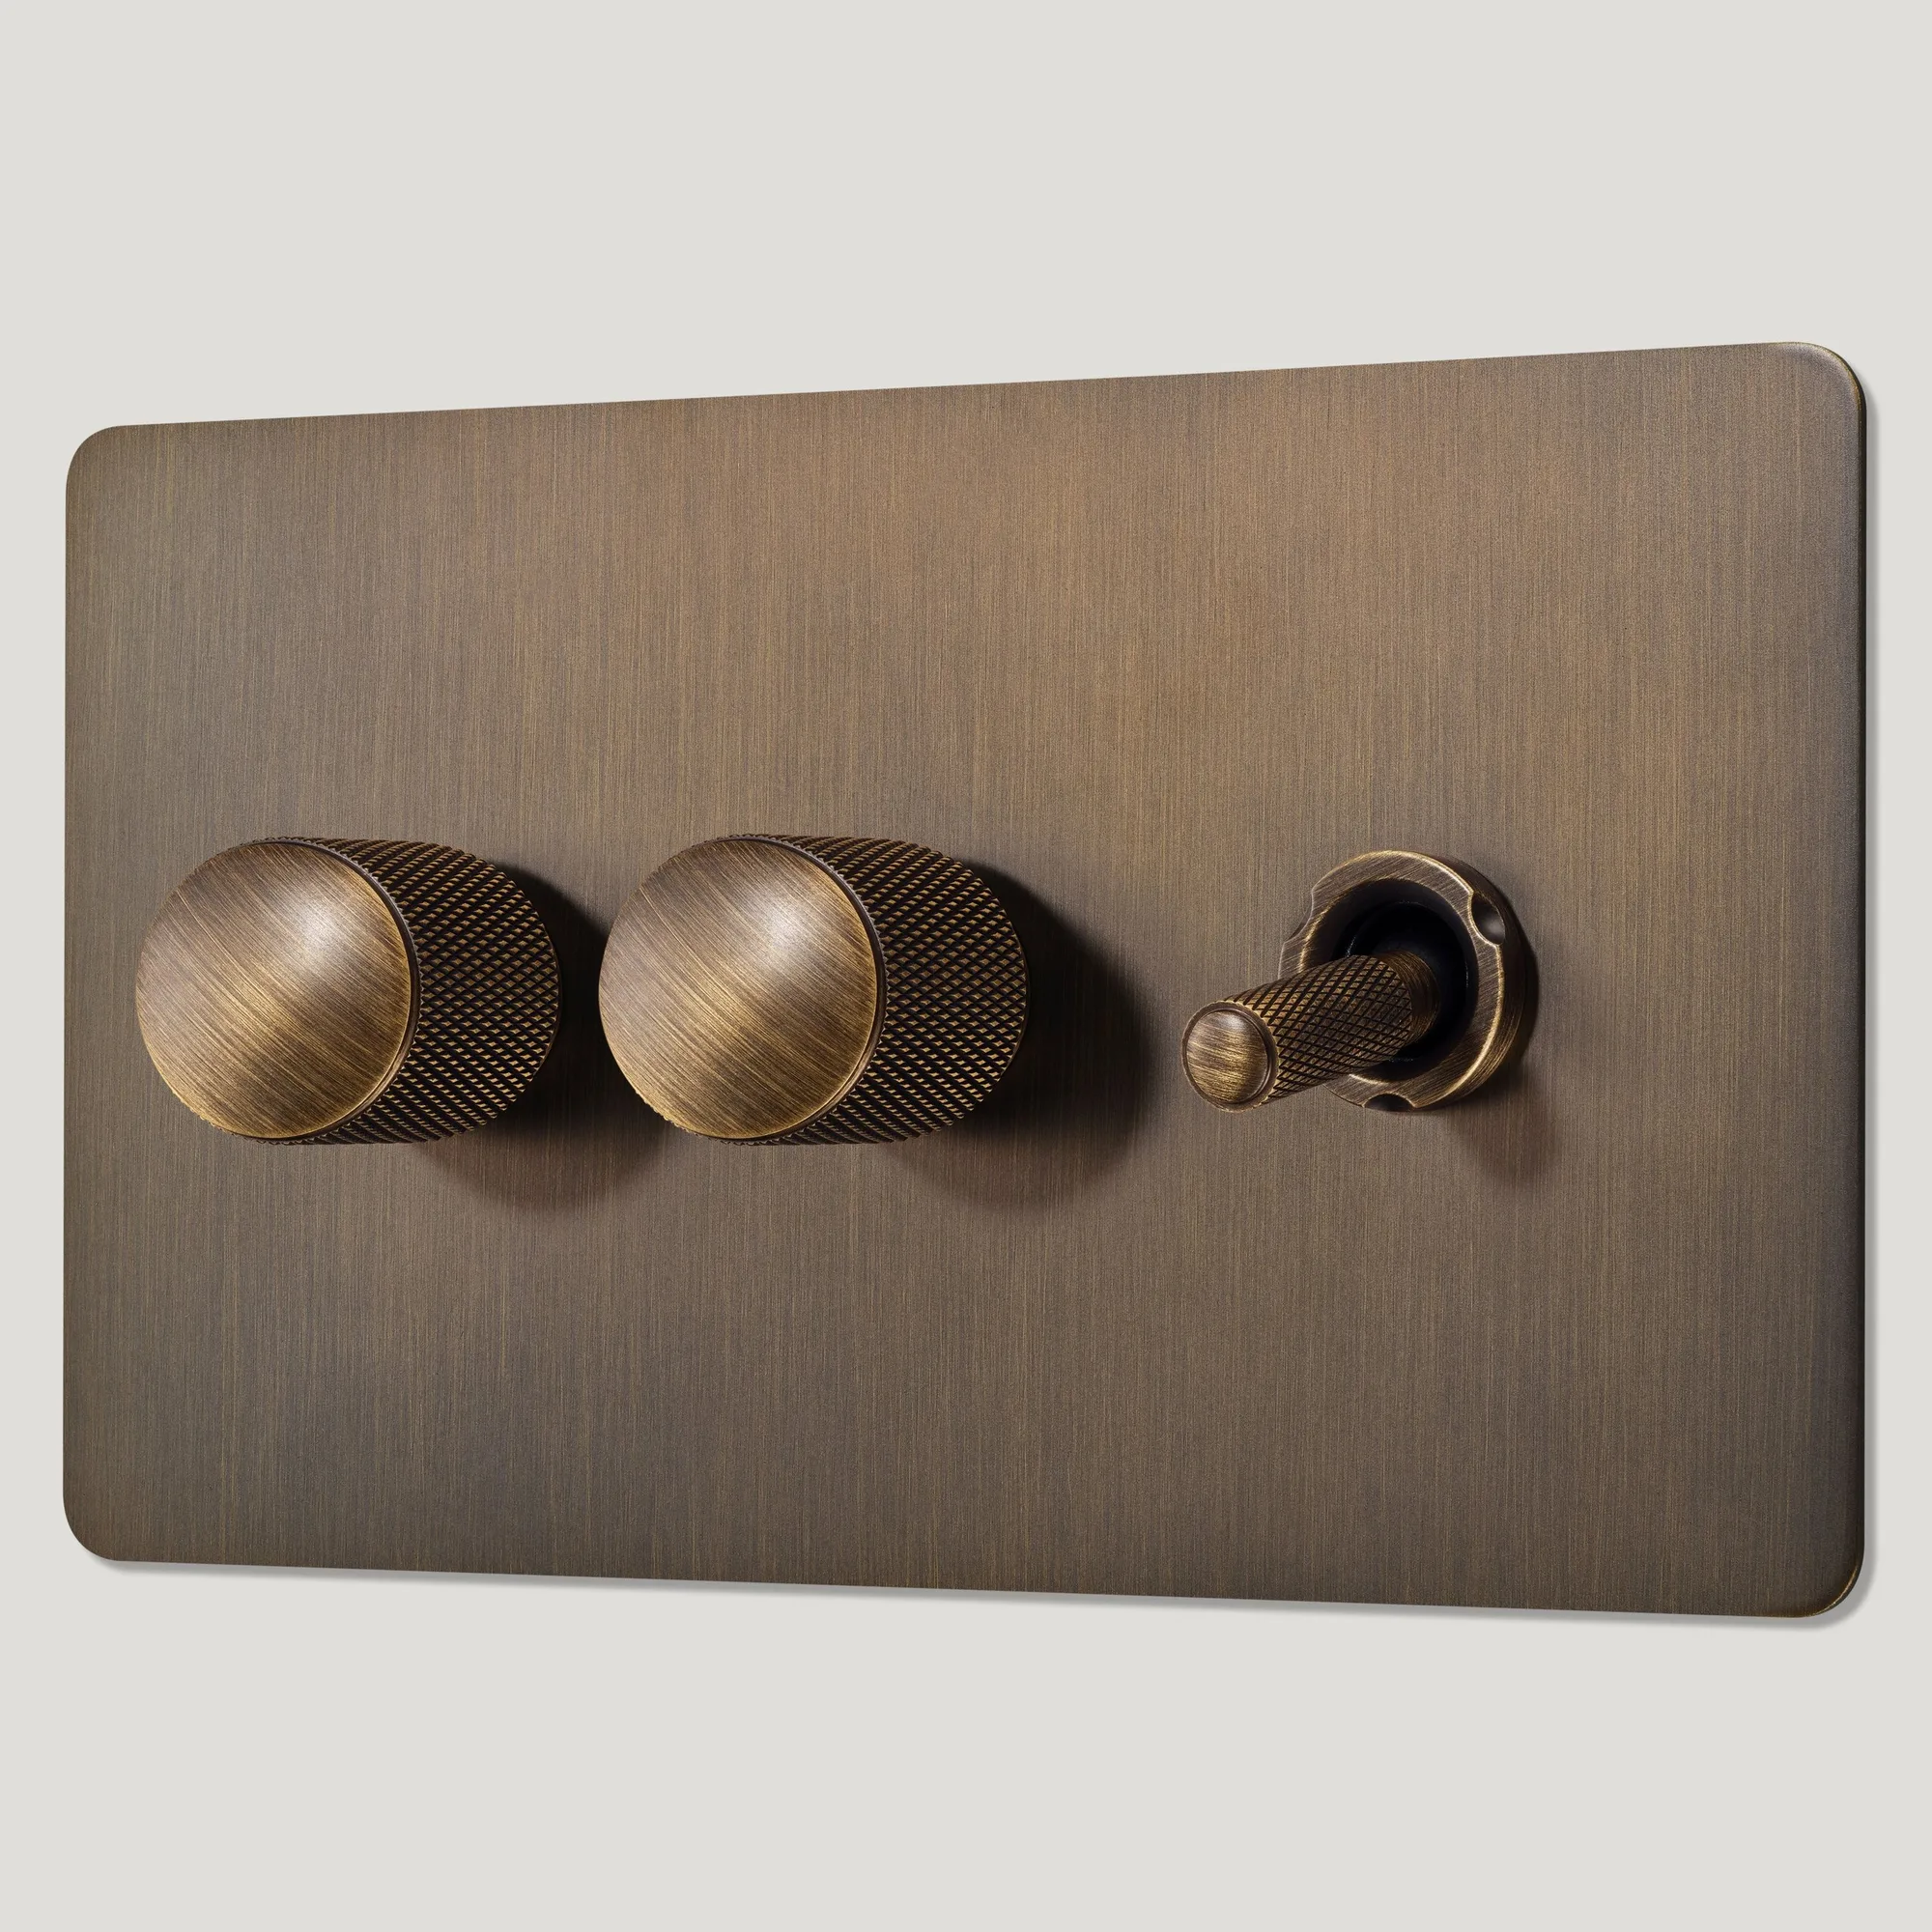
The Kepler 3G Knurled Mixed Light Switch (1 toggle / 2 dimmer) in Antique Brass combines a solid brass toggle and two knurled dimmer dials on a slim, low-profile plate. The dimmers feature auto-detect leading or trailing edge, making them compatible with most dimmable LEDs and incandescent bulbs. This switch is finish-matched to Plank Hardware’s brass cabinet hardware, so it works well in cohesive interior designs.
Because the dimmers are electronic modules, they require a neutral connection at the switch (common in modern wiring). If your setup lacks a neutral at the switch box, you may need to consult an electrician or choose a different dimmer model. The toggle switch, being mechanical, does not require a neutral.
Step-by-step wiring instructions
- 1. Turn off power and verify dead: Switch off the circuit breaker for the lighting circuit you are working on. Use a non-contact voltage tester to confirm no live voltage at the switch box. Common mistake: assuming the breaker is labeled correctly. Always test the wires yourself.
- 2. Identify and label the cables: In the back box, you should have one live feed (usually brown or black in older wiring) and three switch wires (each going to a separate light). Also, a bundle of neutral wires (blue or grey). Label each switch wire with the corresponding light (e.g., “toggle light”, “dimmer 1”, “dimmer 2”). Checkpoint: if you have more than one live feed, you may have a ring circuit—consult an electrician.
- 3. Connect the live feed to the toggle switch: Connect the live feed wire to the common (COM) terminal of the toggle switch. This terminal is usually marked with a C or a different color. Tighten the screw securely. Common mistake: using the wrong terminal (e.g., L1 or L2) will cause the toggle to not control the light correctly.
- 4. Link the dimmer modules to the same live feed: Use a small connector block (or the supplied wiring accessory) to create a bridge from the toggle’s common terminal to the live input of each dimmer module. Do not rely on daisy-chaining through the dimmer terminals—use a separate connector to split the live wire. Checkpoint: ensure the connector is rated for the total load (typically 10A is sufficient for lighting).
- 5. Connect the switch wires to the corresponding terminals: For the toggle switch, connect its switch wire to the L1 terminal (or the terminal marked for the load). For each dimmer, connect its switch wire to the load (L) terminal on the dimmer module. The dimmer’s neutral (N) terminal must be connected to the neutral bundle. Common mistake: forgetting to connect the dimmer neutral. Without it, the dimmer will not power its electronics and the light will not dim.
- 6. Join all neutral wires: Connect all neutral wires from the switch box (including the neutral from each dimmer) together using a twist-on connector or a push-in Wago. Do not connect the toggle switch to neutral. Checkpoint: if your house wiring does not have a neutral at the switch, you cannot use electronic dimmers without a neutral adapter.
- 7. Secure the switch plate and test: Carefully tuck the wires into the back box, ensuring no screws pinch the insulation. Mount the switch plate. Restore power and test: toggle the switch to confirm on/off, then rotate each dimmer to verify smooth dimming from low to full brightness. Common mistake: over-tightening the plate screws can warp the plate or crack the dimmer module.
Product facts
-
KEPLER 3G Knurled Mixed Light Switch 1 Toggle / 2 Dimmer - Antique Brass: A 3-gang antique brass mixed light switch combining 1 toggle and 2 dimmers on one plate, finish-matched to brass cabinet hardware. This single plate controls three separate circuits, so you must properly split the live feed to avoid overloading one terminal.
KEPLER 3G Knurled Mixed Light Switch 1 Toggle / 2 Dimmer - Antique Brass