Understanding Potentiometer Pins for Volume Control
A potentiometer is a three-terminal variable resistor. For volume control, you typically use it as a voltage divider. The outer pins are connected across the audio signal and ground, while the center pin (wiper) provides the variable output to the amplifier. When you turn the shaft, the wiper moves along a resistive track, changing the voltage at the output.
The Potentiometer Kit includes values from 50R to 2 megohms, covering a wide range of audio applications. For line-level signals, a 10K or 100K pot is common; for guitar or microphone inputs, 500K or 1M may be more appropriate. Choose a value that matches your circuit's input impedance.
Basic Wiring Steps for a Volume Control Pot
These steps assume you are using a typical logarithmic (audio taper) potentiometer, but the wiring is the same for linear pots if you prefer a different response curve.
- Identify the pins: Hold the potentiometer with the shaft facing you and the terminals pointing down. The left terminal is typically the input (or ground), the center is the wiper (output), and the right is the other end of the resistive track. Use a multimeter to confirm: the resistance between the outer pins should equal the pot's full value.
- Connect the audio signal: Solder the audio source (e.g., from a headphone jack or preamp output) to one of the outer pins. This pin will be the 'hot' input.
- Connect ground: Solder the ground wire from your circuit to the remaining outer pin. This completes the voltage divider.
- Connect the wiper to the amplifier input: Solder a wire from the center pin to the input of your amplifier or next stage. As you turn the knob, the wiper picks off a fraction of the input signal.
- Test before final assembly: Temporarily connect the pot in your circuit and test with a low-volume signal. Rotate the shaft fully: at minimum, you should hear silence or near-silence; at maximum, full volume. If the control works backwards, swap the input and ground wires on the outer pins.
Potentiometer Kit Value Options
-
Potentiometer Kit: This potentiometer kit includes the following values: 50R, 100R, 200R, 500R, 1K, 2K, 5K, 10K, 20K, 50K, 100K, 200K, 500K, 1M, 2M. Having 15 different resistance values on hand lets you experiment with different volume control ranges and input impedances without ordering individual parts.
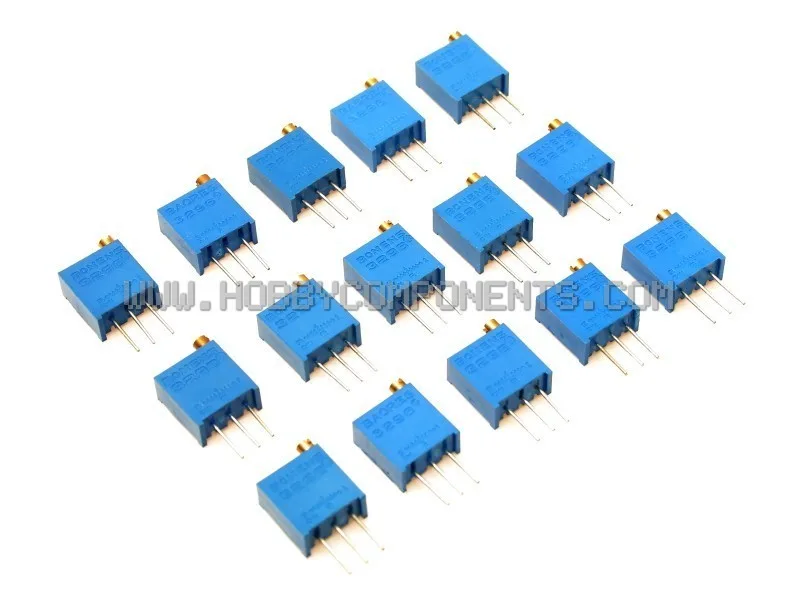
Potentiometer Kit
Audio Taper vs Linear Taper
For volume control, a logarithmic (audio) taper is preferred because the human ear perceives loudness logarithmically. A linear taper will make most of the volume change happen in the first few degrees of rotation, making fine adjustment difficult. The Potentiometer Kit does not specify taper, so check the pot's marking or use a multimeter to measure resistance vs rotation angle if you need audio taper. If the kit contains linear pots, you can still use them for volume, but the control will feel less natural.
Power and Signal Handling
Potentiometers are passive components; they do not require a power supply. However, they have a maximum power rating (for small trimmers, follow the product instructions). For volume control, the power dissipated is usually negligible because the signal voltage is small. Avoid using a pot to directly control high-power speakers; use it only as a signal-level attenuator before an amplifier.