Quick Answer
To wire a capacitor, connect its positive terminal to the amplifier's power wire through a resistor or distribution block, and ground the negative terminal to a clean chassis point. This stabilizes voltage and prevents dimming lights during bass hits. Always discharge the capacitor before handling.
Why Add a Stiffening Capacitor
A capacitor stores electrical energy and releases it quickly when your amplifier demands a sudden surge, such as during a bass note. This reduces voltage drops that cause headlights to dim or sound to clip. It is not a substitute for a larger alternator or battery, but it helps in systems where the power supply is borderline.
How to Wire a Capacitor: Step-by-Step
- Disconnect the Battery: Remove the negative terminal from your car battery to eliminate any risk of short circuits while working with power wires. Checkpoint: Ensure the cable is completely clear of the terminal before proceeding.
- Mount the Capacitor: Secure the capacitor in a stable location near the amplifier, using the provided bracket or straps. Avoid metal surfaces that could cause a short. Common mistake: Mounting it upside down can cause internal damage over time.
- Connect the Positive Wire: Run a fused power wire from the battery or distribution block to the capacitor's positive terminal. Use a resistor (typically included) to charge the capacitor slowly and prevent a spark. Checkpoint: Wait 30 seconds after connecting for the capacitor to charge fully before removing the resistor.
- Ground the Negative Terminal: Attach a short ground wire from the capacitor's negative terminal to a clean, unpainted metal chassis point. Scrape away paint for a solid connection. Common mistake: Using a painted surface or long ground wire creates resistance and reduces effectiveness.
- Wire the Amplifier to the Capacitor: Connect the amplifier's power wire to the same terminal as the capacitor's positive lead (via the distribution block if used). The ground should also share the same chassis point. Checkpoint: Verify all connections are tight and insulated to avoid voltage loss.
- Reconnect and Test: Reattach the battery negative terminal. Turn on the system and play a bass-heavy track. Check for dimming lights or voltage drops using a multimeter at the amplifier. Final step: If lights still dim, you may need a larger capacitor or alternator upgrade.
Capacitor Considerations for Your Setup
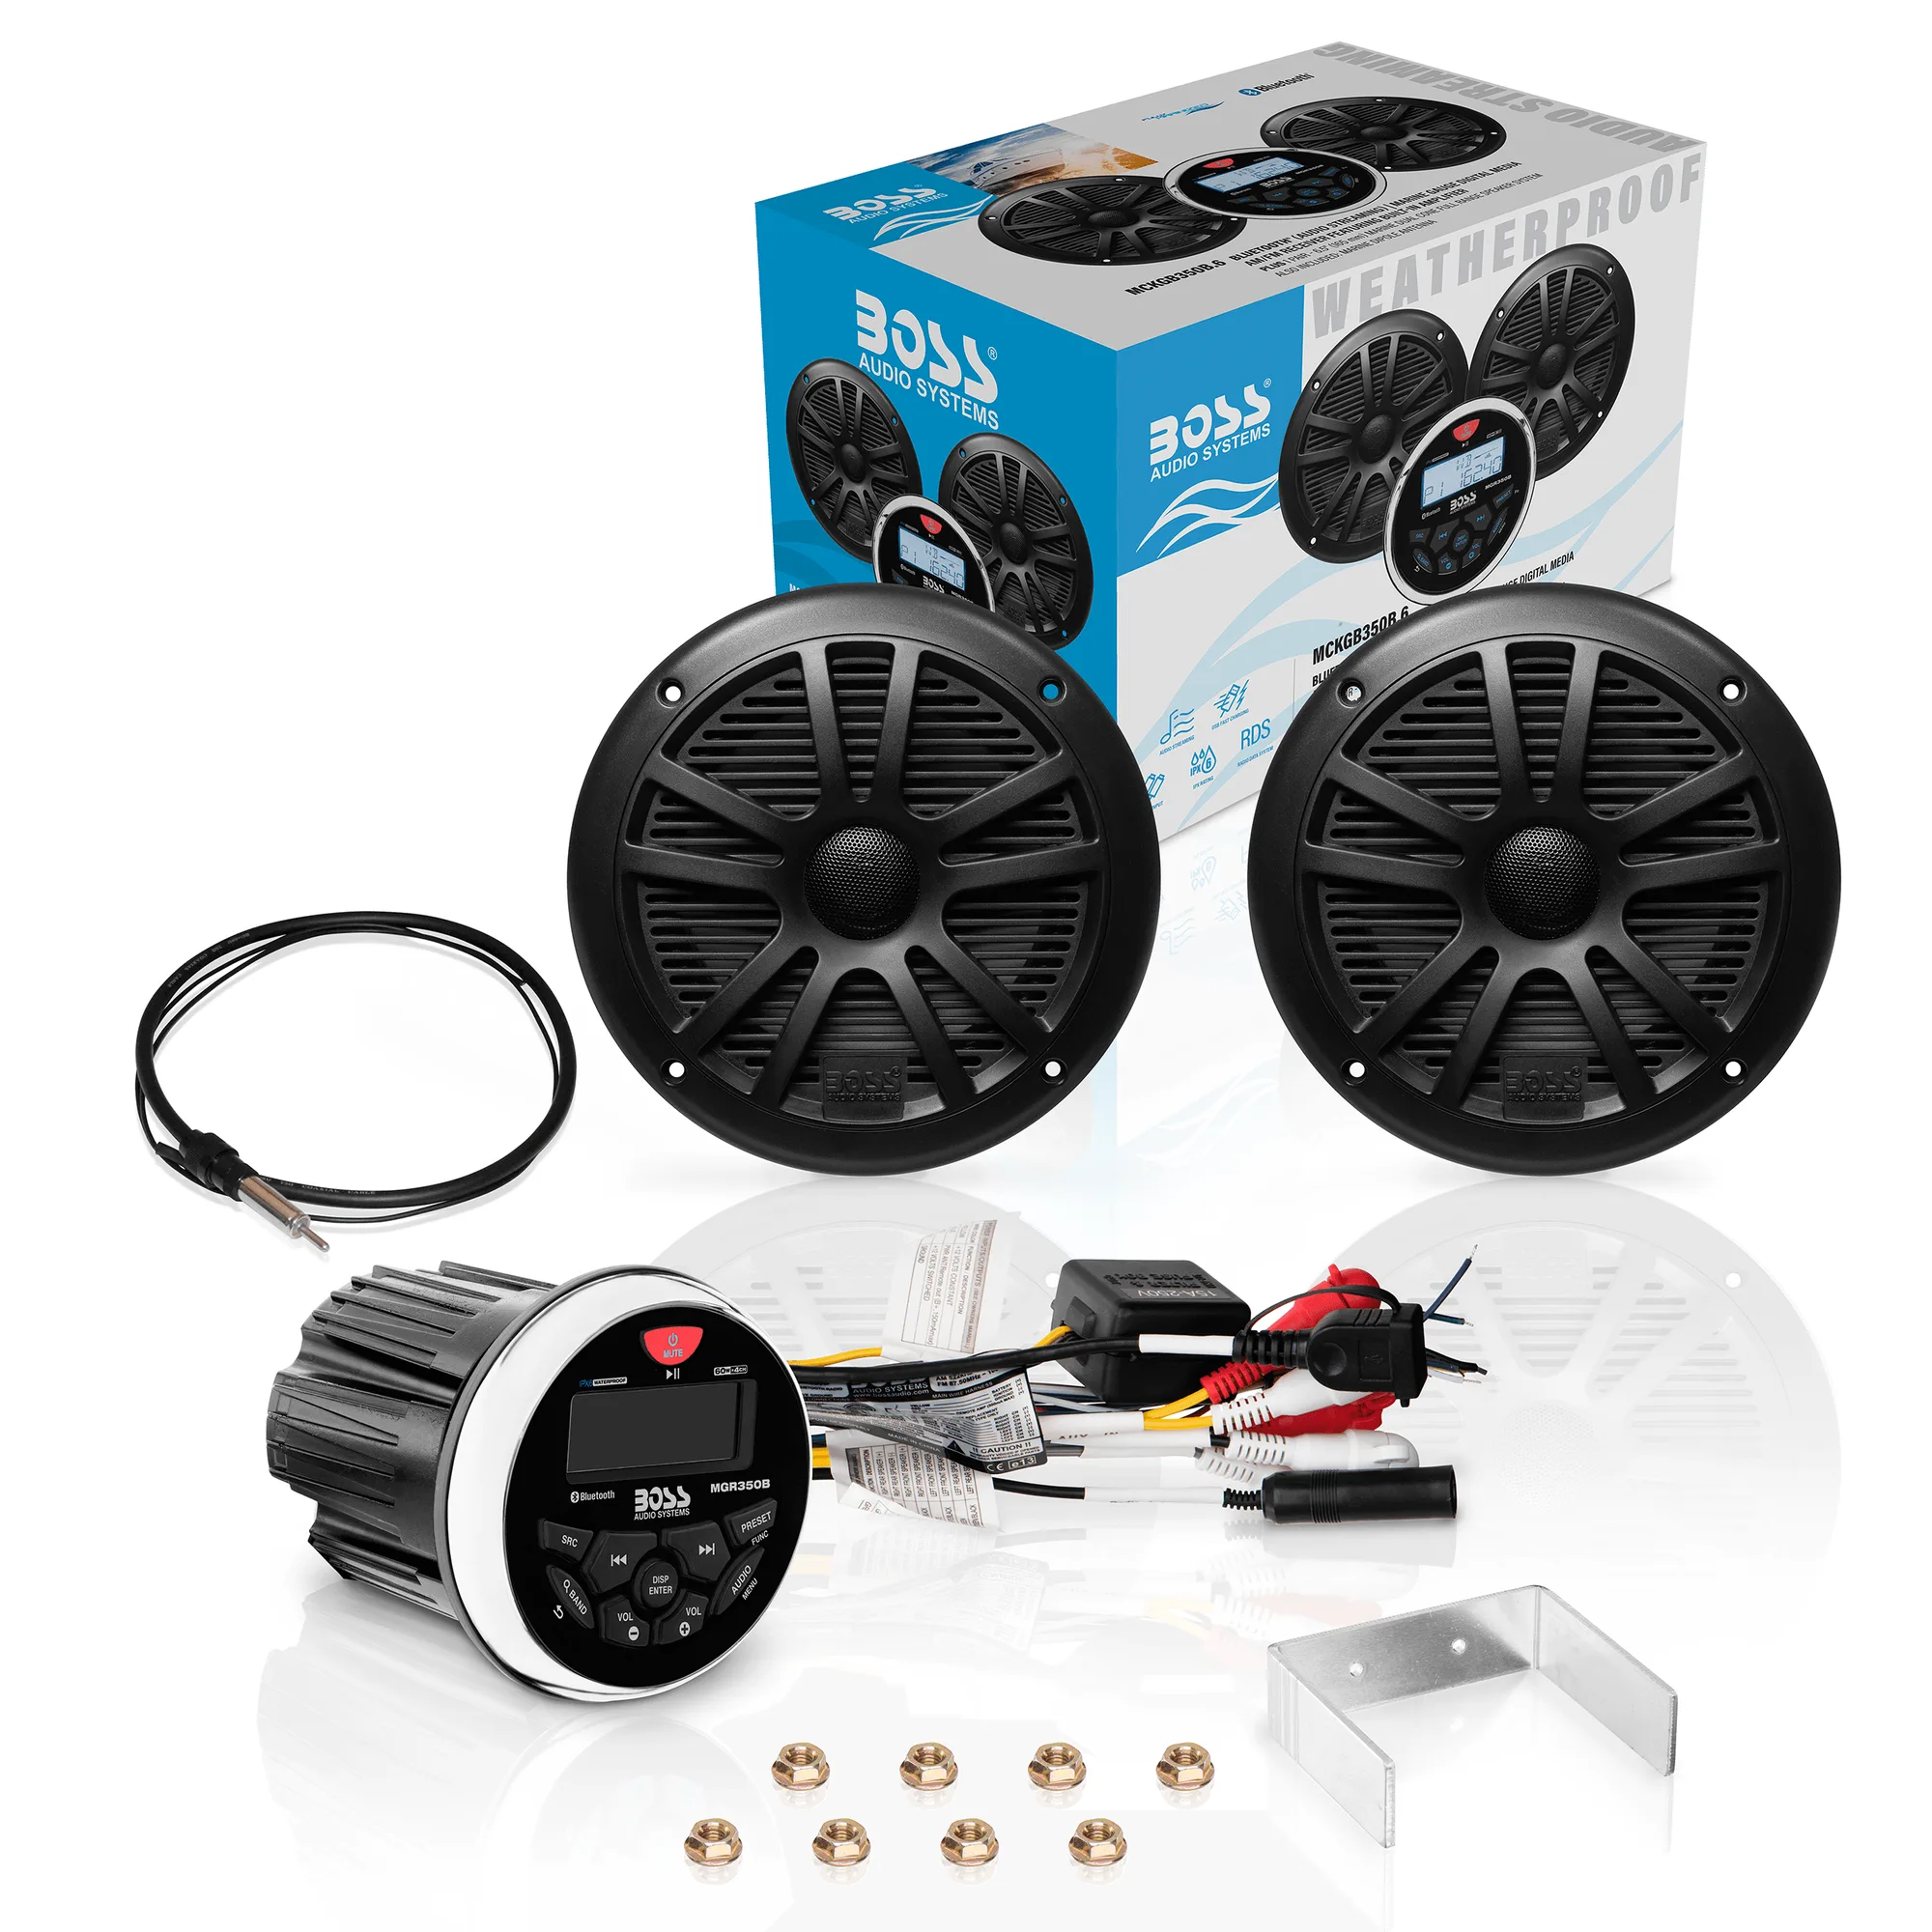
- MCKGB350B.6: Zero Current Draw Memory This feature ensures the capacitor does not drain your battery when the car is off, preserving starting power.
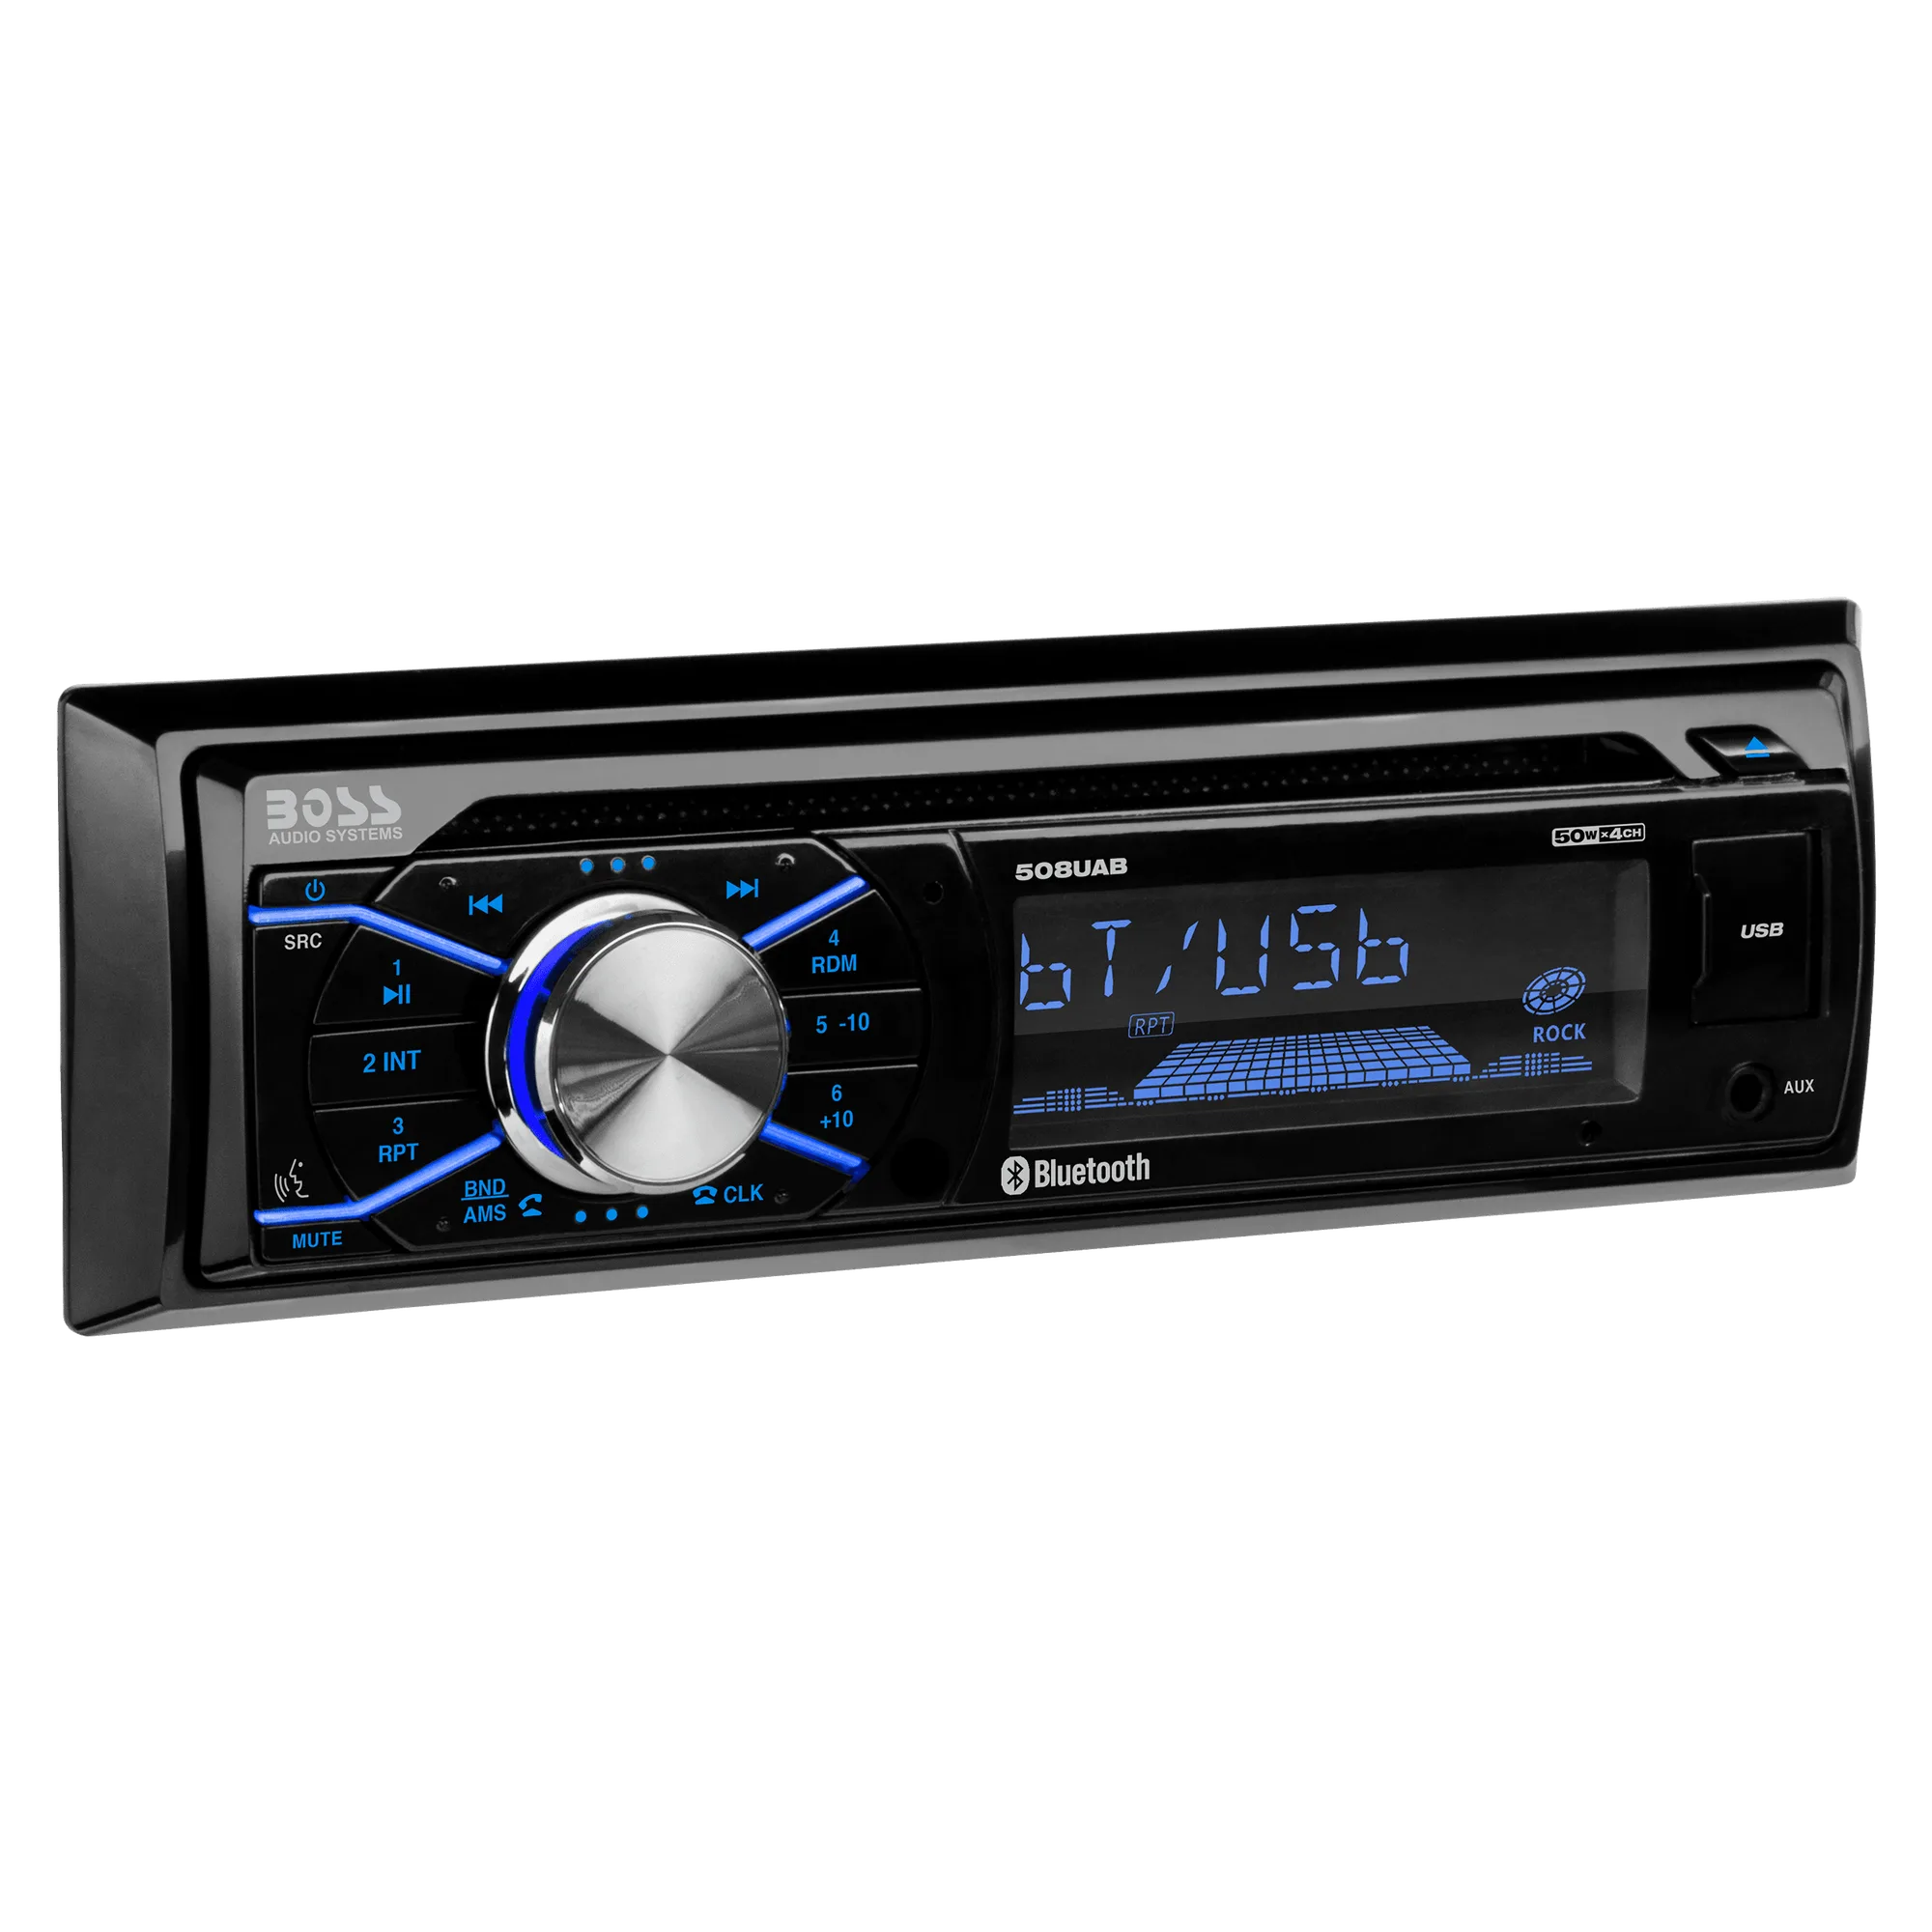
- 508UAB: 50 Watts x 4 Channel For a modest system like this, a small capacitor (around 1 farad) is sufficient to smooth out voltage dips without overkill.
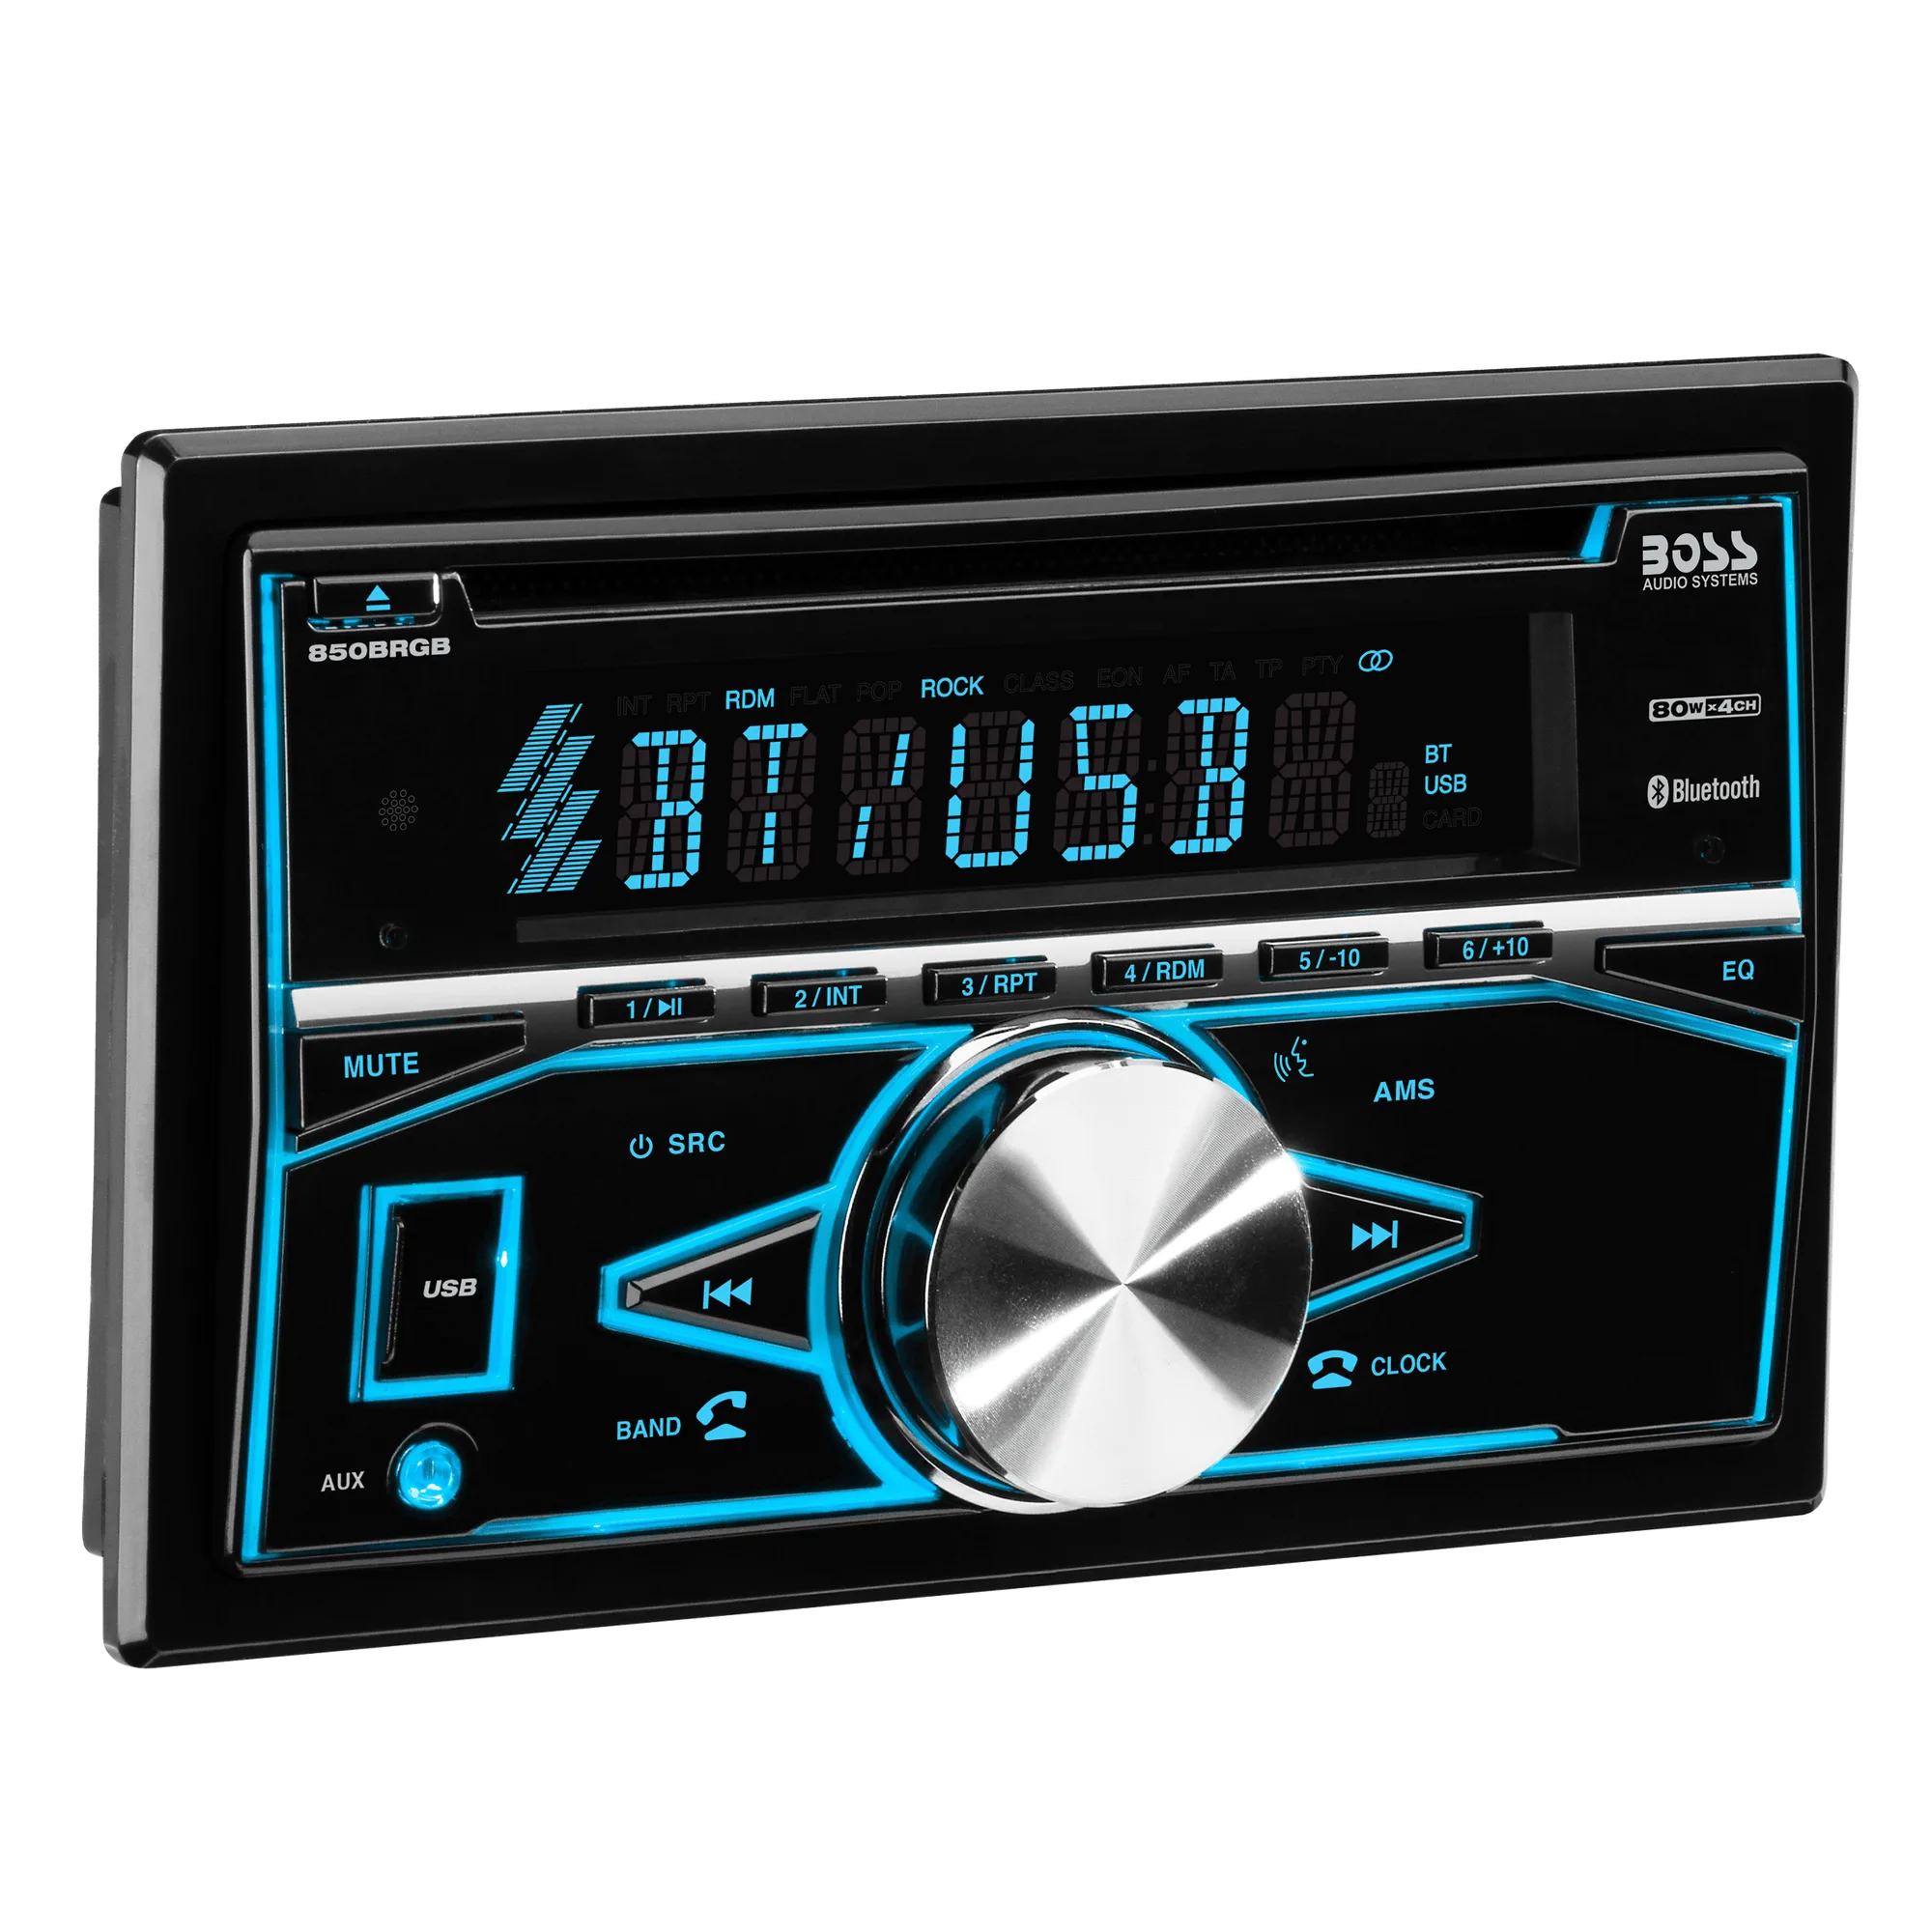
- 850BRGB: 80 Watts x 4 Channel Higher-powered systems benefit from a larger capacitor (2 farads or more) to handle current spikes effectively, preventing distortion.