Quick Answer
To wire a toggle switch for your light fixture, first turn off power at the breaker, then connect the hot wire to one terminal and the load wire to the other, and finally secure the switch in the box and restore power.
Why a Toggle Switch?
Toggle switches are a classic choice for light fixtures because they are simple, durable, and easy to operate. They provide a satisfying click that confirms the switch has engaged, which many people prefer over the silent action of rocker switches.
When replacing a wall switch or installing a new fixture, a toggle switch offers a straightforward wiring setup. Most toggle switches have two brass screw terminals for the hot and load wires, plus a green ground screw. This simple design makes them ideal for DIY switch replacement projects.
Safety First: Know Your Wiring
Before you start, it's crucial to understand the wires in your electrical box. In most residential wiring, you'll find a black (hot) wire, a white (neutral) wire, and a bare or green (ground) wire. The toggle switch only interrupts the hot wire, so you'll connect the black wires to the switch terminals and leave the neutral wires connected together with a wire nut.
Always use a voltage tester to confirm the power is off before touching any wires. Even if you flipped the breaker, it's a good habit to double-check. This is the most important step in any electrical wiring guide.
Choosing the Right Toggle Switch
Not all toggle switches are the same. Pay attention to the amperage and voltage rating. Most household switches are rated for 15 amps at 120 volts, which is sufficient for standard lighting circuits. If you're replacing a switch for a heavy-duty appliance, check the existing switch's rating and match it.
Also consider the switch's terminal type. Some switches have screw terminals, while others have push-in holes. Screw terminals are generally more reliable and easier for beginners to work with. The Toggle Switch from Blueprint Lighting is a quality option that fits standard wall boxes and is compatible with common wiring setups.
Step-by-Step Wiring Instructions
- Turn Off Power: Locate your circuit breaker and switch off the power to the room where you'll be working. Use a voltage tester on the existing switch and wires to confirm the power is off. Check the tester on both the switch and the wires before proceeding.
- Remove the Old Switch: Unscrew the wall plate and the switch mounting screws. Carefully pull the switch out of the box, noting which wire is connected to which terminal. Take a photo if needed. Label the wires with tape to avoid confusion later.
- Disconnect Wires: Loosen the terminal screws on the old switch and remove the wires. Straighten the wire ends with pliers if they are bent. Inspect the wire insulation for cracks or damage; replace if necessary.
- Connect the New Toggle Switch: Connect the hot (black) wire to one brass terminal and the load (black or red) wire to the other. Loop the wire clockwise around the screw and tighten securely. Connect the ground wire to the green screw. Ensure the wire loop wraps clockwise so it stays under the screw when tightened.
- Secure and Test: Gently push the switch back into the box, secure it with mounting screws, and attach the wall plate. Turn the power back on and test the switch. If the switch doesn't work, turn off power and re-check your connections.
Product Spotlight
-
Toggle Switch: This toggle switch is used by the Globo App and must remain active on Shopify for add-on pricing to work correctly. If you're ordering this switch as part of a larger fixture setup, ensure it's included in your cart and not accidentally removed, as it may be required for the complete configuration.
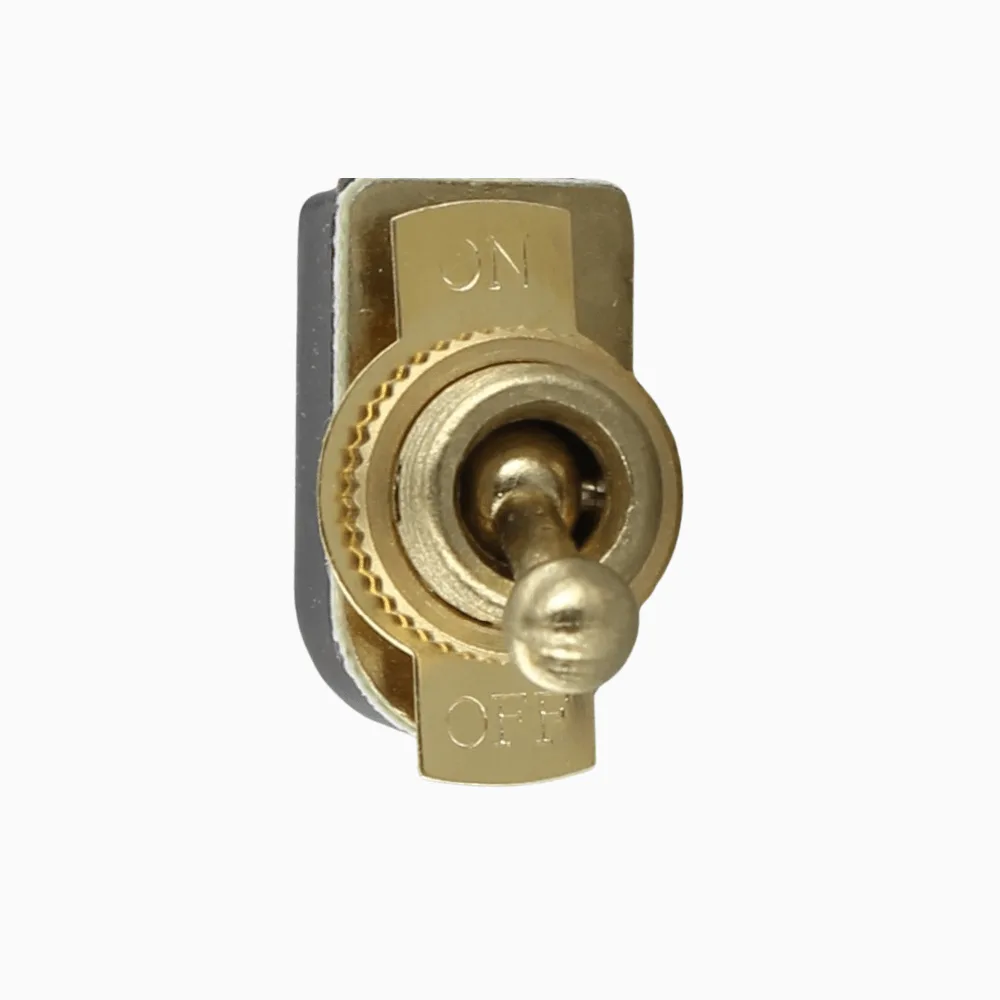
Toggle Switch