Start with a Stable Base: Scope Mounting and Leveling
Before you can zero a long range scope for precision shooting, the scope itself must be securely mounted and level. A wobbly mount or canted reticle will make the zeroing process unreliable. Use quality rings or a one-piece mount that matches your scope tube diameter — 30 mm for the Apollo Horizon, 34 mm for the Apollo Nemesis. Torque the screws to manufacturer specs, and use a bubble level to ensure the reticle is plumb with the rifle's bore.
Scope Facts That Affect Zeroing
-
Apollo Nemesis 3-18×50: The Apollo Nemesis has a massive 34 mm tube and 120 MOA of elevation and windage travel. The large tube and generous adjustment range mean you can zero at long distances without running out of adjustment, even with high-angle or extreme-range shots.
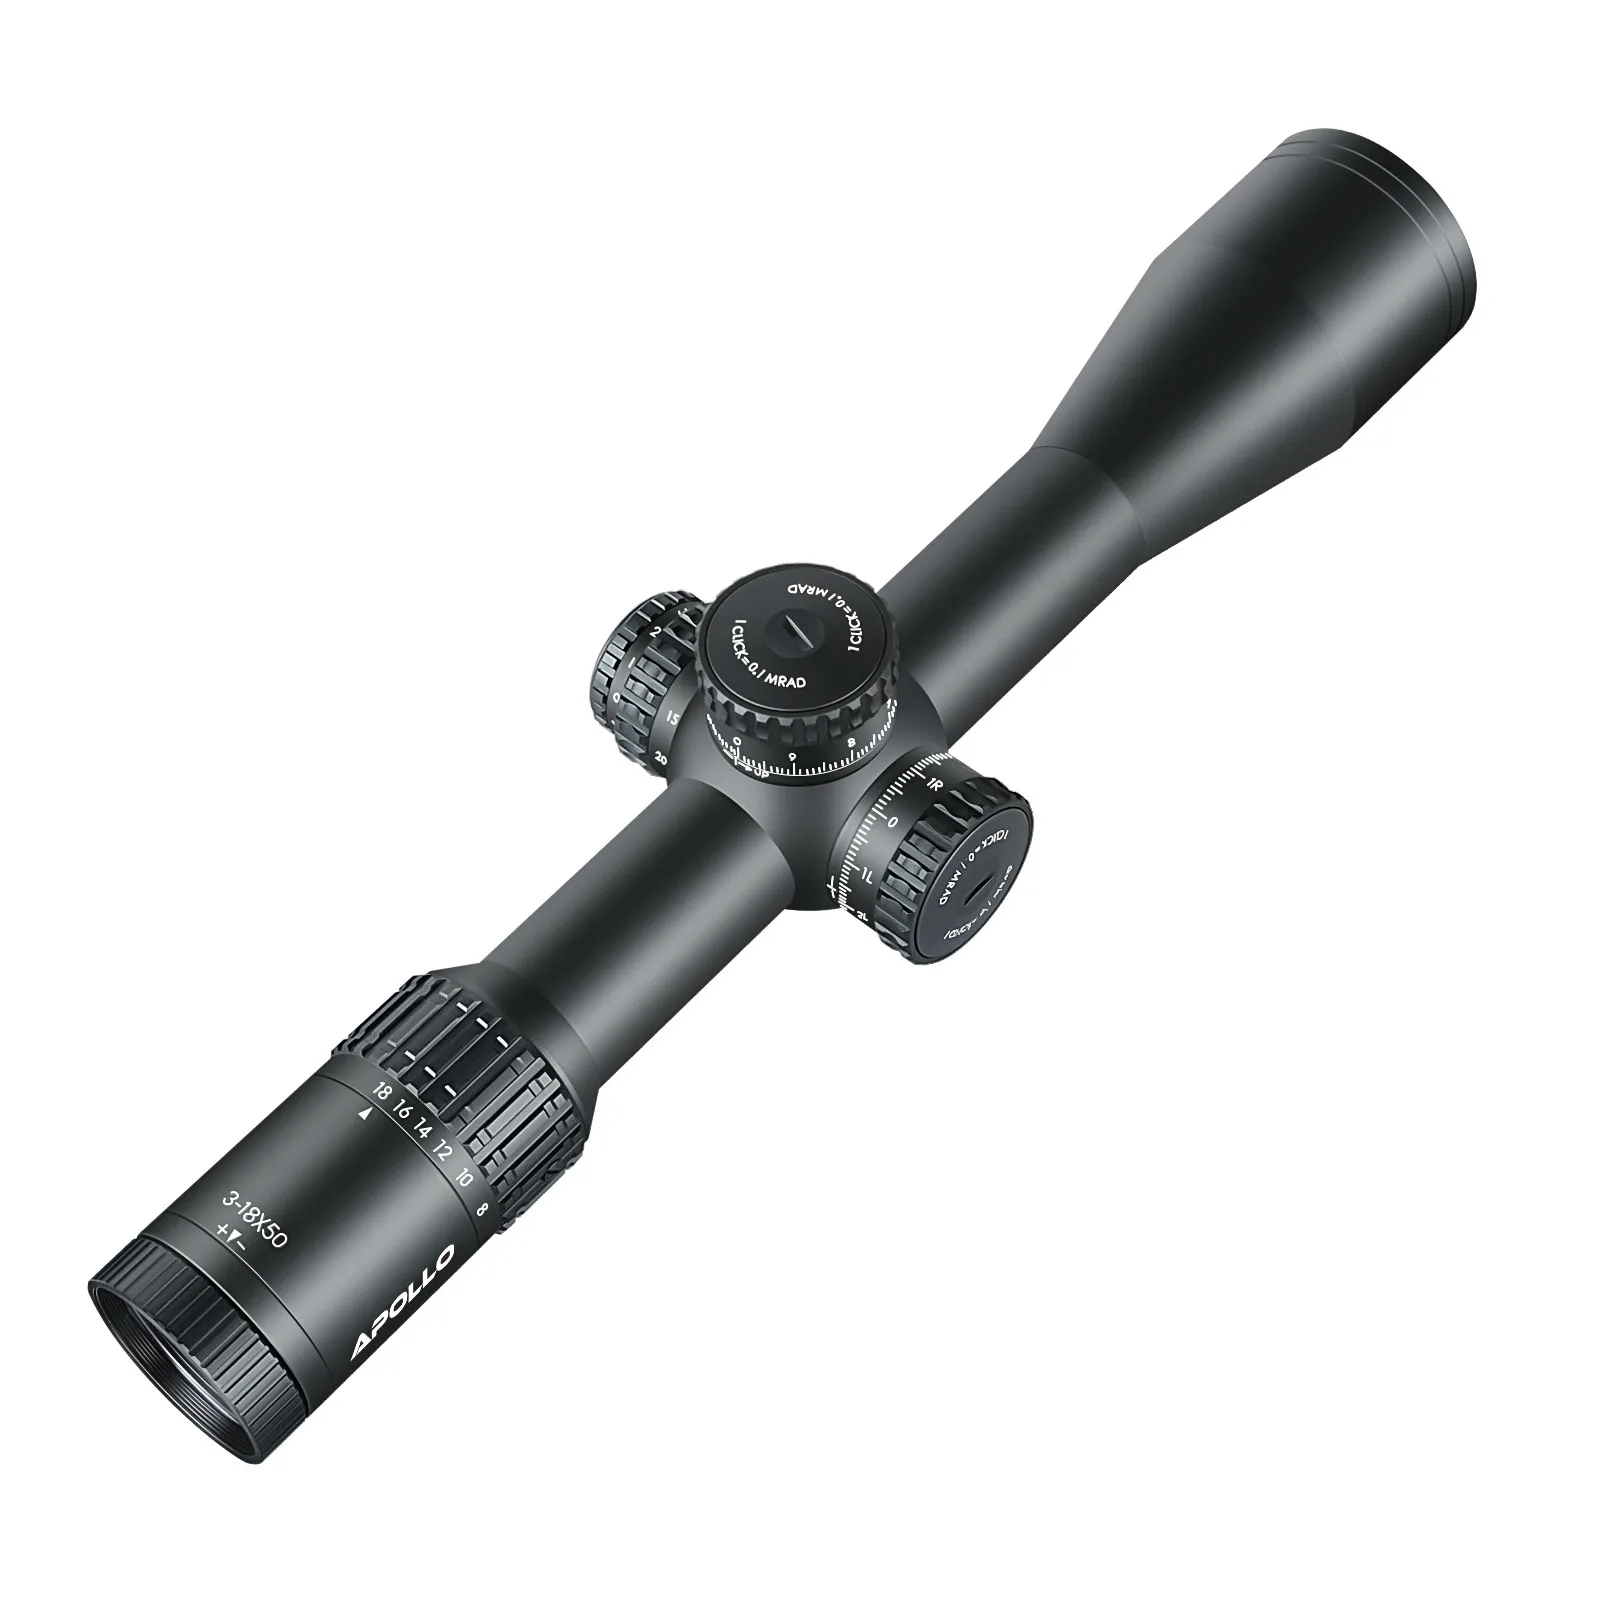
Apollo Nemesis 3-18×50
-
Apollo Horizon 4-16×44: The Apollo Horizon has a 30 mm main tube and precise 0.1 mrad clicks. The 0.1 mrad click value (≈0.36 MOA per click) gives fine control for medium-range zeroing, and the 30 mm tube provides a solid platform for consistent zero retention.
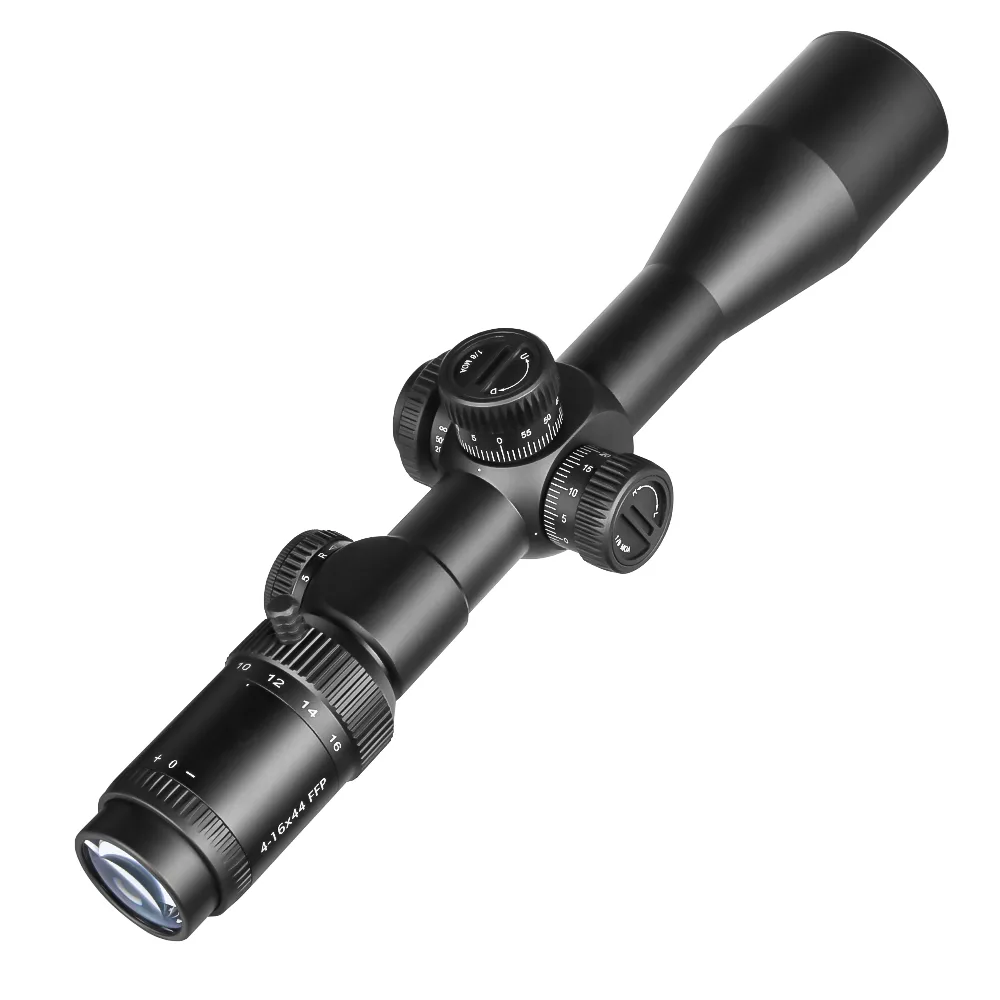
Apollo Horizon 4-16×44
Step-by-Step Zeroing Process
Here is a practical sequence for zeroing a long range scope, based on typical procedures and the features of the Apollo Nemesis and Horizon.
- 1. Bore Sight First: Remove the bolt (if possible) and look through the bore at a target 25–50 yards away. Adjust the scope turrets until the reticle aligns with the same point. This gets you on paper quickly.
- 2. Set Parallax and Focus: Adjust the side parallax knob to the target distance. For the Apollo Nemesis, the side adjustment works from 10 yards to infinity. For the Apollo Horizon, the side parallax also covers close to long range. Then adjust the diopter (+3/–3 on Nemesis) to make the reticle sharp for your eye.
- 3. Fire a Three-Shot Group at 100 Yards: Shoot a group and note the center point of impact. For the Apollo Nemesis, use the precise 0.25 MOA clicks to move the reticle. For the Apollo Horizon, use the 0.1 mrad clicks (≈0.36 MOA). Adjust in the direction you want the bullet impact to move.
- 4. Confirm and Record: Fire another group to confirm zero. Record the turret settings (number of clicks from zero) so you can return to zero if you dial for a long shot. The Nemesis's 120 MOA travel gives plenty of room for this.
Using First Focal Plane Reticles for Holdovers
Both the Apollo Nemesis and Horizon use first focal plane (FFP) reticles. This means the reticle scales with magnification, so your holdover marks remain accurate at any power. When zeroing, set your magnification to the power you plan to use most often (e.g., 10× or 16×) so the subtensions are calibrated for that setting. The Nemesis's FFP MOA reticle and the Horizon's finely etched FFP reticle both allow you to use holdovers for quick follow-up shots without dialing.
Check Your Zero at Extended Range
After confirming at 100 yards, verify your zero at the distances you actually shoot. The Apollo Nemesis is designed for professional shooters pushing beyond 800 meters, so a 200- or 300-yard confirmation is wise. The Apollo Horizon is effective from roughly 5–200 meters, making it a good fit for medium-range work. At longer distances, the Nemesis's 120 MOA elevation travel and the Horizon's 0.1 mrad clicks give you the precision to dial in.
What the Supplied Information Does Not Cover
The supplied records for the Apollo Nemesis and Horizon do not include specific torque values for ring screws, recommended bore-sighting distances, or detailed instructions for turret reset to zero. For those steps, refer to your rifle and mount manufacturer's instructions, or consult a professional gunsmith. The zeroing process described here is a general best practice that works with the features confirmed in these scopes.