Quick answer
Stack the HR8833 Motor Shield onto a Wemos D1 Mini, power the motor supply within the shield's 3–10 V rating, set a unique I2C address, and test one motor at a time before running both. The shield handles the dual H-bridge; your sketch only sends I2C commands.
What the shield does and does not handle
The HR8833 shield is an I2C dual motor driver, so the ESP8266 sends speed and direction commands over two pins (SDA and SCL) instead of driving four GPIOs directly. That frees pins for sensors and keeps your motor wiring separate from logic wiring.
The shield does not include a motor power supply. You must provide a separate motor voltage between 3 V and 10 V, and you must share ground with the D1 Mini. Do not try to power motors from the D1 Mini's 3.3 V pin.
I2C address and bus conflicts
The HR8833 uses I2C, so its address must not collide with other devices on the same bus. The shield's address is set by onboard jumpers or solder pads (check the silkscreen), and the catalog does not list a fixed default. Before writing motor code, run an I2C scanner sketch to confirm the address your board actually responds on.
If you add an OLED or sensor later, re-scan the bus. Two devices on the same address will cause silent failures that look like motor problems.
Power and motor voltage limits
The 3–10 V rating is the motor supply range, not the logic level. A 6 V battery pack or a 5 V bench supply is a common choice for small geared motors, but confirm your motor's rated voltage first. Running a 3 V motor at 10 V will overheat it, and running a 12 V motor at 10 V will leave it weak.
Keep the motor supply wires short and twisted where possible. If the D1 Mini resets when motors start, add a bulk capacitor across the motor supply near the shield and check that logic ground and motor ground meet at one point.
Step-by-step: HR8833 wiring and first motor test
- 1. Inspect the shield and set the I2C address: Look at the silkscreen for the address jumpers or pads. If you have other I2C devices, choose an address that is not already in use. Do not assume a default address; the catalog does not state one. Write the address you set on a label or in your sketch comments so you do not forget it.
- 2. Stack the shield on the D1 Mini: Align the pin headers and press the shield down fully. Check that no pins are bent or offset by one position. The shield should sit flat and the D1 Mini's USB port should remain accessible. With the board unpowered, tug gently on the shield to confirm it is fully seated.
- 3. Connect the motors to the shield outputs: Connect motor A to one channel and motor B to the other. Keep the two wires of each motor together. If a motor spins the wrong way later, swap its two wires rather than changing code. Label each motor wire pair (A and B) before you power up.
- 4. Wire the motor power supply and common ground: Connect the motor supply (3–10 V) to the shield's motor power input, and connect the supply ground to the D1 Mini ground. Do not connect motor power to the D1 Mini's 3.3 V pin. Measure the motor supply voltage with a multimeter before connecting it to the shield.
- 5. Scan the I2C bus: Upload a standard I2C scanner sketch to the D1 Mini with the shield connected. Note the address that appears. If nothing appears, check SDA/SCL continuity and that the shield is seated. If the scanner shows an unexpected address, re-check the jumper positions before continuing.
- 6. Run one motor at low speed: Write a minimal sketch that sends a slow forward command to motor A only. Keep the motor free to spin (no wheels on the ground). Confirm direction and that the D1 Mini does not reset. If the motor does not move, verify the address in your sketch matches the scanner result and that motor power is present.
- 7. Test the second motor and then both together: Repeat the low-speed test for motor B. Then command both motors at the same slow speed. Watch for brownouts or resets when both start at once. If resets occur, add a bulk capacitor across the motor supply and retest before increasing speed.
Product facts
-
HR8833 Motor Shield v1.0.0 For WEMOS D1 mini I2C Dual Motor 3-10V: HR8833 Motor Shield v1.0.0 for WEMOS D1 mini, I2C dual motor, 3–10 V. It gives you two motor channels on a single I2C bus, so you can drive a small robot without using four separate GPIO pins.
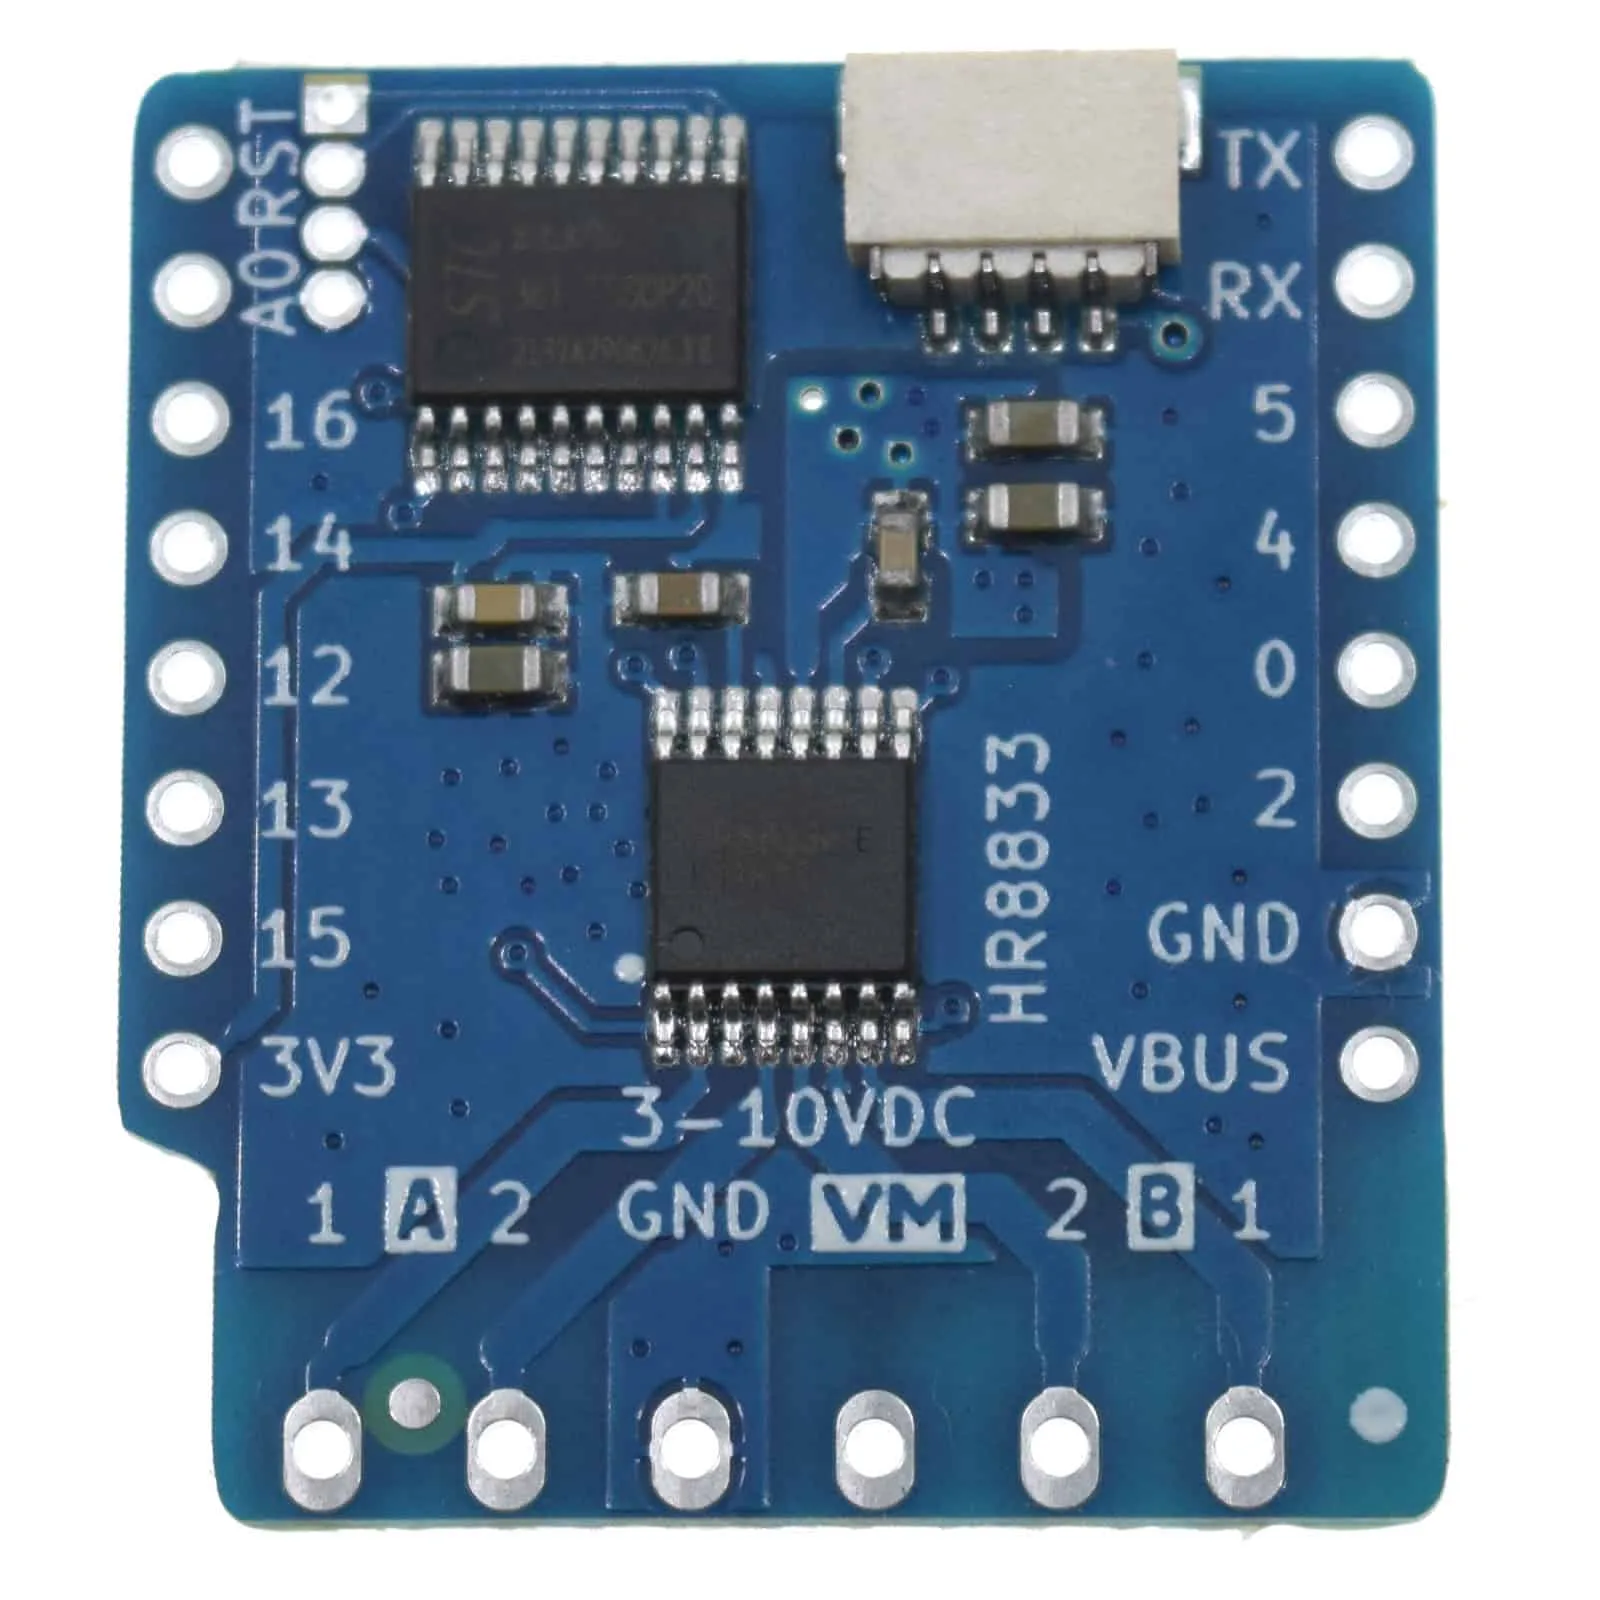
HR8833 Motor Shield v1.0.0 For WEMOS D1 mini I2C Dual Motor 3-10V