Why placement matters on floral canvases
On a floral canvas, your needle minder is more than a safe spot for your needle—it's a small design element that can complement or compete with the painted flowers. The Hydrangea Bloom Needle Minder, an enamel piece approximately 1.5 x 1.5 inches, is sized to sit comfortably on most project edges without overwhelming the stitching area. Placing it thoughtfully keeps your needle secure and your floral composition calm.
The product description confirms a simple two-part system: the design goes on the front of your canvas and the magnet on the back. That's the core method. What follows are practical placement tips for floral projects, based on that supported process and the physical size of the minder.
What the Hydrangea Bloom Needle Minder gives you
-
Hydrangea Bloom Needle Minder: Enamel needle minder with a hydrangea bloom design, approximately 1.5 x 1.5 inches. The size and floral motif make it a natural fit for flower-themed canvases, but the 1.5-inch footprint is worth checking against your project's border.
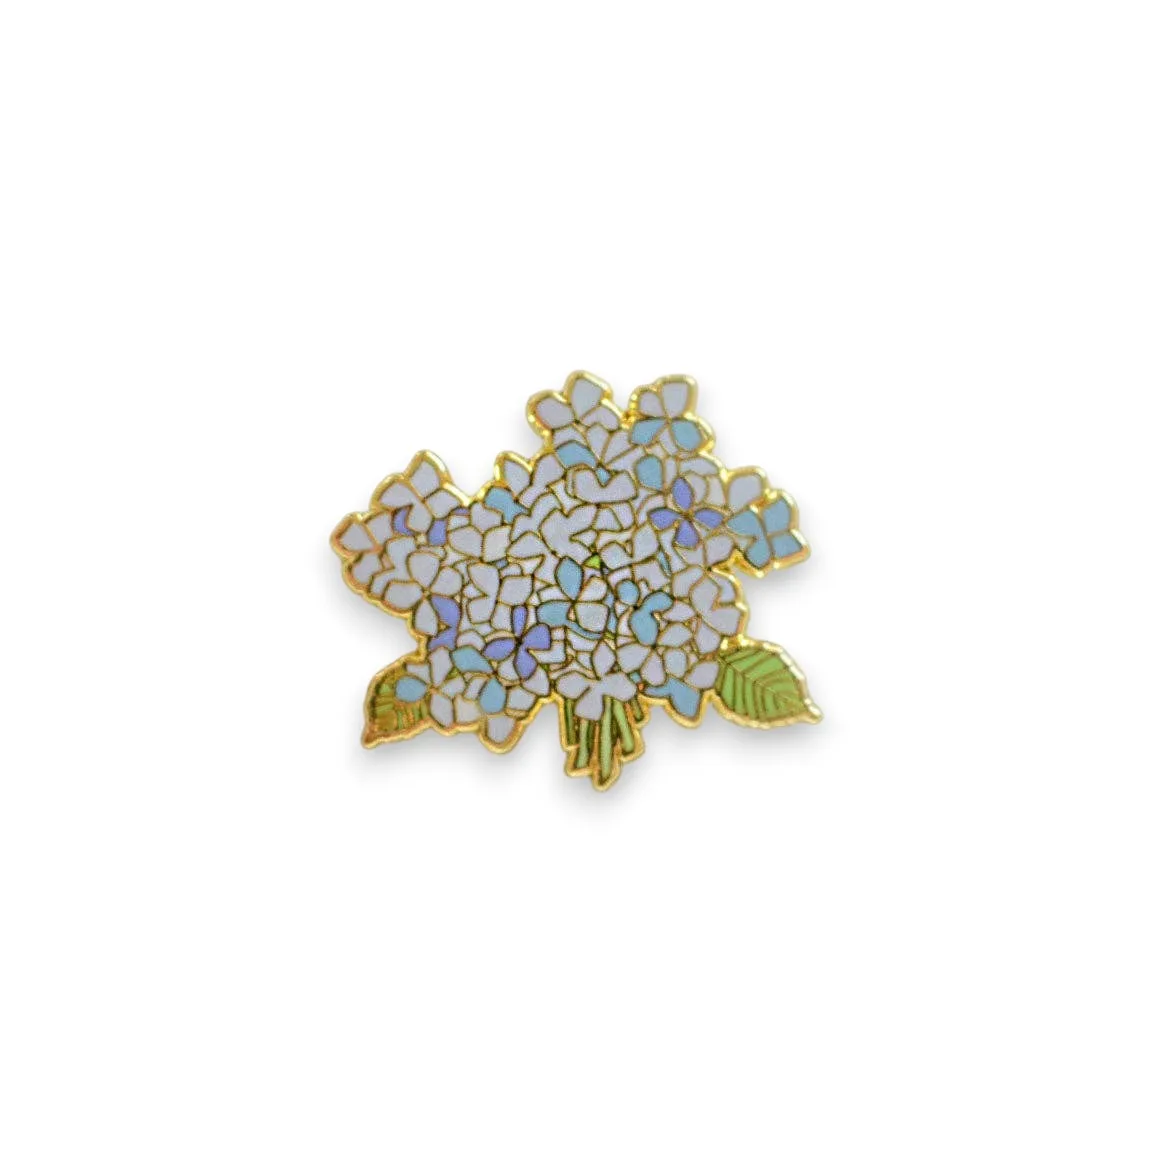
Hydrangea Bloom Needle Minder
-
Hydrangea Bloom Needle Minder: Two-part design: place the magnet on the back of the canvas and the design on the front. This is the only attachment method described in the supplied information, so any placement should follow this front-and-back pairing.
How to place the minder on a floral project
These steps follow the supplied product description. They assume a standard needlepoint canvas; if your canvas has unusual thickness or a frame, test the magnet's hold before relying on it.
- Choose a spot near your working area: Pick a location on the canvas that is easy to reach while stitching but away from the densest part of the floral design, so the minder doesn't cover stitches you're actively working.
- Put the magnet on the back: Place the magnet behind the canvas at your chosen spot. The supplied instructions specify the magnet goes on the back.
- Set the design on the front: Align the hydrangea design on the front of the canvas so it meets the magnet. The two parts should hold together through the fabric.
- Park your needle: Rest your needle on the front design. The minder is intended to hold the needle until you're ready to stitch again.
Placement tips specific to floral canvases
- Keep it off the bloom itself: On a hydrangea or mixed floral canvas, the painted flower heads are often the focal point. Placing the minder at a corner or along an outer border keeps the design visible and avoids covering delicate color transitions.
- Mind the 1.5-inch footprint: At approximately 1.5 x 1.5 inches, the minder covers a square of canvas. On small floral minis, check that this square doesn't overlap areas you plan to stitch next.
- Use one minder per active needle: If you stitch with multiple needles, a single minder holds one needle at a time. The supplied information doesn't describe multi-needle use, so plan accordingly.
- Test the hold before stitching: Canvas thickness varies. Before you begin a session, attach the minder and gently tug to confirm the magnet holds through your canvas. If it feels weak, reposition or consider whether the canvas is too thick for this minder.
What the catalog does not confirm about care and compatibility
The supplied product record does not include care instructions, safety warnings, or compatibility notes for specific canvas materials or thread types. That means any advice beyond the front-and-back placement method would be guesswork. If you need guidance on cleaning the enamel or storing the magnet, check the product page or contact the store directly rather than assuming a routine.
Similarly, the record doesn't state a maximum canvas thickness or a recommended distance from the edge. Those are practical unknowns, not product flaws. Treat the placement tips above as starting points and adjust based on how the minder behaves on your own canvas.