Why Proper Hydration Bladder Care Matters
A hydration bladder is one of the most convenient ways to stay hydrated on the trail, but it also needs regular care to stay fresh and functional. Without proper cleaning and drying, moisture can lead to mold and odors that are hard to remove. The Teton Hydration Bladder is built from heavy-duty, BPA-free materials and designed for leak-free performance, but even the best gear benefits from a little maintenance between trips.
What the Teton Hydration Bladder Gives You to Work With
-
Hydration Bladders: The Teton Hydration Bladder features a wide-mouth opening that makes cleaning and refilling quick. A wide mouth lets you reach inside with a soft brush or cleaning tool, making it easier to scrub the interior without special equipment.
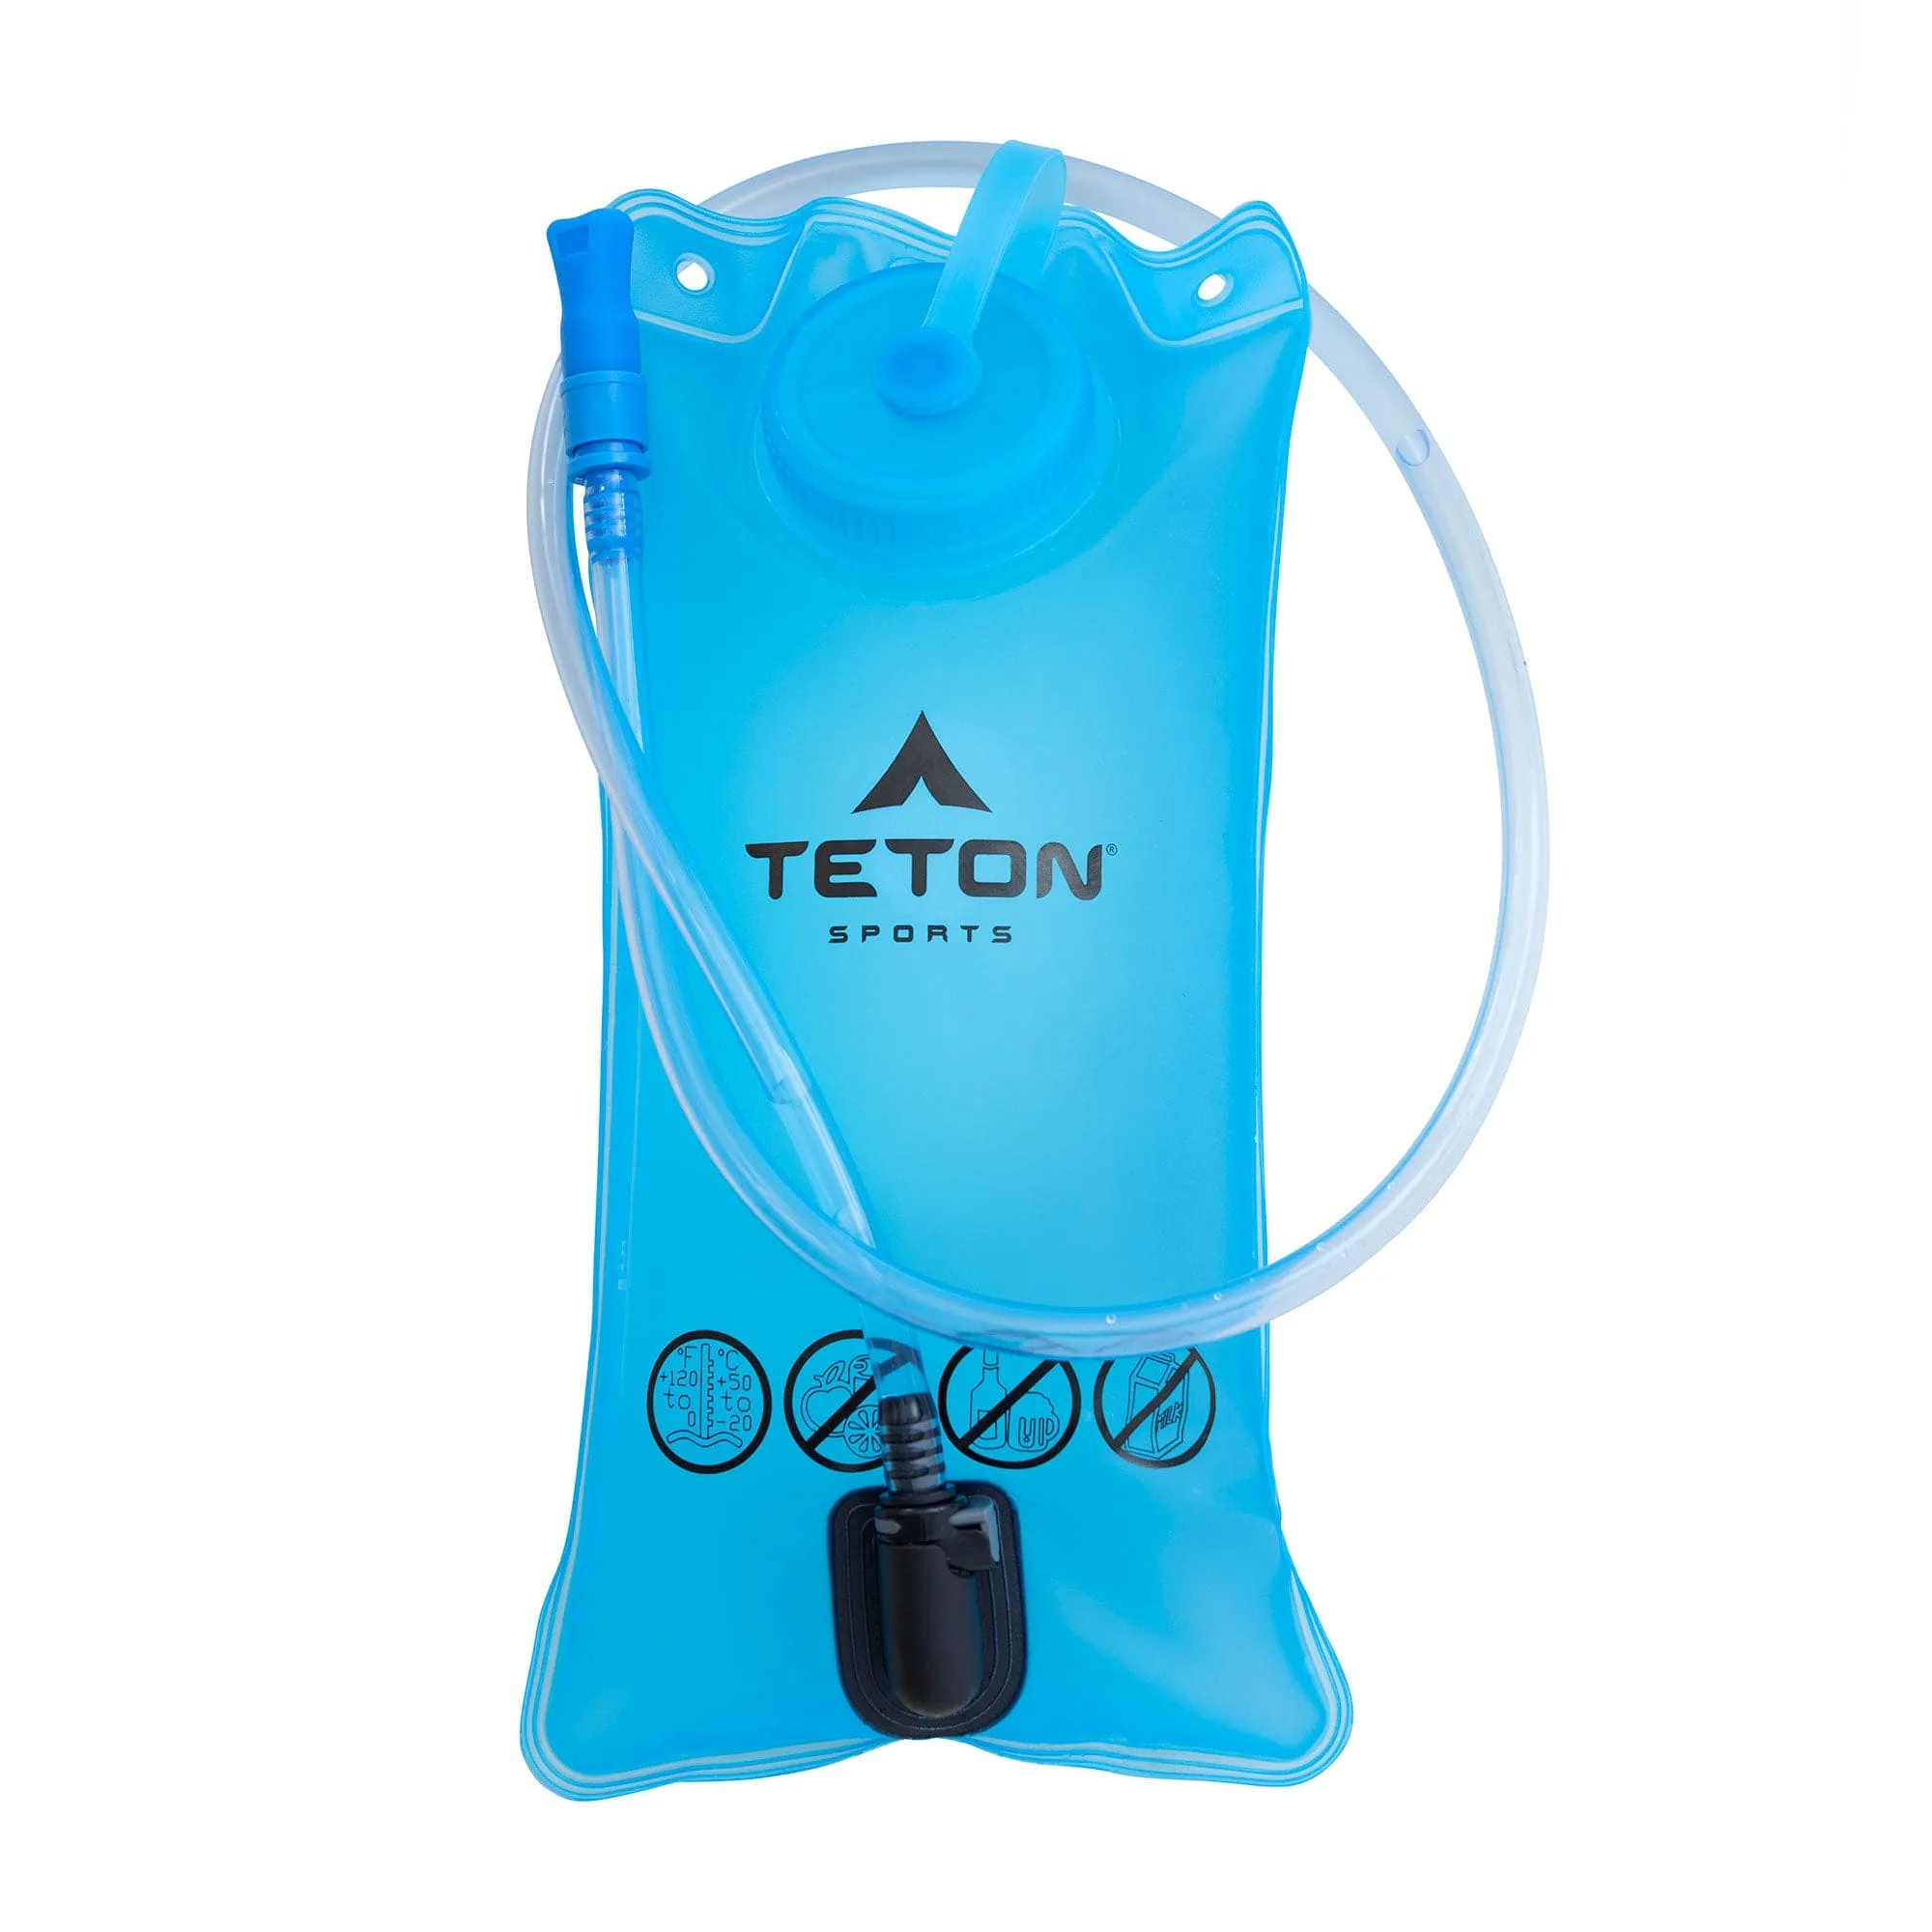
Hydration Bladders
-
Hydration Bladders: Built from heavy-duty, BPA-free materials, it’s designed to pair seamlessly with all Teton hydration packs. Durable materials hold up to repeated cleaning cycles, and compatibility means you can use the bladder with any Teton pack without worrying about fit.
-
Hydration Bladders: A cushioned bite valve prevents dripping and opens easily with a gentle pull. The bite valve design reduces the chance of leaks during cleaning and storage, and the easy-open mechanism means you can flush it out thoroughly.
How to Clean Your Hydration Bladder
Cleaning your bladder after every use is the best way to prevent residue buildup and mold. Here’s a straightforward routine that works with the Teton Hydration Bladder’s design.
- Rinse immediately after use: Empty any leftover water, then fill the bladder with warm water, slosh it around, and pour it out. Repeat until the water runs clear. This removes loose debris and diluted sugars that can feed mold.
- Clean with mild soap and a soft brush: Add a few drops of mild dish soap to warm water, close the bladder, and shake well. Use a soft bottle brush to scrub the interior, especially the corners near the seams. The wide-mouth opening makes this step much easier than on narrow bladders.
- Flush the drinking tube and bite valve: Fill the bladder with soapy water, then squeeze the bite valve to push water through the tube. Repeat with clean water until no soap remains. The cushioned bite valve opens with a gentle pull, so you can flush it without disassembling.
- Rinse thoroughly: Empty all soapy water and refill with clean water. Shake, pour, and repeat until you see no suds. Residual soap can affect taste and attract bacteria.
Drying Your Bladder to Prevent Mold
Mold needs moisture to grow, so thorough drying is just as important as cleaning. The Teton Hydration Bladder’s wide opening helps here, too.
- Turn the bladder inside out (if possible): Some bladders can be inverted through the wide mouth to expose the interior to air. Check your bladder’s flexibility—if it turns easily, this speeds drying dramatically.
- Prop the bladder open to allow airflow: Place the bladder upright with the wide mouth open. You can use a clean dish rack or hang it from a hook. Air circulation is key; avoid sealing it while damp.
- Dry the tube and bite valve separately: Hang the tube so gravity helps water drain out. Shake out any remaining drops. The bite valve should be left open and dry before reassembly.
- Store only when completely dry: Once the interior feels dry to the touch and no moisture beads remain, you can store the bladder. A dry bladder is the best defense against mold and odors.
Storage Tips for Long Life
When you’re not using your hydration bladder, store it in a cool, dry place away from direct sunlight. Avoid folding or crushing the bladder in a way that traps moisture inside. The wide-mouth opening makes it easy to air out, so leave it unsealed during storage. The Teton Hydration Bladder is backed by the Teton Lifetime Warranty, but regular care keeps it performing trip after trip.