Quick answer
Empty and rinse the bladder with cool water after every use, then wash it about once a week during heavy training with mild soap and a soft brush. Dry the bladder propped open and upside down until no moisture remains inside the tube, and store the pack loosely packed with the bladder hanging or fully open, never sealed and damp. The drying step matters more than the soap you choose.
Why drying beats scrubbing for mildew prevention
Mildew needs three things: moisture, darkness, and a little organic residue. Soap removes the residue, but only complete drying removes the moisture. A bladder that still has droplets in the folds or the drink tube will grow a smell within days, no matter how thoroughly you washed it.
That is why the routine below puts equal weight on airflow as on cleaning. If you only have time for one step after a hike, rinse and hang the bladder rather than leaving it sealed in the pack overnight.
What you actually need on hand
You do not need a specialized cleaning kit. Cool water, a drop of mild dish soap, a soft bottle brush or sponge, and a clean towel cover almost every situation. Skip bleach, harsh solvents, and scented cleaners, which can leave residue in the TPU material and taint the taste of every refill.
For the drink tube, a thin tube brush helps, but you can also flush it by filling the bladder with clean water, holding the bite valve open, and letting water run through until it comes out clear.
How often to clean, by use pattern
If you only put water in the bladder, a full soap wash once a week during regular use is enough, with a plain rinse after every outing. If you use electrolyte mixes, sports drinks, or anything with sugar, wash the bladder the same day. Sugar residue is the fastest route to a sour smell and cloudy film.
For occasional hikers, clean before storage, not just after the last trip. A pack that sat in a hot car for a month needs a full wash even if it looks clean.
Matching the bladder size to your cleaning routine
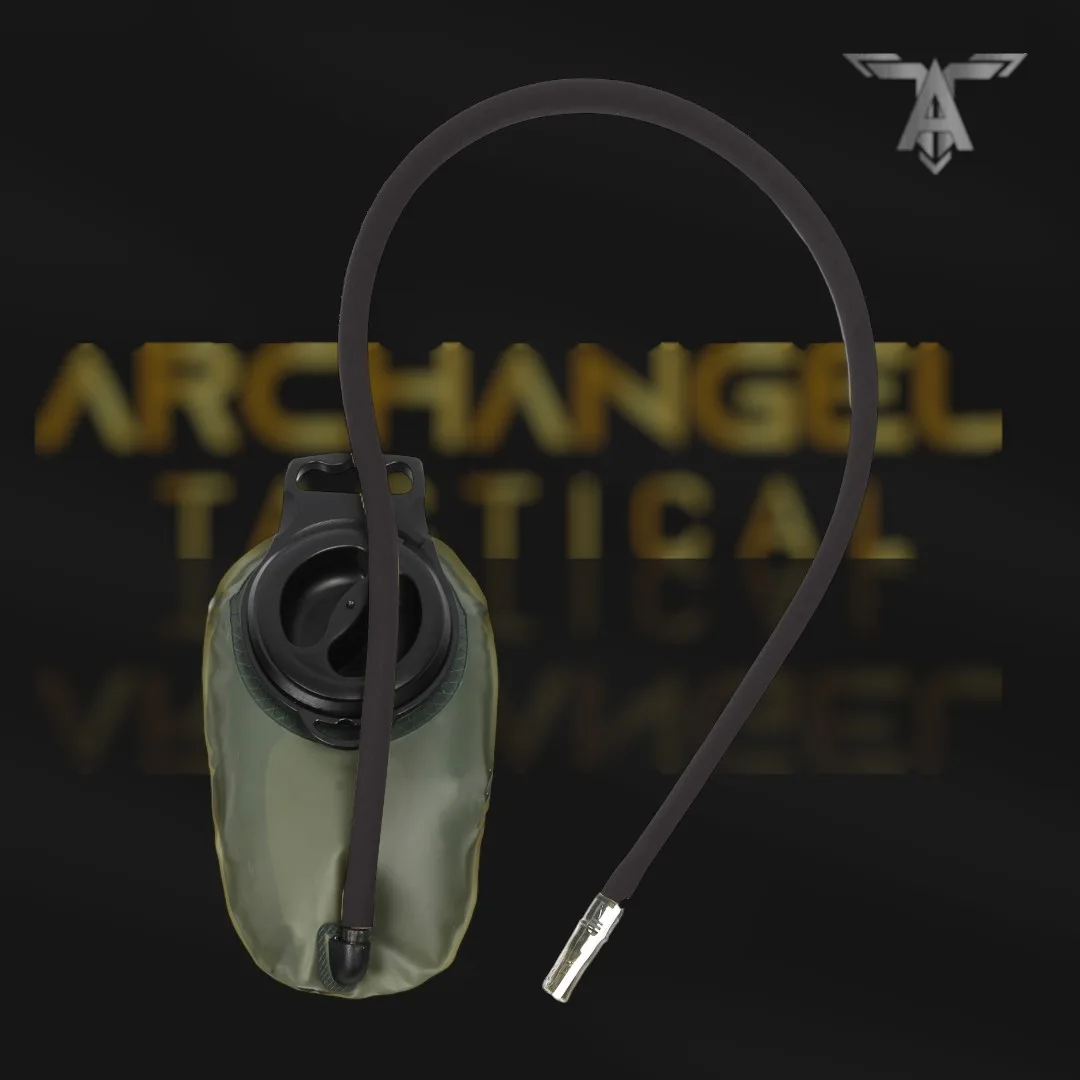
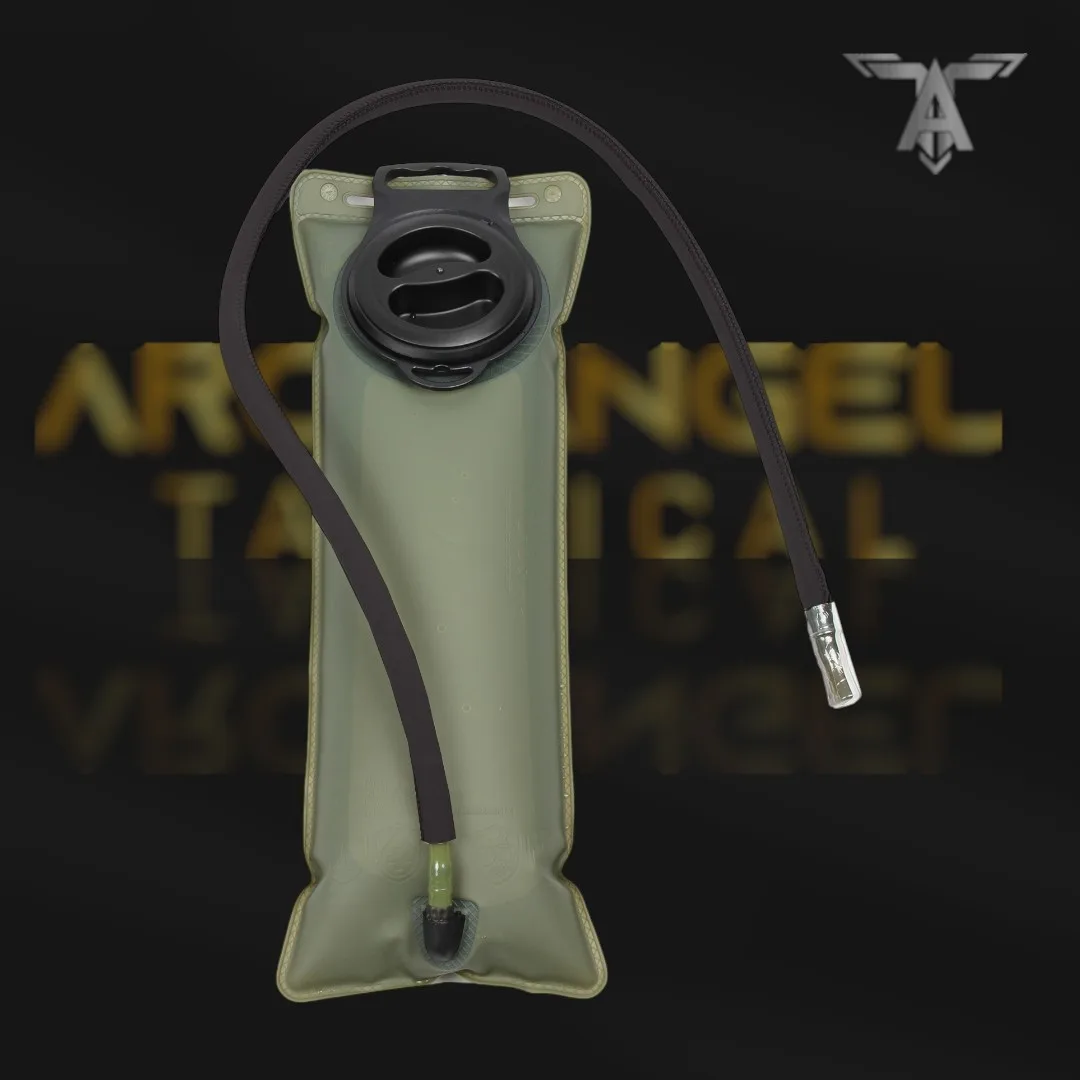
Smaller bladders dry faster and are easier to inspect, while larger ones hold more water for long days but take longer to dry fully. If you rotate between a 1L and a 3L bladder, clean and dry each one separately rather than storing the spare sealed in the pack.
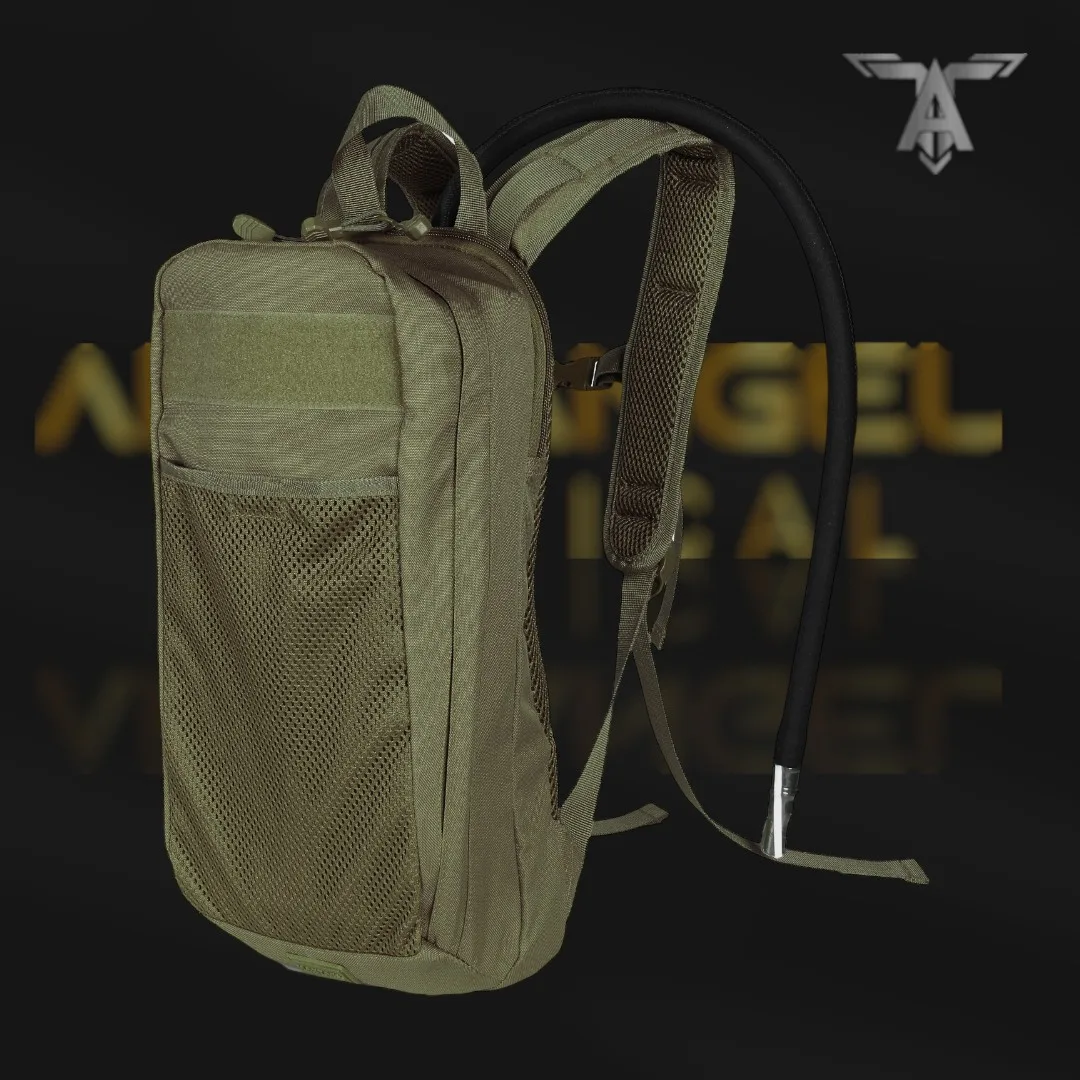
The Classic Trail Hydro Pack is built for trail, travel, and everyday movement, so its bladder sees frequent fill-and-empty cycles. That makes a quick rinse-and-hang habit more useful than an occasional deep clean.
Step-by-step hydro pack cleaning routine
- Empty and rinse immediately after use: Dump any remaining water, fill the bladder about a third full with cool water, swish it around, and push it through the drink tube with the bite valve open. Repeat until the water runs clear. Common mistake: leaving the last sip of water in the bladder overnight, which gives mildew a head start before you ever wash it.
- Wash with mild soap and a soft brush: Add a drop of mild dish soap to warm water, shake the bladder, and gently scrub the interior with a soft bottle brush. Wipe the pack's main compartment with a damp cloth, then rinse the bladder until no suds remain. Checkpoint: if you can still smell soap, rinse again. Residue transfers to the next refill.
- Flush the drink tube and bite valve: Run clean water through the tube until it tastes neutral. Work the bite valve open and closed under running water to clear any trapped moisture or residue from the seal. Common mistake: cleaning the bladder but forgetting the tube, which is where most lingering odors actually live.
- Dry the bladder propped open and upside down: Hang the bladder upside down with the fill opening spread wide, or use a drying rack that holds it open. Let the tube hang straight down so water can drain instead of pooling in a loop. Checkpoint: no visible droplets and no cool damp feel inside after several hours. If in doubt, give it another night.
- Air out the pack itself: Turn the Classic Trail Hydro Pack's main compartment inside out or leave it unzipped in a dry, shaded spot. Wipe down straps and the back panel with a damp cloth if they picked up sweat or trail grit. Common mistake: storing the pack zipped shut while the bladder is still drying inside it.
- Store loosely, never sealed and damp: Once everything is fully dry, store the bladder separately from the pack or hanging inside it with the opening open. Keep the pack in a cool, dry place rather than a hot car or a damp garage bin. Next step: before your next hike, do a quick smell and visual check. A clean, dry bladder should have no odor at all.
Gear that fits this routine
- Classic Trail Hydro Pack - Archangel Tactical Gear: Built for the trail, travel, and everyday movement with a dual-zippered main compartment for practical storage. The zippered main compartment opens wide enough to pull the bladder out for rinsing and to let the pack air out instead of staying folded shut.
- Hydration Bladder 1 Liter - Archangel Tactical Gear: The 1L Hydration Bladder is constructed from high-quality TPU material for flexibility, strength, and long-lasting use. TPU tolerates repeated mild-soap washes, but it still needs full drying because trapped moisture in the folds is what feeds mildew.
- Hydration Bladder 3 Liter - Archangel Tactical Gear: The 3L Hydration Bladder is built for long days in the field, on the trail, or at the range and is easy to maintain. A larger bladder holds more water and more surface area to dry, so give it extra hanging time before you store it.