Quick answer
Place most indoor planters 2 to 4 feet back from a bright window, out of direct afternoon sun and at least 3 feet from heat vents, radiators, and air-conditioning registers. Keep them away from exterior doors, single-pane glass, and cold windowpanes in winter. Then watch the plant for two weeks and adjust based on how the leaves respond.
Most indoor plant problems start before the first watering. A planter in the wrong spot gets baked by afternoon sun, chilled by a draft, or dried out by a heat vent, and no amount of careful watering fixes that.
This indoor plant placement guide walks through an ordered process you can run in one afternoon. You will read the light in each room, check the heat and air movement, and match the planter to the spot instead of forcing the spot to fit the planter.
Start by Reading the Light in Each Room
Before you move a single pot, spend a day watching how light moves through the room. Note where direct sun lands in the morning, where it lands in the afternoon, and which surfaces stay in bright but indirect light all day. South- and west-facing windows run hotter and brighter; north-facing windows stay cooler and dimmer.
Write down the light level at the exact height the planter will sit. A shelf two feet below a windowsill can be dramatically dimmer than the sill itself. This is where planter light requirements get ignored, because the room looks bright to your eye while the plant sits in shade.
- Check light at midday and again in late afternoon, since the two readings often disagree.
- If you are unsure, leave a sheet of white paper where the planter will go and check whether it casts a sharp or soft shadow.
Match the Planter to the Light You Actually Have
Once you know the light, choose a planter that suits it. A wide, low bowl planter works well on a bright shelf or windowsill where the plant spreads outward, while a small cup planter suits a compact plant on a desk or side table that receives gentle indirect light. The container shape affects how much soil volume sits in the hottest or coolest part of the spot.
The Jewel Martini Bowl By Plantatorem is a wide, low bowl planter from the indoor range, with a smooth upper wall and a shorter fluted band below. That low profile keeps the root zone closer to the surface, which is useful on a bright shelf but means you should watch moisture more closely in hot, direct sun.
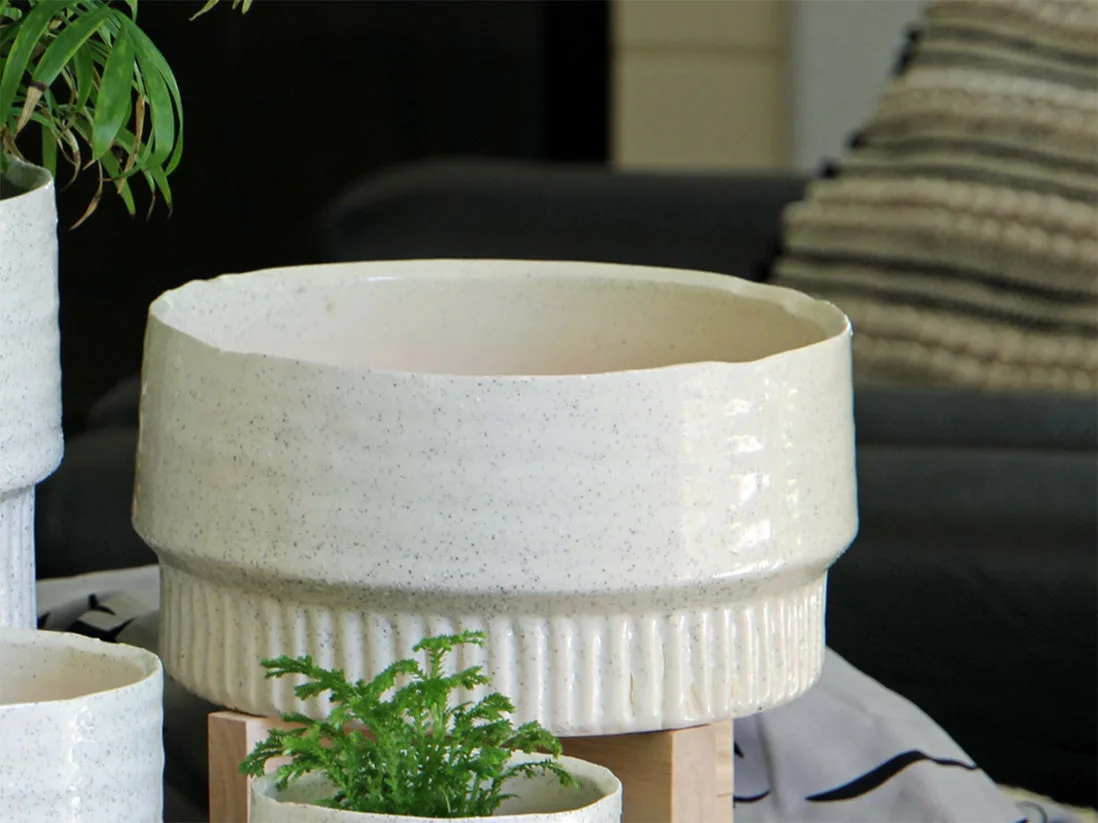
Jewel Martini Bowl By Plantatorem
- Tall, narrow planters dry out faster near a sunny window than wide, low ones.
- Small cups and bowls need more frequent checking than large floor planters.
Find and Avoid Heat Sources
Walk the room and locate every heat source: forced-air vents, baseboard heaters, radiators, space heaters, and the hot side of a refrigerator or oven. Then measure the distance from each one to where you plan to set the planter. Three feet is a reasonable minimum, and more is better for ferns and other thin-leaved plants.
This is the step where avoid heat vents planters advice usually gets skipped. A vent that blows warm, dry air across a planter can dry the soil unevenly and scorch leaves on the side facing the airflow, even when the rest of the room feels comfortable.
- If you cannot move the planter, redirect the vent louvers away from it.
- Rotate the pot a quarter turn weekly so one side does not take all the heat.
Check for Drafts Before You Commit
Drafty spots for plants include exterior doors, single-pane windows, unsealed sliding doors, and the path of an air-conditioning register. Run your hand along the window frame and door edges on a windy day. If you feel moving air, that spot will run colder in winter and drier in summer than the middle of the room.
Cold drafts are the bigger risk for tropical plants, which can drop leaves after a few nights near a leaky window. If the spot is otherwise ideal for light, a small screen or a repositioned shelf can break the airflow without blocking the light.
- Test drafty spots in the evening, when temperature differences are largest.
- Move planters a few inches inward from the glass rather than giving up the window entirely.
Set the Planter at the Right Height and Distance
Height changes everything. A planter on the floor near a window receives far less light than one on a sill or shelf at the same distance from the glass. For most foliage plants, 2 to 4 feet back from a bright window is a safe starting point, with the pot raised so the leaves sit in the light rather than below it.
If you are placing a small planter on a shelf, check that the shelf itself does not block light from above. The Geometry Pentagon Planter By Plantatorem is a small five-sided vessel with walls folded into triangular facets, and its faceted surfaces catch light from different angles, which makes it easy to see when a shelf is shading the pot more than you expected.
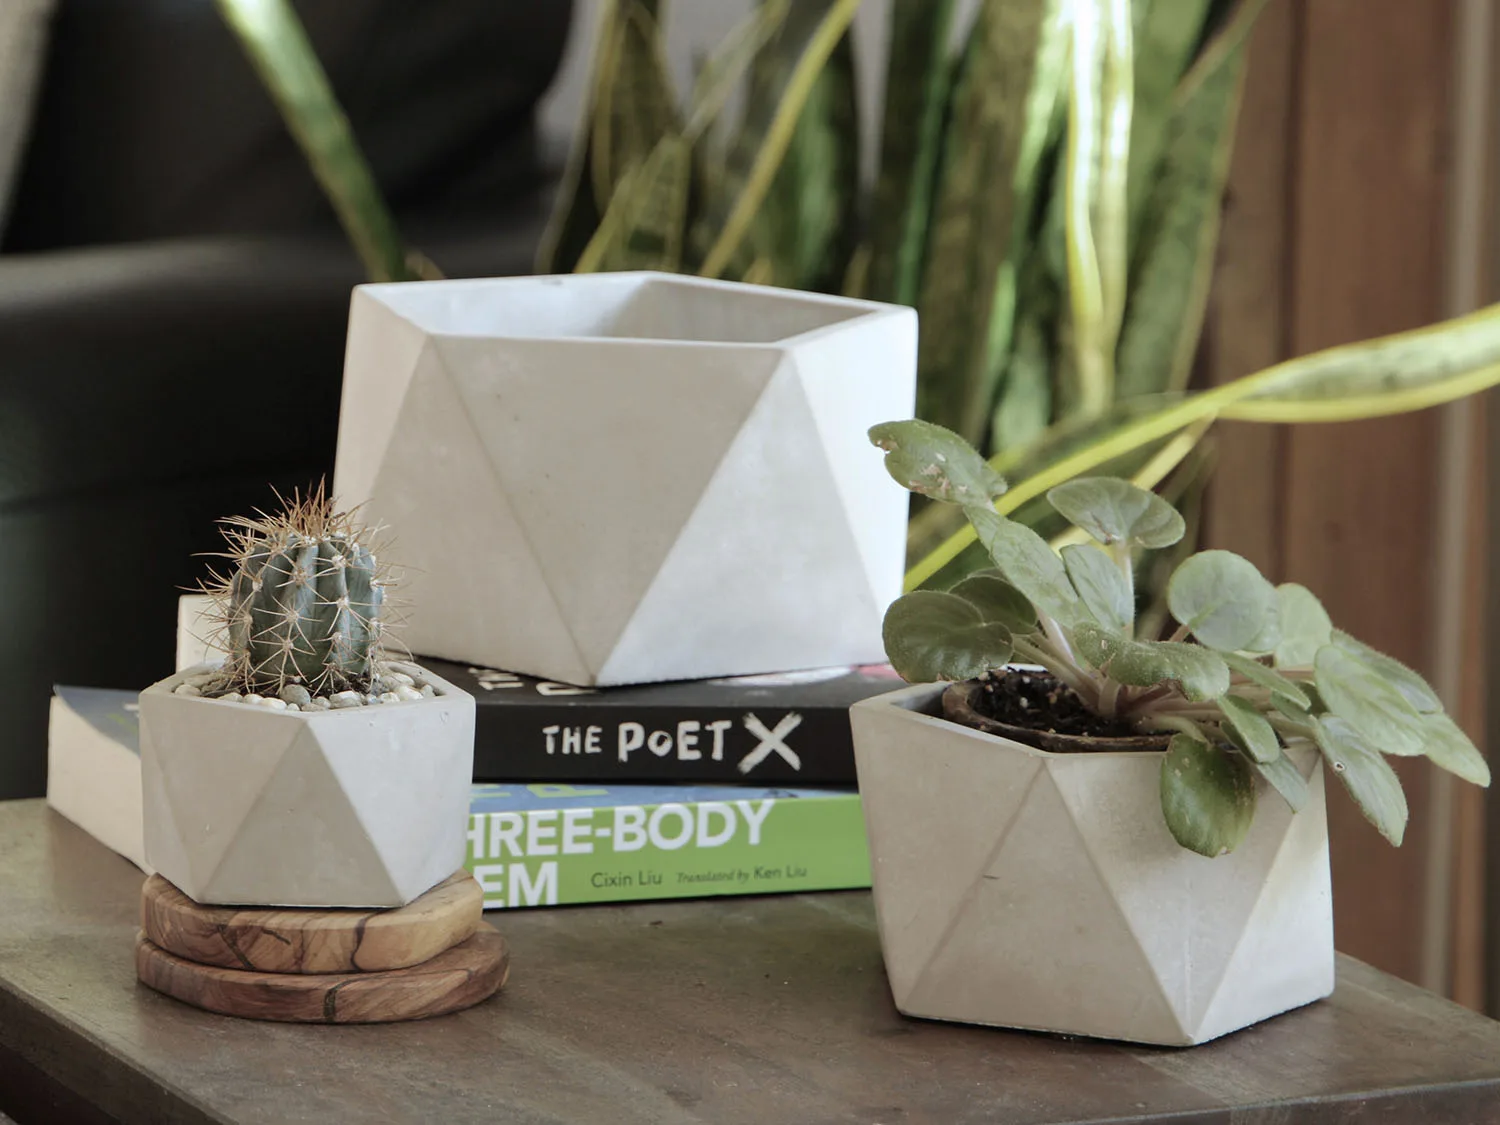
Geometry Pentagon Planter By Plantatorem
- Raise floor planters on a stand if the room's light comes from high windows.
- Keep leaves from touching glass, which can burn in summer and freeze in winter.
Watch the First Two Weeks and Adjust
Placement is a test, not a verdict. For the first two weeks, check the soil moisture every few days and look at the leaves. Curling, browning edges, or a sudden lean toward the window all tell you the spot is too bright, too dry, or too far from the light.
Keep a simple note of what you change. If you move a planter, give the plant another week before judging the result, since plants respond slowly and a second move too soon makes it hard to learn what actually worked.
- A plant leaning hard toward the window usually needs a quarter turn, not a new room.
- Crisp brown leaf edges near a vent point to dry air, not underwatering.
Placement Steps to Run in Order
- Read the light at planter height: Check the spot at midday and late afternoon, at the exact height the pot will sit, not just at eye level. If the two readings disagree, trust the harsher one and plan for it.
- Measure the distance from heat sources: Find every vent, radiator, and heater, then keep the planter at least 3 feet away or redirect the airflow. A vent that feels mild to your hand can still dry out a small pot in days.
- Test for drafts at the window and door: Run your hand along frames and seals on a windy evening to find moving air before you commit the pot to that spot. Move the planter a few inches inward rather than abandoning a good light source.
- Set the height and distance: Start 2 to 4 feet back from a bright window, raised so the leaves sit in the light rather than below the sill. Floor-level planters near a high window are usually darker than they look.
- Watch for two weeks and adjust once: Check soil moisture every few days and note leaf color, curling, and leaning before making a single deliberate move. One change at a time tells you what actually fixed the problem.
Planter Details That Affect Placement
- Jewel Martini Bowl By Plantatorem: A wide, low bowl planter from the indoor range, with a smooth upper wall rising to a hand-shaped rim and a shorter fluted band below. The low, wide shape suits bright shelves and windowsills where a spreading plant needs room, but the shallow profile means soil dries faster in direct sun.
- Geometry Pentagon Planter By Plantatorem: A small five-sided geometric planter from the Avenue Concrete range, with walls folded into triangular facets and a wider five-point rim. Its faceted surfaces catch light from several angles, so you can see at a glance whether a shelf or windowsill is giving the pot enough light.
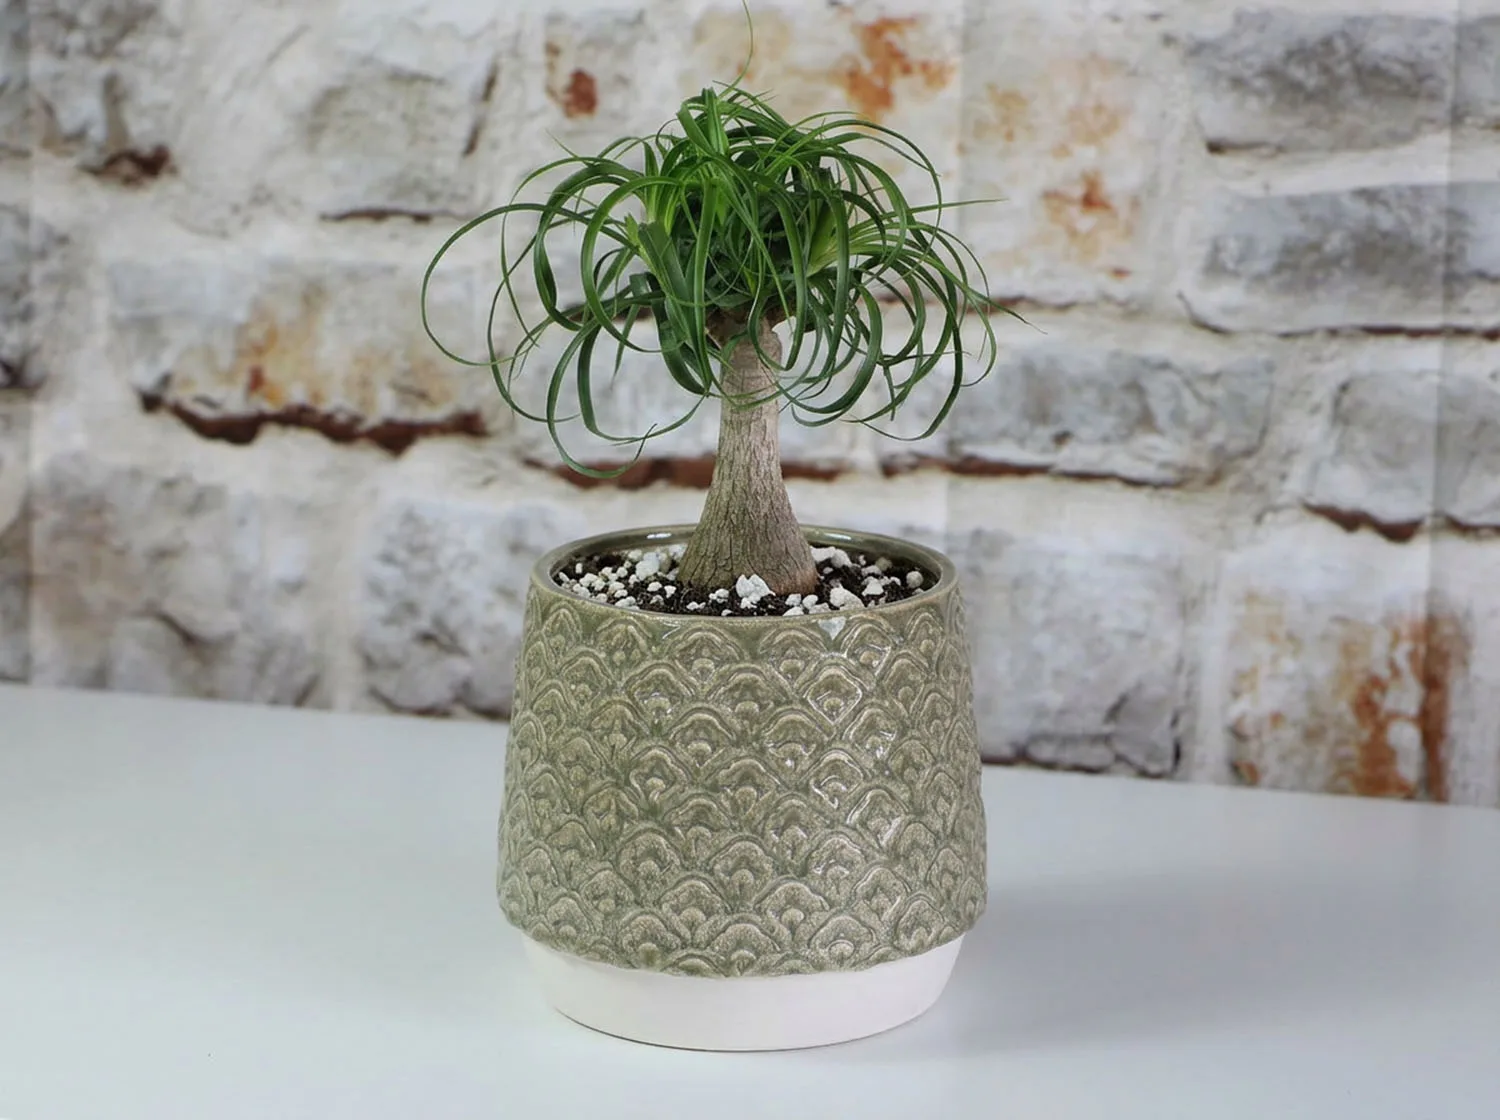
- Petal Planter Cup: A small indoor planter cup in solid ceramic with a lightly textured surface, a scalloped petal pattern, and a smooth base. Small cups like this fit shelves, desks, and window sills where space is tight, but their limited soil volume means you should check moisture more often near warm spots.
Good indoor planter placement comes down to three checks: light at the height the pot sits, distance from heat, and exposure to drafts. Run the steps in order, give the plant two weeks, and adjust once. Your planter will do more for the plant in the right spot than any change to your watering routine.