Quick answer
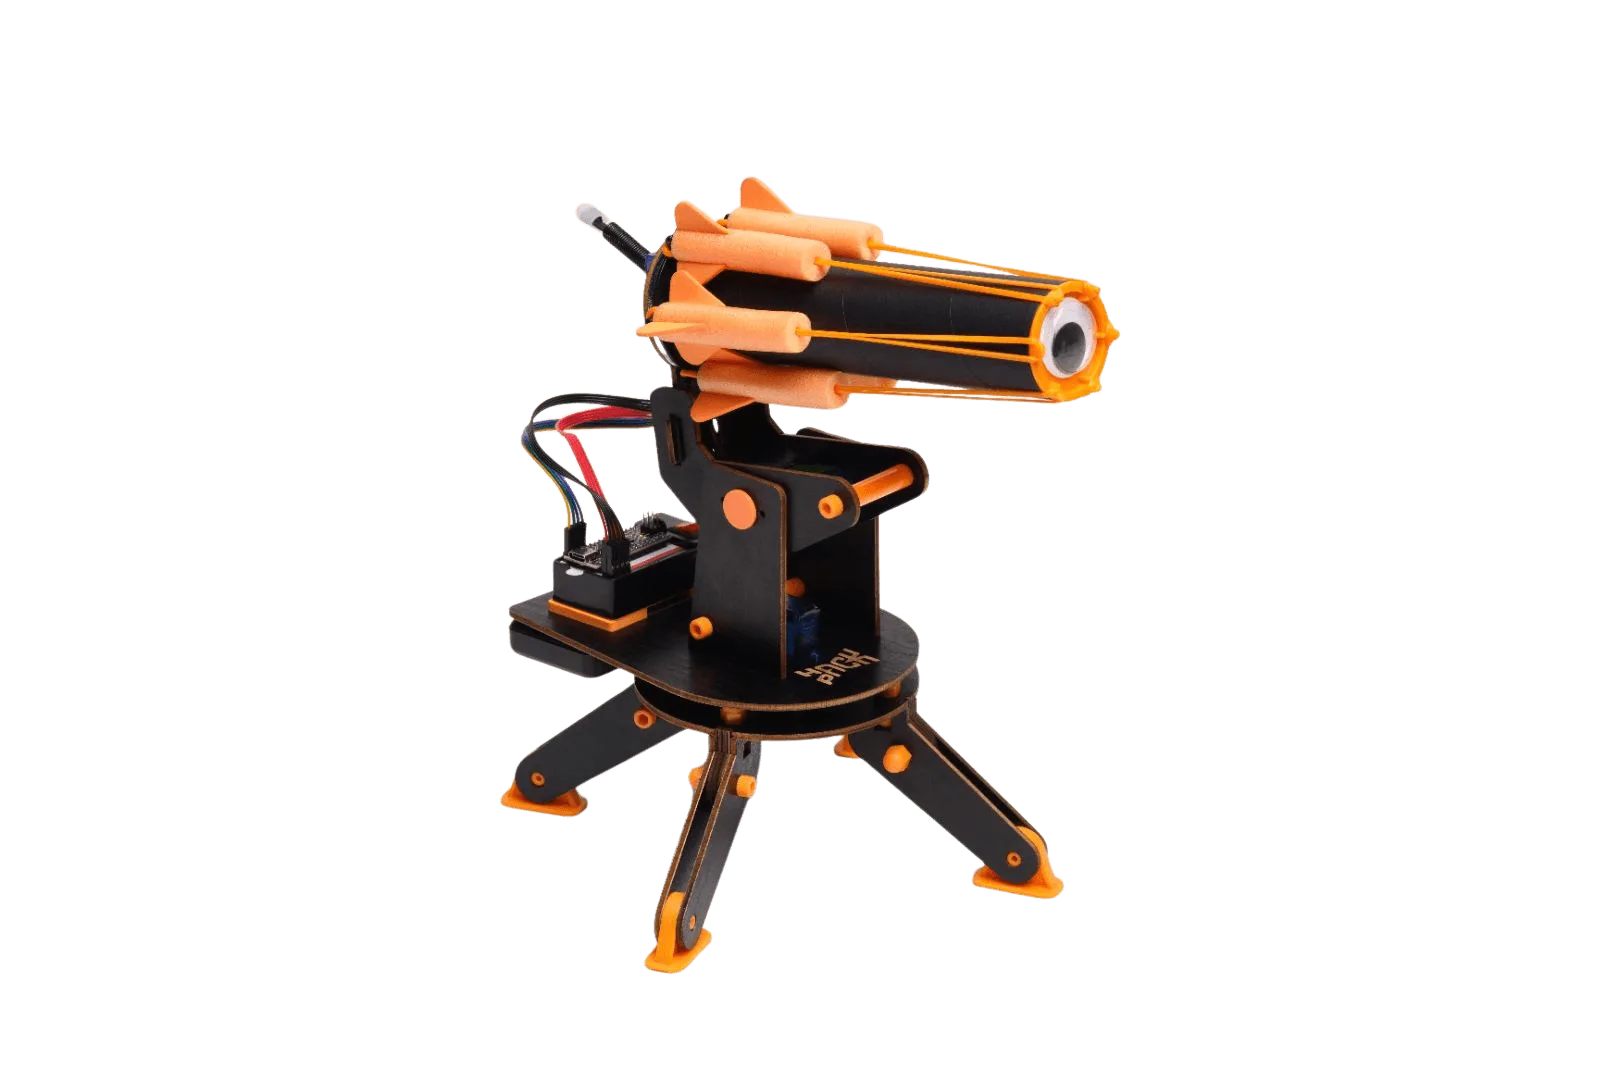
Aim the IR receiver by first confirming the emitter and receiver are pointed at each other with a clear line of sight, then run a short detection test before you tighten anything down. If the turret still misses, recheck sensor alignment, lighting conditions, and your calibration routine in that order. The Infrared Turret is a stand-alone Hack Pack robot, so no subscription is required to start testing.
Why IR detection fails before you blame the code
Infrared communication depends on a clean optical path between the emitter and the receiver. Anything that interrupts that path, including a hand, a table edge, or a bright light source, can make the turret behave as if it is not detecting at all. Before you rewrite any logic, walk the physical setup: is the receiver facing the emitter, is the distance reasonable, and is the surrounding light stable?
The Infrared Turret is designed for hands-on experimentation, including going rogue and using other remote controls around your house or adding other sensors. That flexibility is also why detection problems often come from the environment rather than the build itself. Treat the room as part of the circuit.
Set up a repeatable detection test
Rather than aiming at random, create a fixed test target. Place the emitter or remote at a consistent distance and angle, then rotate the turret in small increments and note where detection succeeds. This turns a vague 'turret not detecting' problem into a measurable range you can tune.
Keep the test short and repeatable. If detection works at one angle but drops off sharply at another, you have an alignment issue, not a code issue.
Calibrate in the environment you will actually use
Calibration done in a dark room may not hold up in a bright living room. Run your final turret build calibration under the same lighting and at roughly the same distance you expect during play. If you plan to use prank mode or roulette, test those modes in the same conditions so the behavior is predictable.
Remember that the turret can rotate, aim, and execute commands, so a calibration that only works at one angle will feel unreliable during a game. Check at least three positions across the rotation range.
Keep the receiver and emitter clean and secure
Dust, fingerprints, and loose mounts are quiet killers of IR performance. Wipe the receiver lens with a dry, soft cloth and make sure the sensor is not shifting when the turret rotates. A receiver that moves mid-test invalidates your results.
If you have added other sensors as part of your hacking, check that their wiring is not blocking the IR path or pulling the receiver out of alignment.
Step-by-step: aim and verify IR detection
- Clear the optical path: Remove anything between the emitter and the IR receiver, including hands, cables, and decorative parts of the build. Point the receiver directly at the emitter at a comfortable distance. Checkpoint: you should see a clear, unobstructed line between the two.
- Run a sweep test: Slowly rotate the turret through its range while triggering the emitter at each position. Note the angles where detection is strong and where it drops out. Common mistake: testing only at the center position and assuming the whole range works.
- Adjust sensor alignment: If detection is weak, loosen the mount slightly and re-aim the receiver, then retest. Small angle changes often matter more than big moves. Checkpoint: detection should improve at the angles that previously failed.
- Match calibration to your lighting: Repeat the sweep under the lighting you will actually use, including any bright lamps or windows. Recalibrate if the results change significantly. Common mistake: calibrating in a dark room and then playing in daylight.
- Confirm with a second IR source: Try a different remote control or emitter to see whether the receiver responds consistently. This separates a source problem from a receiver problem. If a second source works, your original remote or emitter is the likely culprit.
- Lock in the setup: Once detection is reliable, tighten the mount and re-run the sweep one final time. Record the working distance and angles so you can recreate them later. Next step: use those notes when you add sensors or try prank mode.
Product facts that affect aiming
- Infrared Turret - IR Receiver: Infrared Turret is a stand-alone Hack Pack robot that does not require a subscription and comes with everything you need, including access to the Coding Console (IDE). You can start detection testing immediately without waiting on a subscription, and the IDE gives you a place to log or adjust behavior as you calibrate.
- Infrared Turret - IR Receiver: The turret supports going rogue by hacking it to use other remote controls around your house or adding other sensors. If your own remote is unreliable, testing with a different IR remote can quickly tell you whether the problem is the receiver or the source.