Quick answer
Place the fridge on a flat surface, use a bubble level, adjust the front legs until the bubble centers, then plug it in and let it run for a few hours before loading food.
Installing a mini fridge with a freezer may seem simple, but improper placement can cause wobbling, uneven cooling, and premature wear. This guide walks you through the essential steps to set up your Antarctic Star unit correctly the first time.
Follow the install mini fridge level guide carefully, and you’ll avoid the most common pitfalls that many homeowners encounter when positioning a compact refrigerator.
1. Prepare the Location
Choose a spot away from direct sunlight, heat sources, and high‑traffic areas. The floor should be level and able to support the fridge’s weight—about 80 lb for the 3.2 cu ft model. Clear at least 2 inches of clearance on the sides and back for proper airflow.
Measure the opening and verify that the fridge will fit through doors or hallways. If you need to move the unit, use a sturdy hand truck and keep the door closed to protect the interior.
- Tip: Place a piece of cardboard under the fridge during transport to protect flooring.
2. Position the Fridge
Slide the unit into place, keeping it upright. Align the rear of the fridge with the wall, leaving a ½‑inch gap to allow air circulation. This gap is crucial for the condenser coils to dissipate heat efficiently.
Plug the unit into a dedicated 115‑V outlet—do not share the circuit with high‑draw appliances like microwaves or air conditioners.
- Common mistake: Using an extension cord can cause voltage drop and affect cooling performance.
3. Level the Unit
Place a bubble level on the top shelf or the fridge’s interior surface. Adjust the front leveling legs (usually located at the bottom front corners) by turning them clockwise to raise or counter‑clockwise to lower. Re‑check the level after each adjustment.
Once the bubble is centered in both the front‑to‑back and side‑to‑side axes, tighten the lock nuts on the legs to prevent movement.
- Checkpoint: The fridge should not rock when you push gently on either side.
Step‑by‑Step Installation Checklist
- Unpack and Inspect: Remove all packaging, check for dents or missing parts, and verify that the leveling legs are present. If any damage is found, contact support before proceeding.
- Place and Align: Slide the fridge into the prepared spot, keep it upright, and ensure a ½‑inch rear clearance. Confirm the outlet is within reach and dedicated to the fridge.
- Adjust Legs and Verify Level: Use a bubble level, turn the front legs until the bubble centers, then lock the nuts. A properly leveled unit prevents vibration and uneven cooling.
Key Antarctic Star Products
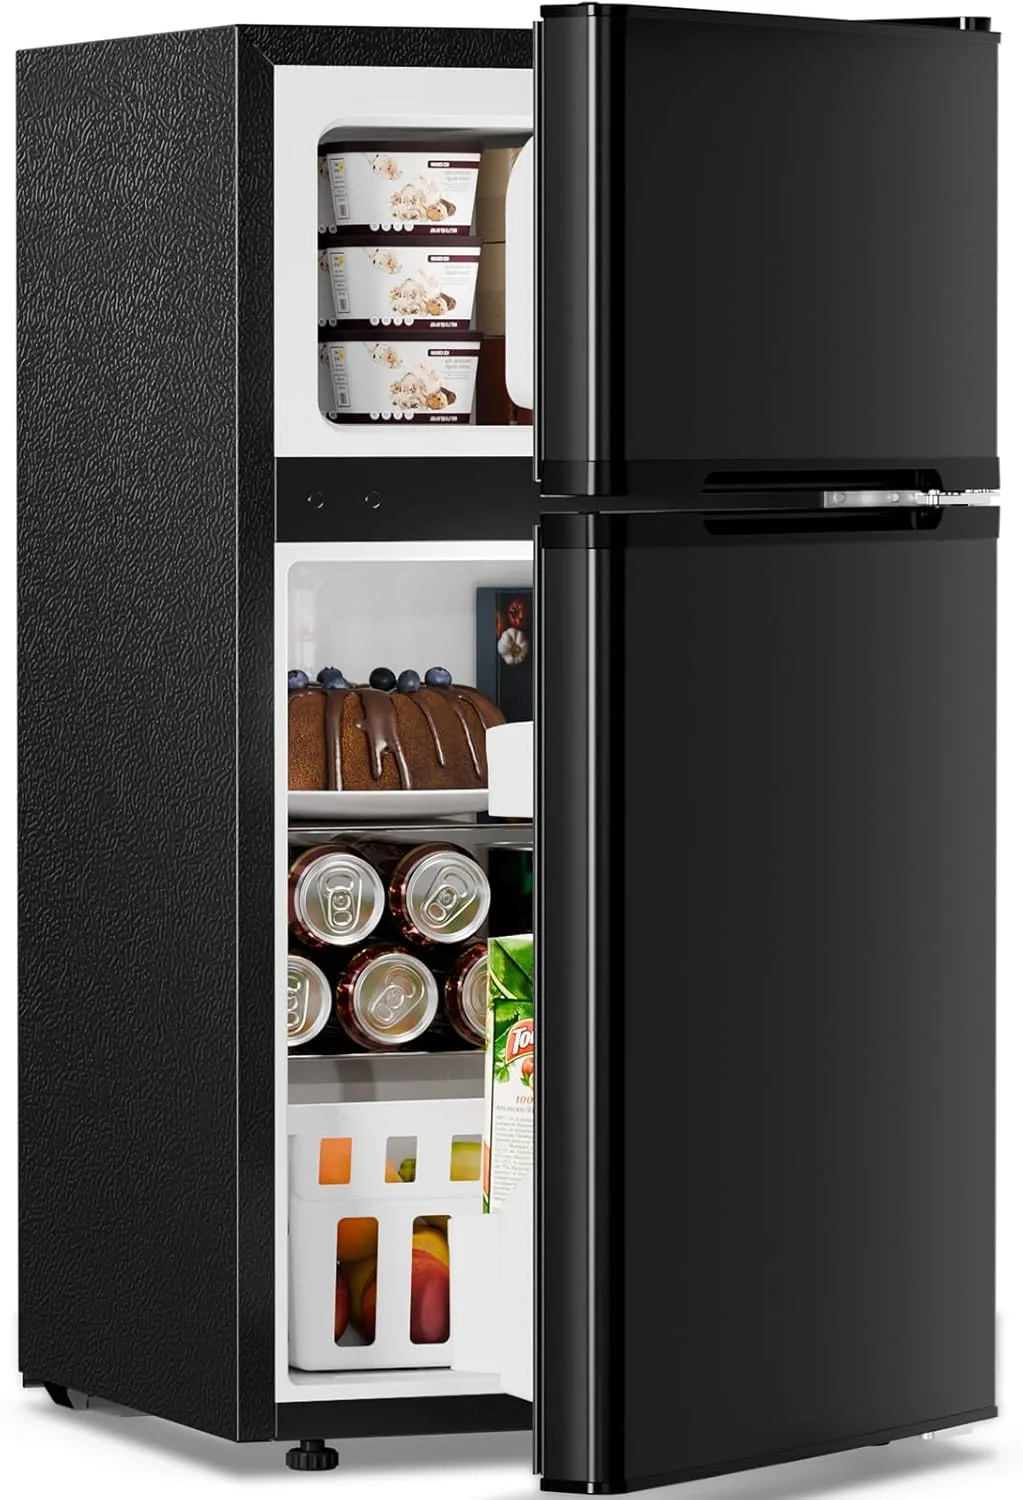
- Antarctic Star 3.2 Cu.Ft,Mini Refrigerator with Freezer,Double Door Mini Fridge: Dimensions 18.11"W × 18.9"D × 33.46"H; Capacity 3.2 cu ft; Freezer-on-Top; Frost Free; R‑600A refrigerant. Knowing the exact footprint helps you pick a location that fits without crowding, while the frost‑free system reduces maintenance during installation.
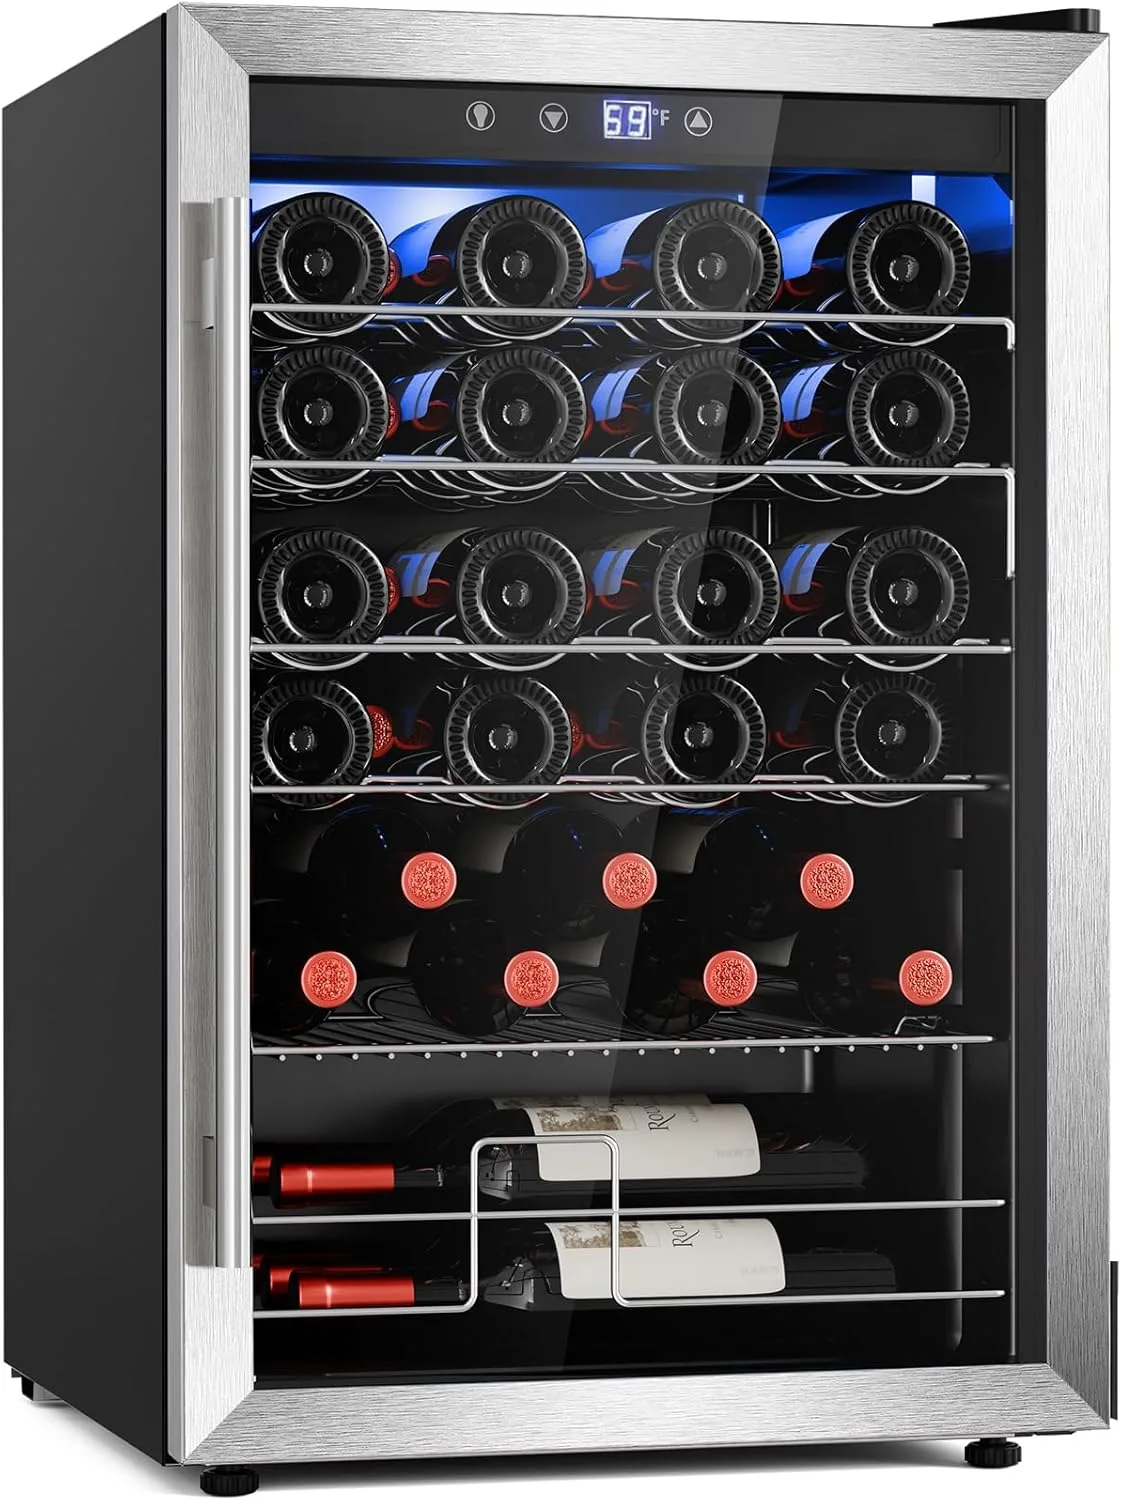
- Antarctic Star 4.5 Cu.Ft Wine Cooler Refrigerator 58128RWC1: Capacity 4.5 cu ft; Holds 37 wine bottles; Manual defrost; Freestanding; Black finish. The larger footprint and manual defrost highlight the importance of leaving clearance for airflow, a principle that also applies to the mini fridge.
By following this install mini fridge level guide, you’ll enjoy reliable cooling, quieter operation, and a longer lifespan for your Antarctic Star mini fridge with freezer. Happy chilling!