What this mount does
The RAM Universal Drill-Down Laptop Mount (product ID 2711244) is designed to attach a laptop tray securely to a vehicle's transmission hump. This universal drill‑type system uses self‑tapping screws or bolts through drilled holes to fasten the base directly to the metal hump. Once installed, the telescoping poles let you adjust the height, and the dual swing arms provide 12 inches of reach for both driver and passenger access.
What the mount includes
-
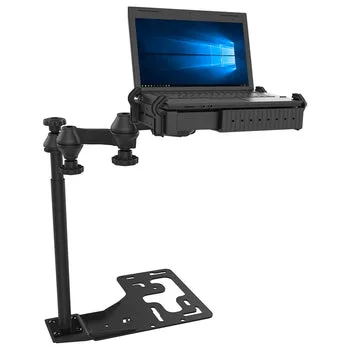
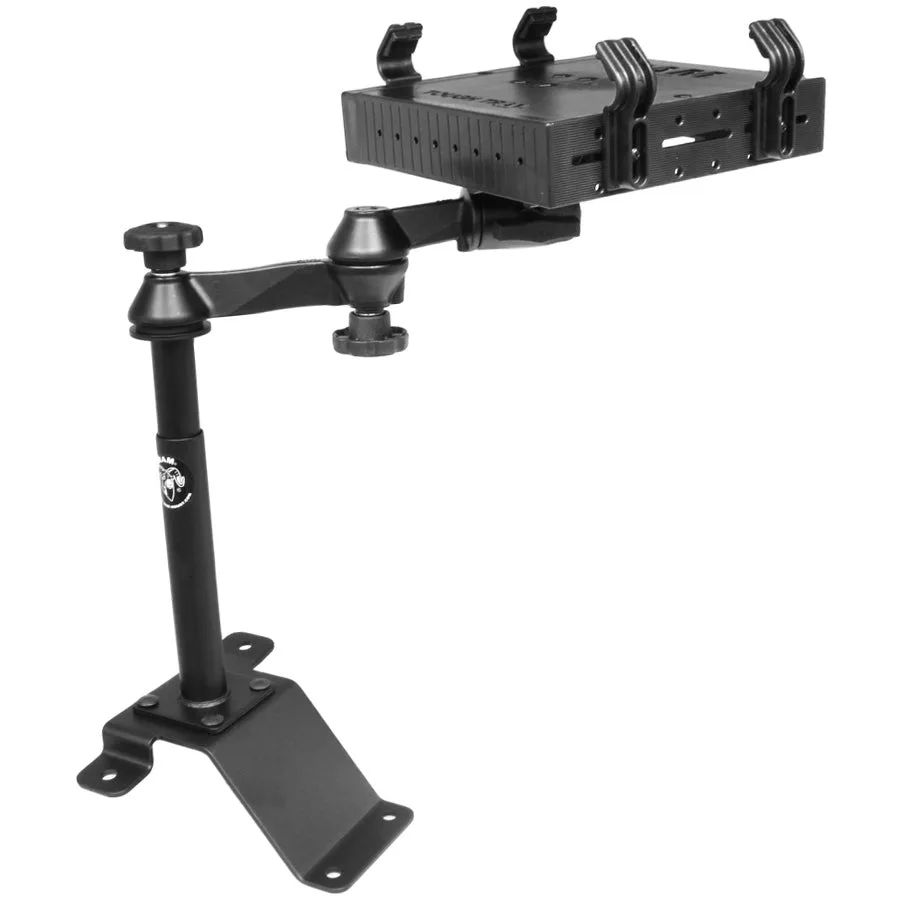
RAM® Universal Drill-Down Laptop Mount for Transmission Hump: This universal drill type Laptop Stand System installs quickly and easily into most vehicles by using self tapping screws, or by drilling and then bolting down the mount base to the vehicle. The transmission hump is a flat or slightly curved metal surface; drilling and bolting gives you a permanent, vibration‑resistant anchor that won't shift during driving.
RAM® Universal Drill-Down Laptop Mount for Transmission Hump
-
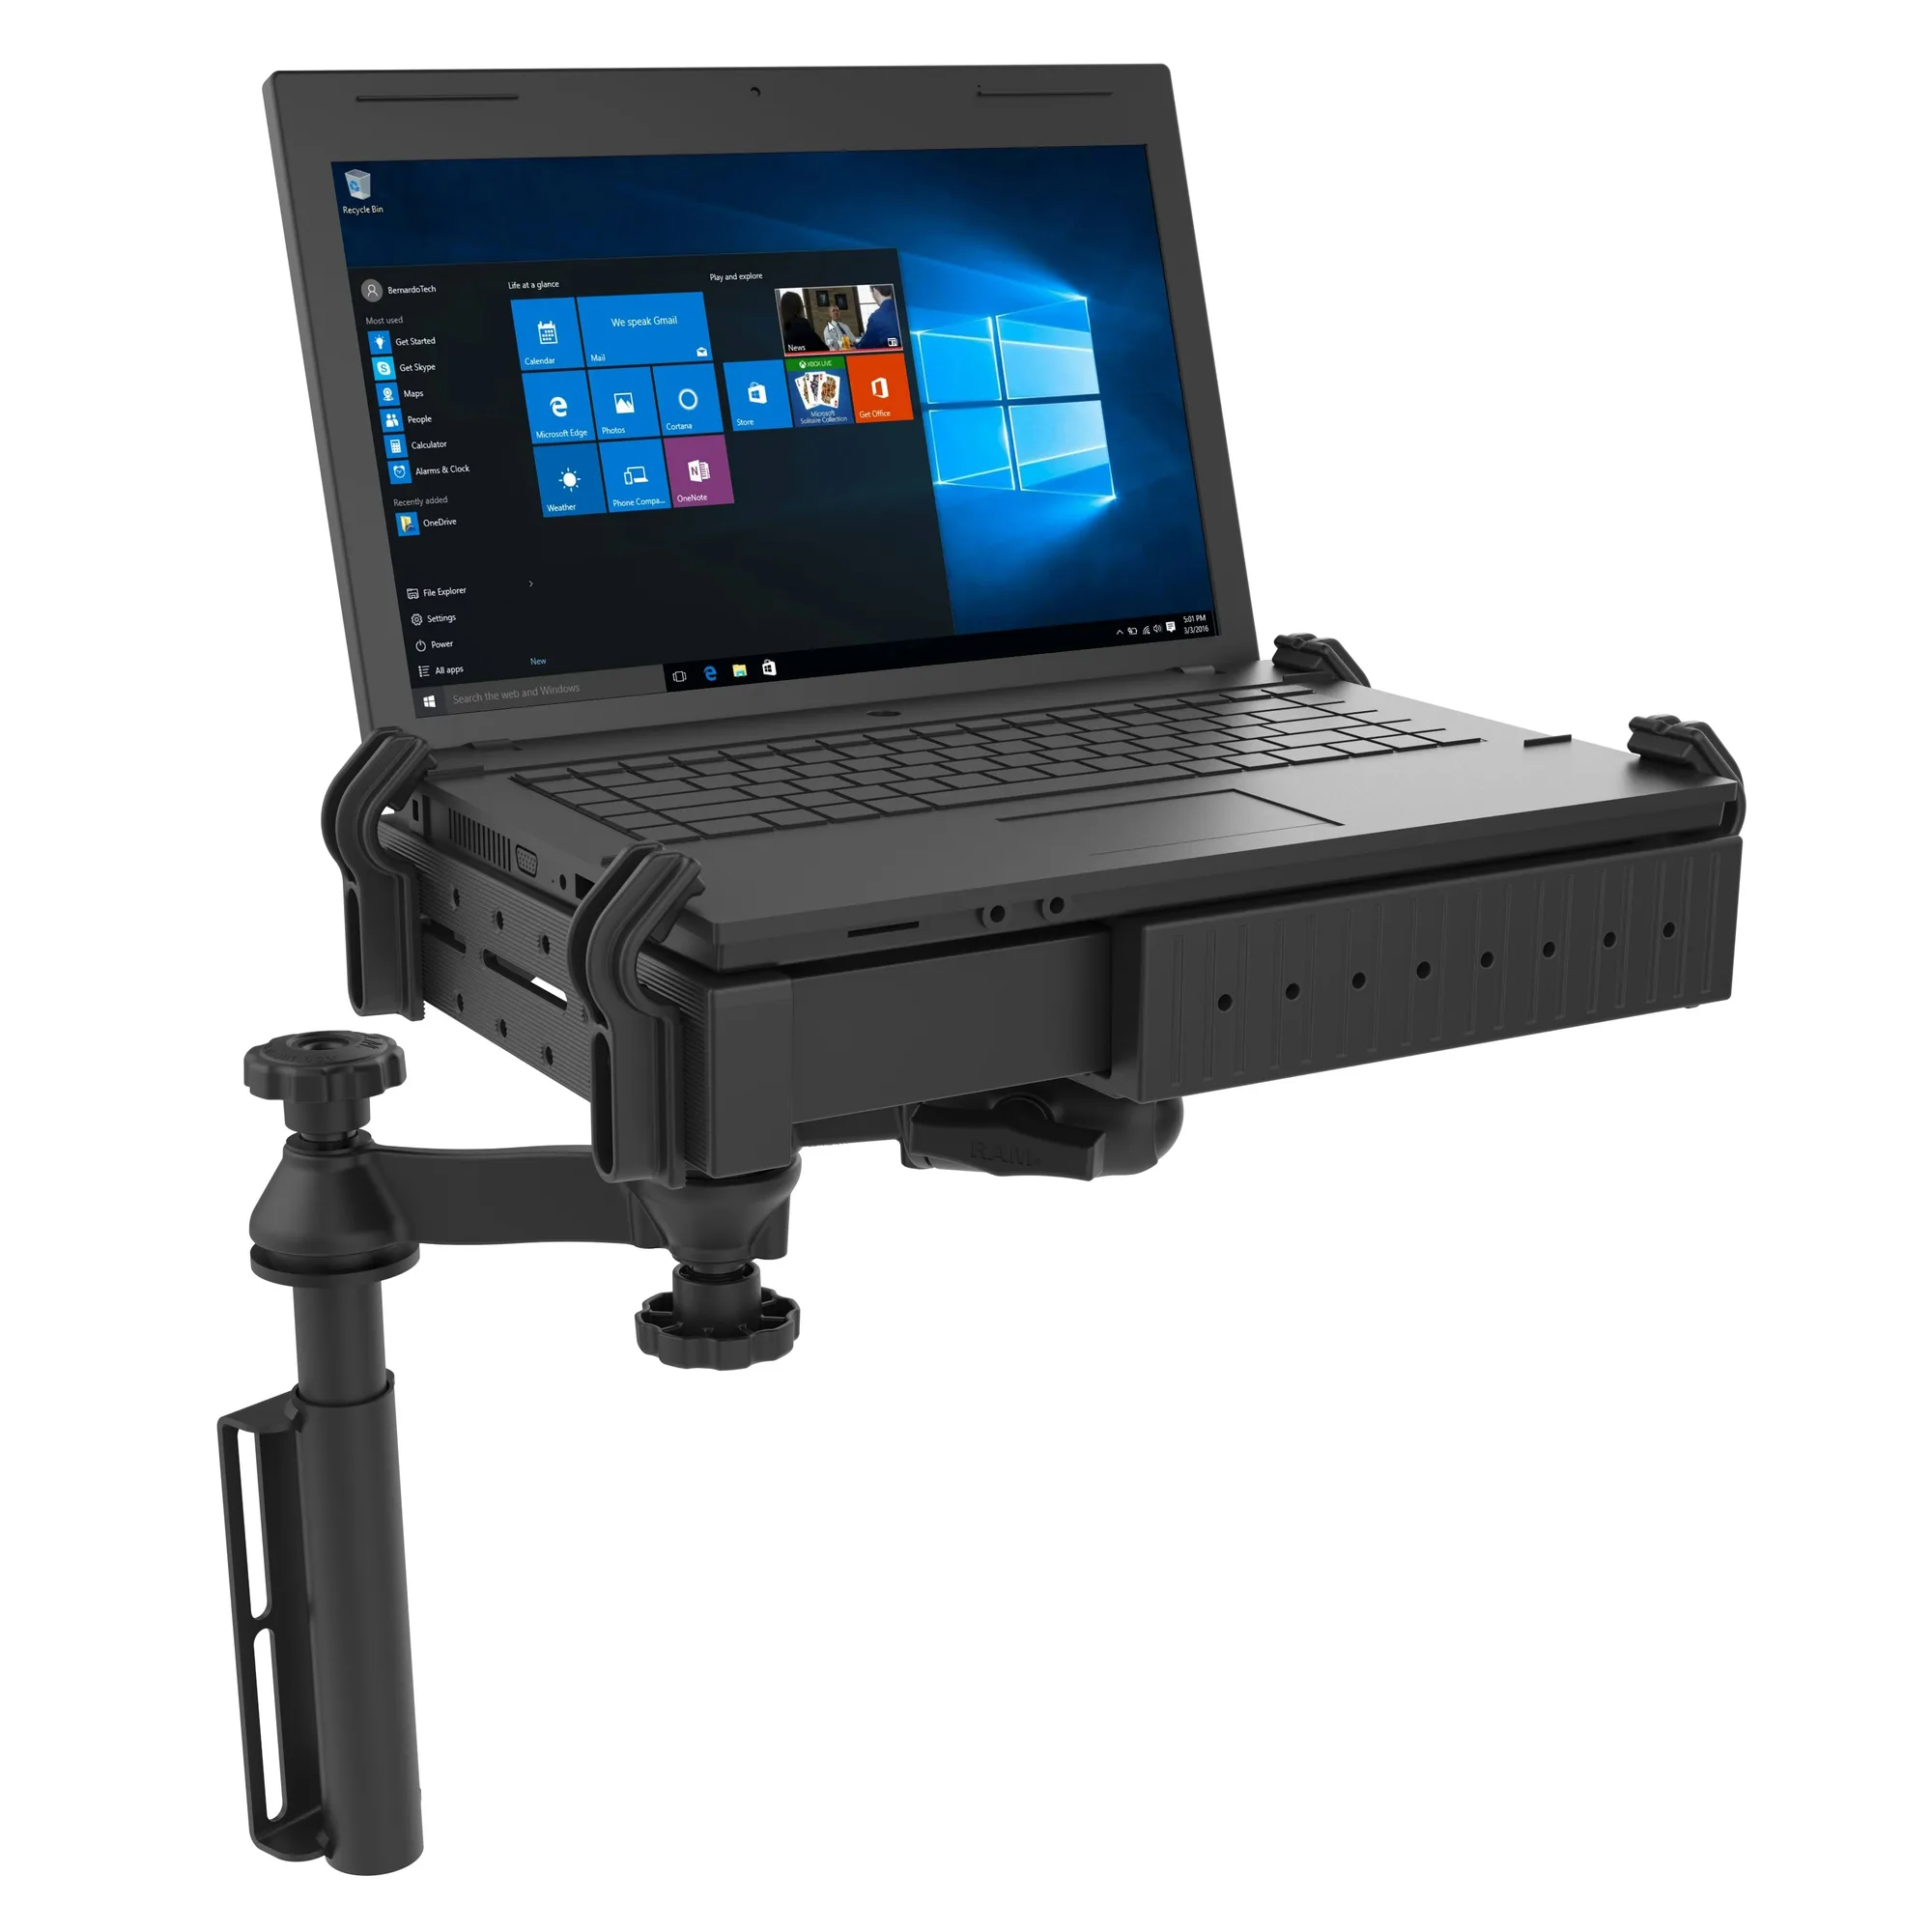
RAM® Universal Drill-Down Laptop Mount for Transmission Hump: The RAM Tough-Tray is spring loaded to accommodate 10" to 16" wide laptops (17" wide screens). This tray size covers most standard laptops and many ruggedized models used in fleet or field vehicles. A screen support and USB light are available as accessories.
-
RAM® Universal Drill-Down Laptop Mount for Transmission Hump: The tray features four adjustable retaining arms with rubber grip feature. These arms can be moved both vertically and horizontally. You can position the arms to clear ports, drives, and buttons on your specific laptop without blocking access.
-
RAM® Universal Drill-Down Laptop Mount for Transmission Hump: This configuration provides a telescoping feature with upper and lower poles that allow you to set your mount to the desired height with the simple turn of a knob. Once the base is bolted down, you can raise or lower the tray to your preferred viewing and typing height without tools.
-
RAM® Universal Drill-Down Laptop Mount for Transmission Hump: Dual swing arms provide articulation and 12 inches of reach for passenger and driver access to the mounted device. The swing arms let you move the laptop closer to the driver or passenger seat, or stow it against the hump when not in use.
Installation steps for a transmission hump
These steps are based on the mount's design and typical transmission hump surfaces. Always verify clearances and check for any vehicle components behind the mounting area before drilling.
- 1. Position the base on the hump: Place the mount base on the transmission hump where you want the laptop to sit. Ensure the location allows the swing arms to reach both seats without interfering with the steering wheel, pedals, or gear shift.
- 2. Mark and drill the holes: Use the base plate as a template to mark the drill points. Drill pilot holes through the hump metal. If the hump is reinforced or double‑walled, stop drilling as soon as you penetrate the top layer. The mount can also be installed using self‑tapping screws without pre‑drilling, depending on the metal thickness.
- 3. Bolt the base to the hump: Secure the base with the supplied bolts or self‑tapping screws. Tighten firmly but avoid stripping. The patented rubber ball and socket joint will absorb shock and vibration once the tray is attached.
- 4. Attach the telescoping pole assembly: Slide the upper and lower poles together and lock the height with the turn of a knob. This allows you to set the mount to the desired height before attaching the tray.
- 5. Mount the Tough-Tray: Attach the spring‑loaded tray to the top pole. The tray opens to accept laptops 10" to 16" wide (17" wide screens). Adjust the four retaining arms vertically and horizontally to grip your laptop securely without blocking ports or drives.
- 6. Position the laptop and test movement: Place your laptop in the tray and close the retaining arms. Swing the arms to check clearance for both driver and passenger. Adjust the telescoping height if needed.
What the supplied information does not cover
The supplied catalog information does not specify exact torque values for the bolts, recommended drill bit sizes, or whether the transmission hump requires any under‑vehicle reinforcement. Before drilling, inspect the underside of the hump for wiring, fluid lines, or structural ribs. If you are unsure about the metal thickness or access, consult a professional installer.