Quick answer
Start with the bulbs you actually use: replace the dome, map, and trunk bulbs with quality LEDs, then add an ambient lighting kit only if you want adjustable color and footwell glow. Match color temperature across fixtures, choose warm white (about 3000K) for a factory look or cool white (about 5000-6000K) for a crisp cabin, and test every fixture before you reassemble trim. If you drive a Honda or Acura, check fitment carefully, because bulb sizes and harnesses vary by trim and model year.
Interior lighting is one of the few upgrades you notice every time you get in the car. A dome light upgrade makes it easier to find keys or a phone at night, while an ambient lighting kit can change the mood of the whole cabin. The catch is that lighting is easy to overdo: too bright, too blue, or mismatched fixtures look worse than stock.
This guide walks through a practical order of work. You will pick the right cabin lighting options for how you use the car, choose an interior light color temperature that stays comfortable at night, and install LED interior lights and ambient strips without triggering errors or rattles. It also covers the small parts and checks that separate a clean install from a frustrating one.
Choose the right cabin lighting options for your car
Most interiors have three lighting zones: overhead task lights (dome and map), footwell or door lights, and accent lighting. A dome light upgrade is the most useful because it lights the whole cabin. Map lights are next, since they aim at the seats and are easier to direct. Ambient lighting kits are the least functional but the most customizable, and they usually run on a separate controller or app.
Decide how much light you want before buying anything. If you mostly drive at night and want a factory look, replace only the bulbs you use and skip the strips. If you want a showier cabin, plan an ambient kit with a dimmer so you can turn it down on the highway. Write down every bulb location you want to change so you do not end up with a mismatched set.
- Count your fixtures first: dome, map, vanity, trunk, and door lights are often different bulb sizes.
- If you are unsure about a bulb size, check your owner's manual or measure the old bulb before ordering.
- Ambient kits need power and a mounting surface; decide where the controller will live before you buy.
Pick a color temperature you can live with
Interior light color temperature is measured in Kelvin, and it changes how the cabin feels. Warm white (around 3000K) matches most factory interiors and is easy on the eyes. Cool white (around 5000-6000K) looks modern and crisp but can feel harsh in a small cabin. Blue or deep purple ambient lighting is fine for accent strips, but avoid it for task lighting because it reduces contrast and makes it harder to read.
Consistency matters more than the exact number. If your dome light is 6000K and your map lights are 3000K, the cabin will look mismatched even though both are bright. Buy all your bulbs from the same product line when possible, and check the listed color temperature before you order. For ambient kits, look for a controller that lets you dim and change color so you are not locked into one setting.
- Warm white (about 3000K) for a factory look; cool white (about 5000-6000K) for a modern look.
- Keep task lighting and accent lighting in the same color family.
- A dimmer is the single most useful feature on an ambient lighting kit.
Install LED interior lights without breaking trim
The led interior light install process is simple but unforgiving of impatience. Disconnect the negative battery terminal or pull the fuse for the interior lighting circuit before you start. Plastic trim clips get brittle with age, so warm the cabin if it is cold outside and use a plastic trim tool instead of a screwdriver. Work one fixture at a time so you always have a reference for how the lens and housing fit together.
When you remove a bulb, note its orientation. Many LED replacement bulbs are polarity-sensitive, so if a light does not turn on, flip the bulb before assuming it is defective. Do not force a bulb into a socket; if it does not seat with light pressure, you likely have the wrong size. Once a fixture works, test it through its full range: door-open, door-closed, and any dimming function.
- Disconnect power before touching any socket.
- Use a plastic trim tool and work slowly around clips.
- If an LED does not light, flip it 180 degrees before troubleshooting further.
Add an ambient lighting kit cleanly
An ambient lighting kit is a different job from a bulb swap. You need a power source, a mounting path, and a way to hide wiring. Fuse taps are common, but choose a circuit that turns off with the ignition so the kit cannot drain the battery. Route wires along existing harnesses and secure them with zip ties or adhesive clips so they do not rattle or chafe.
Test the kit before you tuck everything away. Turn the car on, cycle the colors, and check for flicker or dead sections. If the kit uses adhesive strips, clean the surface with isopropyl alcohol and let it dry. Mount strips where they light the surface you want, not directly into your eyes. A strip aimed at a footwell or under a seat looks better than one aimed at the driver.
- Power the kit from an ignition-switched circuit to avoid battery drain.
- Test all colors and brightness levels before final reassembly.
- Keep strips out of direct view to reduce glare.
Check fitment and finish the job
Fitment is where most interior lighting projects go wrong. Bulb sizes, harness connectors, and trim clips vary by model year and trim level, even within the same generation. If a product listing says it fits a range of years, confirm your specific car before ordering. When a listing does not show a specification you need, treat that as a decision limitation and ask the seller rather than guessing.
Once everything works, reinstall trim in reverse order and press clips in firmly. Check that no wires are pinched and that the lens sits flush. Then do a nighttime test drive: open the doors, use the map lights, and check the ambient kit at highway brightness. Adjust anything that glares or distracts. A good interior lighting upgrade should feel like it came from the factory, just better.
- Confirm bulb size and connector type for your exact year and trim.
- Do a nighttime test before calling the job done.
- If a specification is missing, ask before you buy.
Interior lighting upgrade steps
- 1. Plan your zones and count fixtures: List every light you want to change: dome, map, vanity, trunk, door, and any accent locations. Note the bulb size or connector for each. Common mistake: buying a kit without checking that the bulbs match your trim level. Checkpoint: you have a written list of every fixture and its size before ordering.
- 2. Choose color temperature and brightness: Pick warm white (about 3000K) for a factory look or cool white (about 5000-6000K) for a modern look, and keep task and accent lighting consistent. Common mistake: mixing color temperatures so the cabin looks patchy. Checkpoint: all task bulbs are from the same color family.
- 3. Disconnect power and remove trim carefully: Disconnect the negative battery terminal or pull the interior lighting fuse. Use a plastic trim tool and work slowly around clips. Common mistake: prying with a metal tool and breaking brittle clips. Checkpoint: power is off and you have a plastic trim tool in hand.
- 4. Replace bulbs and test polarity: Swap one bulb at a time, keeping the old bulb as a reference. If an LED does not light, flip it 180 degrees before assuming it is bad. Common mistake: forcing a bulb into the wrong socket. Checkpoint: every fixture lights correctly before you reinstall trim.
- 5. Install the ambient kit with switched power: Mount the controller where you can reach it, route wires along existing harnesses, and power the kit from an ignition-switched circuit. Common mistake: using a constant power source and draining the battery. Checkpoint: the kit turns off with the ignition and does not flicker.
- 6. Reassemble and do a nighttime test: Reinstall trim in reverse order, press clips firmly, and check that no wires are pinched. Then test at night: open doors, use map lights, and check ambient brightness at highway speed. Common mistake: skipping the night test and discovering glare later. Checkpoint: no glare, no rattles, and every light works as intended.
Product facts that matter for interior lighting
- Genuine Honda Civic 2019-2021 Fog Light Kit, LED: Fits 2019-2021 Civic EX, Sport, Touring, Si (excludes Type-R); the kit uses plug-in connectors with no wire splicing or cutting, and the housing is resistant to water, impact, and corrosion. If you are already adding lighting, this shows the value of plug-in connectors and sealed housings. The same principles apply inside the cabin: use factory-style connections and keep moisture and debris out of fixtures.
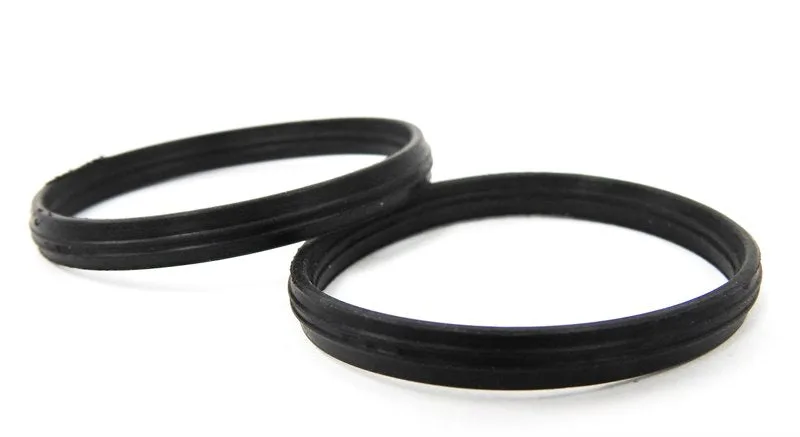
- 2016-2021 Honda Civic 1.5T Factory Style Intercooler Replacement O-Ring: Replacement factory style O-ring for stock or aftermarket intercoolers that use the factory charge pipe adapters; kit includes one single O-ring. A reminder that small seals and hardware matter. When you run wiring or add a fuse tap, use the correct grommets and clips so you do not create rattles or water paths.
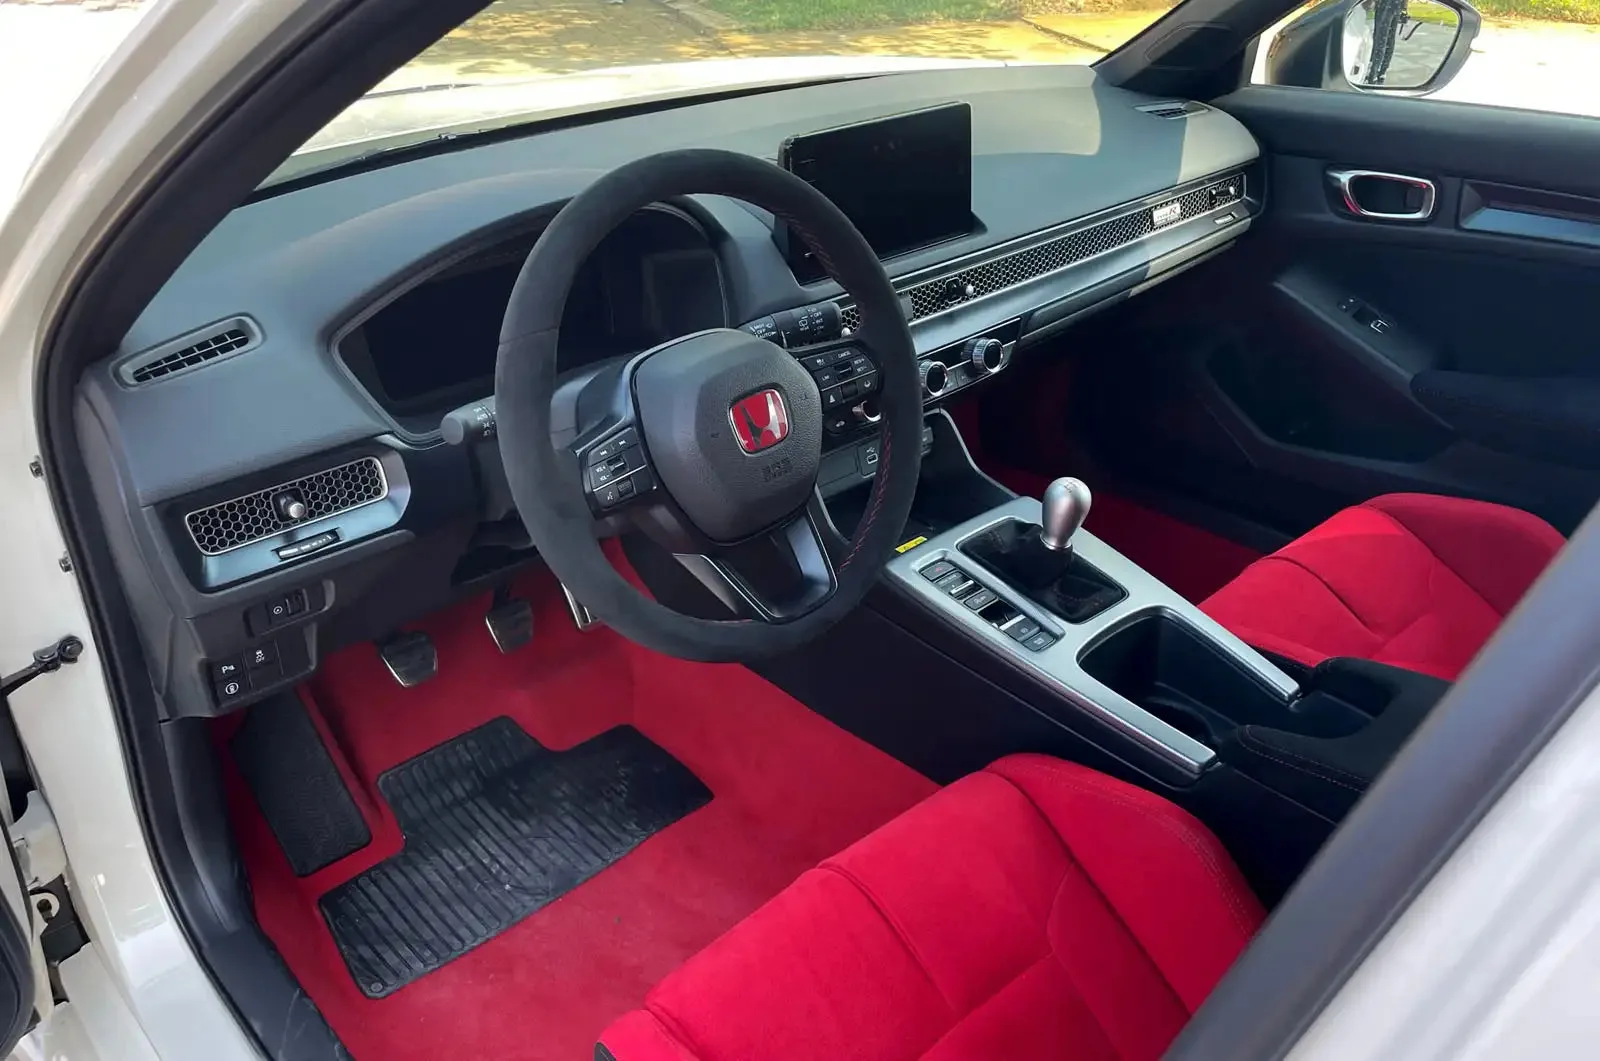
- Genuine Honda 2023+ Civic Type-R FL5 Alcantara Red Leather Steering Wheel Grip: Fits all 2023+ Civic Type-R FL5, including RHD and international models; factory replacement steering wheel, R-Red Honda part number 08U97-T60-110. Interior upgrades are not only about light. If you are already pulling trim, this is an example of a factory-fit interior part that keeps the cabin cohesive.
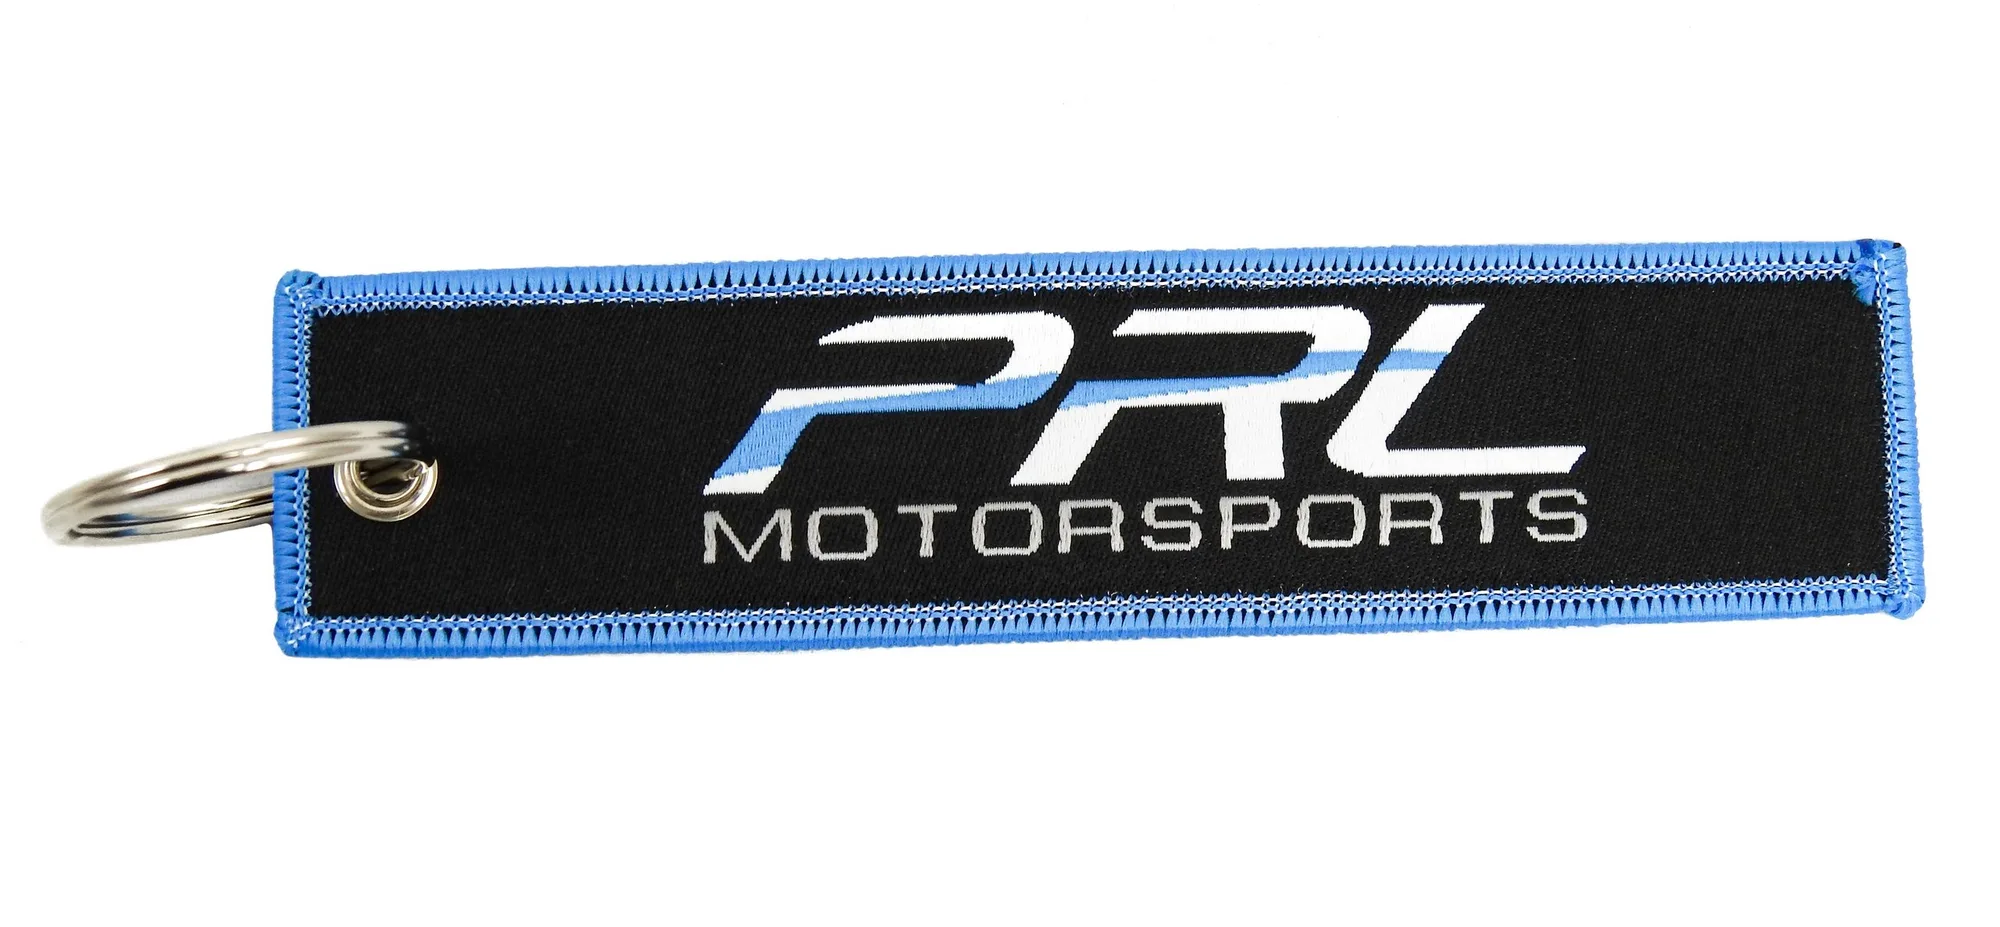
- PRL Motorsports Flight Tag Keychain: Woven key tag measuring 13cm x 3cm, with a key ring included and attached with a riveted eyelet. A small detail that pairs well with a lighting upgrade: a keychain you can actually find when the dome light comes on.
A good interior lighting upgrade is less about buying the brightest kit and more about matching color temperature, using quality bulbs, and installing everything so it looks factory. Start with the fixtures you use most, add ambient lighting only if you will actually adjust it, and always confirm fitment for your exact year and trim. If you are unsure about a specification, ask before you buy, then test at night and adjust until the cabin feels right.