Quick answer
Start by charging the phone, then run through activation and a full hardware check before you rely on it. Focus on the battery, cameras, speakers, and buttons first, because those are the parts most likely to show wear on a Grade B refurbished iPhone 7 Plus.
Why the first hour matters more on a Grade B unit
Grade B refurbished phones are fully functional but may have visible cosmetic marks. That makes the first hour of testing critical: you want to confirm that any flaws are only cosmetic and that nothing affects daily use. If you find a problem, you can usually return or exchange the phone within the seller's window, but only if you report it promptly.
What to prepare before you start
You will need a Wi-Fi connection, your Apple ID password, and a SIM card if you plan to use cellular data. Have a soft cloth and a bright light ready for the physical inspection. The iPhone 7 Plus uses a Lightning cable, so make sure you have one that is in good condition.
Step-by-step setup and first checks
- Charge the phone before you begin: Plug the iPhone 7 Plus into a known-good Lightning charger and let it charge for at least 30 minutes. A common mistake is trying to set up a phone with a completely dead battery, which can cause it to shut down mid-process. If the phone does not show any sign of charging, stop and contact the seller before going further.
- Inspect the body and screen under bright light: Look at the corners, edges, and screen for scratches or dents. Grade B units may have light cosmetic wear, but deep cracks or a loose screen are not normal. Check that the Matte Black finish is evenly worn and that there are no sharp edges. Photograph any marks you find before you power on, so you have a record if you need to raise a condition issue later.
- Complete the initial iOS setup: Turn on the phone and follow the on-screen steps. Connect to Wi-Fi, sign in with your Apple ID, and choose whether to restore from a backup or set up as new. A common mistake is skipping the Wi-Fi step and then being unable to activate. If activation fails, try a different Wi-Fi network before assuming the phone is faulty.
- Test the battery health and charging: Go to Settings > Battery > Battery Health and check the maximum capacity. On a refurbished iPhone 7 Plus, the battery may have been replaced, so any reading above 80% is generally usable. Also confirm that the phone charges reliably with the cable you plan to use. If battery health is below 80% and the seller did not disclose it, ask about a replacement before the return window closes.
- Check the cameras, speakers, and microphone: Open the Camera app and take photos with both the rear and front cameras. Record a short video with sound to test the microphone and speaker. Play a song at full volume to check for distortion or crackling. Test the earpiece speaker by making a call or using a voice memo app; a dead earpiece is easy to miss during setup.
- Verify buttons, ports, and sensors: Press the Home button, volume buttons, and power button to confirm they click and respond. Plug in headphones or a charger to test the Lightning port. Check that the proximity sensor turns off the screen during a call and that auto-brightness works. If the Home button feels loose or does not click, note it immediately; it is a common wear point on older iPhones.
- Run a final network and SIM check: Insert your SIM card and confirm that cellular data and calls work. Test Wi-Fi and Bluetooth by connecting to a speaker or headphones. A common mistake is forgetting to test the SIM tray, which can be stiff on a used phone. If the SIM tray does not sit flush or the phone does not recognize the card, try a different SIM before concluding the slot is faulty.
Product facts
-
iPhone 7 Plus – 128GB – Matte Black – Grade B: Comes in a generic box. You will not receive original Apple packaging, so plan to supply your own charger and cable for the first charge.
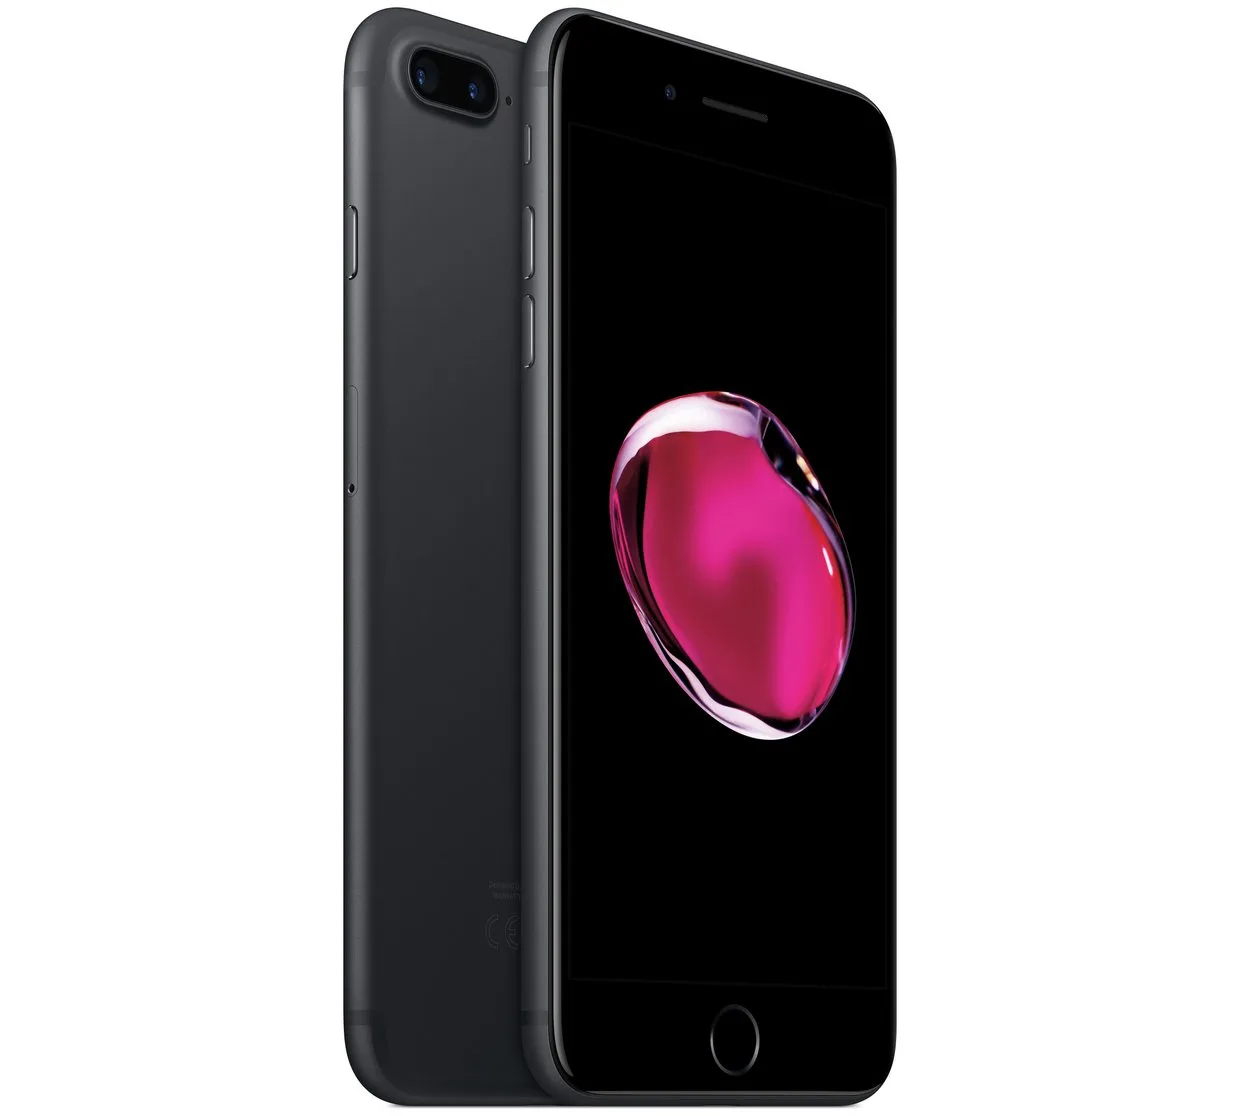
iPhone 7 Plus – 128GB – Matte Black – Grade B