Quick answer
Use a patch-style iron-on label made for waterproof or technical fabric, press it onto a flat, clean area away from seams, and seal the edges with steady heat. Test the fabric first, because direct high heat can damage some rainwear coatings.
Why rainwear needs a different label than a cotton tee
Rain jackets and snowsuits often have a water-repellent finish or a PU coating that reacts badly to the heat and pressure that work on cotton. A label meant for everyday clothes may lift at the corners after one wash, while a patch designed for waterproof fabric is made to bond to that surface. If the care label says not to iron, or you cannot find one, do not iron the garment directly; choose a sew-in label or a label placed in a non-coated lining instead.
Iron-on labels are not a permanent repair for large tears. They are best for small holes, worn areas, or simply naming a garment so it comes home from school. If the fabric is already delaminating or the hole is bigger than the label, the patch will not hold and the garment needs a proper repair.
Match the label to the outerwear fabric
A label designed for rainwear is not automatically right for a ski jacket. Rainwear is often a PU-based fabric, while technical outerwear can be a different waterproof shell. Check the garment's care label and choose a label described for that fabric type. When in doubt, test on an inside hem first and wait 24 hours before trusting the bond.
For technical outerwear, a dedicated technical patch is the safer choice because it is made for wind- and waterproof products. Using a rainwear label on a technical shell may seem to stick at first but can fail in the wash.
How to apply iron-on labels to rainwear, step by step
- Read the care label and test the fabric: Find the garment's care label and confirm ironing is allowed. If it is, test on an inside hem or a hidden spot with the iron at the heat setting you plan to use, using a pressing cloth. Common mistake: skipping the test and ironing directly onto a visible waterproof panel, which can leave a shine or melt the coating. If the care label says no iron, stop here and use a sew-in label instead.
- Choose the right label for the fabric: Pick a label described for rainwear for a PU rain jacket, or a technical outerwear label for a ski jacket or snowsuit. Match the label size to the area you are covering. Common mistake: using a general-purpose name label on waterproof fabric because it is the one in the drawer. A label made for the fabric type is more likely to survive repeated washing.
- Position the label on a flat, seam-free area: Place the label on a flat section away from seams, zippers, and drawcords. Mark the corners lightly with removable tape if you need a guide. Common mistake: placing the label over a seam, where the iron cannot press evenly and the edge lifts first. Leave at least a finger-width between the label edge and any seam.
- Press with steady heat and a pressing cloth: Set the iron to the temperature your test showed was safe, place a thin pressing cloth over the label, and press firmly for the time recommended by the label maker. Do not slide the iron. Common mistake: rushing with a hot iron directly on the label, which can shift the patch or scorch the fabric. Keep the iron still and let the heat do the work.
- Seal the edges and cool completely: Press around the perimeter of the label, then let the garment cool flat before moving it. Common mistake: lifting the garment while the adhesive is still warm, which stretches the bond. Wait until the label is fully cool before trying to peel a corner to check.
- Check the bond and fix lifting corners: After cooling, gently test one corner. If it lifts, cover with the pressing cloth and press again for a few seconds. Common mistake: pulling the whole label off to reposition it, which weakens the adhesive. Re-press small lifts; replace the label only if the adhesive is contaminated with lint.
- Wash and dry to protect the label: Turn the garment inside out, close zippers, and wash at the temperature on the care label. Air-dry or tumble dry low according to the garment's care label. Common mistake: drying on high heat, which can soften the adhesive and cause the label to curl. High dryer heat is the most common reason labels come off.
Products that fit this job
-
Tilkøb af Strygemærker - Teknisk Overtøj - dry wood: Designed for technical outerwear and available in sizes. Choose a size that covers the worn area or hole with a small margin so the patch does not peel at the edge.
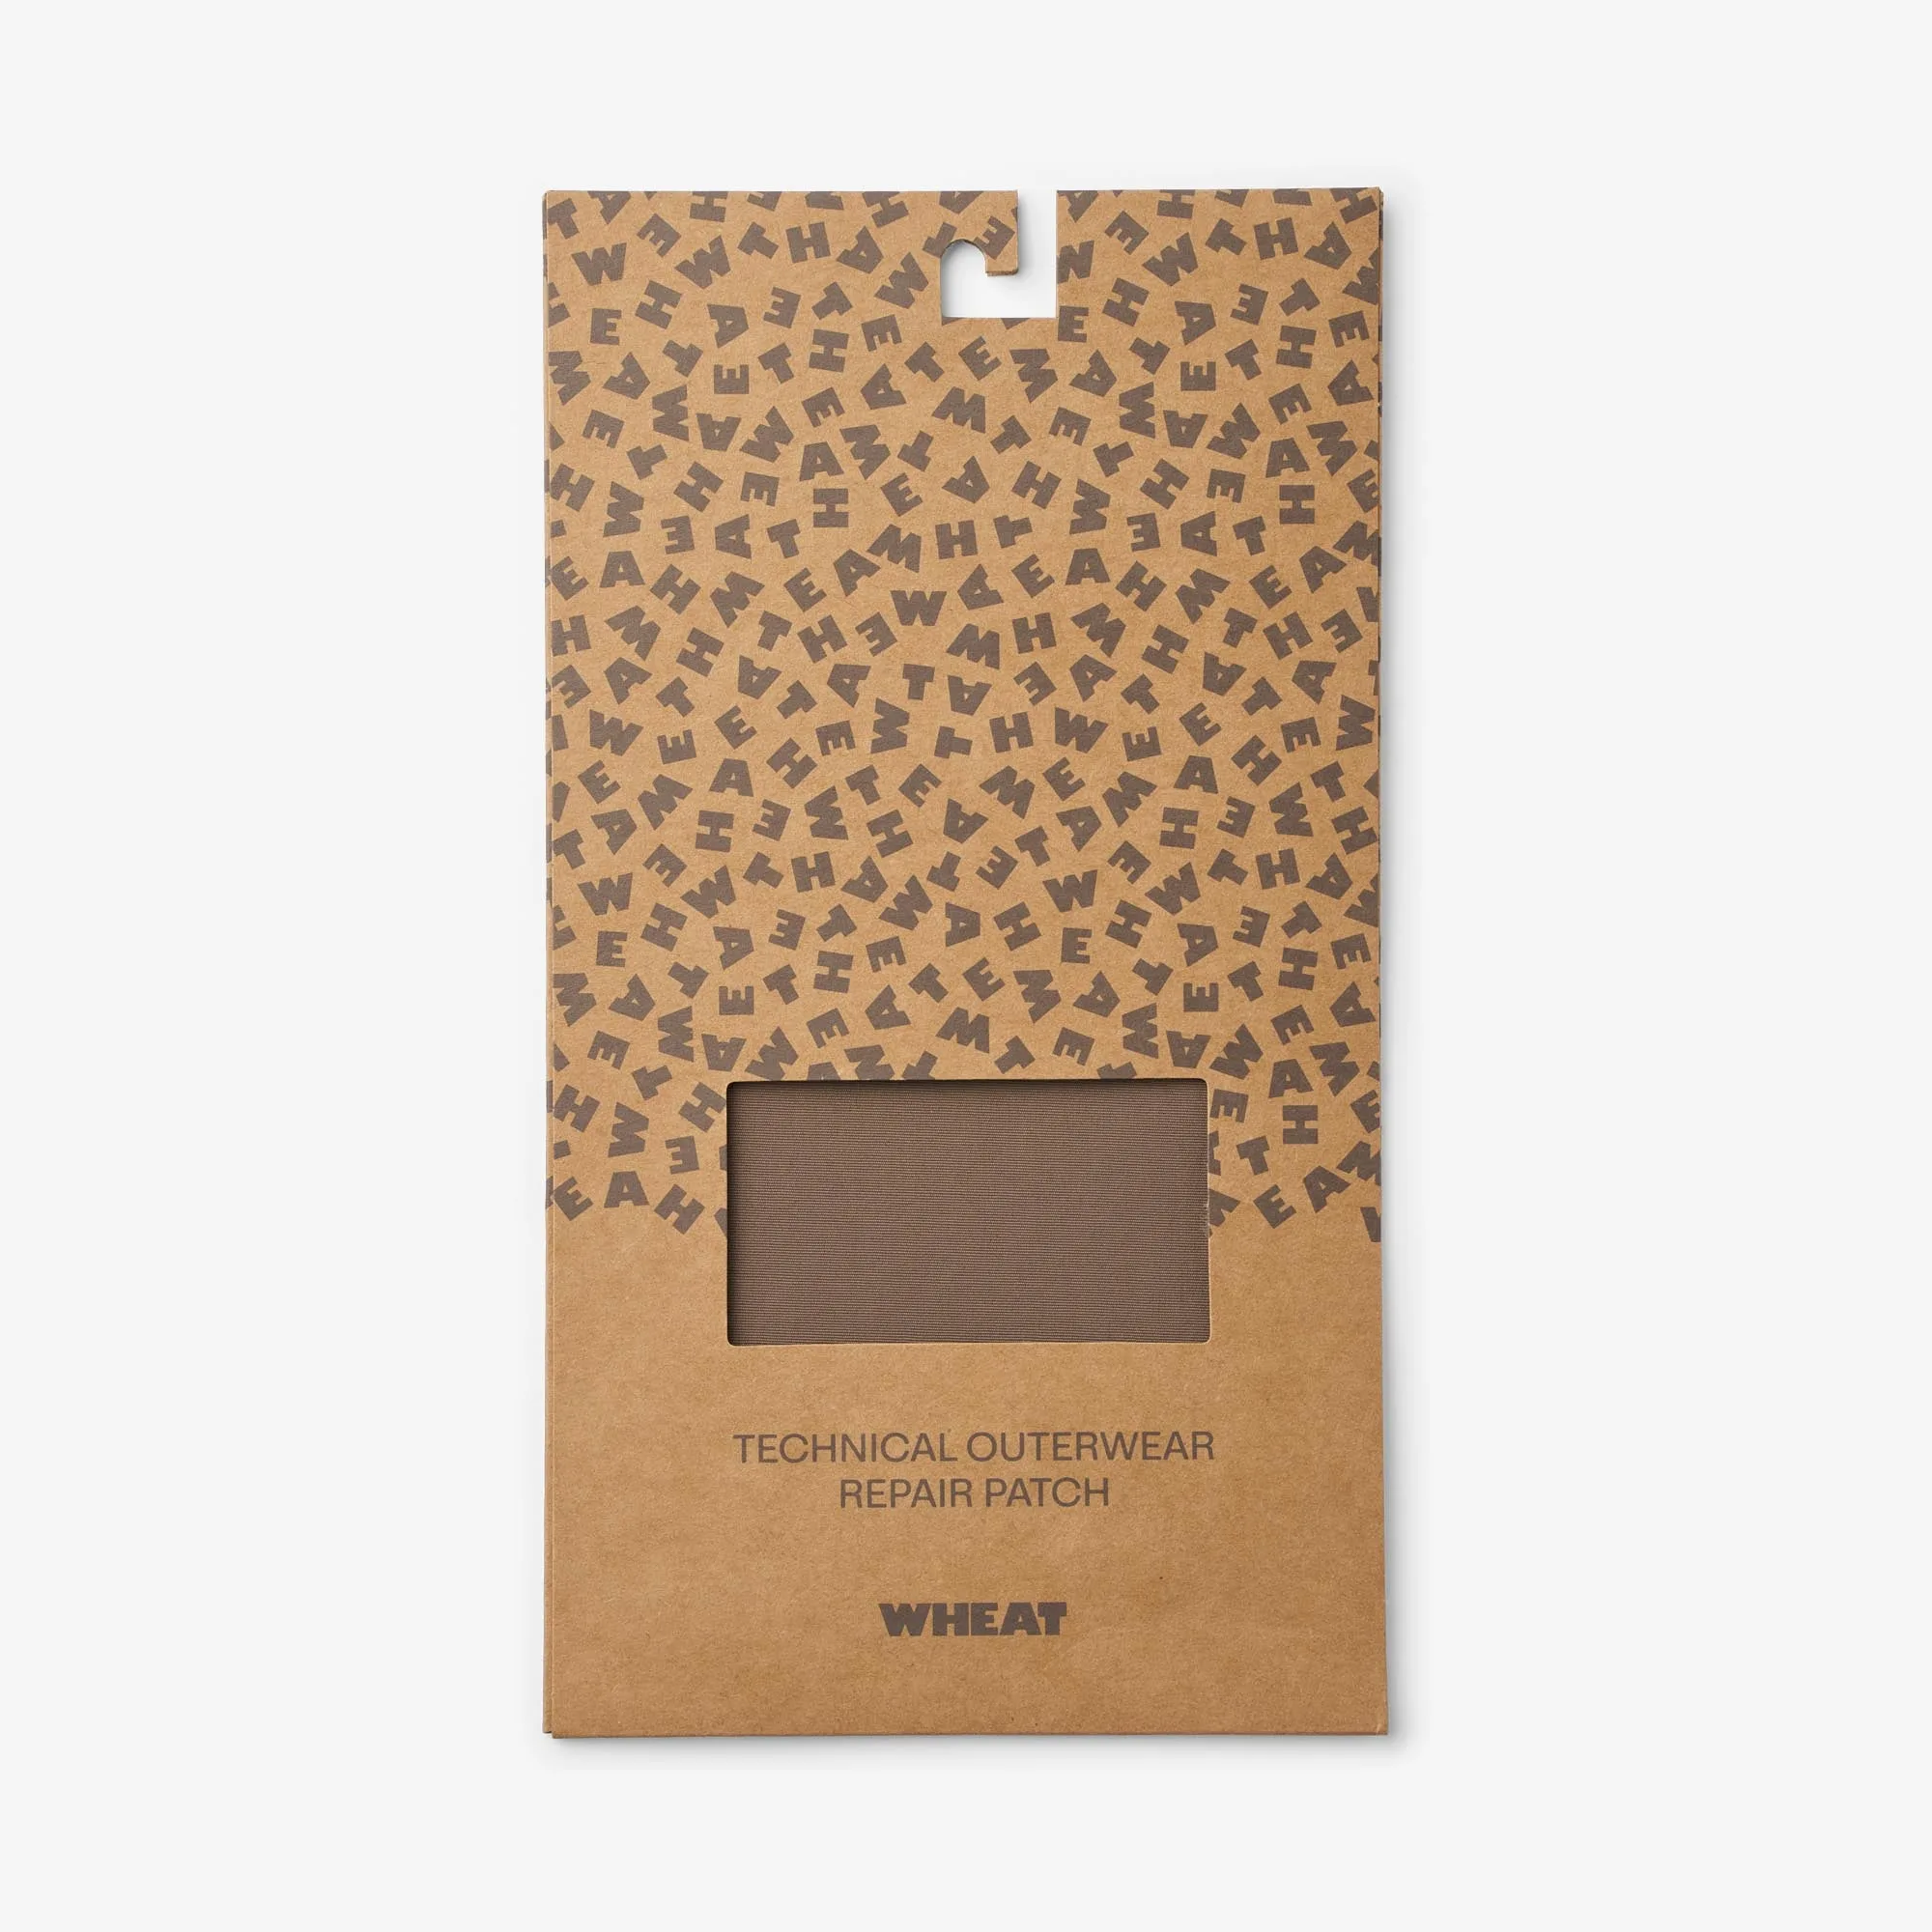
Tilkøb af Strygemærker - Teknisk Overtøj - dry wood
-
Tilkøb af Strygemærker - Regntøj - hazel: Made for rainwear and described as waterproof. A waterproof label keeps the repaired spot from becoming the first place water gets in.
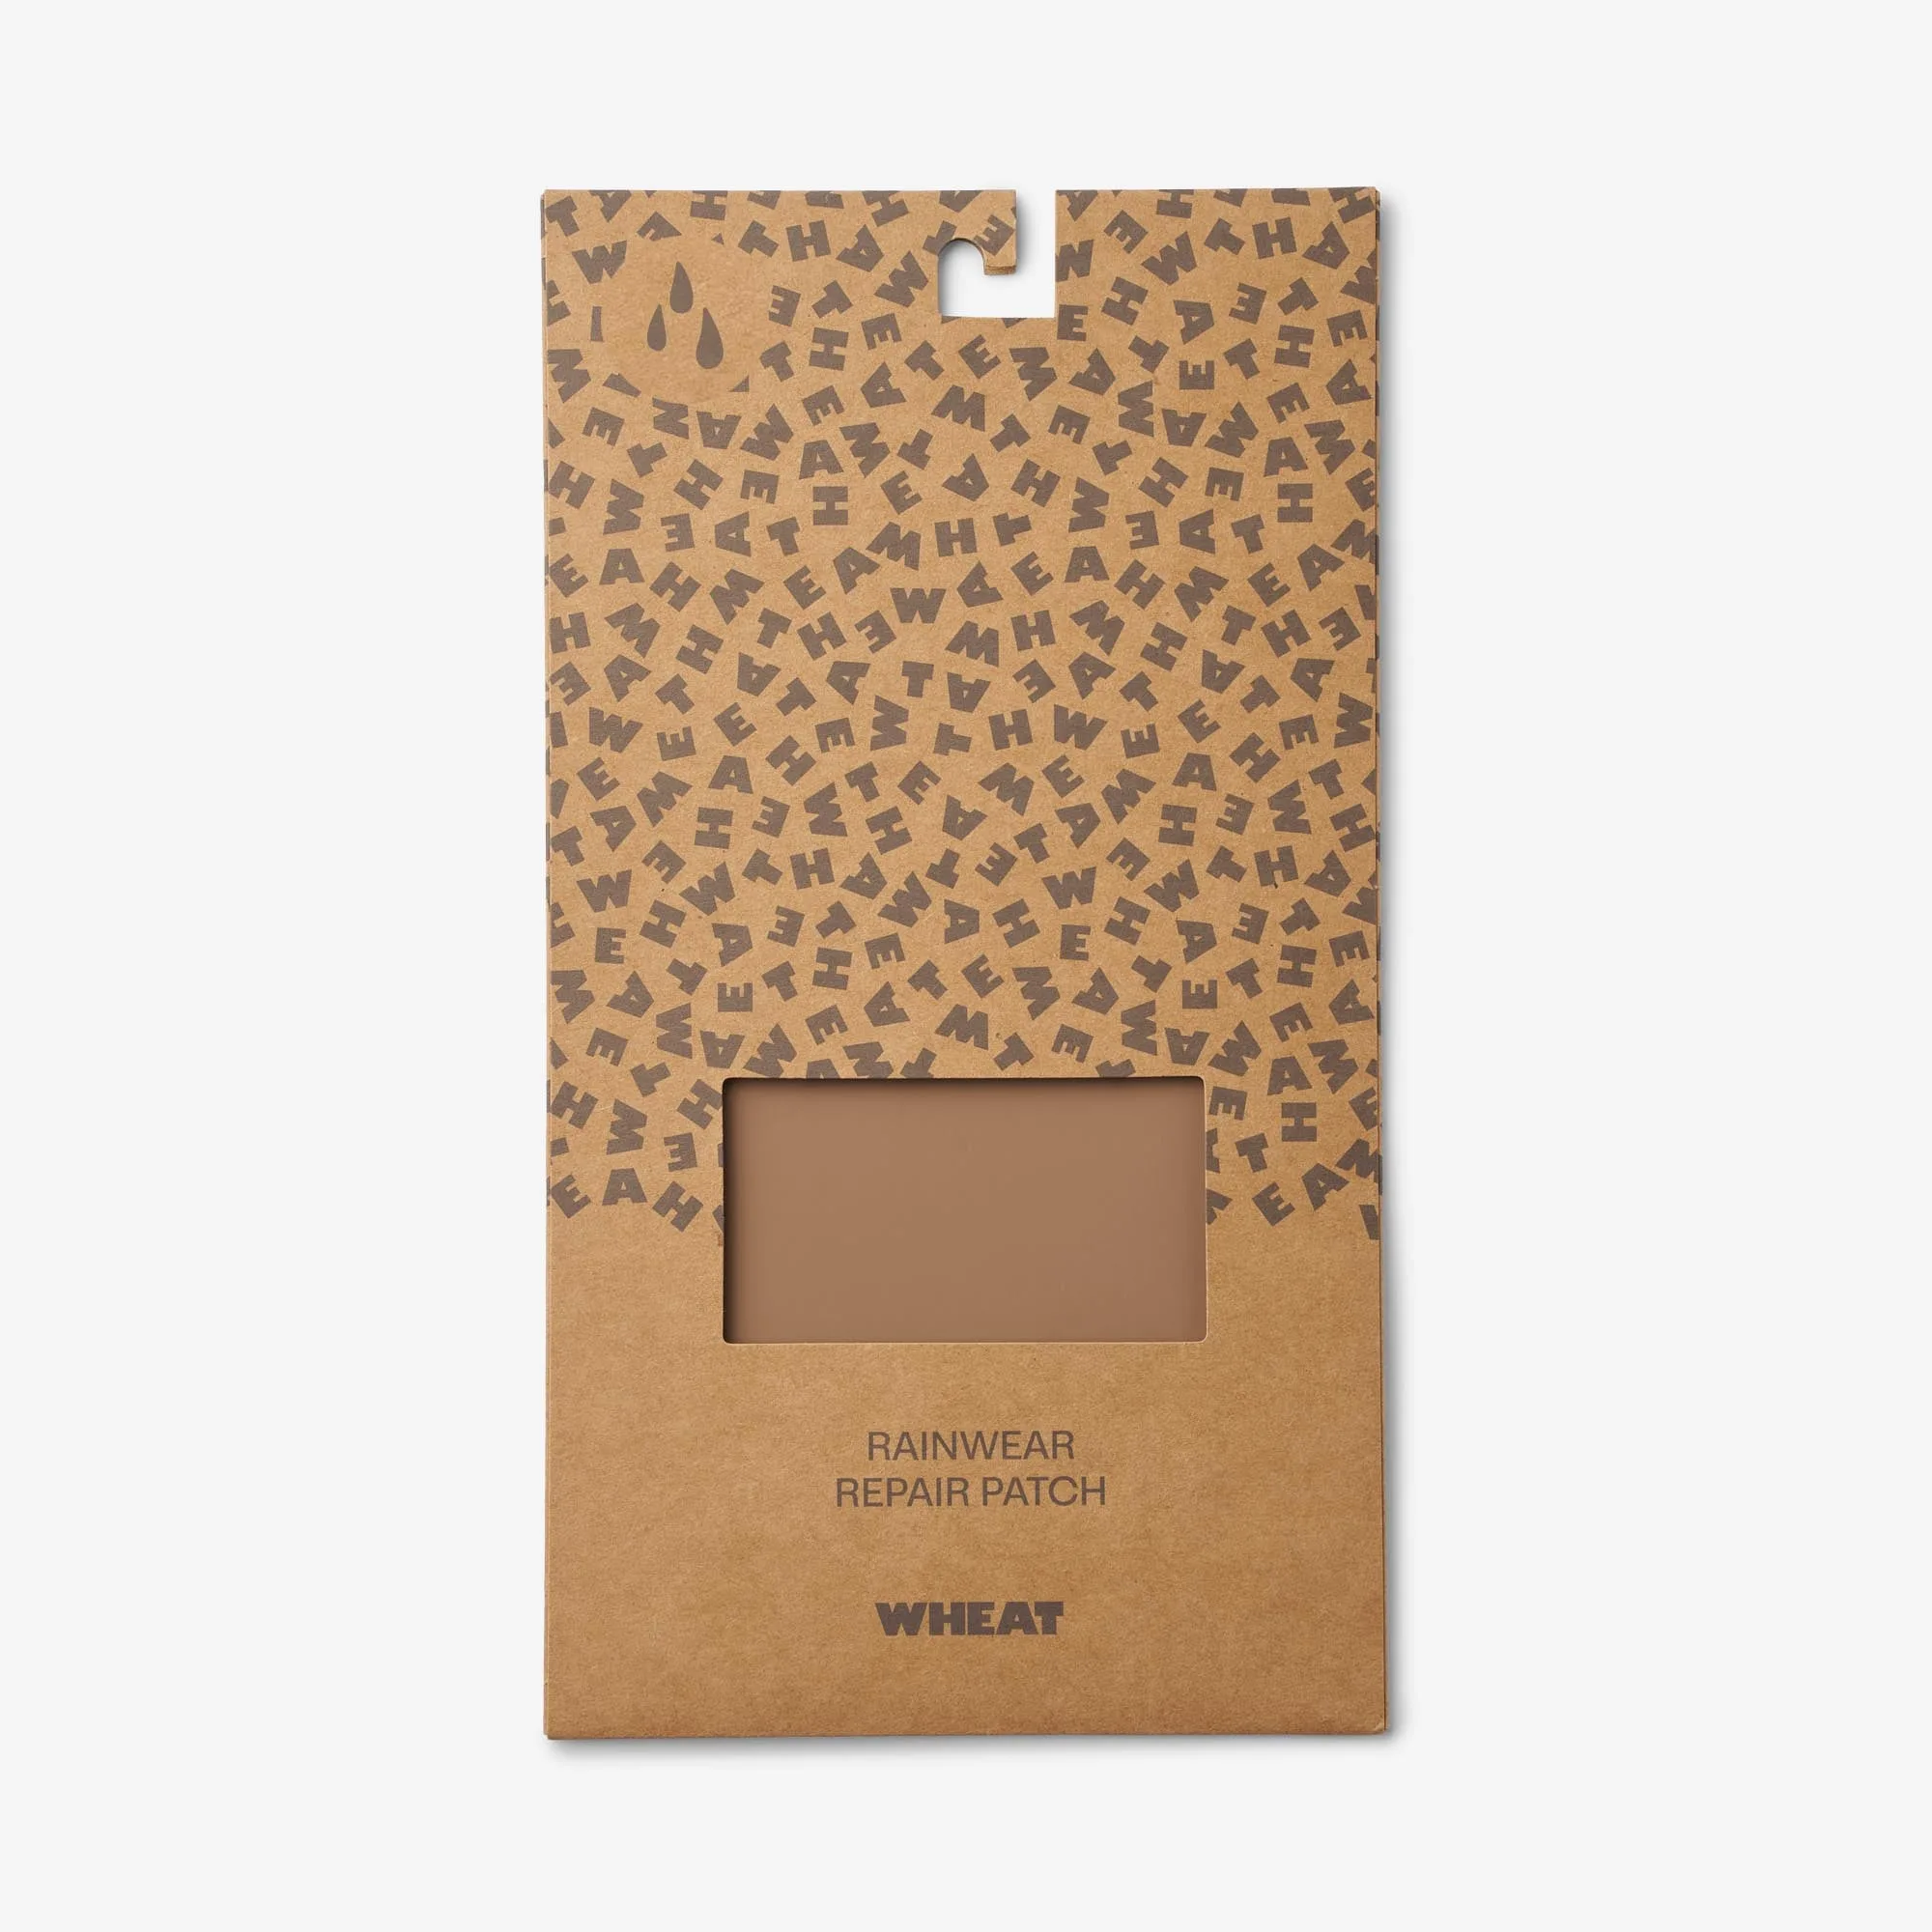
Tilkøb af Strygemærker - Regntøj - hazel