Quick answer
Blow off loose grit first, then apply Kenair Lens Cleaner to a microfibre cloth rather than directly to the glass, wipe gently in one direction, and finish with a dry pass. Use Kenair AntiReflect separately, as a spray for controlling reflections on shiny subjects in studio and video work, not as a lens cleaner.
Why spray-on-cloth beats spray-on-glass
Aerosol cleaner applied straight to a lens can pool at the edge of the element and seep toward the barrel, where it is hard to remove. Dampening the cloth gives you control over how much liquid touches the coating and keeps the spray away from seams and markings.
Kenair Lens Cleaner is supplied in 150ml cans as singles or boxes of 12, so a spare can lives in a bag without much weight or cost. The catalog lists it for glass, mirrors, Perspex and ceramic, which makes it useful beyond camera lenses.
Where AntiReflect belongs in the workflow
Kenair AntiReflect is a reflection-control spray for studio and video photography, not a cleaning product. The full matt version tones down flare and highlights on polished, reflective or high-contrast surfaces such as jewellery, silver, cars, glass and furniture. The black version reduces surface reflection on highly polished subjects.
Treat it as a subject treatment: apply it to the item being photographed, keep it off lens glass, and check the result on a test frame before committing to a full shoot.
When a wet clean is the wrong call
If the lens has visible grit, sand or salt residue, dry removal comes first. Wiping grit across a coated element is how scratches happen, and no spray prevents that.
For heavy grease or fingerprints that resist a single pass, repeat the damp-cloth step rather than adding more spray. Excess liquid is the usual cause of streaks and edge pooling.
Step-by-step: safe cleaning with Kenair
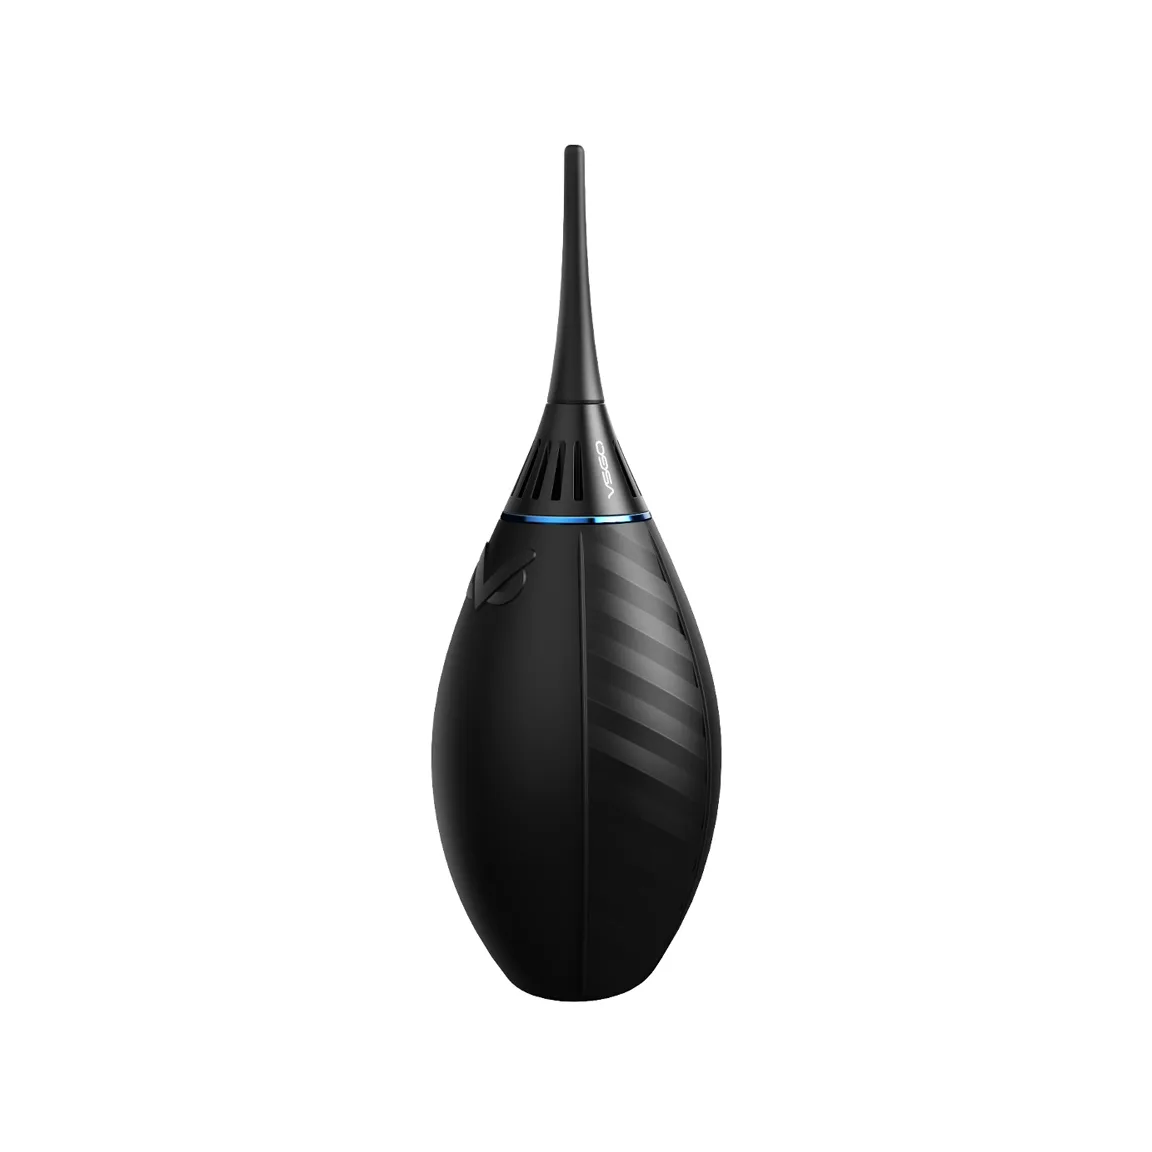
- Blow off loose particles: Use a blower or dry microfibre cloth to lift dust and grit from the front and rear elements before any liquid touches the glass. If you can still feel grit under a dry cloth, stop and blow again rather than wiping.
- Dampen the cloth, not the lens: Spray Kenair Lens Cleaner onto a clean microfibre cloth such as the Kenro Magic Cleaning Cloth, keeping the can upright and about 15–20cm away. One or two short bursts are enough; a soaked cloth leaves streaks.
- Wipe in one direction: Wipe the element in a single gentle direction, turning the cloth to a clean section for each pass. Avoid circular scrubbing. Check the cloth between passes; a dirty section just moves oil around.
- Dry and inspect: Finish with a dry section of the cloth, then look across the glass at an angle under light to check for streaks or remaining marks. Repeat the damp-and-dry cycle once if needed, but do not keep adding spray.
- Treat reflective subjects with AntiReflect: For studio or video shots of polished items, spray Kenair AntiReflect on the subject surface, not the lens, and test a frame before the full set. Keep AntiReflect away from lens coatings and camera optics.
Product facts
-
Kenair Lens Cleaner: Kenair Lens Cleaner is an eco-friendly aerosol that cleans, polishes and demists camera lenses and optical equipment. The demisting action helps when you move between cold and warm environments and the front element fogs.
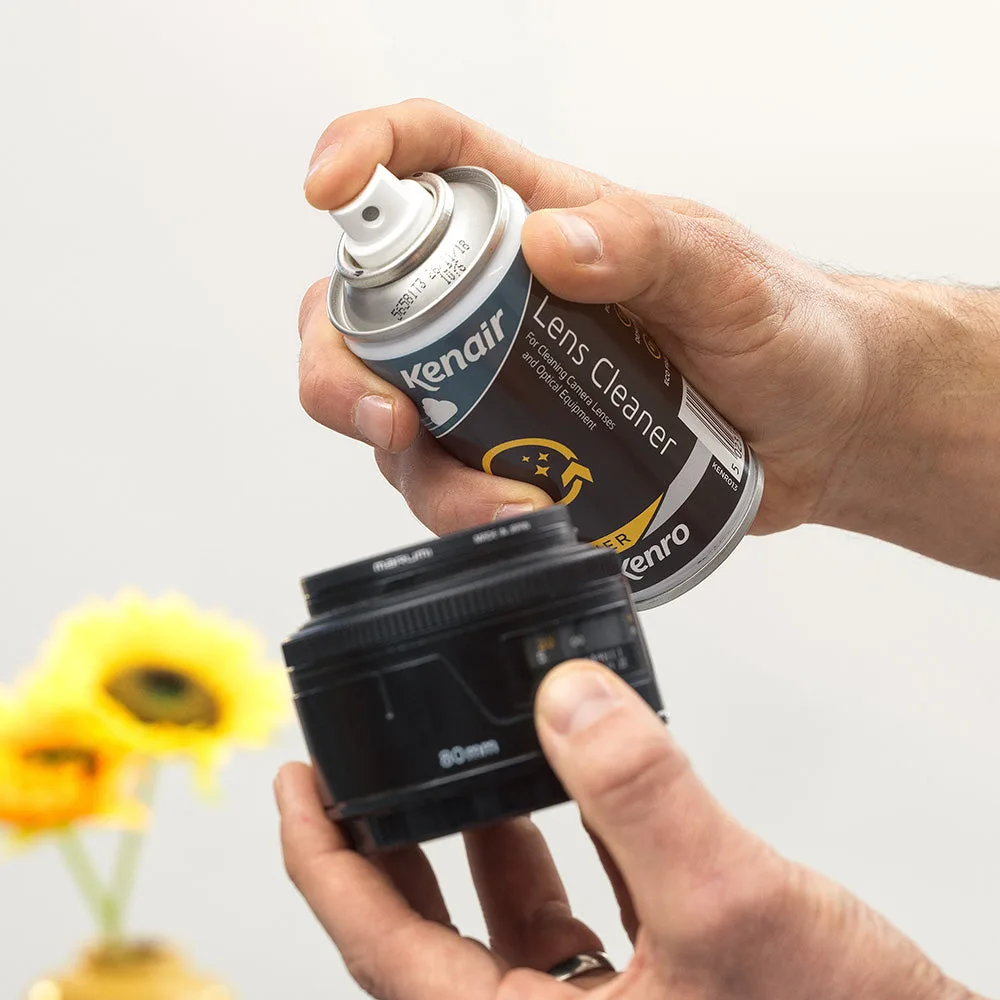
Kenair Lens Cleaner
-
Kenair AntiReflect: Kenair AntiReflect comes in Full Matt and Black versions for controlling unwanted reflections and flare in studio and video photography. Choosing the version by subject finish matters more than the application technique, so match it to the surface before you spray.
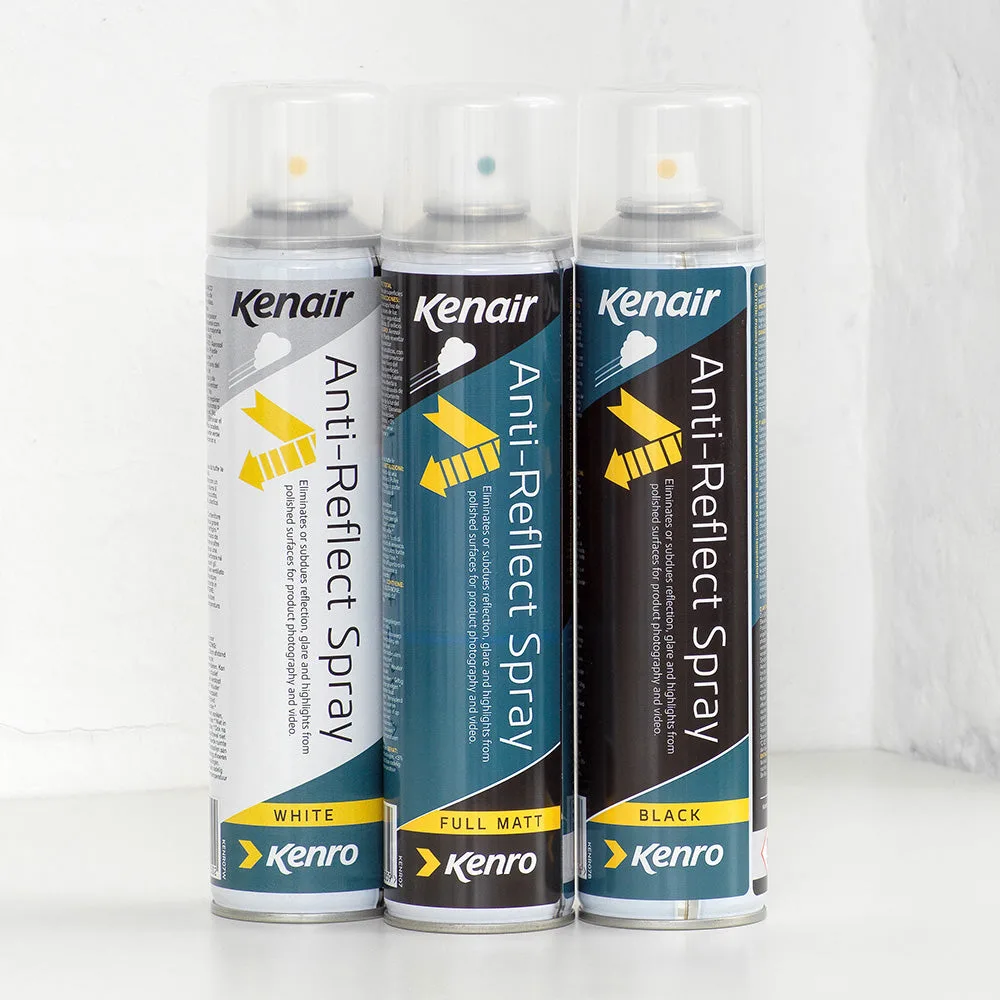
Kenair AntiReflect